I recently had to have a wisdom tooth removed. The gum around it had gotten swollen, and was quite painful. The oral surgeon warned me that wisdom tooth removal after the age of40 was not always easy, and recovery was slower than in younger patients.
He wasn’t kidding. It’s been two weeks now, and I’m now finally getting through the pain.
So while I was hurting, my usual build routine was just a little too involved. Not that I’m a super-detailed or obsessed modeler. I’m pretty much an OOB guy. But I just wasn’t up to long periods building, and the project I’m working on is for a dear friend, so I want it to be my best work.
Still, building took my mind off the pain. So I dug into the stash, and decided to pull out a simple build from my childhood, one that I decided would be pretty much “build it like a kid”.
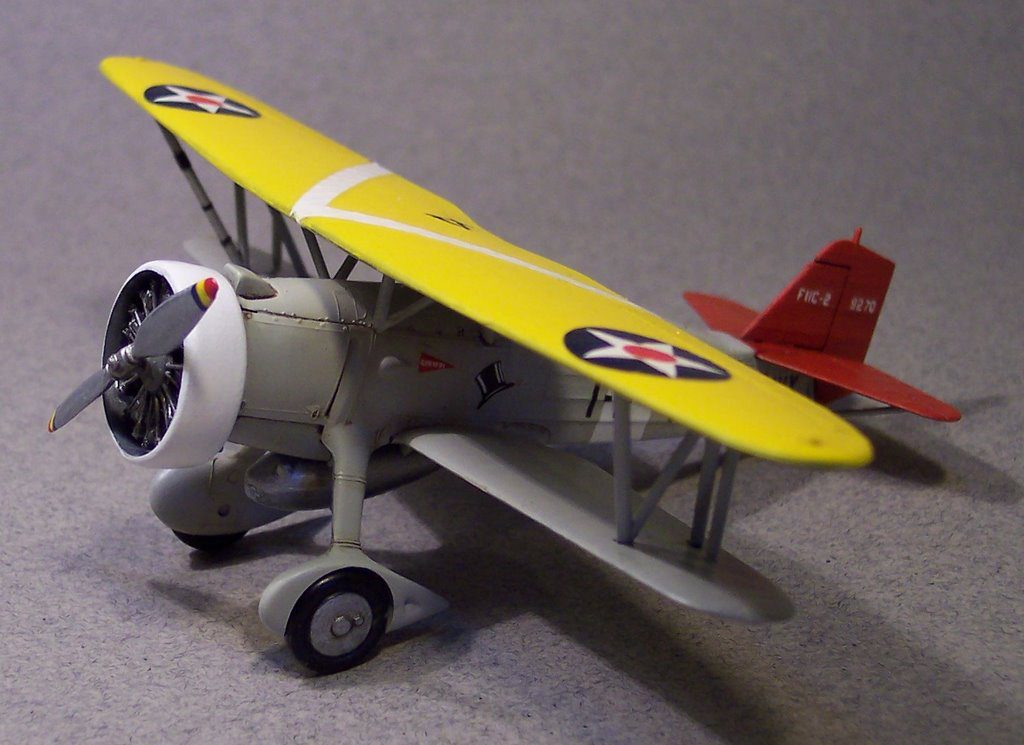
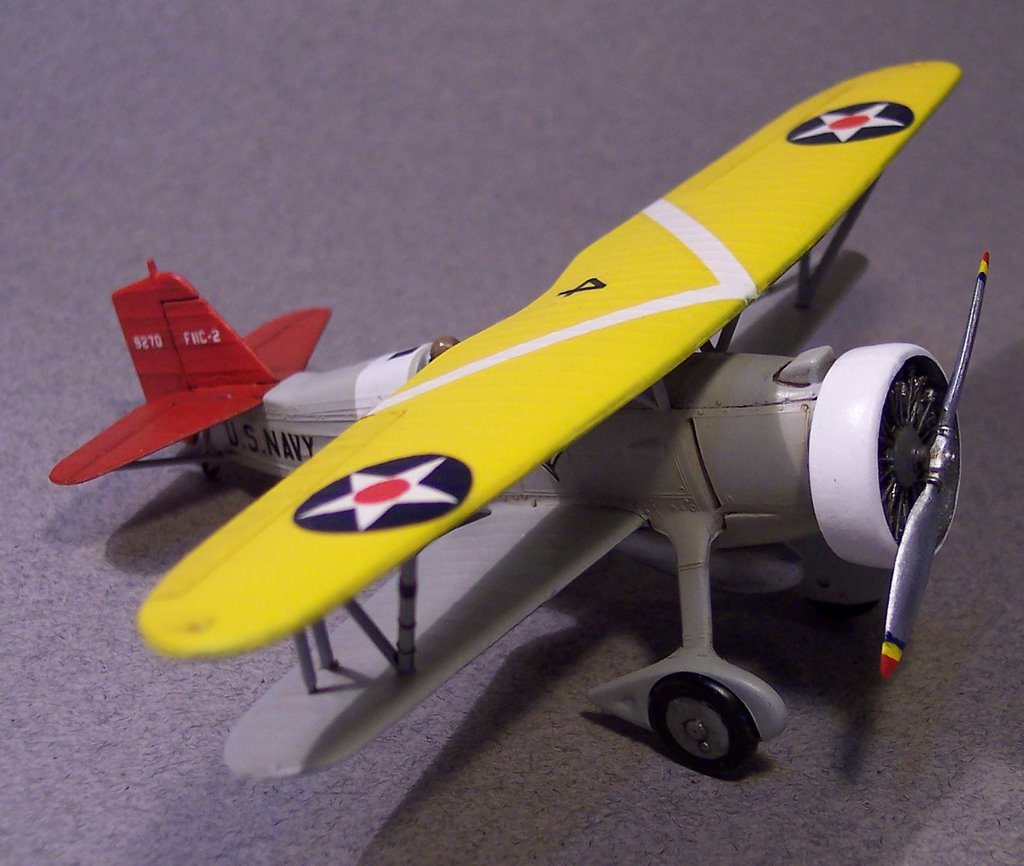
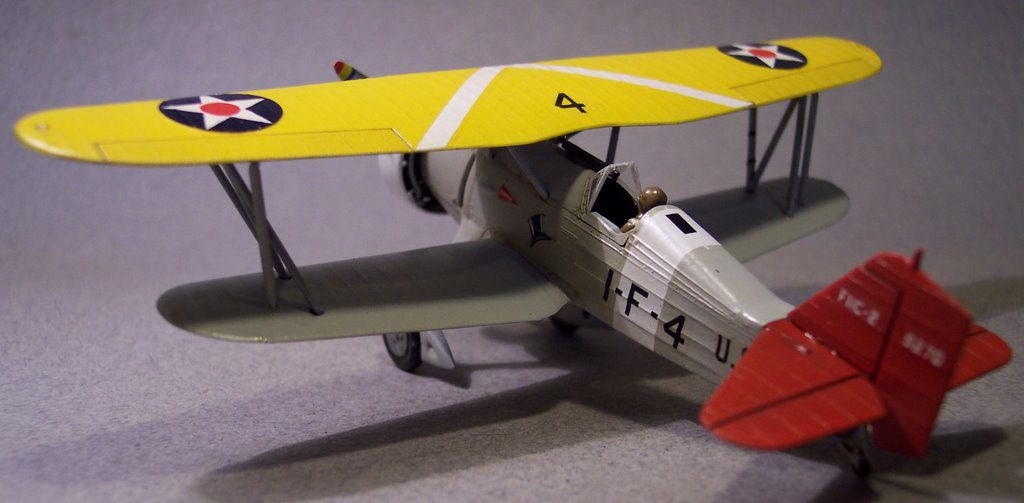
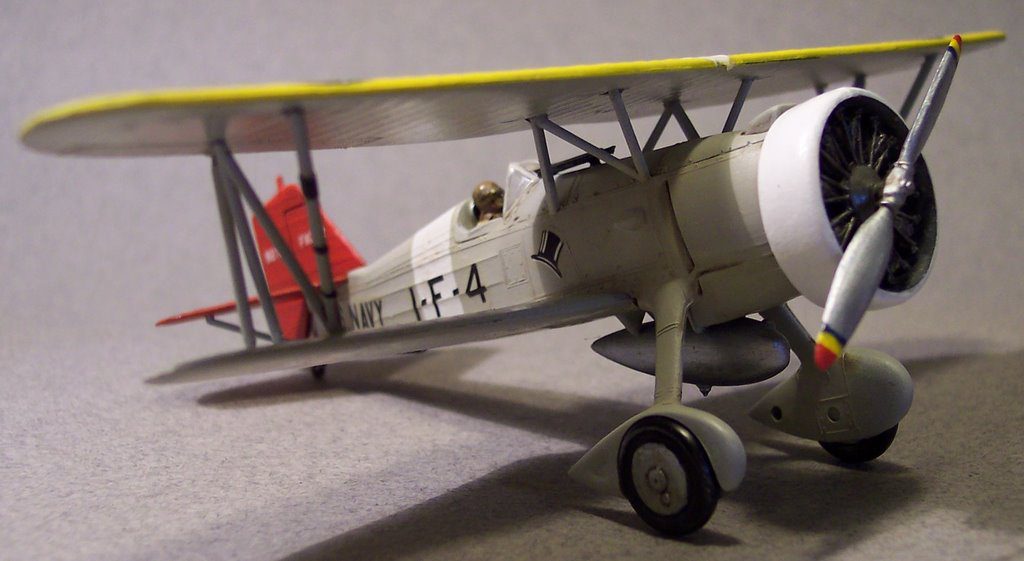
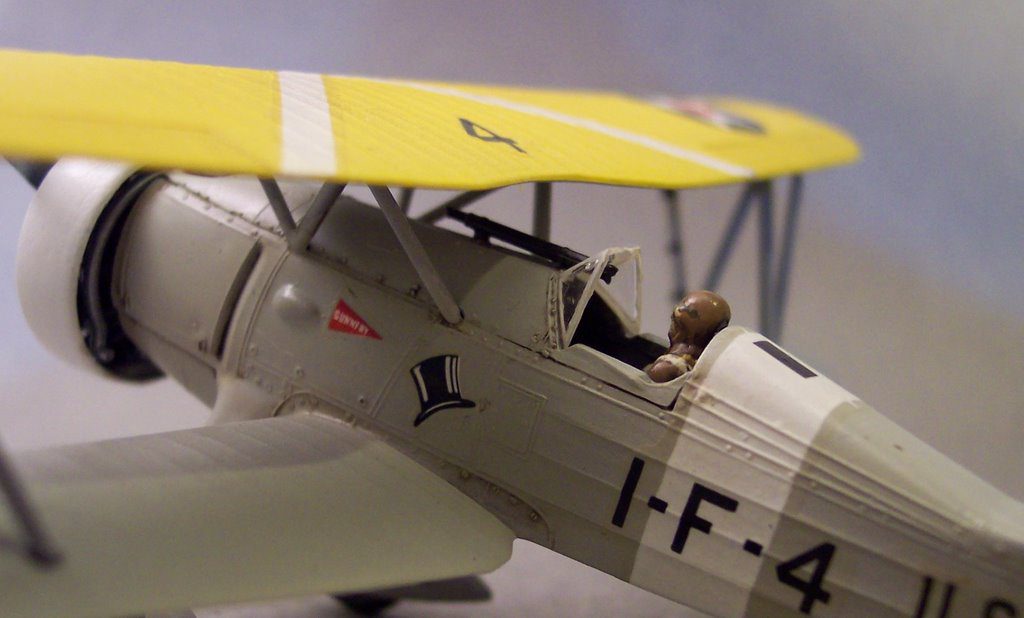
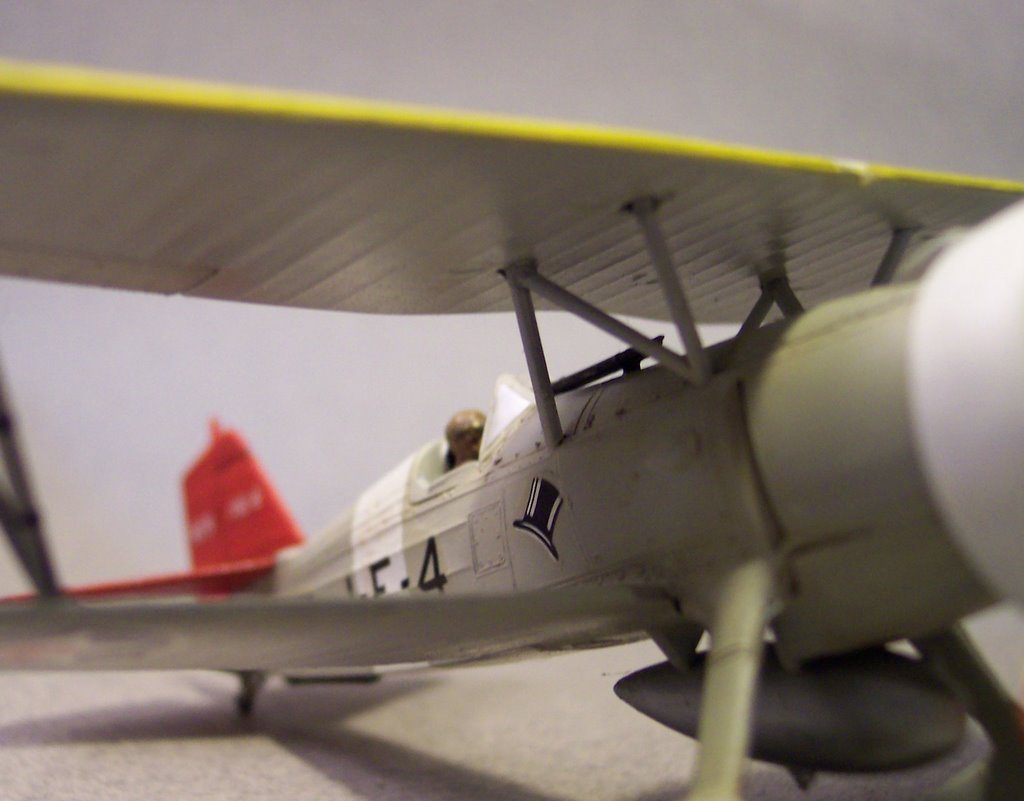
The kit I selected was one that I hear so many modelers my age (and older) speak fondly of- Monogram’s classic 1/72 F11C-2 Goshawk.
I’d purchased the kit several months back when I was on a 1/72 biplane kick. I picked up a wonderful, three kit set called “Fighting Planes of the Thirties“, which included an F11C-2, an F4B-4, and a P-6E (the latter two are also available in a recent Accurate Miniatures boxing). I’d also bought a mid-1970s boxing of the F11C-2. That was the kit I pulled out of the stash.
It was a wonderful diversion. The kit had never been opened. It still had the old-style, crinkly cellaphane wrapper. It was wonderful reminiscing as I opened the box, thinking about the fact that it was untouched since the mid-70s.
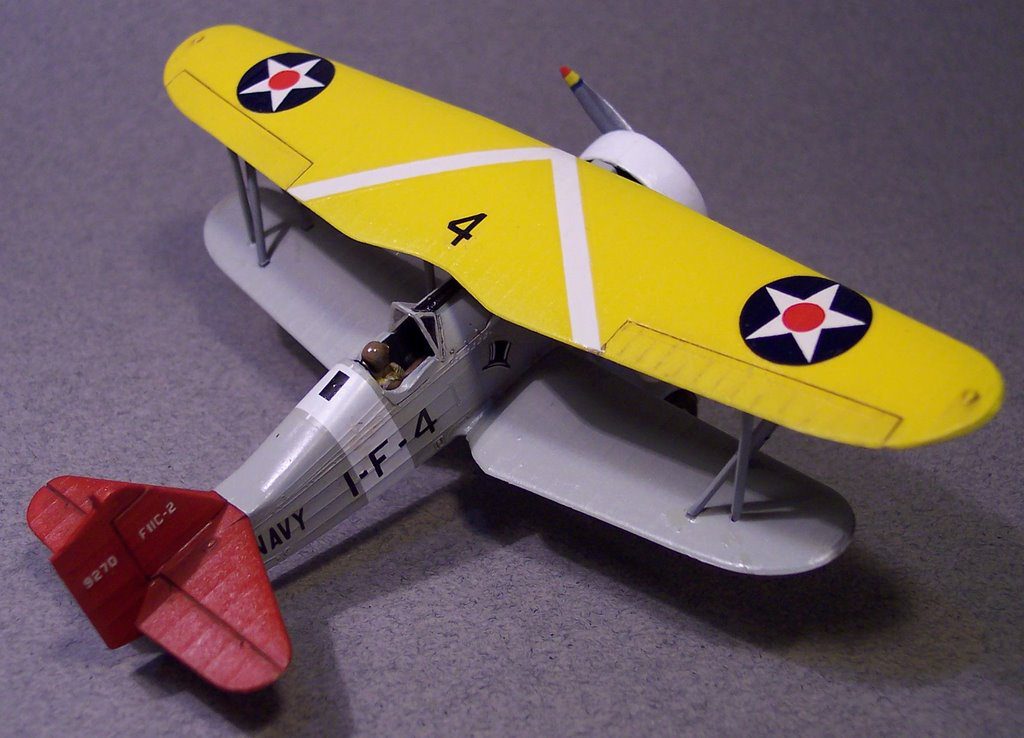
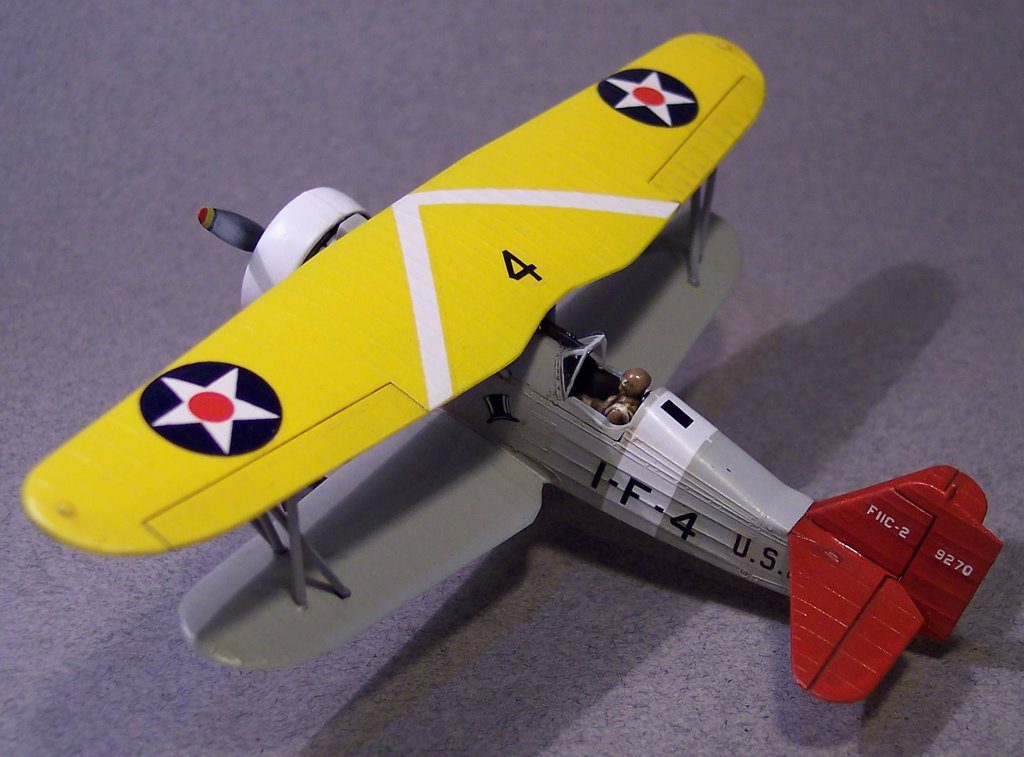
The kit is wonderfully simple- the cockpit detail was simply a pilot and an instrument decal. The design was one I appreciated as an infrequent biplane modeler- the fuselage struts were cast as part of the fuselage. Placement of the upper wing was made super easy by this neat feature.
Another neat aspect of the kit was how well the parts fit. I sometimes hear modelers complain about the fit of some of the older Monogram releases. I suppose that may have something to do with the age of the molds. This little kit was likely cast within just a few years of the molds production. The fit was about as tight and precise as you’d expect from Tamiya. Which went well with my “build it like a kid” quest. Not much sanding.
And of course, those wonderful Monogram instructions. Not just diagrams- they have instructions. Words and stuff, telling you how to build it. They even recommended when to paint and decal. I went close to the instructions, just for fun, like I did when I was a kid.
I painted the pilot fairly simply, using the little bottle Testors paints. I couldn’t recall the last time I’d used those to any degree! Once painted, I glued the pilot in place, and joined the fuselage halves. The fit was perfect. Aside from some sanding to smooth down the “smush” caused by Tamiya Thin Cement, the fuselage closed up near perfectly. I added the additional top and bottom fuselage pieces, and called that assembly done.
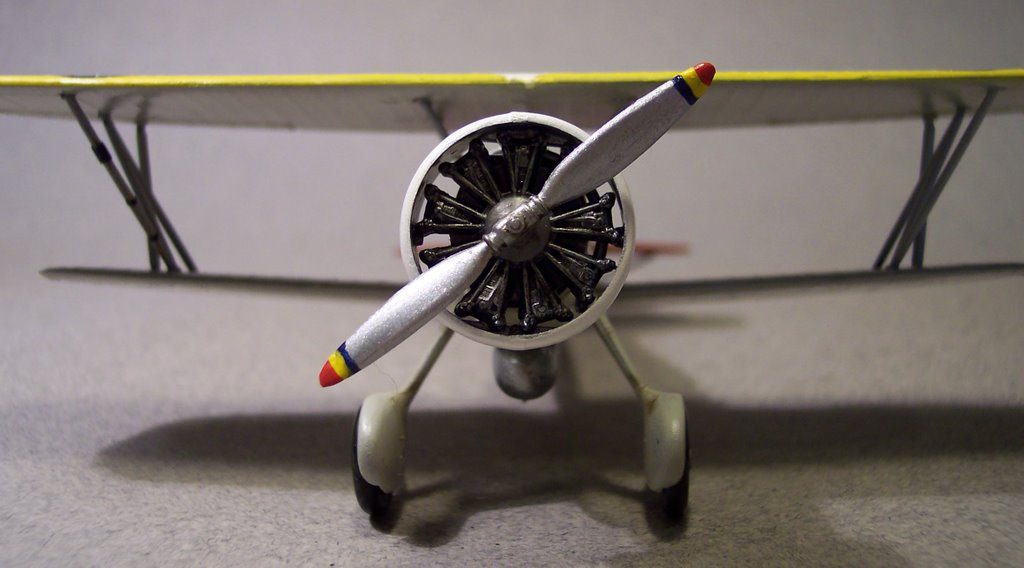
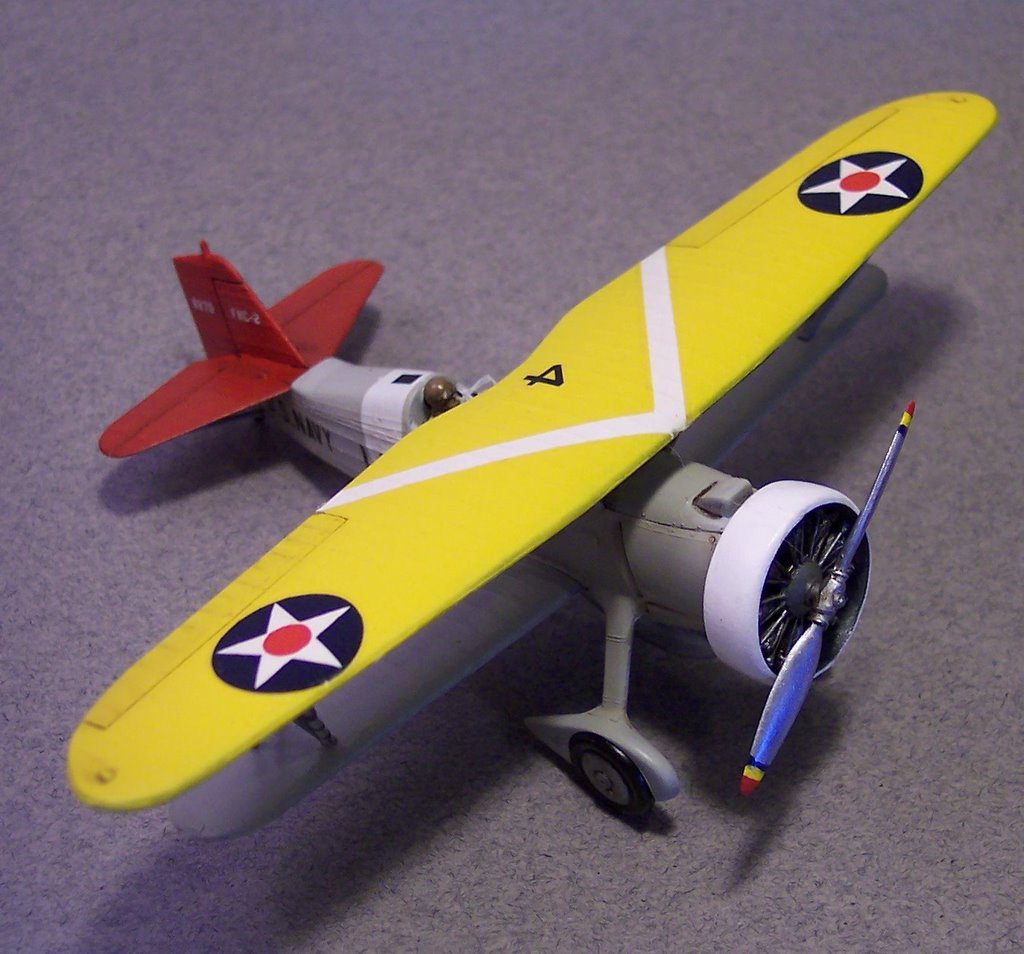
One of the gems of most Monogram kits are there nicely cast engines. Though not as precise as so many of the resin and photoetch wonders we have now, you could always expect a very nice engine from a Monogram kit. This was one was exception. A simple exhaust manifold glued into it, I painted it grimy black, then dry-brushed it with silver- again from the little Testors bottle. I painted the cowl white (again, little Testors bottle), and glued the engine into it. I set that assembly aside.
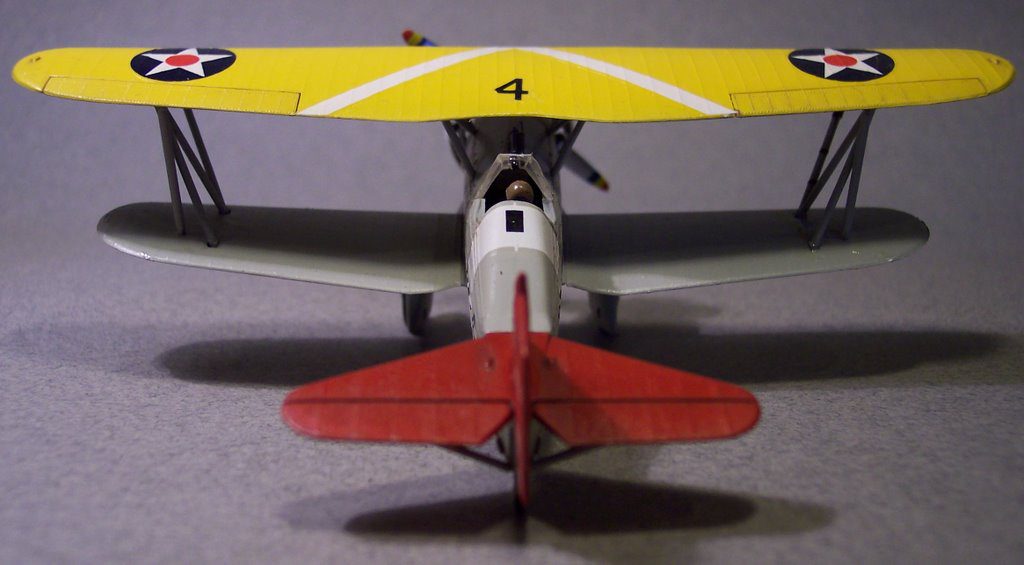
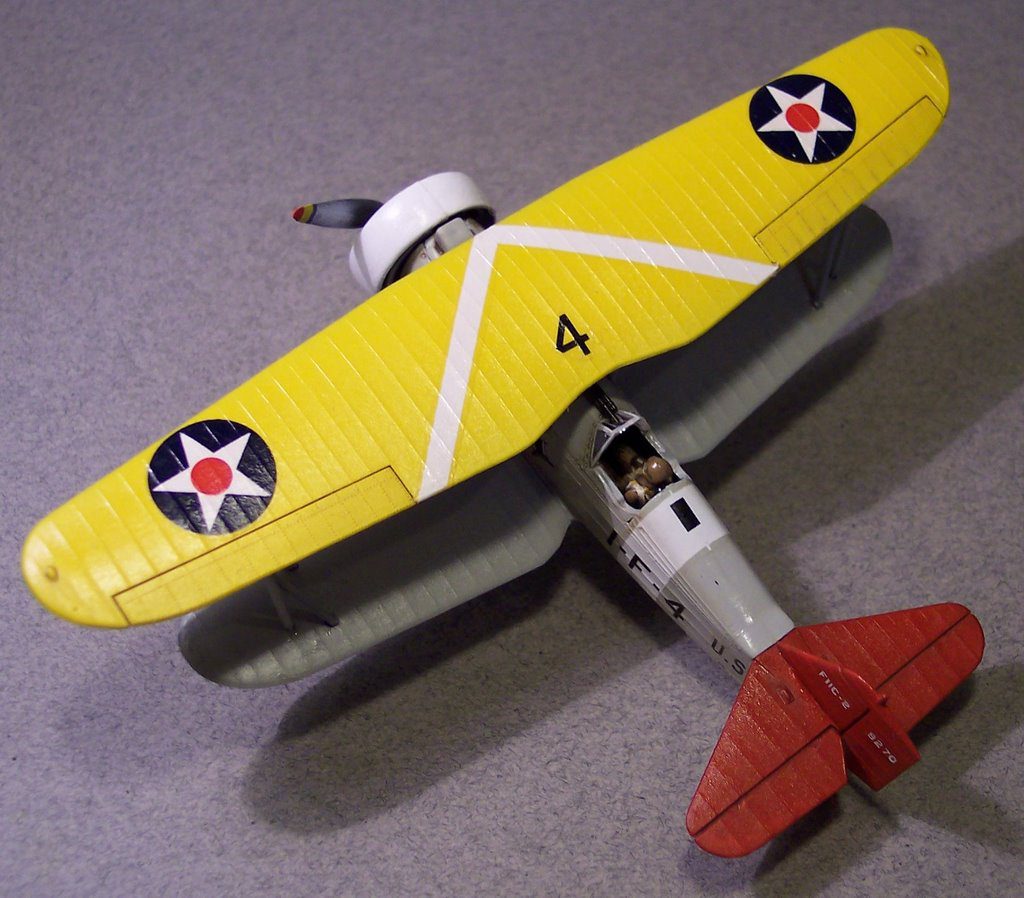
I tried to hand paint the vertical and horizontal tail assemblies with Testors flat red, which left some brush marks. I was going to leave it though- build it like a kid, remember, but then I decided a quick blast of tamiya red would even it out, which it did.
I then glued the lower wing on to the fuselage, and gave it a coat of light gull gray of the Pollyscale variety. The instructions called for some light gray on the aft fuselage, and silver on the forward part. Keeping with the “kid” theme though, I looked at the box- all gray. Good- easier that way. 🙂 I also painted the underside of the upper wing the same color.
The top of the wing received a coat of Tamiya yellow. The color was too yellow, I suppose, but when I was a kid, I would’ve looked at it and said “yellow is yellow”. I’d have used whatever yellow was at hand. So, having a bottle of Tamiya yellow, I gave the upper wing a coat.
I glued the tail assemblies on to the fuselage, but left the upper wing off to facilitate decal placement. As the gear legs were cast as part of the fuselage, I had only to add the wheels. Then all the parts received a thorough coating of Future.
I wasn’t sure how well the decals would work, seeing as they were around 35 years old. They looked fine- no appearent drying or cracking, and minimal discoloration. Just to be on the safe side, I hit them with some Testors decal spray.
I cut the lower wing stars from the decal paper,and applied them to the lower wing. The decals held together perfectly. The carrier film was a tad thick, and I’m sure the additional spray added to that. But they went down nicely, and responded well to Pollyscale Decal Softener. I went ahead and applied the rest of the decals, and all went down with no problems, and no tearing. Not bad for decals that were made when Nixon was in office.
After the decals were dry, I gave them a rub down with a paper coffee filter to smooth down some of the edge on the carrier film, and then sealed it all in with a coat of Future. Though most of the surface detail was raised, I gave it a wash of oils to finish it all off.
I considered giving it a final dull coat, but again I thought about how I would’ve done it as a kid. I’d have basically left it whatever the paint was- flat or gloss. And as this would’ve likely been a kit I built as a younger modeler, all my paints were gloss- I didn’t learn about flat paint until I started building larger, 1/48 scale aircraft. So gloss it is. I think it gives it a pleasing, almost toy-like appearence.
I love builds like this. I highly recommend every modeler do a “build it like a kid” kit every now and then. It’s a great reminder of how most of us once modeled- purely for the fun. It’s almost painful to see the angst on the various modeling forums over the most obscure details. A simple kit, but only for fun, reminds us of the simple pleasure you can get from making a little toy airplane. In total, I only spent about 3 hours on the kit- I can’t recall the last time I spent less than 3 hours on a cockpit…. let alone a kit.
So now I have my little Goshawk, and after a few loops and dives, complete with engine noises, I’ll glue it to the stand (you remember the little stands, don’t you?) and she’ll sit proudly on my shelf.
Are you in a modeling doldrum? Forgotten what fun a kit can be? Get a Monogram F11C-2, break out the little Testors bottle and get to building. It’ll cure you right away, and you’ll likely have a lot more fun going forward.
If not, try the F4B-4 or the P-6E… keep repeating until you’re smiling.



Leave a Reply