In looking back over my 2012 builds, all 26 of them, I realized I’ve built more than a few Hobbyboss kits in the past year. I don’t know that I really set out to do so. Most of their kits get some sort of knock for accuracy. Some of them are plainly obvious, some are not. But despite any knocks against them, Hobbyboss has put out some interesting and affordable kits recently, and the fit is very, very good.
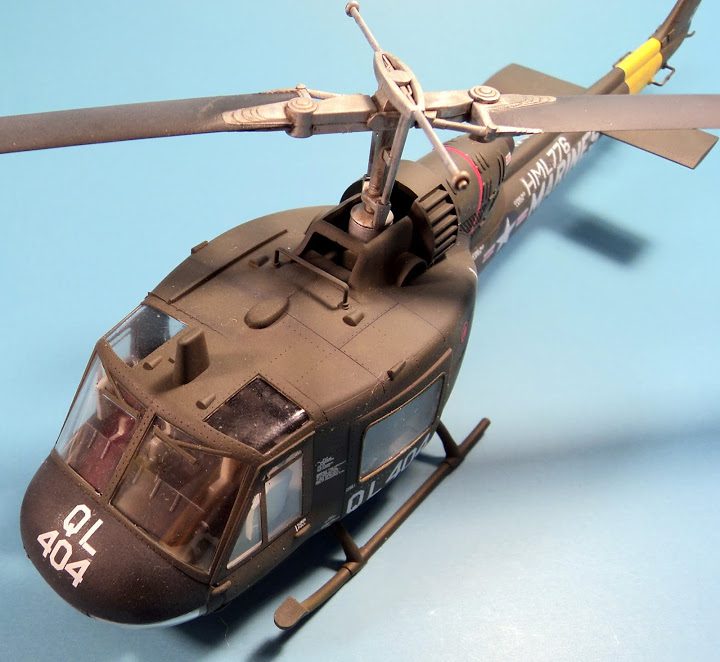
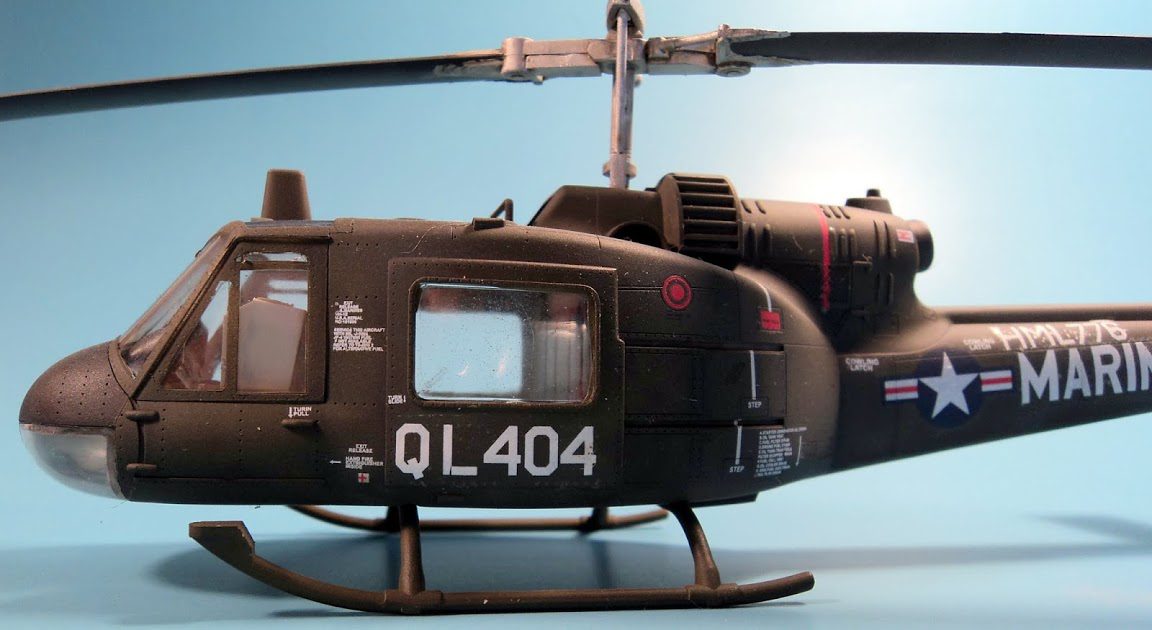
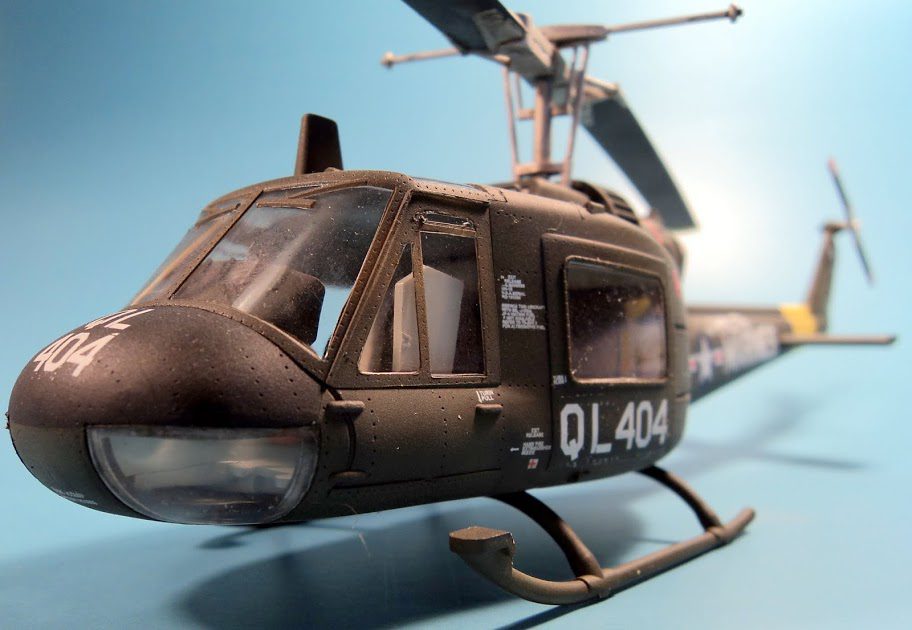
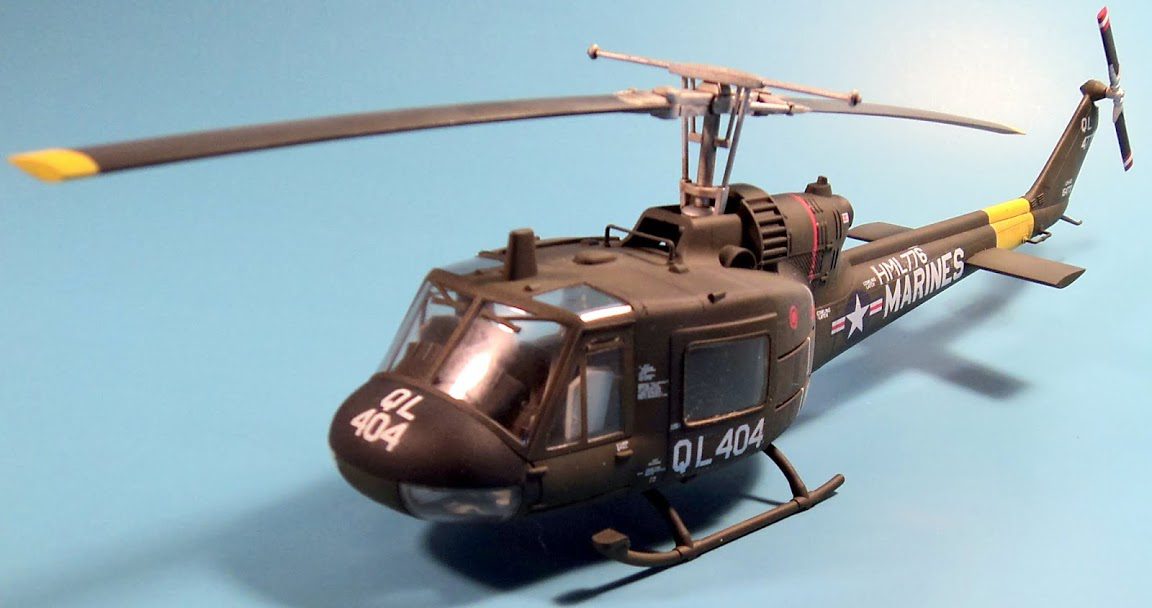
I’m not normally into building helicopters… just not a subject that interests me. But when my good friend Mike Kloppenburg from Bombshell Decals showed me his results building Hobbyboss’ 1/48 UH-1C at an IPMS club meeting last fall, I decided to give it a go myself. The kit was less than $15, so it certainly was not a drain on the budget!
The kit itself is pretty basic, as it’s part of their Easy Assembly series. The interior is basic- a simple control console, two sticks, some basic seats, no collective or rudder pedals, no real interior detail. The external detail, the Huey experts tell me, is a bit of a mixed bag. But I don’t know that the kit can really be fairly evaluated with rivet-counter glasses. It’s a low-cost, easy to assemble kit. You know, for fun. (it is a hobby, after all…. :))
Some of it does look a bit comical. The pilot/co-pilot seats, and fore and aft passenger seats all seem to be a slightly different scale. The pilot’s seats only vaguely resemble the actual things. I suppose I could have added in some more detail, rudders pedals, a collective, the various consoles, etc. But I decided to just build it 100% OOB and not worry about it.
One note if you do build it- if you don’t add some weight, it will be a tail sitter. Mike warned me about that. So I used some lead foil to line the area between the interior floor and the fuselage exterior, and also added some fishing weights just aft of the crew compartment, right against the rear firewall. Tests showed this worked just fine to keep it sitting level.
The fit of the kit was excellent. Using Tamiya Extra Thin cement, I was able to simply sand off the weld “bead” and get a good, clean join. I did use a touch of Mr. Surfacer here and there to make sure all seams were as hidden.
On that subject…. but digressing a bit… one reader asked me what my definition of excellent fit was, as he built a kit I did a build report on, and said that the fit wasn’t “excellent”, because he could see a seam when he glued it together. He wasn’t upset, just really asking me to clarify what I meant. So for what it’s worth…
What I define as “excellent fit” means that, in general, the fit of the major joins (fuselage, wings, tailplanes) is good enough that with the use of a glue such as Tamiya Extra Thin cement (which dissolves the plastic slightly) and good clamping, there is little to no need for fillers such as Tamiya Basic Putty, Squadron Putty, etc., and only minimal use of Mr. Surfacer.
No matter how tight the fit, the glue and clamping will form a slight weld “bead” that will have to be scrape or sanded off, and this process may leave some uneven areas which further sanding and Mr. Surfacer may be applied to deal with. Even if only a light sanding is needed to remove the weld bead, most major part joins will still need some attention, especially along the top and bottom of a fuselage, and on wing leading and trailing edges.
Even the best fitting kits I’ve built- kits like Tamiya’s 1/48 P-51D and Spitfire Mk. I, or their 1/32 Spitfire Mk. IX, needed some attention in places. It’s just the nature of the beast. Sure, some kits have areas that just fit so cleanly no additional treatment is needed… but in my experience this is mostly on areas where the parts join along a panel line. (Tamiya’s 1/48 Mustang upper cowl comes to mind… it fit perfectly.)
I don’t expect any kit to be “perfect”, meaning you just glue the whole thing together and never see some sort of join. Like I said, even the best fitting kit, if not given some sort of light sanding, priming, etc. will show where the joins are.
Perhaps I am a bit picky, but when I’m finishing a kit and I want to get rid of the seams and join lines, I want zero evidence of it to show, even under careful examination at various light angles. Do I do that with every build? Rarely… I figure it’s not that big of a deal.
The point is… plastic kits have their limitations, even the best engineered ones.
What were we talking about?
Oh yeah, the Hobbyboss UH-1C! 🙂
There really isn’t any drama in the build. The fit of most parts is very tight. The fuselage fits so tight that I’d not recommend test fitting it until you are ready to glue it together. I’d learned this from previous Hobbyboss Easy Assembly kits- the fuselage halves often fit together so well that it can be a struggle to get them apart.
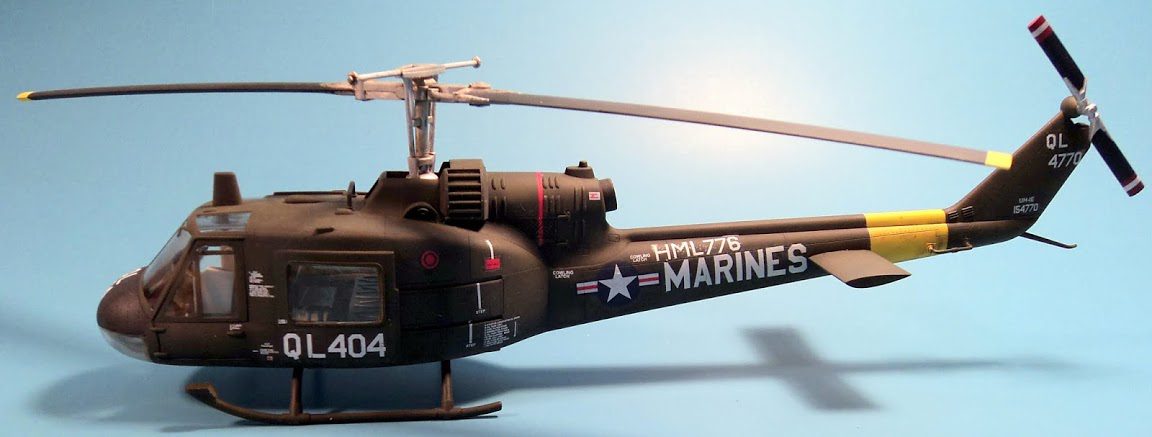
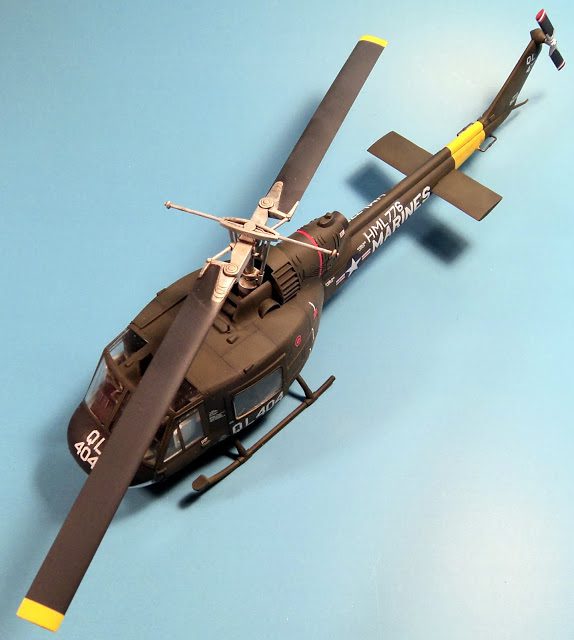
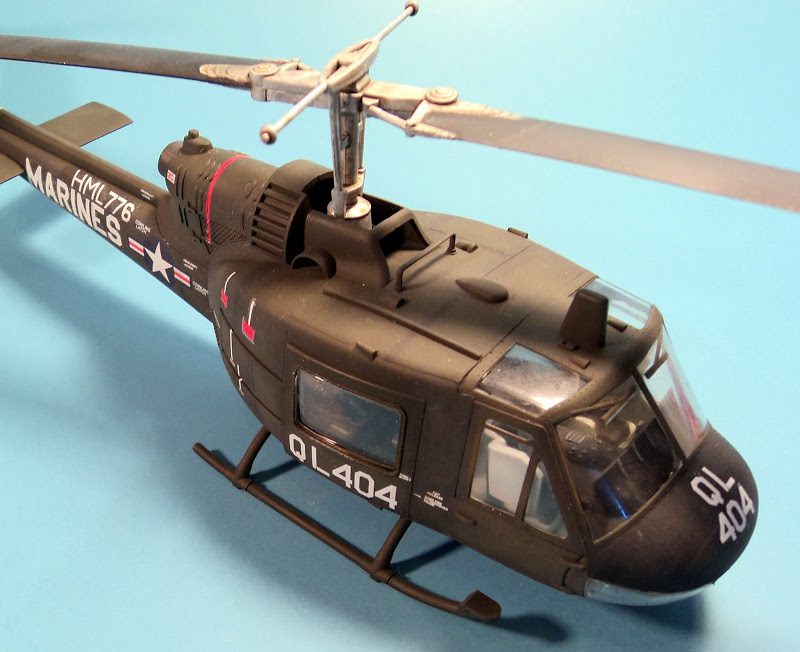
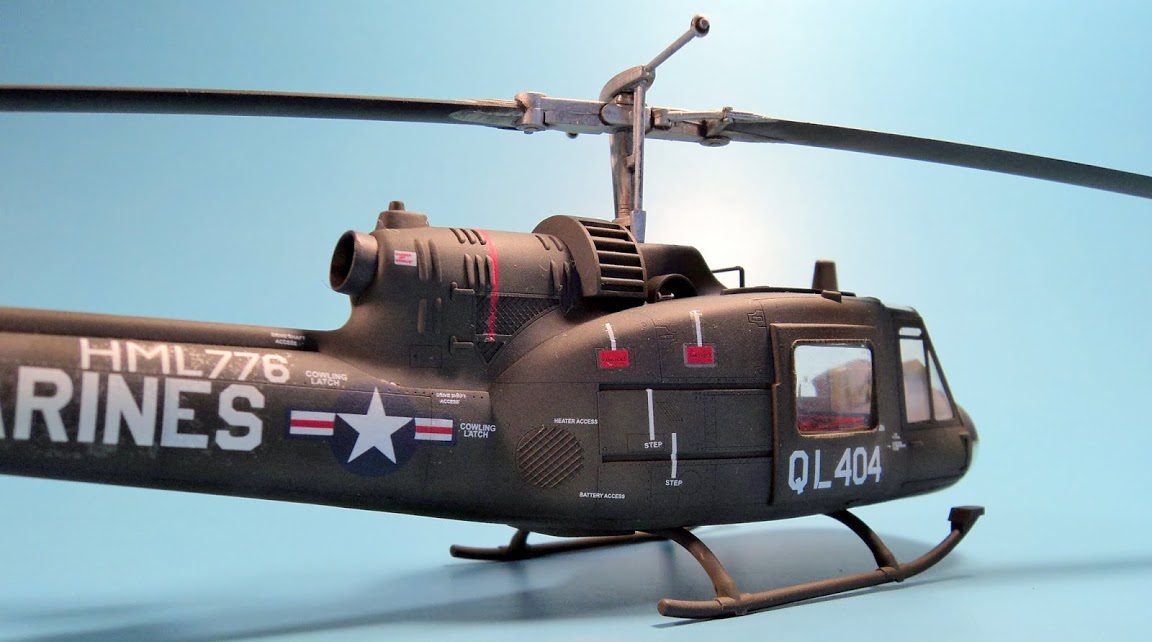
Painting was simple- Tamiya Olive Green and NATO Black for the most part. I did some minor shading/fading and gave it a light oil wash.
The decals went on very nicely. Oddly, though the kit is a UH-1C, the markings provided are for an Army Huey that may not have been aC model (though I’m not sure on that), and the markings for the Marine option actually have a stencil that marks it as an E model. I even found a photo of the Marine bird (which is the option I chose), and Hobbyboss missed out on some external details. Still… I just went on OOB and slapped the markings on.
Overall, this is a fun build if you want something inexpensive that is a change of pace to build. If you are looking for an accurate Huey, you’ll probably want to look elsewhere, or plan on quite a bit of scratch-building and correction. But for my purposes, I was quite happy with the kit, and thought it turned out looking pretty much like a Huey.






Leave a Reply