When I built Trumpeter’s Supermarine Spiteful last summer, I concluded the build report by saying “Now I just hope Trumpeter will follow up with a Seafang!”
Well, I guess they read my build report. 🙂
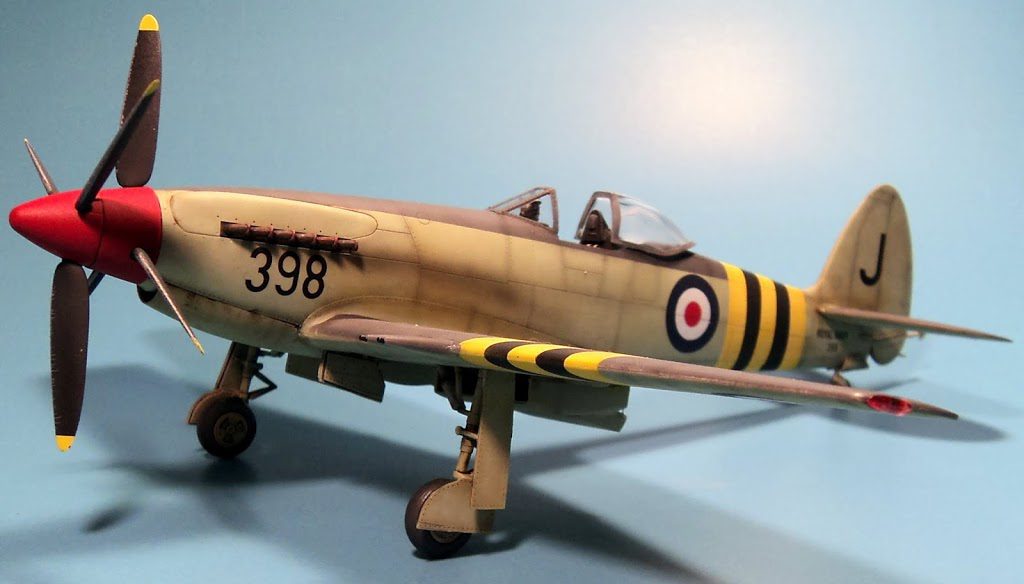
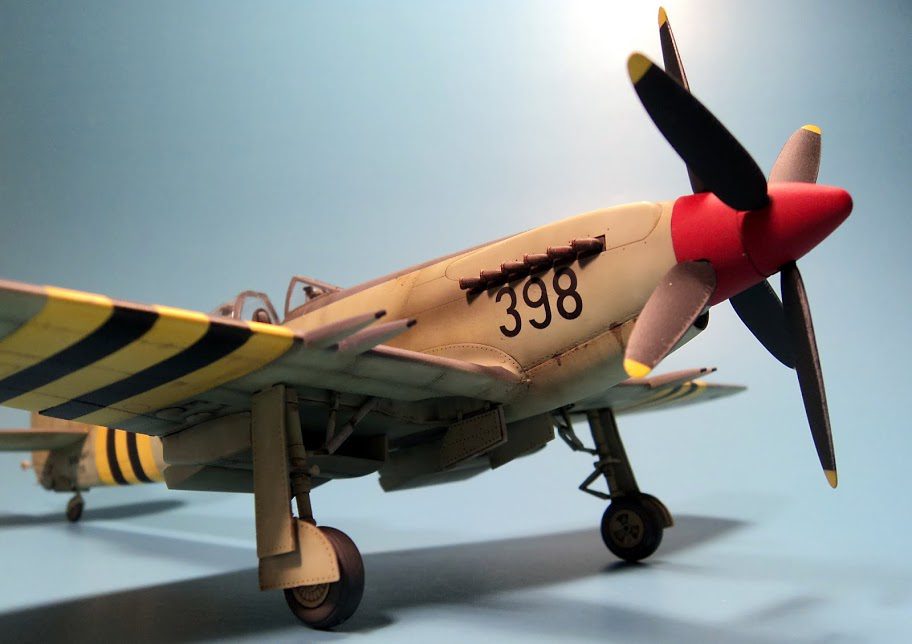
At the time, I’d looked at the molds and tried to figure how they would handle the Seafang. One of the major external differences was that the Seafang had it’s carb intake moved forward to just aft of the prop, giving the lower cowl a totally different profile. And of course, there was the arrestor hook too.
Once I had the plastic in my hands, I was gratified to see that Trumpeter had not just thrown the Spitfeful kit in the box with a few extra parts and instructions to cut away plastic. They actually provided all new sprues- a new fuselage on one set of sprues, and new wings on another. The only sprue in common between the two kits is the “fiddly” bits- landing gear, cockpit, etc.
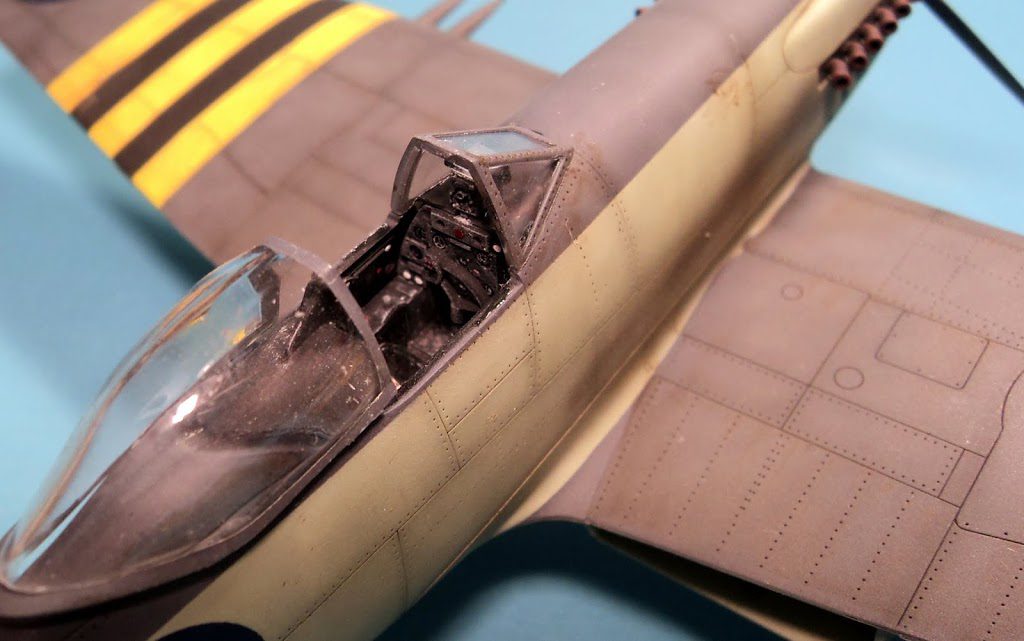
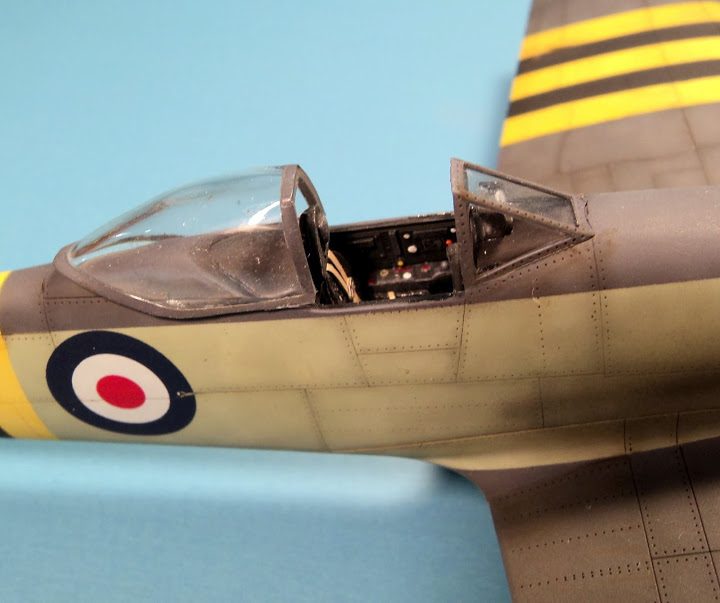
The build itself was no different from the Spiteful. The fit was excellent, the parts were cast very nicely, and I encountered no problems during assembly.
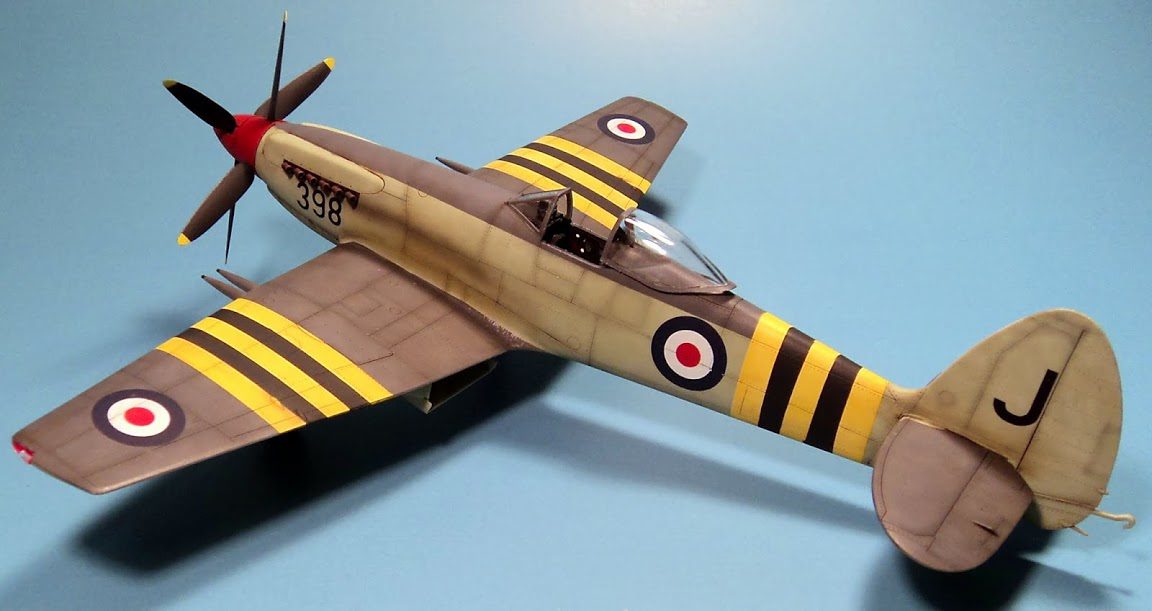
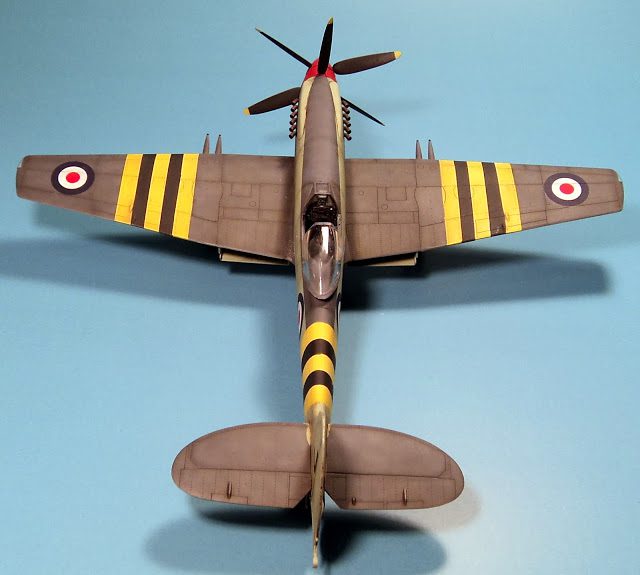
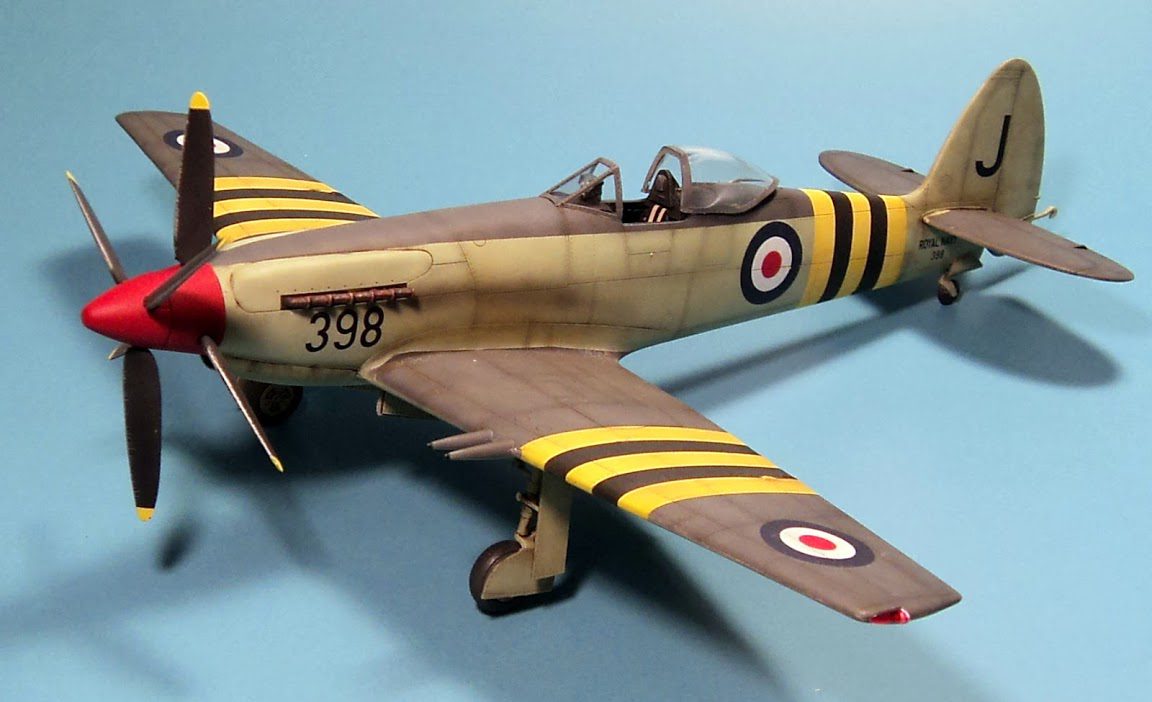
There were a few differences between the kits. The most obvious are two I’ve already mentioned- the carb intake and the “stinger” arrestor hook being the most prominent. Also not so visible in my build is the inclusion of parts to allow for a folded wing option. This does require cutting the wings apart at the appropriate line (which is molded into the wing), but frankly I’m glad that Trumpeter opted to do the wings as a single part. While it would be nice to have two sets of wing parts for either option like Airfix’s Seafire XVII, if a manufacturer is going to pick one, I prefer the unfolded option simply because it can be so difficult to get split wing parts to line up correctly.
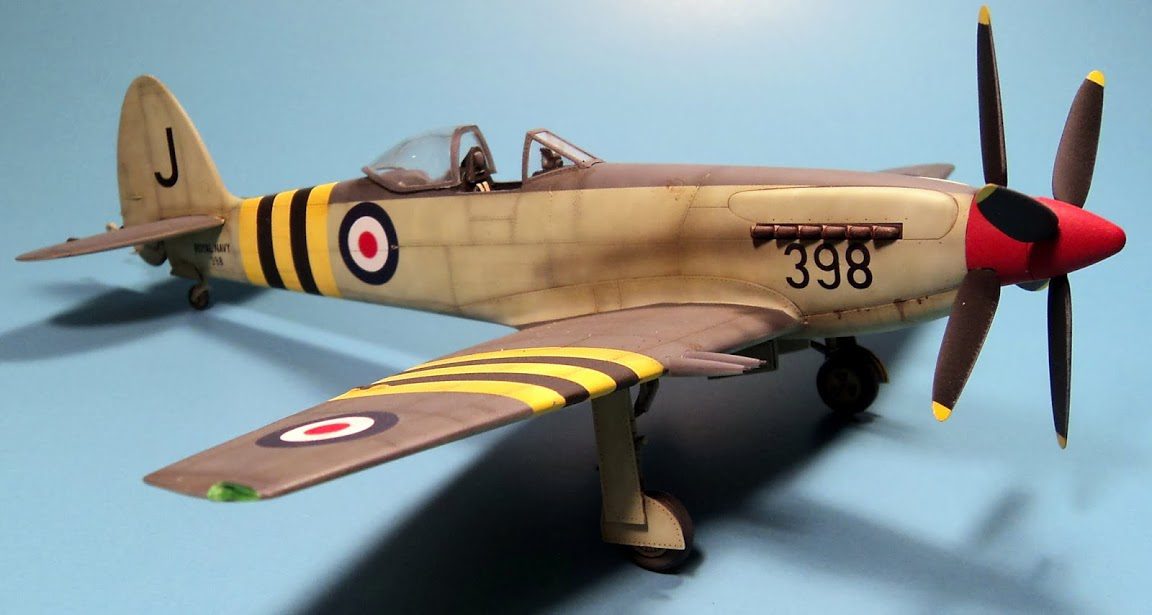
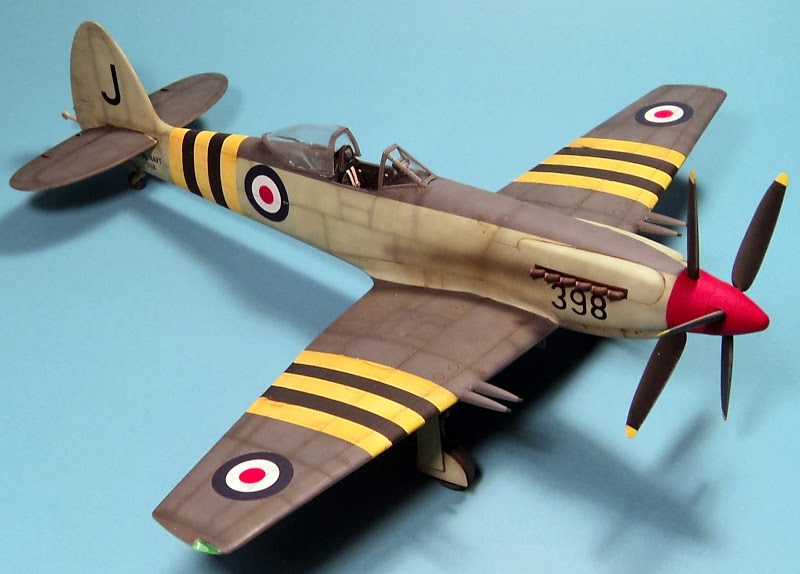
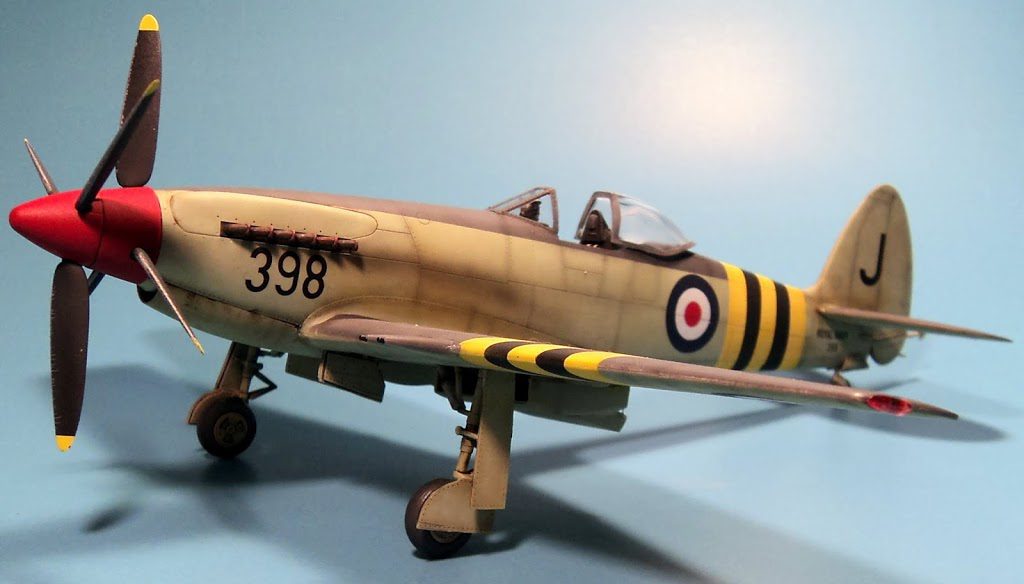
The kit comes with three marking sets. One is for a Seafang in the markings it had during evaluation and testing. The other two are “what if” markings. One is from the 1956 Suez Crisis, and the other is a neat Spanish Seafire.
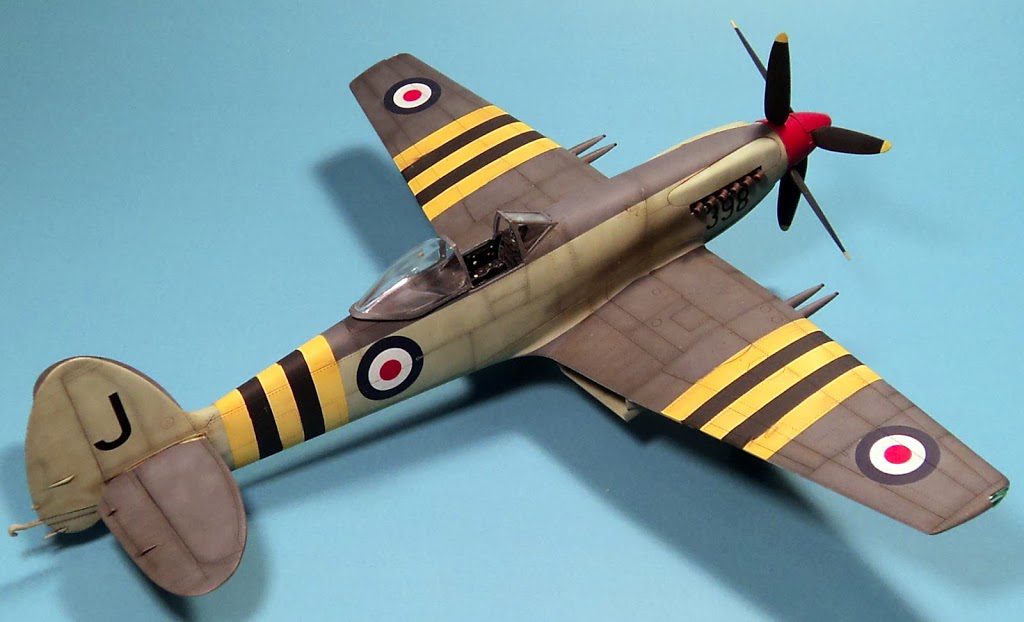
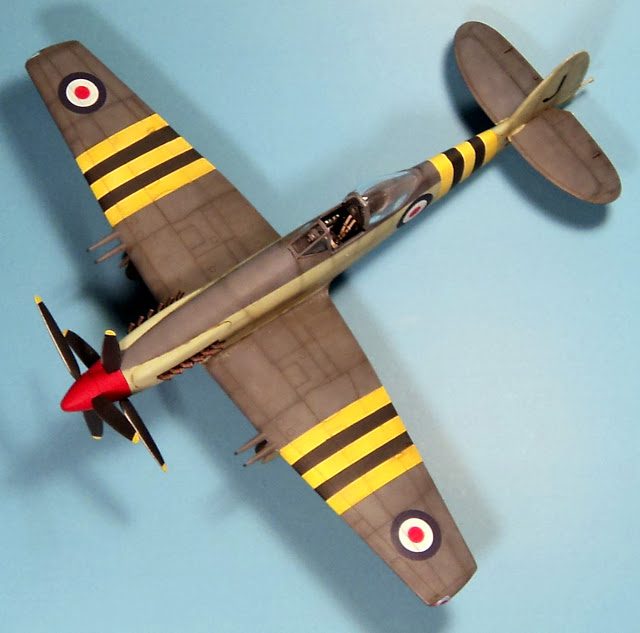
I chose the Suez bird, as I liked the dramatic look of the black and yellow stripes. The kit does provide decals for these, but I rarely if ever used decals for stripes, as it’s easy enough to mask them off and paint them, and generally looks better than decals. The kit decals were great- they went on nicely, adhered well, and snugged down with my normal method of applying Solvaset, dragging a #11 blade through panel lines when dry, and adding more Solvaset.
I used Tamiya paints for the build, and oils for the panel lines, washes, stains, etc.
I have to say I was really happy with this build. It went together perfectly, and once painted, I think it looks excellent. The esoteric nature of this airplane leaves it wide open for “what-if” builds, so just about any marking set will look interesting on it. I can highly recommend this kit- it’s a most enjoyable build, and it is quite a bargain. ScaleHobbyist.com lists it for $21.79!




Leave a Reply