As someone who loves Spitfires, any new kit of that graceful airframe is always welcome, especially in 1/48 scale. And of course, when it is released by Airfix, that’s even more notable. A British model company releasing one of the most enduring icons of Britain itself- who wouldn’t love that?
When Airfix announced they were releasing a 1/48 scale Spitfire Mk. Vb, I was very excited. Since Hornby took over the brand, their successive Spitfire releases have been wonderful. I’d built the Mk. XII and Mk. XIX, and the Seafire XVII, and found all to be wonderful modeling experiences. So of course my expectations were very high for this new Spitfire.
And the barrier was pretty high. My all time favorite kit was the Tamiya 1/48 Spitfire Mk. Vb. I’d already built several, and I thought it’s combination of great engineering, fit, detail and look was hard to beat. It did have a few minor shape issues, the boffins would point out. Yet I always thought it represented the “perfect” kit for my tastes.
So it was with great anticipation I began my build of Airfix’s new Mk. Vb.
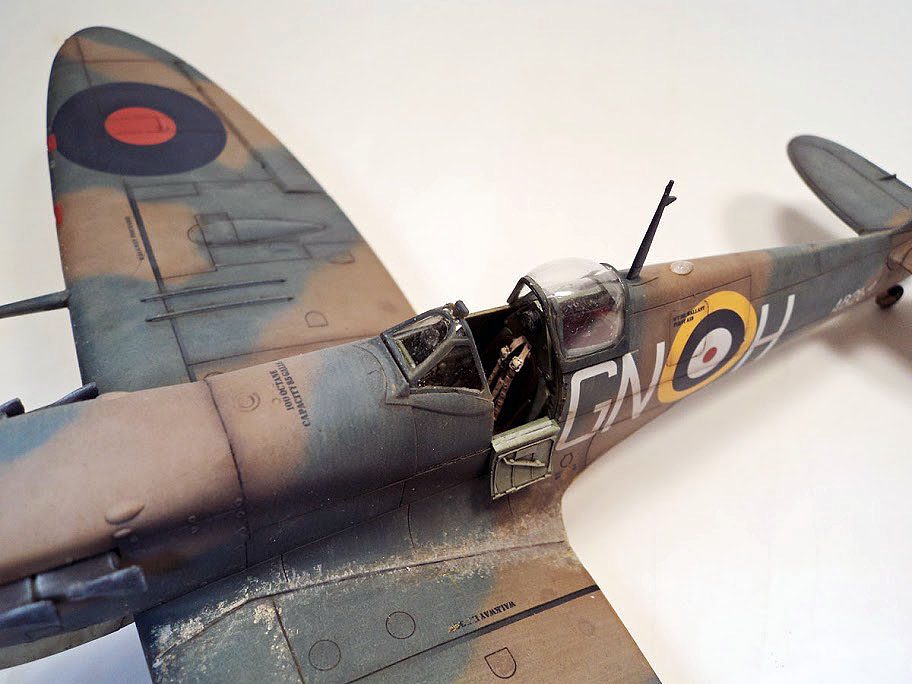
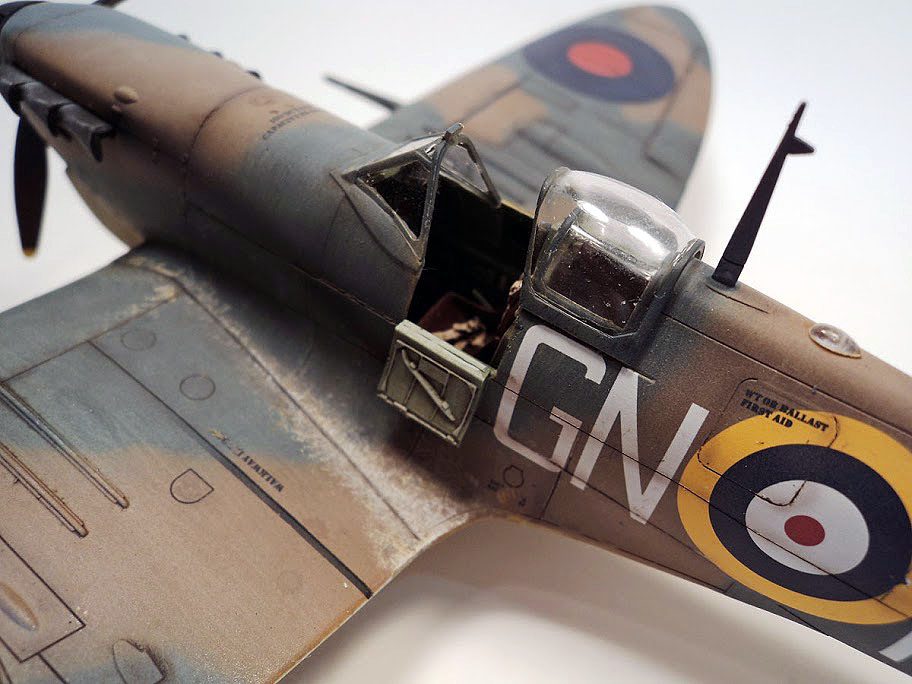
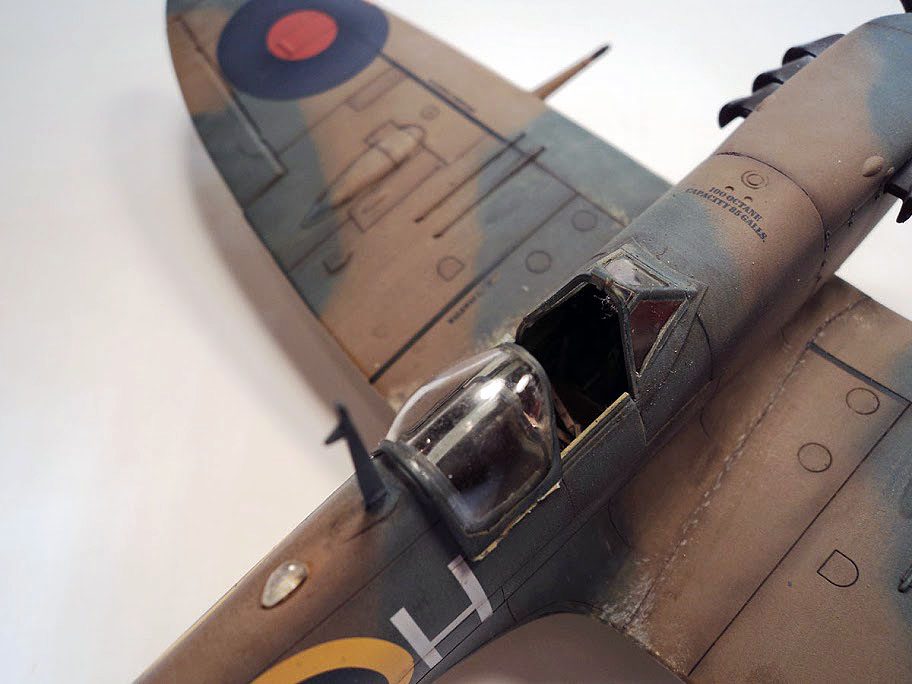
The first thing I noticed was how nicely done the parts were. The cockpit detail was as good as anything on the market, and in my opinion represented the most detailed out of the box cockpit of any Spitfire kit in the scale. The panel lines were more restrained than many of Airfix’s previous kits, yet not so petite that applying the panel line washes I prefer to use would not hold in their place. The options in the kit were very good, although I did find the lack of an Aboukir filter a bit odd for a tropical version. Still, apart from that, any Mk. Vb variant could be built.
The cockpit assembled into a “tub” like unit. I did have to widen the slots in the sidewalls for the various bulkheads to fit into. And fitting the parts together, especially the flap lever, was a bit tricky. I found the best approach seemed to be to allow the glue to set fairly well on one side, but leave just a slight bit of play so then when mating with the opposite sidewall, tweezers could be used to adjust the positioning.
Once that was completed, the cockpit fit neatly between the fuselage halves, which fitted together with no fuss at all.
An area that did provide a bit of difficulty was the section just forward of the cockpit. The area where the fuel tank sits was cast as one piece, and included the lower part of the canopy framing. This was done to allow both armored and unarmored versions of the windscreen to be built. The part for the armored windscreen, part D33, simply did not fit well. It was just a bit too tall, but in such a way that sanding did not entire correct. Sand to much at the top, and it changed the profile. Sand too much at the bottom, and it did not “ride” correctly. I tried a suggestion I read about in Airfix Model World, and allowed the parts underneath to “float” a bit, but even that did not help. In the end, I left it alone, and aside from a bit of sanding to reduce the edge, left it as is.
The wings went together nicely. I liked how Airfix did the wheel wells. They were well represented, but without the needless (in my opinion) number of parts that Eduard used in the Mk. IX kit to accomplish the same thing. Yet I did have another complaint with this area also.
The Spitfire’s landing gear has always been a bit of a puzzle to model accurately, at least where it joins the airframe. The pintle on which it all hinges has been modeled in various ways. The most typical is to cast in the detail to the underside of the wing, and then the landing gear slots in to that.
Airfix tried an approach which, while more realistic, does not make for a sturdy set of legs for the model to stand on, and it can provide a bit of frustration. (Especially for younger modelers I would imagine.)
The pintle, and the very upper part of the gear leg, are one part. This part must be glued into the gear well assembly, and then, if you follow the instructions, the landing gear are only added later. But instead of a pin and slot type of arrangement, an odd offset “step” is used, which makes alignment very difficult, and can result in landing gear that are not very stable.
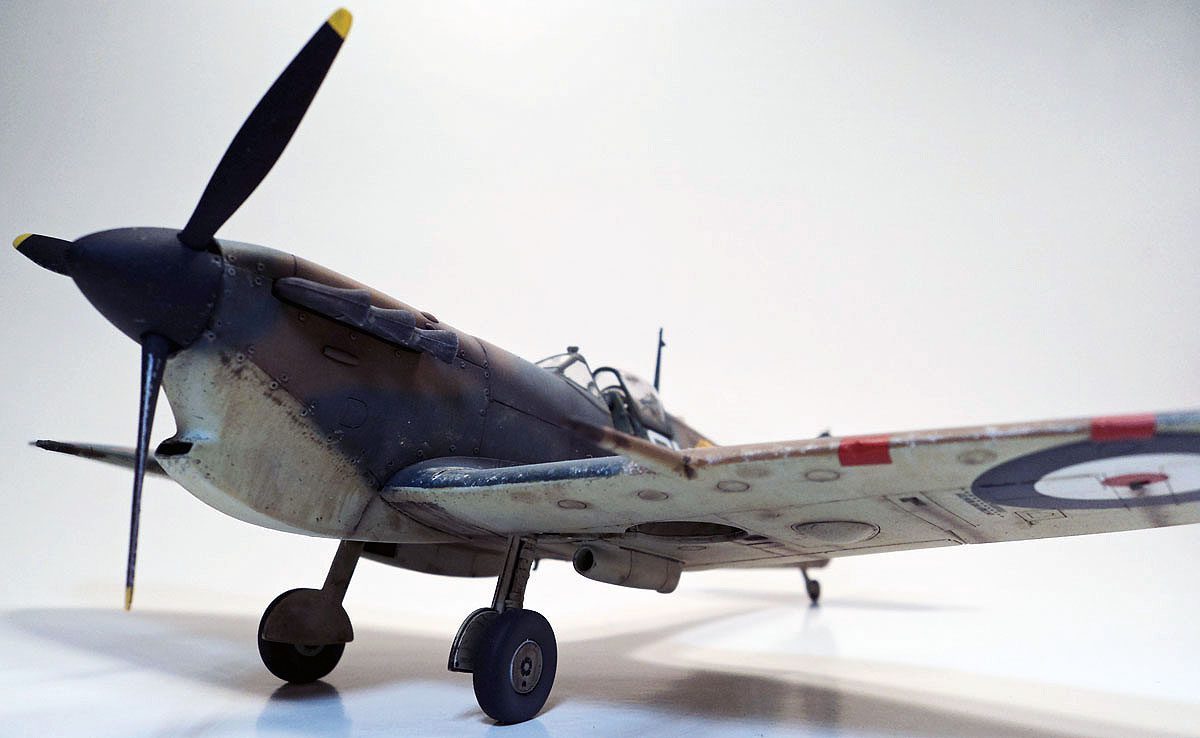
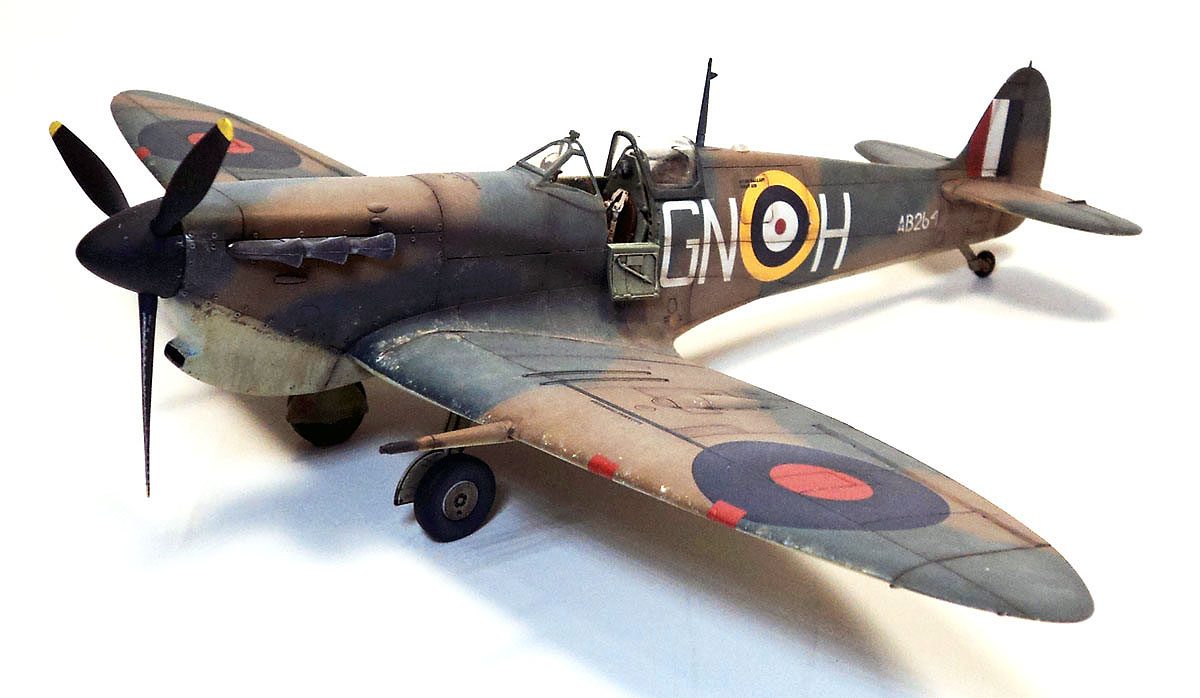
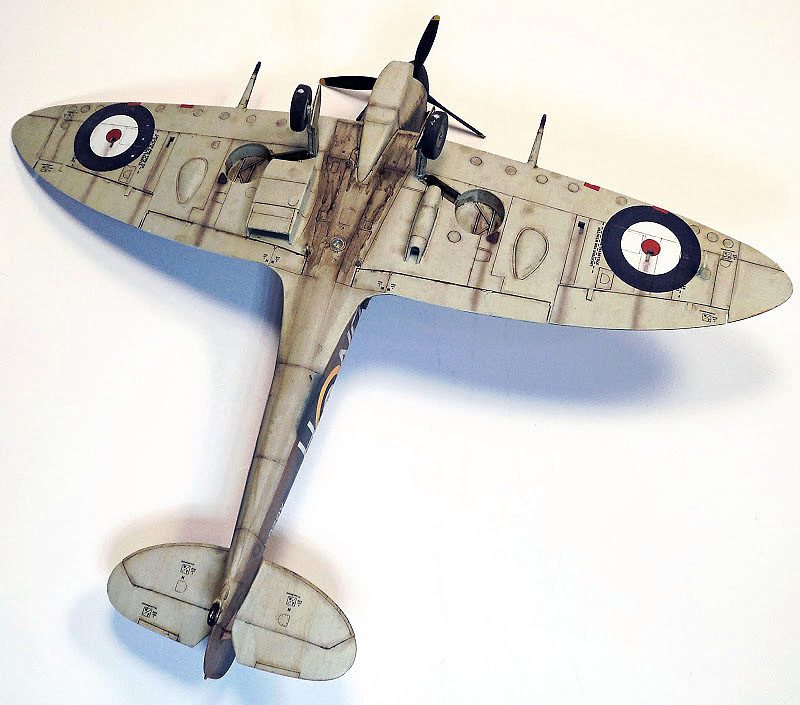
I decided to take a different approach than the instructions suggested, however. I started by first assembling the landing struts, upper and lower parts, both sides, and making sure they were properly aligned. Once that dried thoroughly, I then assembled the wheel wells as suggested in the instructions, the main difference being that now the full landing gear strut was in place. Once that was dry, I added on the landing gear doors, making sure that the top edge of the doors just slightly touched the underside of the wing, and then I glued it in place. While not entirely realistic, it made for an easier assembly sequence, and a much more stable landing gear set. (I know this because I’ve actually built two of the kits… the method described here was much stronger and easier to assemble.)
It does require a bit more care in handling the model, but in the end, I think it’s worth it.
The rest of the assembly was a breeze. Wing fit was excellent, and apart from some filler where the aft part of the lower wing joins the underside of the fuselage, it all went together very nicely. (And as I always point out, having built nearly *every* Spitfire kit in any scale available today, no one has gotten this area right in terms of exact fit. Even Tamiya’s 1/32 scale Spitfire Mk. IX needed some work there.)
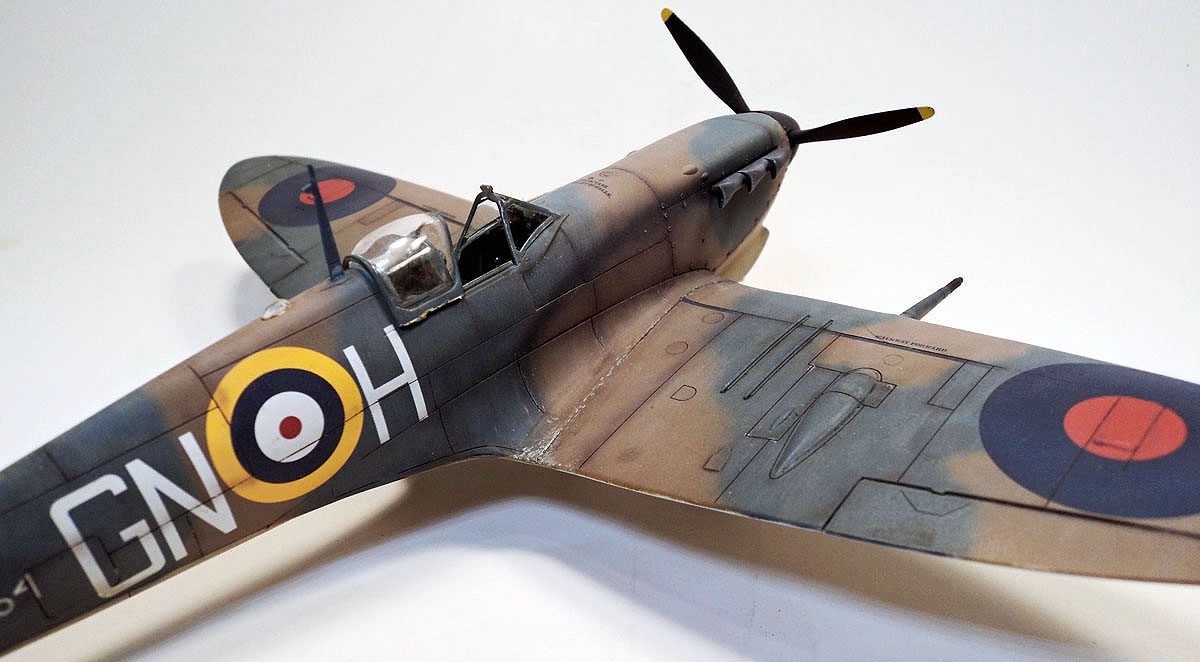
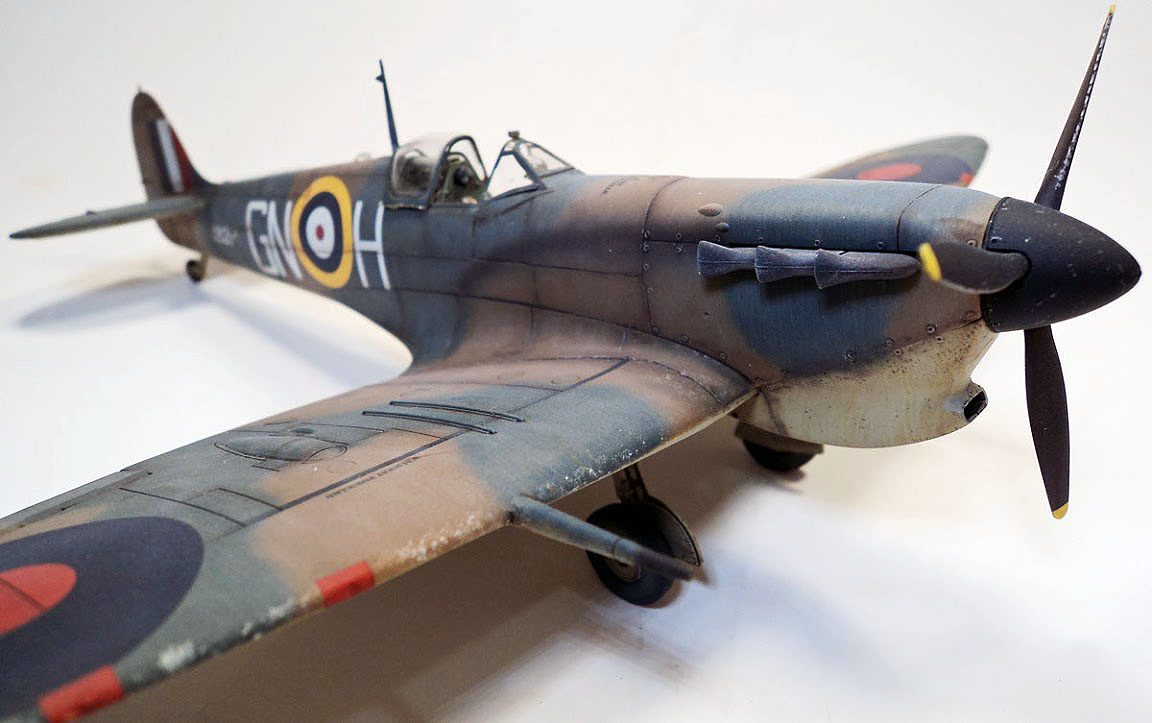
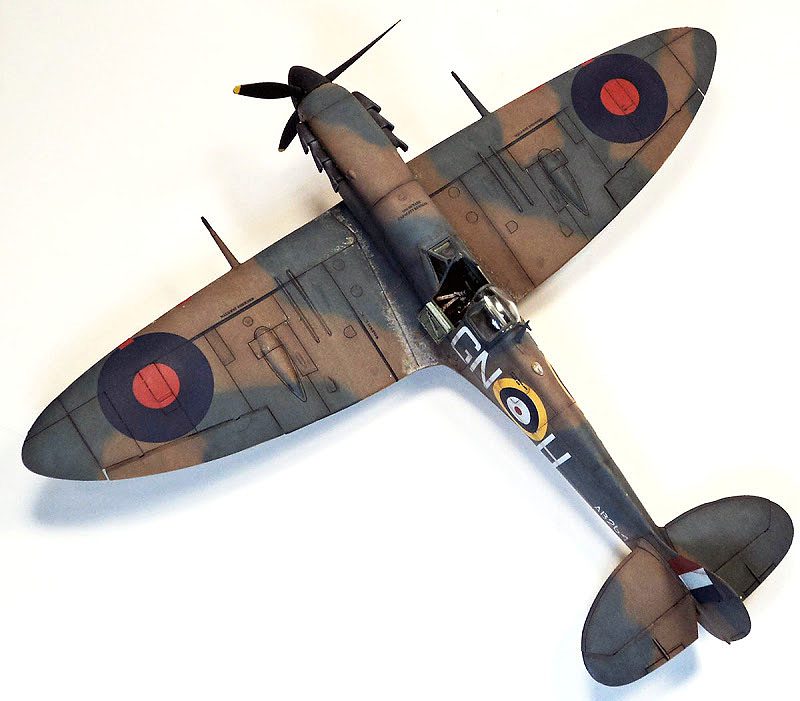
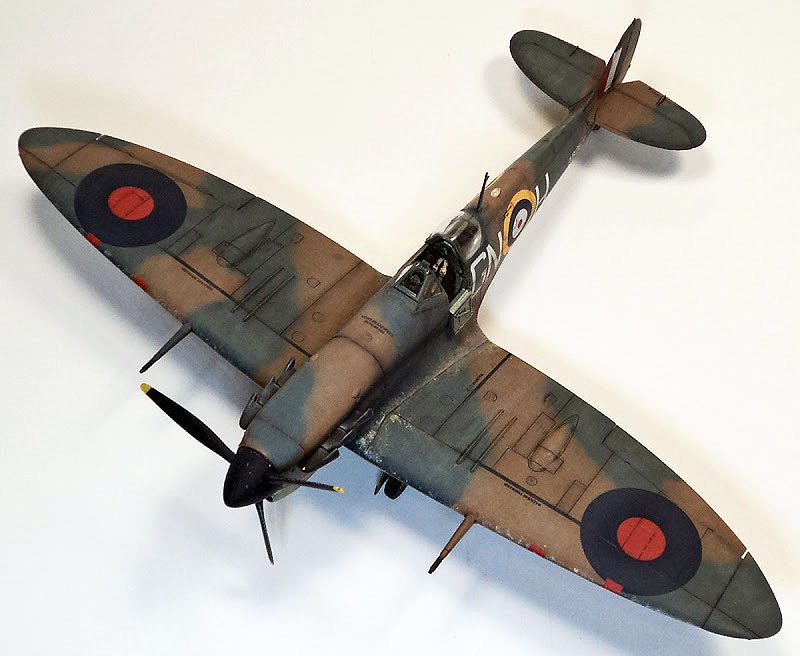
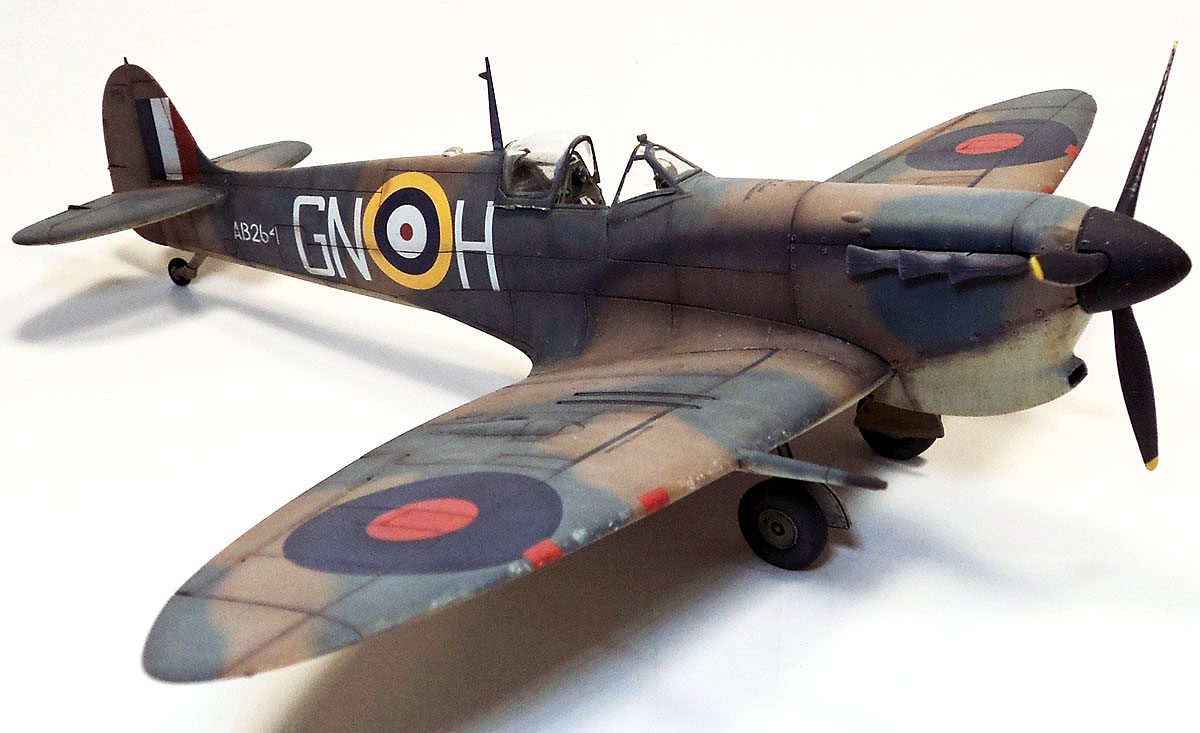
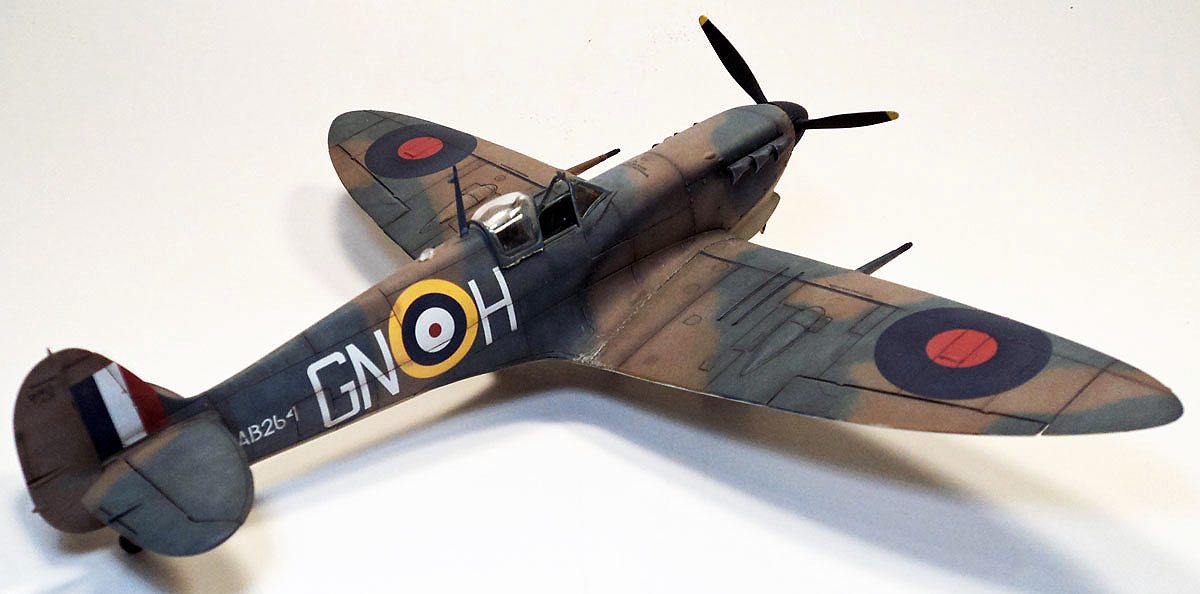
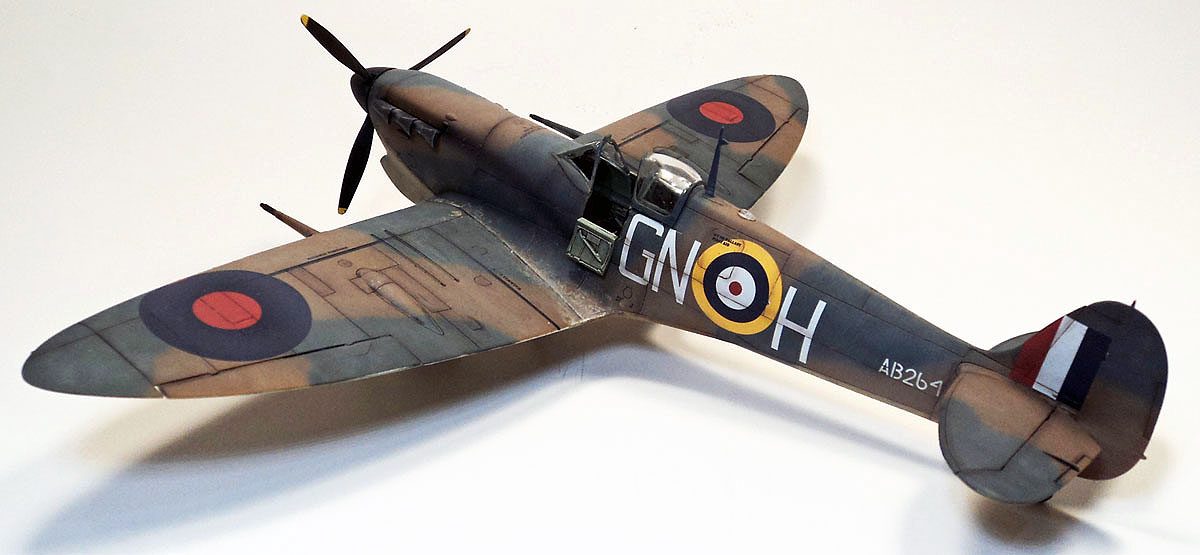
The kit provides two marking sets. One is a restored, modern Mk. Vb, and the other is a wartime Mk. Vb that served on Malta. I opted for the Malta bird, as I love the look of the Vokes tropical filter, and the unusual Malta coloring options. The decals were of very good quality, and went down very well, settling in nicely after an application of Solvaset.
I used Tamiya Sky on the undersides. On the uppers, I used Vallajo Model Air Dark Earth, and for the blue/gray color, I mixed several Tamiya blues and grays until I ended up with a color that matched TLAR standard. (That Looks About Right. 🙂 )
I found a photo of the actual aircraft, and noticed that the blue/gray was slightly oversprayed onto the underside color. I tried to replicate this, which I thought looked kind of cool. (The blue/gray was sprayed over middlestone for use in Malta.)
Weathering consisted of various streaks with artists oils, a panel line wash with the same, and then fading and shading with the airbrush. I added on the last bits and pieces, and called it finished.
I really did enjoy building this kit, and I think it is absolutely the best shaped and detailed Spitfire Mk. V on the market. The Tamiya kit is a bit better in terms of ease of assembly, but given all of the positive points of the Airfix kit, I’d recommend it over any other kit of this Mk. in the scale.
Keep the Spitfires coming Airfix!



Leave a Reply