It’s often difficult to write reviews on “short run” kits. If someone is familiar with building short run kits, they have some perspective on it. But for someone who has never built a short run kit, it can often be a bit confusing. I know when I returned to the hobby in 2006, I’d read about short run kits, and I often came away with a mental image of this horribly blobby plastic, and you had to be an uber-modeler to make it all work.
Then I built one, and found out that was just not the case.
So I want to make sure I properly frame this build report up front. For veteran short run builders, this kit is great. But if you’ve never built a short run kit, this might be a good place to start. It will stretch your skills, but with patience, you’ll end up with a really unusual aircraft to display.
The cockpit is somewhat basic- floor, seat, instrument panel, rudder pedals and stick are all represented in basic fashion. The kit does come with photoetched seatbelts. Assembly of the parts is simple, and though there aren’t much more than some indents in the plastic to indicate where parts go, it all falls in place logically.
In examining the assembly instructions, and looking at the parts, I realized that getting the cockpit in place (which also included the nose wheel well) would not be a simple matter. I realized that if I fitted the cockpit sidewalls in place, and then dry fitted the cockpit floor and rear bulkhead, I could make sure that when it was time to put it all in place, the fit would go much easier. So using blu-tack, and a few drops of cement, I tacked things in place, fiddling with the placement of the sidewalls, to make sure that they could be used as a template for all the other parts to fit properly. One I had it all in place, and assured the fuselage would close, I pulled things back apart, leaving the sidewalls in place, and the cockpit floor and bulkhead now joined together to insure everything was at the proper angle.
With that step completed, I started painting the interior. The instructions call for everything to be aluminum…. boring as can be, but I went with it. I picked out a few details here and there, and gave it a wash of oil paints.
Upon test fitting the cockpit floor with the control column in place, it became apparent that some adjustments would be needed in order to avoid interference with the instrument panel. I shortened the lower control rod a bit, which essentially moved the stick back on the cockpit floor, and this kept it clear of the IP.
Test fitting also showed that the assembly aft of the cockpit would interfere with the the canopy fit. I think the problem may have been that I did not fit the photoetch part correctly that it all rests on, leaving everything a bit high. In any case, I had to sand down the small assembly on top of the tank aft of the cockpit rear bulkhead quite a bit to get everything to fit.
The kit includes simple representation of the engine, which can be (barely) seen through the cowl air intake. Because this aircraft was a tricycle landing gear configuration, adding nose weight was essential. As I began to add nose weights, I realized that I could not fit enough in to prevent “tail sit”, and retain the engine too. The decision was simple- in the trash bin went the engine. In it’s place went quite a bit of lead weight. I didn’t weigh it, but it took a surprising amount to get it nose down. I painted all of the weights black, so when you do look in, you really can’t see what is there.
With all of that together, the fuselage was closed up. The fit was good, with all mating surfaces touching nicely. I did lightly sand the fuselage halves side down on a sheet of sanding paper to make sure everything was smooth. And because of the careful planning of the cockpit/wheel well place, the fuselage close around them nicely. (Although there were some gaps where the interior of the nose wheel well didn’t fully meet the fuselage opening.) The final step at this stage of fuselage assembly was adding the cowl piece.
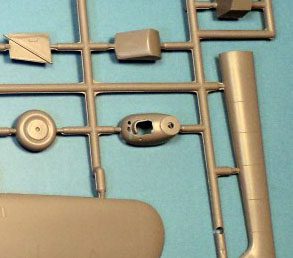
This part had a casting problem. I only have a small image of the sprues, but you’ll notice that part of the “lip” on the part is not fully formed. I’ve seen this in one other build report on the net, and I’ve seen another model of this kit at a model show that had the same flaw.
There are three ways to address this:
- The “wrong” way- Ignore it, as I saw at the model show
- The “right way”= Fix it, as Matt Swann so nicely illustrates.
- My way- sand the sucker flat!
My way isn’t the most accurate way, but it’s the quickest way to make it look like it’s meant to be that way. You, friend modeler, can decide for yourself.
With that fixed, it did take some adjustment to the mating edges to get the cowl on straight. If I had glued it on as-is, the cowl would have been pointing at an odd angle to one side, which of course would have been very noticeable once the prop was added. So I sanded things back as best I could until I achieved a relatively straight thrust line.
Next, I did some sanding on the mating edges of the tail booms, assembled those, and set them aside to dry. Then I moved on to the wings.
The wings are fairly conventional- a single lower span, with two upper spans. The fit of these parts was pretty good, with only a little filler needed where the booms joined. Nothing out of sorts, really.
Test fitting the fuselage and the assembled wings did show some fit issues. However, it was a simple matter to sand or cut aways a bit at a time, and eventually things went together reasonably well. There were a few significant gaps, or difficult shape transitions. For these, I gave the area a large blog of Tamiya Basic Putty, and using a cotton swab soaked in nail polish remover, I smoothed everything out. Some final sanding finished things up.
When you build the kit, just be patient, and work your way through the fit of the wings and fuselage, and it will go together. Same with adding the air intake to the lower fuselage. As it was, it would not fit for me. But with some sanding and test fitting, I got it right in place. My Tamiya Putty and nail polish remover trick made it all look nice.
The fitting of the tail booms was not a problem. I fit one one, then the other, and while the cement was still sticky, I dry fitting the horizontal stabilizer and made adjustments to square things up. Once I had that done, I let it dry overnight, and then filled in the seams of the tail boom join and sanding it all smooth, rescribing detail where needed. With that done, I added the horizontal stabilizer.
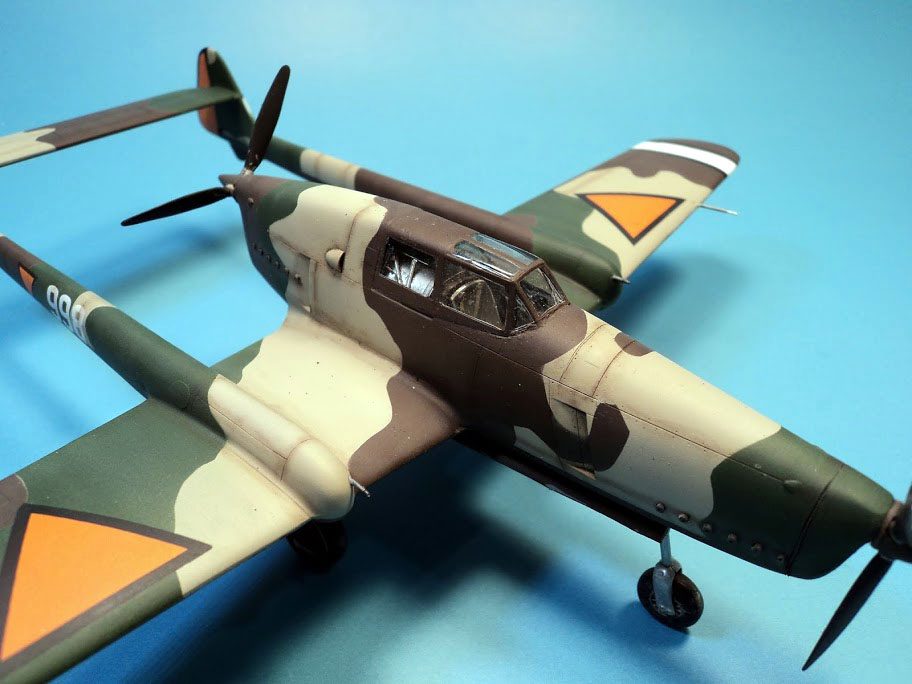
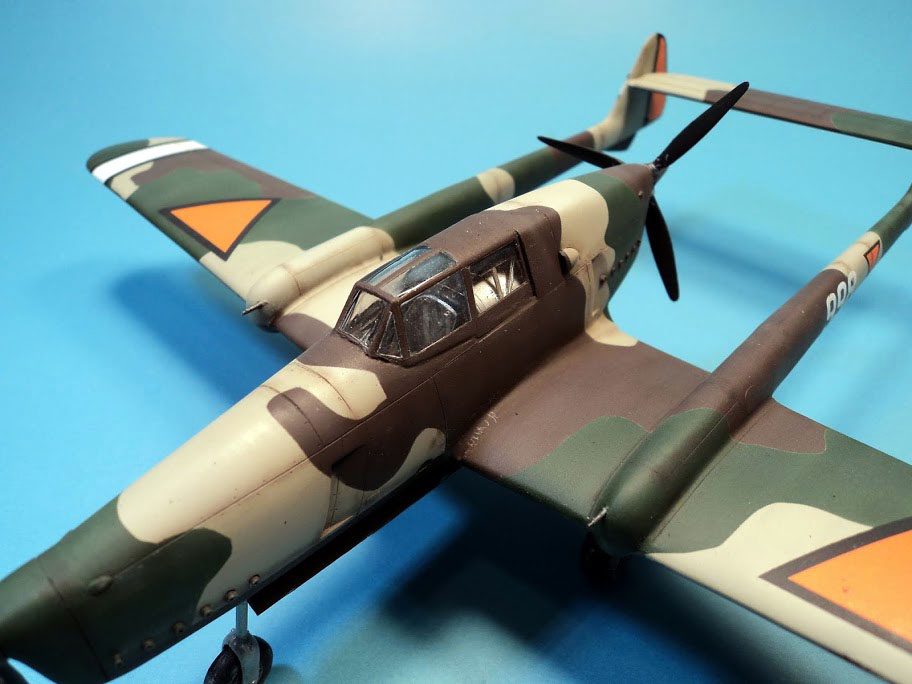
Next I added the one piece injection molded canopy. It was a bit thick, and slightly rough in texture, but a quick buffing and polishing and then a dip in Future and it was ready to add on. The fit was not too good, however. The front edge was just slightly different in shape. However, a quick and simple fix was to just carve away a little plastic on the fuselage, to open up the cockpit opening a bit, and with that completed, the canopy fit pretty well. I masked it off with tape to add a little filler to close the gap, and using my Qtip and nail polish remover trick, smoothed things down easily.
The final step before painting was to treat all the joins, seams and putty areas to a good coat of Mr. Surfacer 750. (It’s a bottle of Mr. Surfacer 1000, but one fourth of it is gone…. ) A light sanding ensured all was ready for paint.
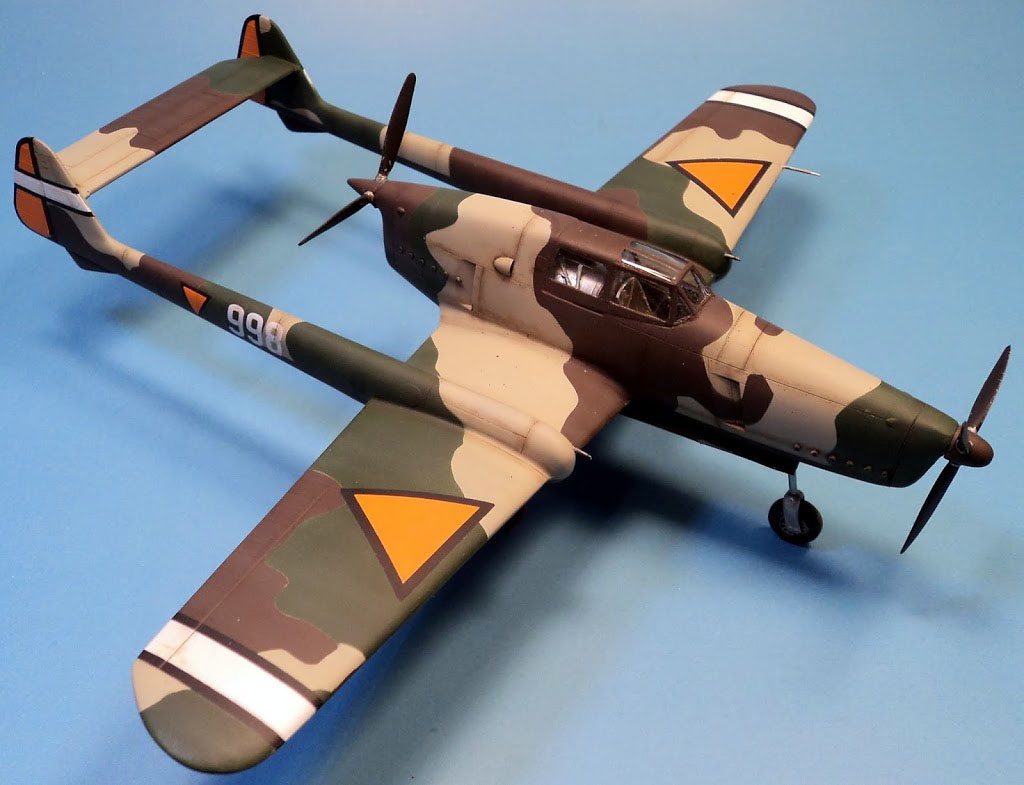
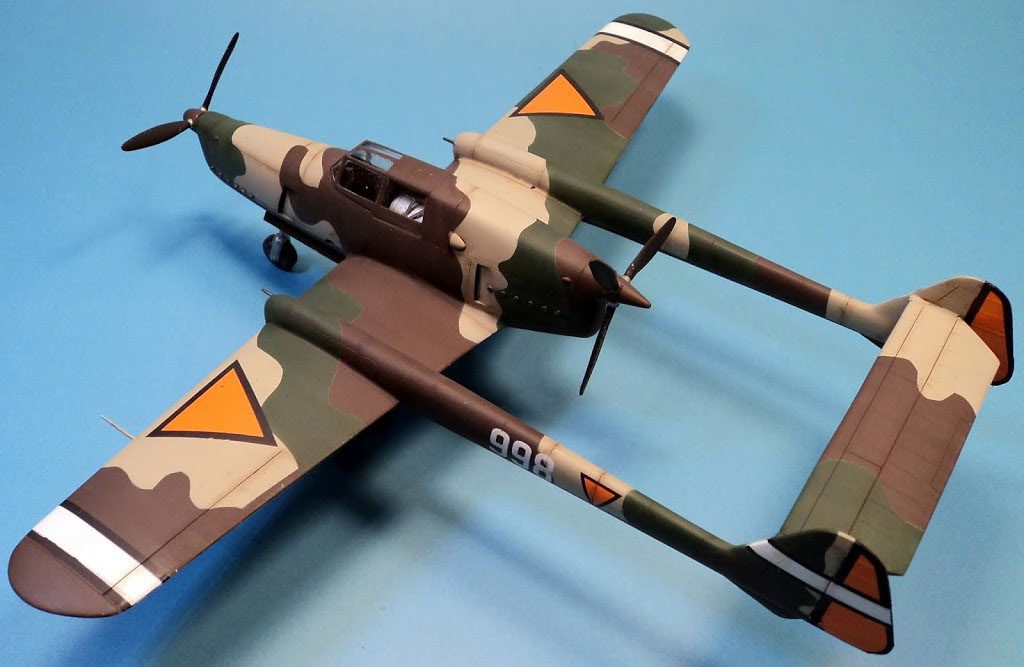
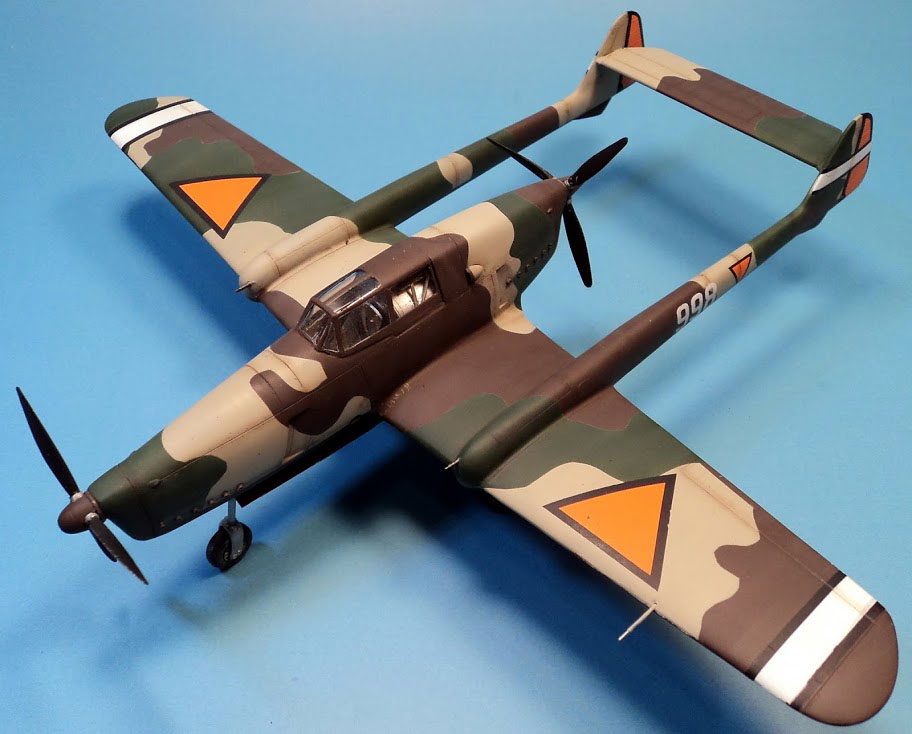
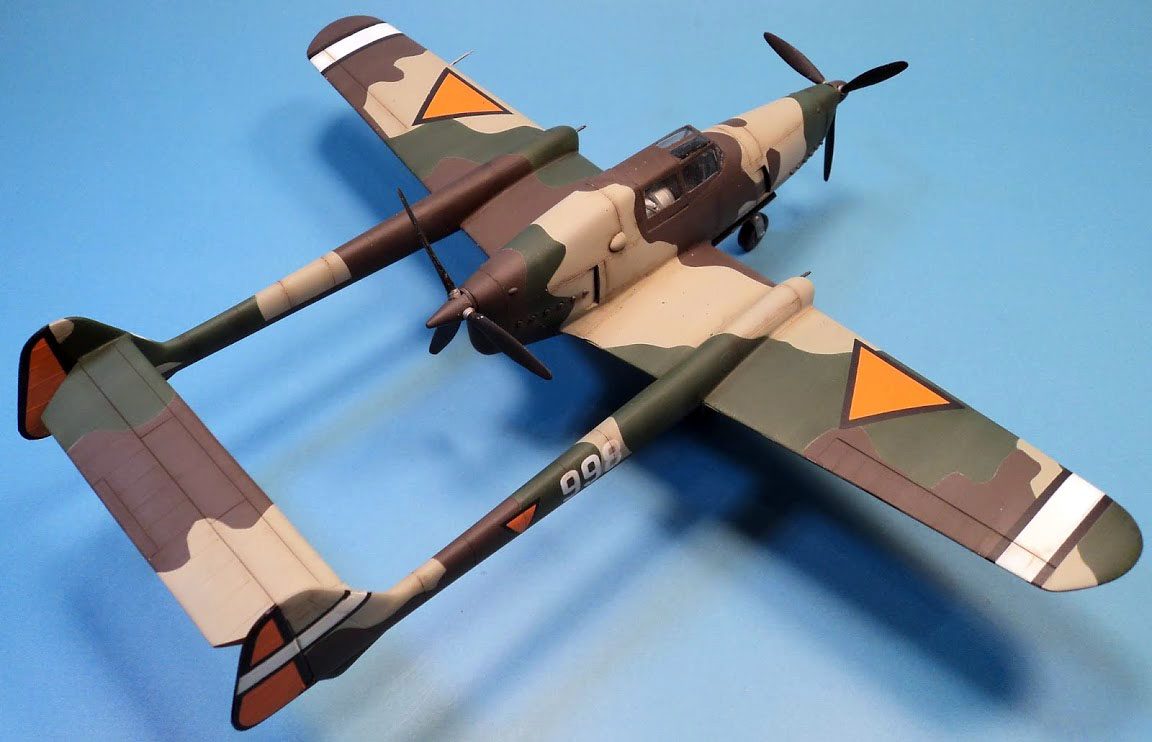
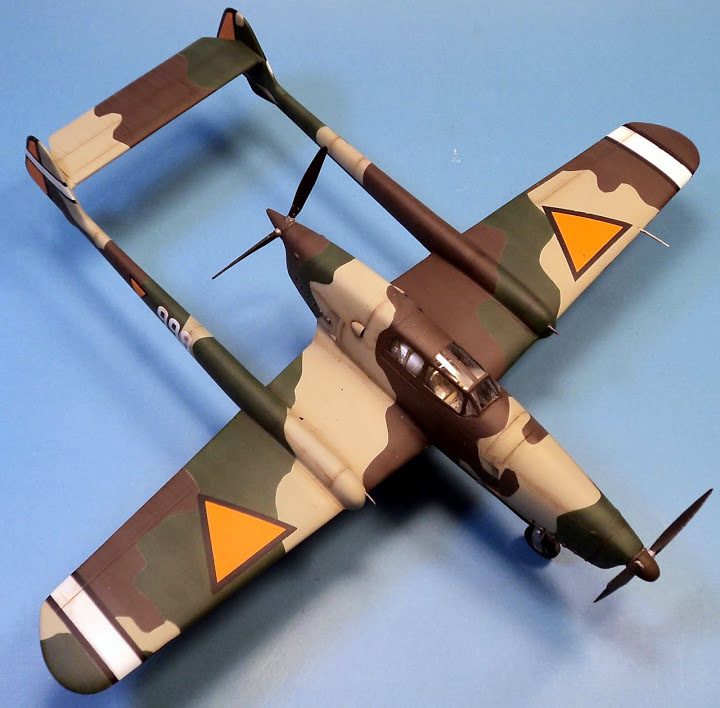
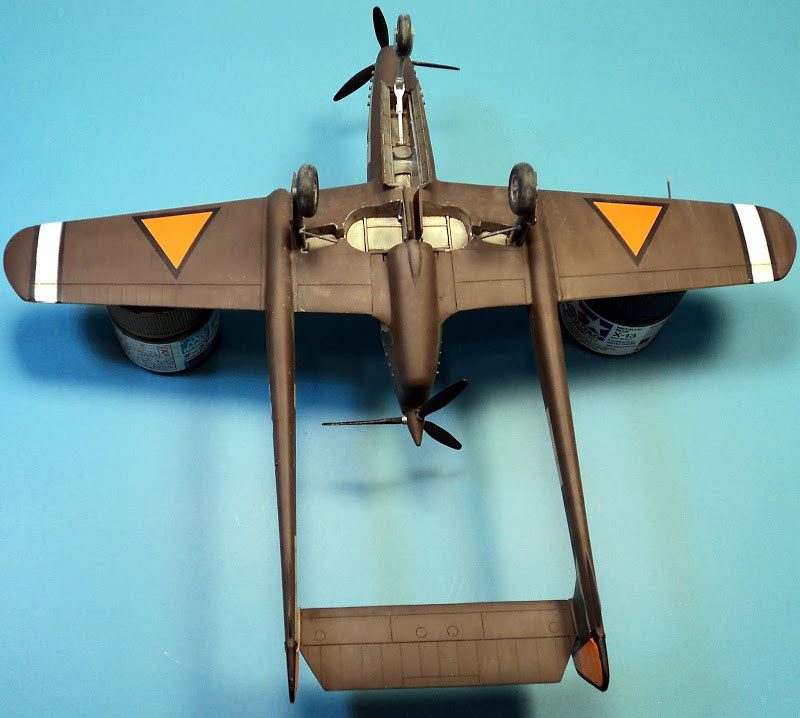
The undersides of the aircraft was painted in a dark, chocolate brown, and this brown extended to the upper surfaces of the aircraft. Given the odd shapes and curves, I decided to do the paint in reverse order. First I used Tamiya XF-55 Deck Tan for the lighter brown. I masked those areas off, and then sprayed some Tamiya XF-26 Dark Green, and masked those areas. Finally, the rest of the airframe was given a coat of Tamiya XF-64 Red Brown, mixed with some XF-69 Nato Black.
A coat of Future was applied, and then the decals. The decals went on with no problem, and settled in nicely with Solvaset. The white stripes were a bit transparent- I realized I probably should have painted them. So I masked of the edges with post-it notes, and using very thi white paint at low pressure, I carefully oversprayed the decals. In a few areas where there was some overspray onto the black area of the stripe, I jut corrected that with hand painting. Once it was all sealed up under another coat of Future, it all looked the part.
I finished off with an oil wash, some airbrush fading and shading, and then a flat coat of Vallejo Matte Varnish. The final fiddly bits were added, and I called her done.
So the question is- should you build this kit.
Yes.
In spite of all the extra work it took, this was actually a good short run kit. While careful alignment, sanding, and so forth was needed, the parts went together reasonably well, and the modeling skills required were not anything a modeler with reasonable experience with filling seams and test fitting can’t do. The main thing with this kit, as with any short run kit, is to just be patient, and plan ahead as far as possible.
The payoff is worth it- I was able to admire my completed work of this unusual but cool looking airplane, and know I’d really earned it when it was all said and done.
If you like the Fokker D-XXIII, or just unusual aircraft, I can certainly recommend it. And if you’d like to try a short run kit, I can recommend this one.
I’m looking forward to other kits in this scale from RS Models, as they do some really unusual airplanes in 72nd scale. Hopefully more of those will make their way into 1/48! I know I’ll be in line to grab one and build it!


Leave a Reply