I suppose the easiest way to write a build report about the Trumpeter 1/32 scale P-47D is to jump right to the conclusion.
Get the Hasegawa 1/32 P-47D instead.
There. Now, if you’re interested why, keep reading.
This kit comprises a whole bunch of parts. I can’t recall the parts count, but it is ridiculous. Many of the parts are internal assemblies that never see the light of day. Like the turbo-supercharger. More on that later.
The overall breakdown is very similar to the Tamiya 1/48 scale P-47D. Very similar. Very similar…. almost like it’s scaled up. (Not that I’m making accusations.)
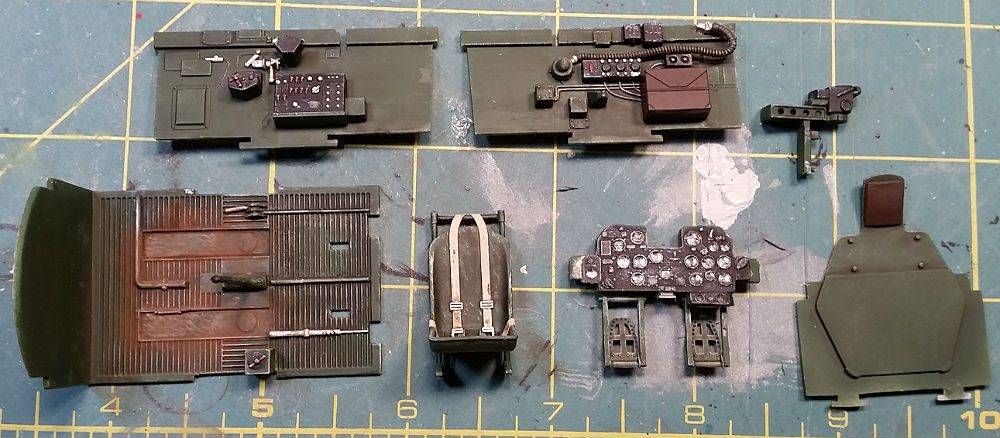
The cockpit is very detailed out of the box. In fact, if you have built the Tamiya P-47D, you’ve pretty much seen it. (Not that I’m making accusations.) It even comes with a photoetch fret that provides some decent seat belts.
Once that is assembled, you start on the turbo-supercharger. Which is short for “confusing mish-mash of parts that loop and turn every which way and don’t really fit too well together.” The trouble is, the instructions show that the structure is needed to mount the cockpit inside the fuselage.
I built the monstrosity, and gave it a test fit. At that point I nearly threw the whole thing away. Then I noticed some little tabs mounted in the fuselage, two per half. And the dimly-lit two-watt bulb that is my mind went off. “Try those.”
So I balanced the cockpit assembly on one side, closed the fuselage up, and it fit. Perfectly. Without the turbo-supercharger.
In celebration, I took the entire turbo-supercharger assembly out on my porch and burned it. 🙂
The next monstrosity to be dealt with was the engine and its mounts. The engine itself was a fairly simple assembly. It looked remarkably like the Tamiya kit. (Not that I’m making accusations.) But the parts that made up the exhaust and mounting assemblies was as horrible a Chinese puzzle (literally) as the turbo-supercharger.
Having learned my lesson from the turbo-supercharger, I decided to see if there was a way around all those parts. Turns out there was.
The engine had a mounting ring that attached to the front row of cylinders. This mounting ring slid into an area inside the cowling. I realized that if I simply glued this ring securely to the engine, then that ring was sufficient to hold things ins. The cowl itself mounted against the lower air intakes, and that held it reasonably securely.
So back out on my porch I went, exhaust and mounting assemblies in one had, lighter in the other.
I did find that adding two pieces of sprue inside the upper cowling gave a good secure point for that portion to be joined to the fuselage. If you use the closed cowl flaps, and paint the sprue black, it’s pretty much invisible unless you know what to look for.
I later found this build report on Doog’s Models, and the writer said “Trumpeter’s whole engine mounting scheme is a giant middle finger to buildability.” That about sums it up.
The wings assemble easier than the fuselage, although they are not completely drama free. The gun barrels are designed so that they must be added in before mating the top and bottom wing halves together. I suppose you could modify things to allow for inserting the gun barrels after assembly and painting. However, they were substantial enough I decided to go ahead and follow the instructions.
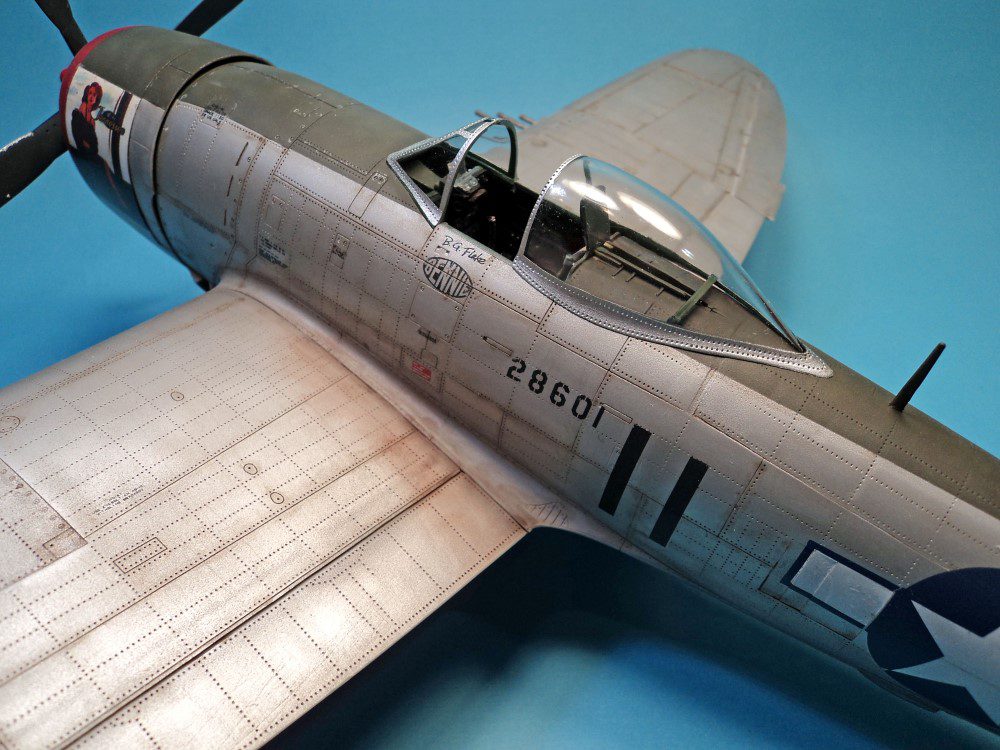
The kit also is designed for both gun bays to be open. And the gun bay cover fits horribly if you want it closed. I had to resort to using quite a few plastic card shims in several areas to get it close to flush with the surface of the wing. I would have just puttied the whole thing over and rescribed it, but the whole model is covered in rivet divets.
Did I mention the Mad Riveter Trumpeter employs? Yeah, he had a field day on this one.
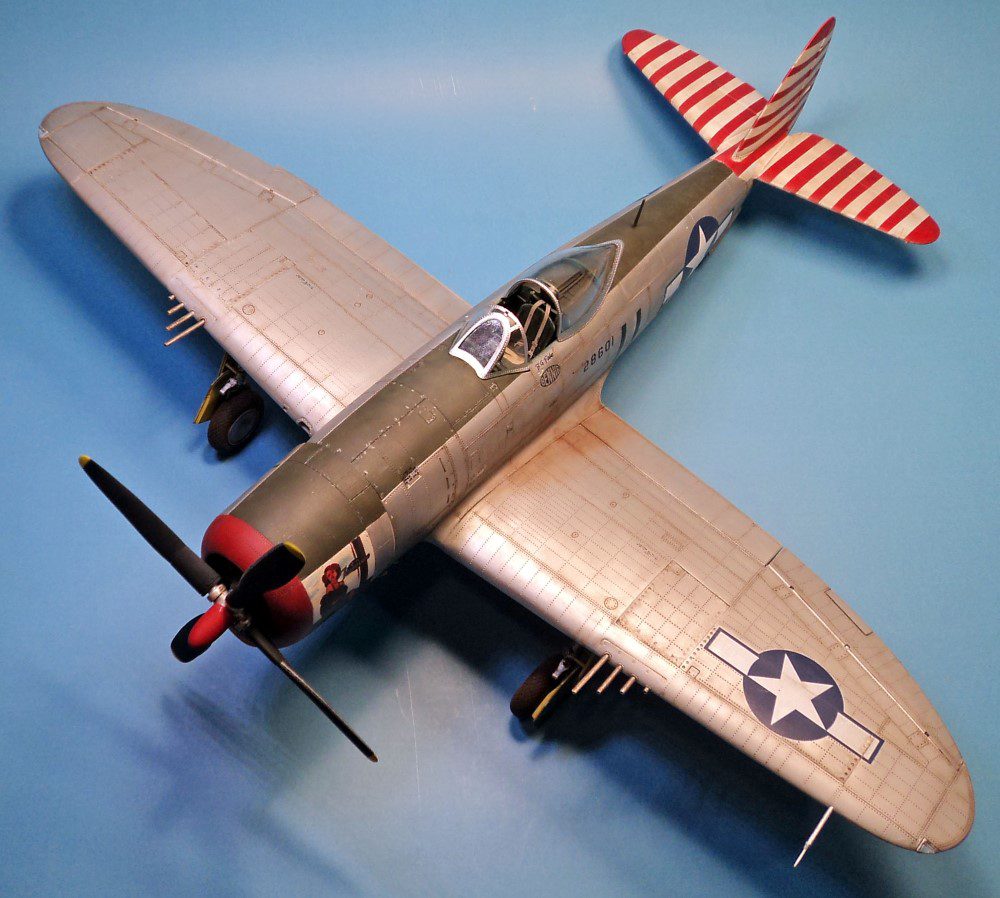
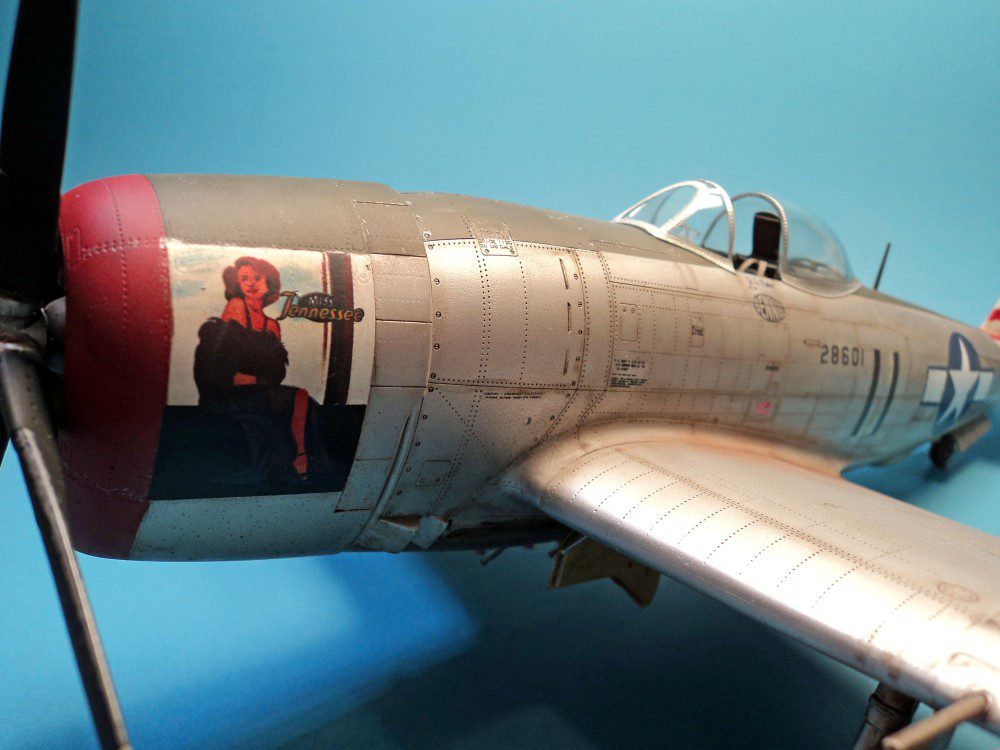
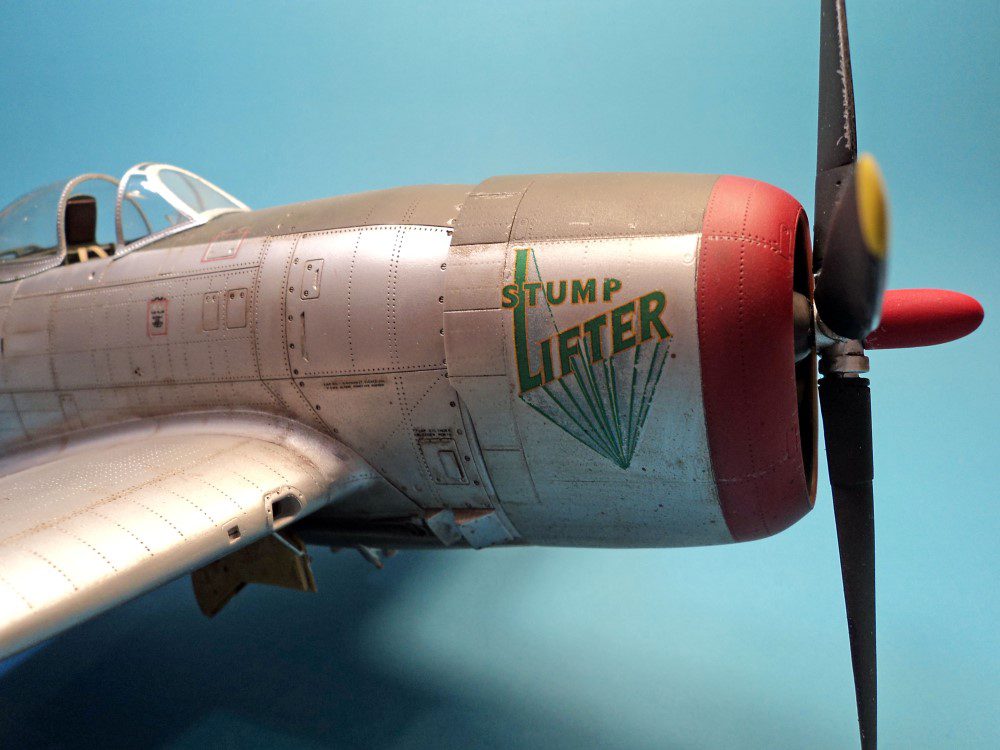
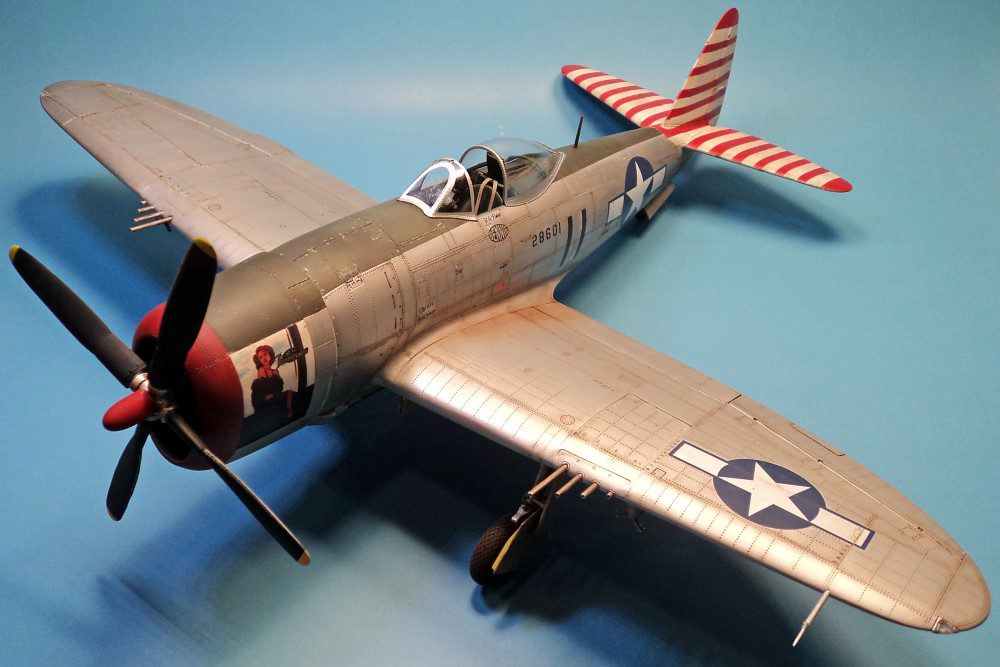
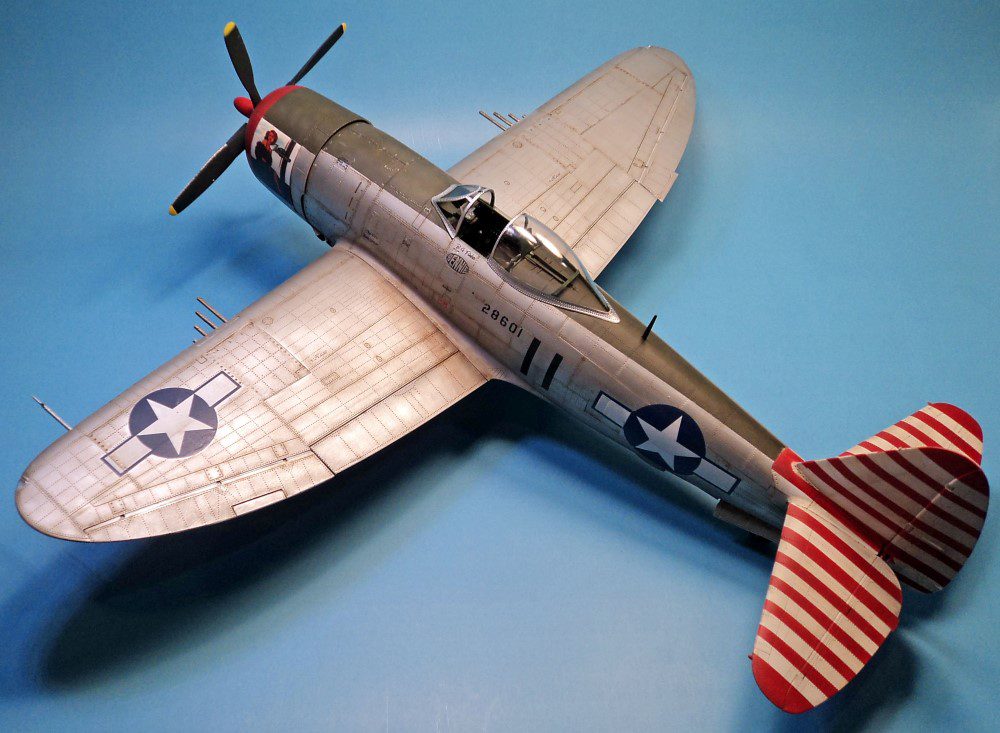
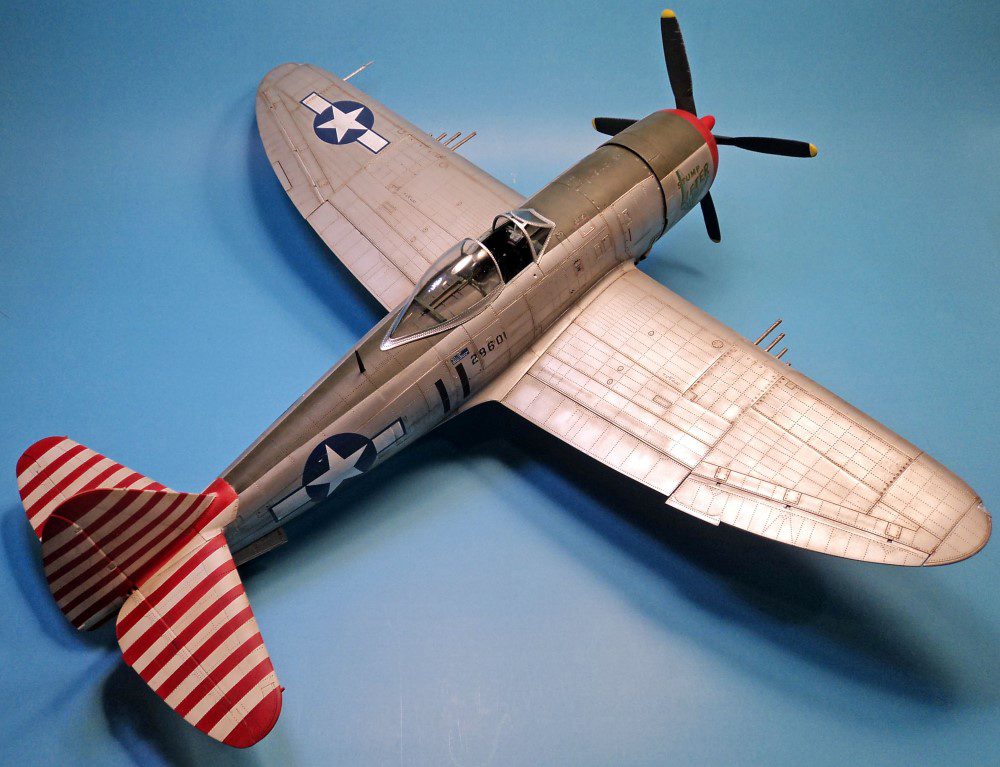
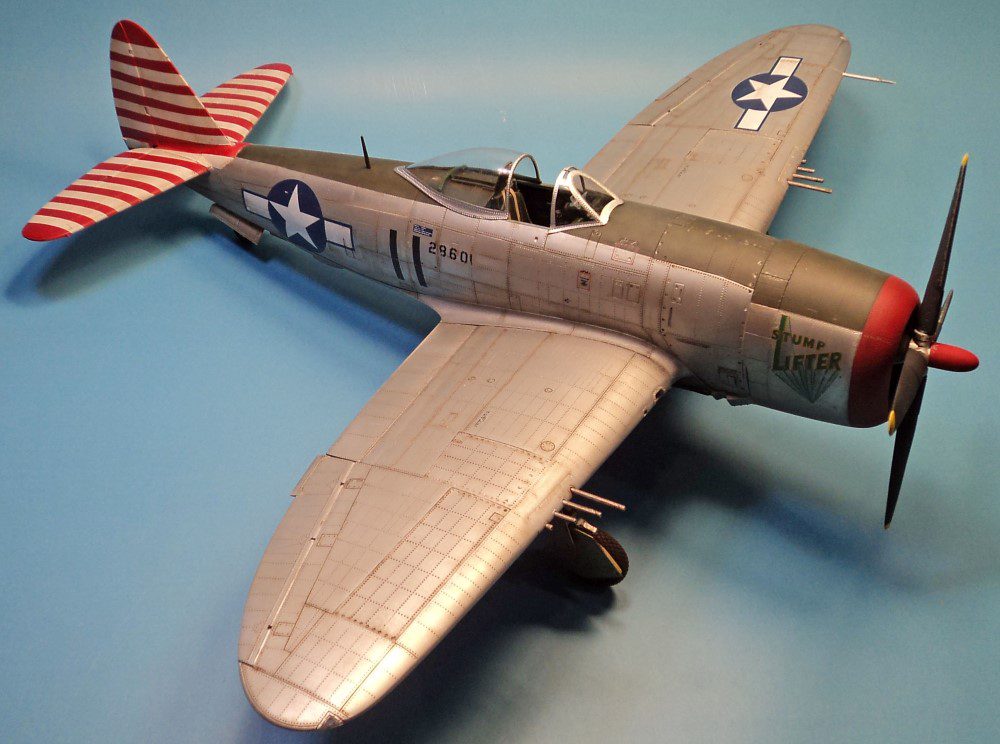
So I ended up with mostly flush gun covers. The reason this matters, in case you were wondering, is this aircraft had a natural metal finish.
Because this build report is about Trumpeter’s P-47, I won’t go into too much detail about my difficulty with natural metal finishes. To sum up. I stink at it. Awfully. I’ve read everything I can on using Alclad. I’ve had friends describe for me how to do it. I follow the directions. I’ve talked with people who do great metal finishes about my technique, and they scratch their head and say “you got me…”
So it was especially challenging to do a metal finish on a model kit that really wasn’t doing it for me in the first place.
Luckily, the person I was building this for wanted it weathered. So I could cover up some of my inability with weathering.
I started with a coat of Alclad primer, and sanded it down using various grades of sandpaper from 600 grit to 12000 grit. (I never knew there were so many grits….) I followed this up with Alclad Aluminum, and it looked awful, as usual. Weathering went over that, and then the decals. More weathering…. eventually I just accepted it as is and called it finished.
Anyway, you already know the conclusion. But I’ll just expand on it a bit.
This kit is fiddly, over-engineered, over-riveted and expensive. The fit is not bad, but despite the appearance of being a Tamiya copy, it doesn’t fit like Tamiya. (Not that I’m making accusations.) It is detailed, and when finished, it doesn’t look bad.
But I still say if you want to build a 1/32nd scale P-47, just leave this one alone. Go Hasegawa.




Leave a Reply