
I’ve started on Kinetic’s 1/48 F-5A Freedom Fighter kit. Reviews of the kit seemed to be a mixed bag. All pointed to the kit being a reasonably accurate kit with nice detail. However, reaction to the engineering and fit was a bit lukewarm. So I entered into the project with a wait and see attitude.
The kit is broken down in a bit of an odd fashion. The forward fuselage half is built as a separate module from the rear, and then the two are joined together. I decided to work on both the cockpit and the rear fuselage section together.
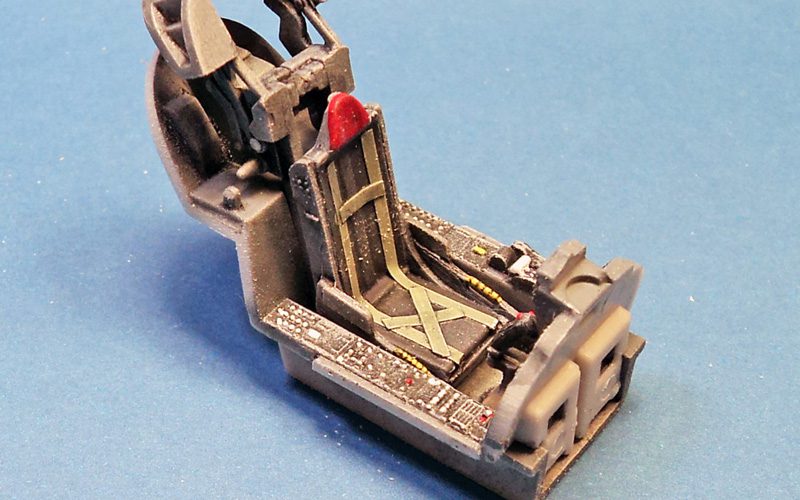
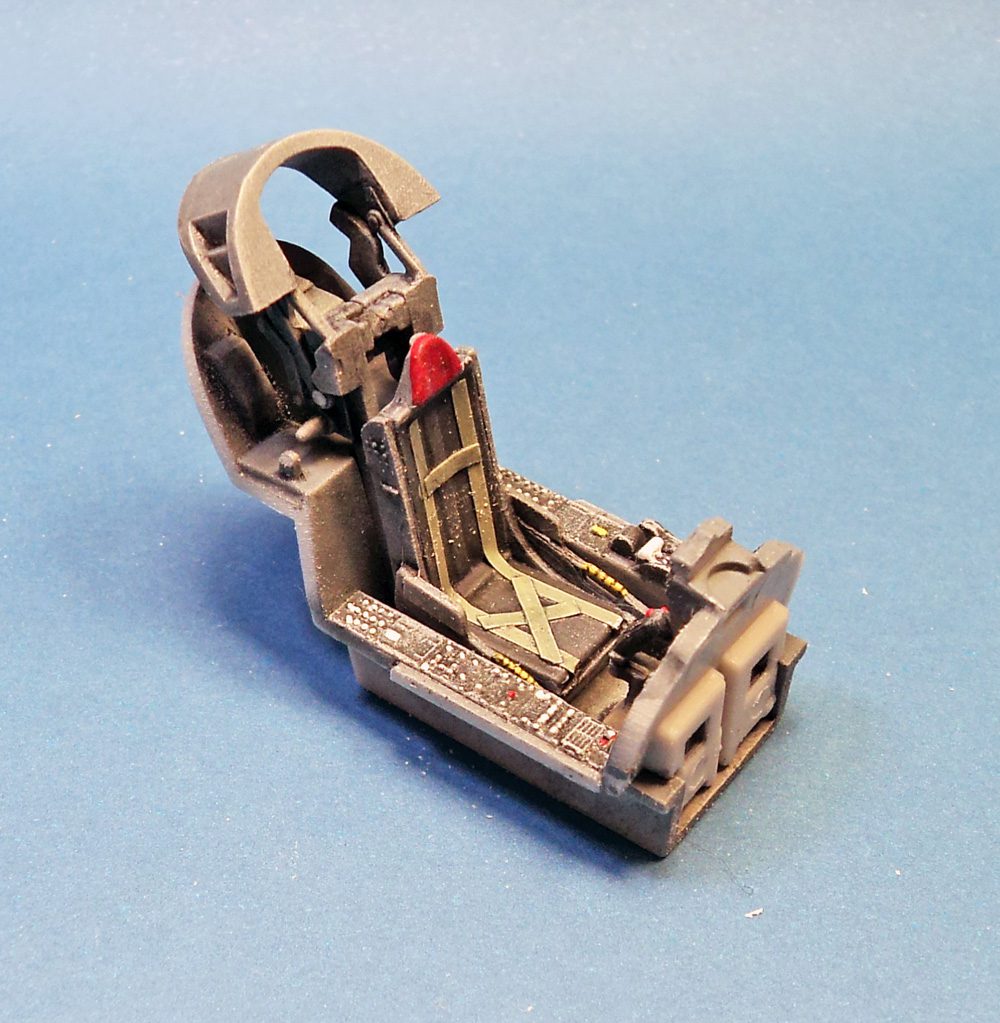
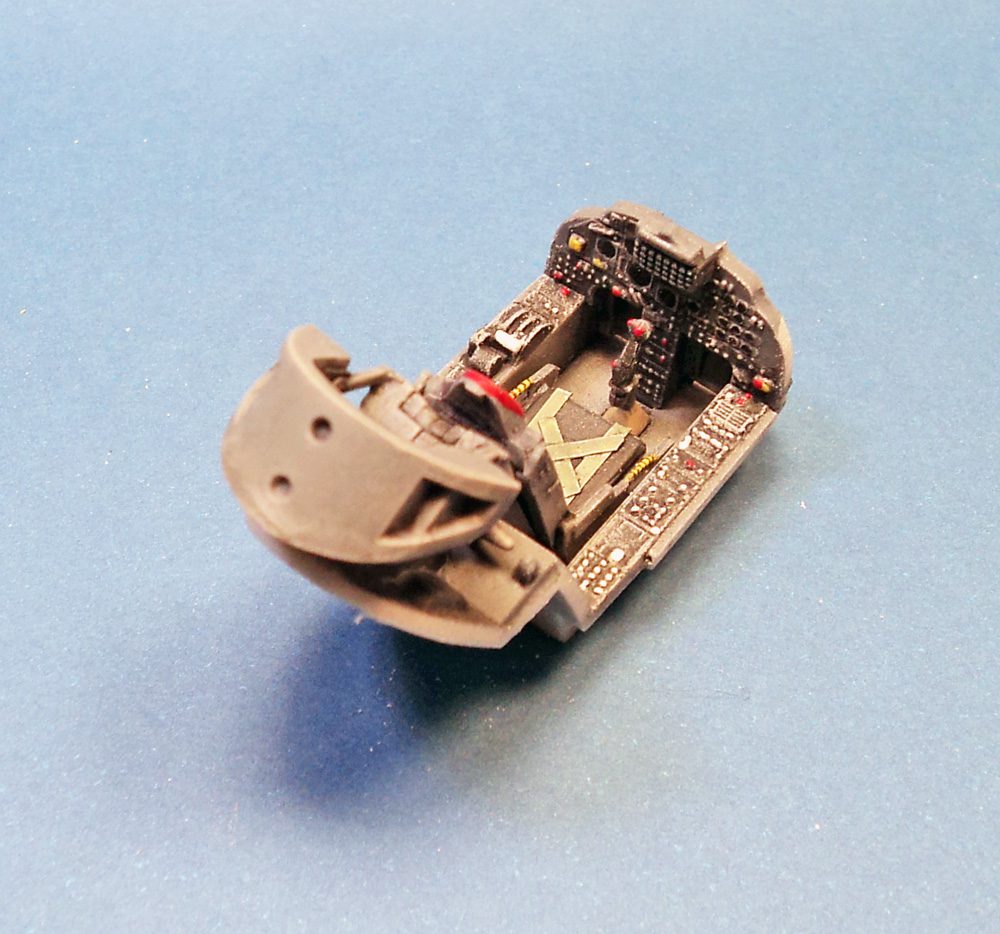
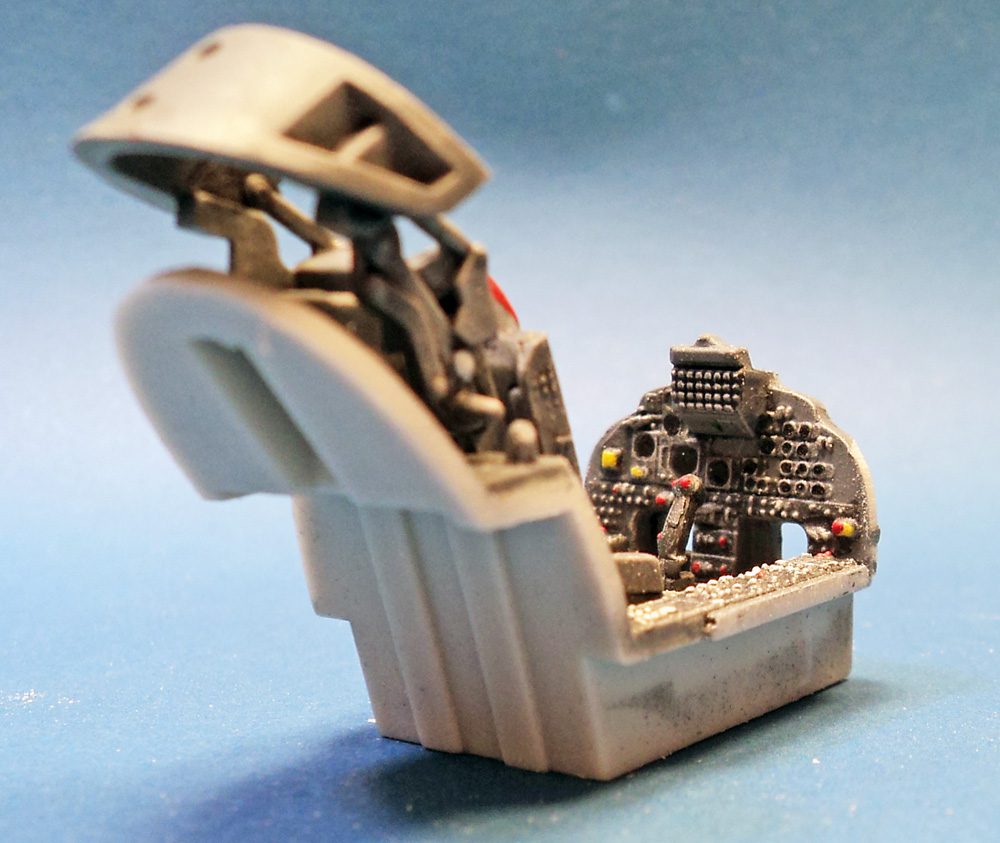
The cockpit is a decent representation. Nicely raised detail on the instrument panel and side consoles are easily painted and drybrushed and give a good look to the interior. The seat is a bit weak, and needs belts added, but once in place amid everything else it looks OK.
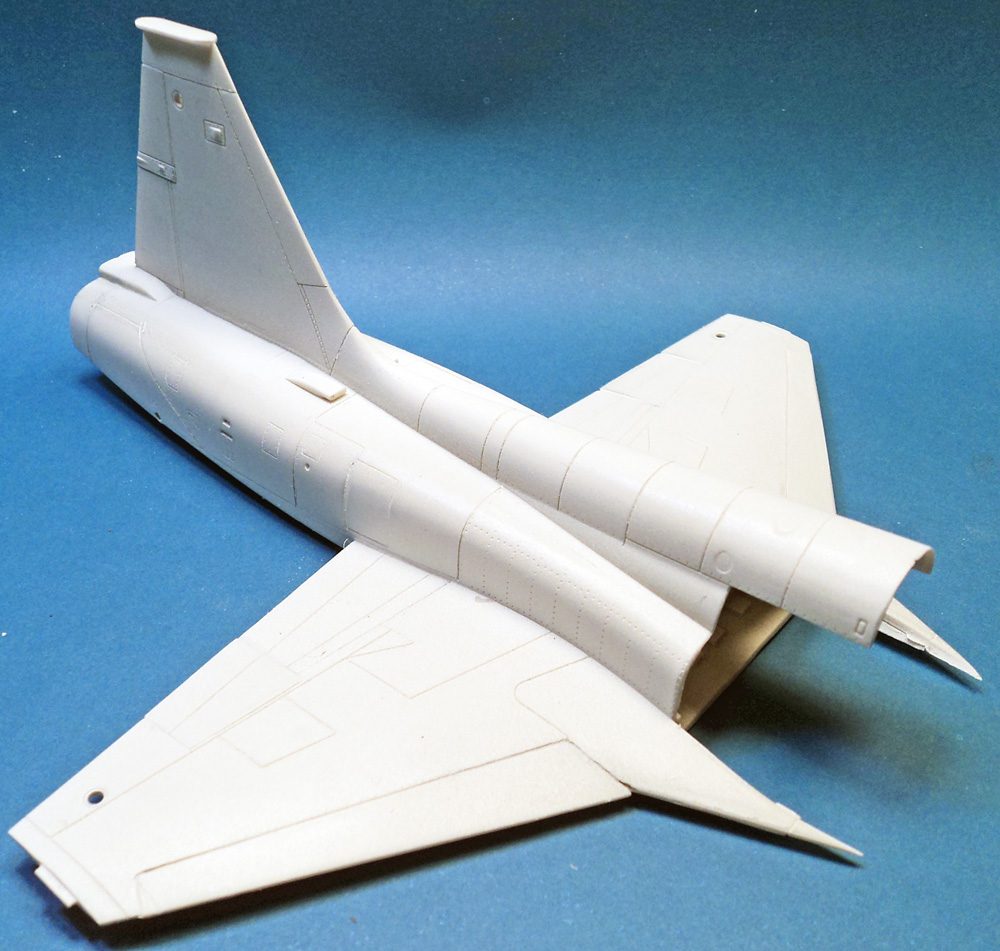
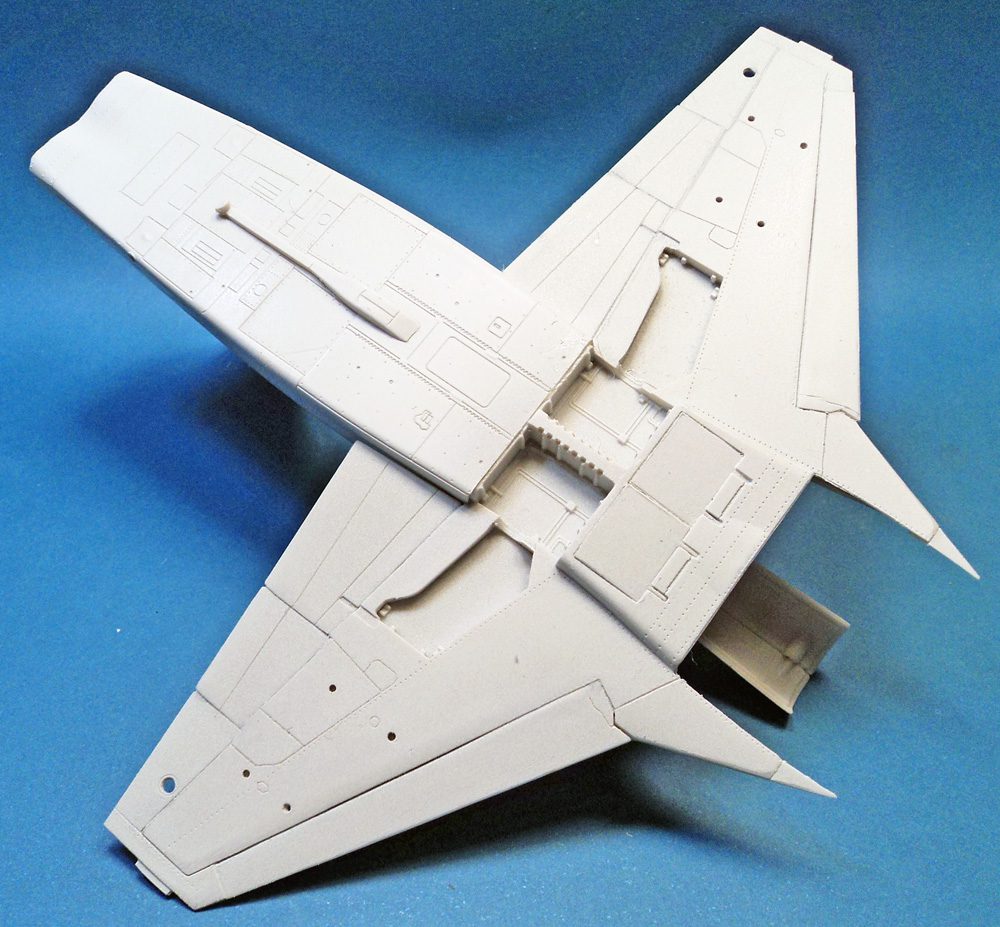
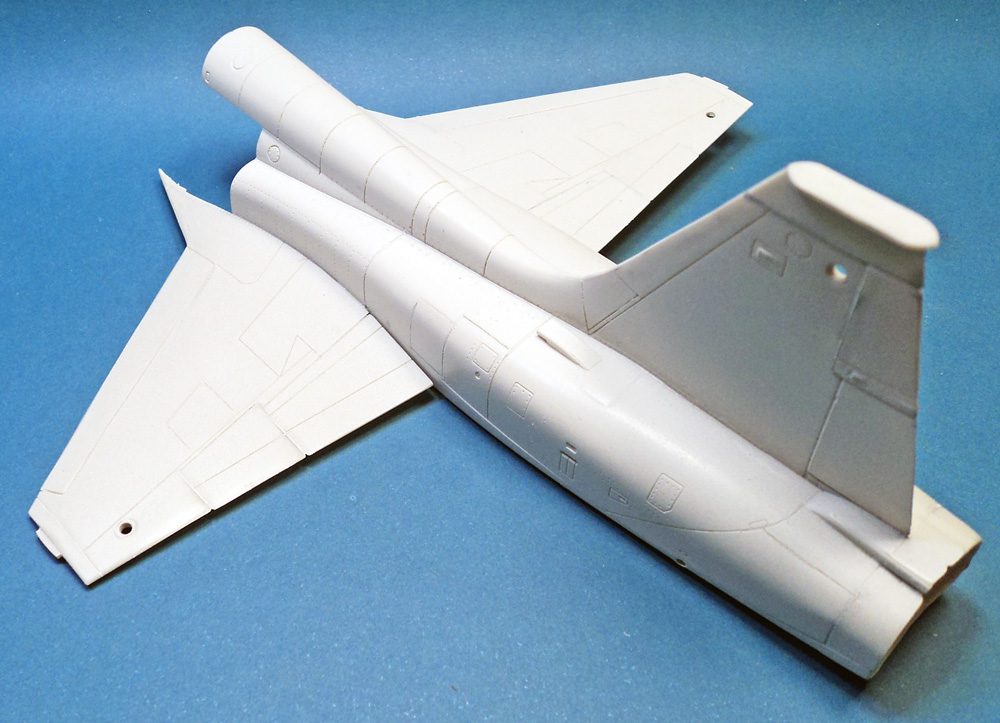
Assembly of the back half was not as worrisome as I thought it might be. Parts cleanup and and multiple test fits are absolutely essential. But with a little sanding here and there, all the parts go together well with only touches of filler here and there. The major seam lines did need a little work but nothing a bead of CA and a sanding stick couldn’t sort out. I hit it with a coat of Tamiya Fine Primer to look for any stray seams.
I would definitely give this kit much higher marks than any Special Hobby kit I’ve ever built. Once cleaned up and test fitted appropriately the fit of the parts is closer to the newer Airfix stuff.
It’s not a shake and bake kit, but it’s certainly not difficult. And test fitting shows it should produce a very nice looking F-5A.
With the cockpit finished and the rear fuselage half set aside for a while the next step will be getting the forward fuselage together and getting that joined to the back half.


Leave a Reply