After having recently finished Hobbyboss’ 1/48 Hawk 200 kit, I was very happy to find that their IAR-80 kit was just as nice. Say what you will about Hobbyboss’ accuracy at times, but when it comes to an enjoyable build, they are hard to beat.
This kit fits a profile that I find to be very enjoyable. Not too many parts, simple engineering breakdown, nice detail that isn’t too fiddly, and a good fit. On all counts, this kit scored A+.
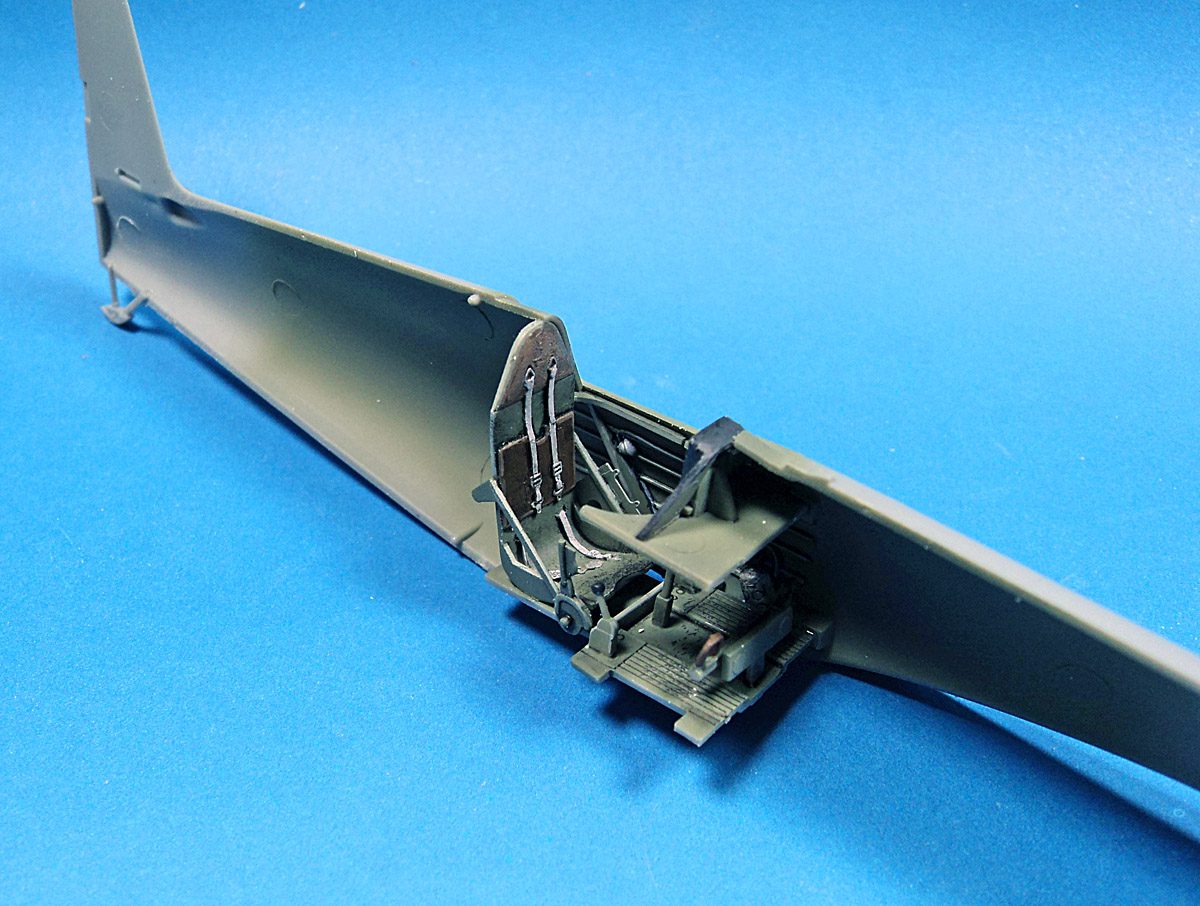
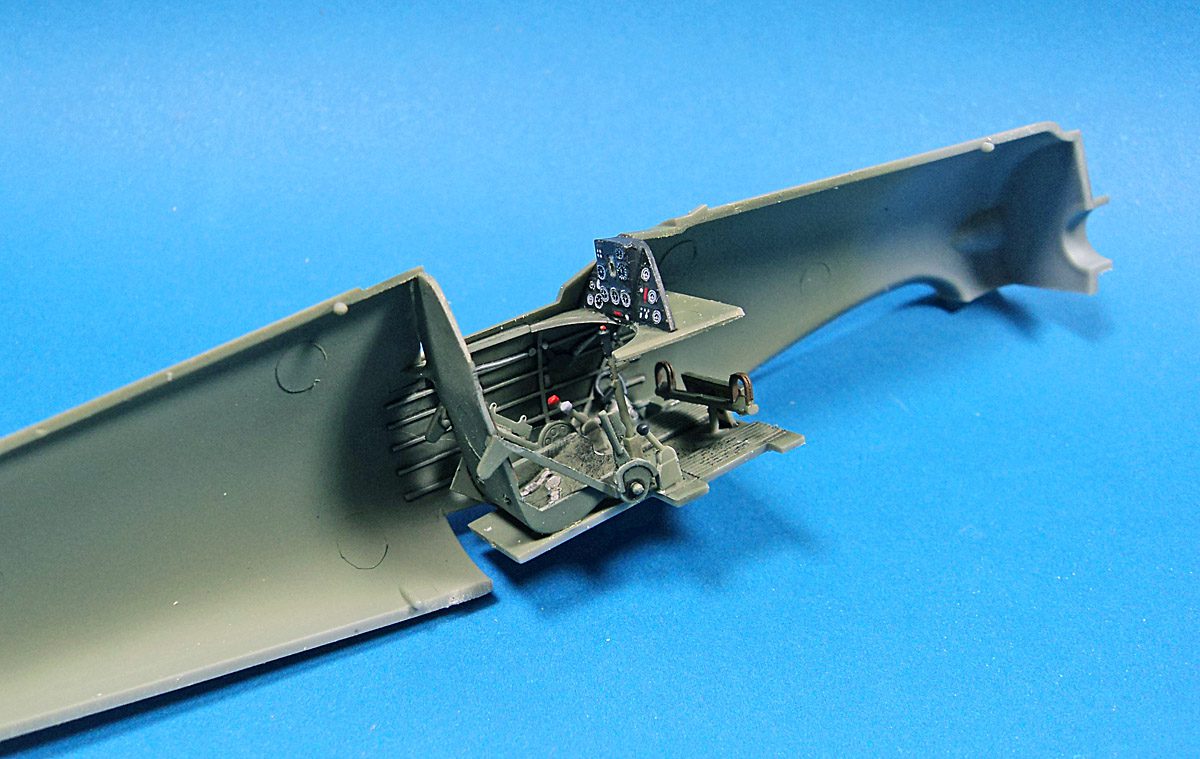
The cockpit is a very nicely detailed unit. Hobbyboss should really be commended for the simplicity of construction, yet sophistication of detail. The kit includes some simple but effective photoetch belts, and a decent instrument panel decal. With nice cast in sidewall detail, the cockpit builds up into a very neat and appropriately busy interior that shows well when viewed in an open canopy configuration.
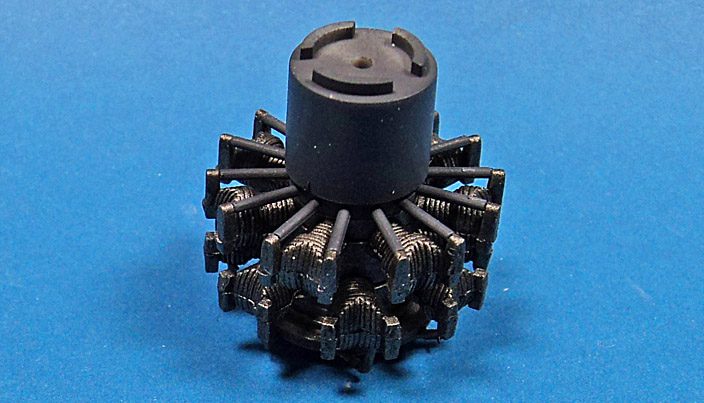
The engine assembly is not too sophisticated, but given how little is seen, it’s appropriate for the model. The back half of the spinner assembly is part of the engine, so I found it helpful to paint the yellow on that prior to closing the cowl assembly around it. I then could mask it off for painting, and simply add the prop and front part of the spinner later.
The fuselage closes around the cockpit perfectly. I just did some basic seam tidying with Mr. Surfacer and a sanding stick. The wing assembly was equally simple, being broken down n the traditional one lower/two upper sections. The gear bays have simple but adequate detail.
Joining the wing and fuselage was near perfect. Just a bit of Mr. Surfacer was needed to close a hairline crack at the aft fuselage/wing join. But quite frankly it was one of the best fitting joins in that area I’ve ever seen- and I’m including Eduard and Tamiya in that crowd.
The engine slots solidly onto the front of the fuselage, and the two piece cowl closes easily around it. With tailplanes slotted in, and the wonderful clear parts glued (windscreen) and tacked (canopy) into place, the IAR-80 was ready for paint.
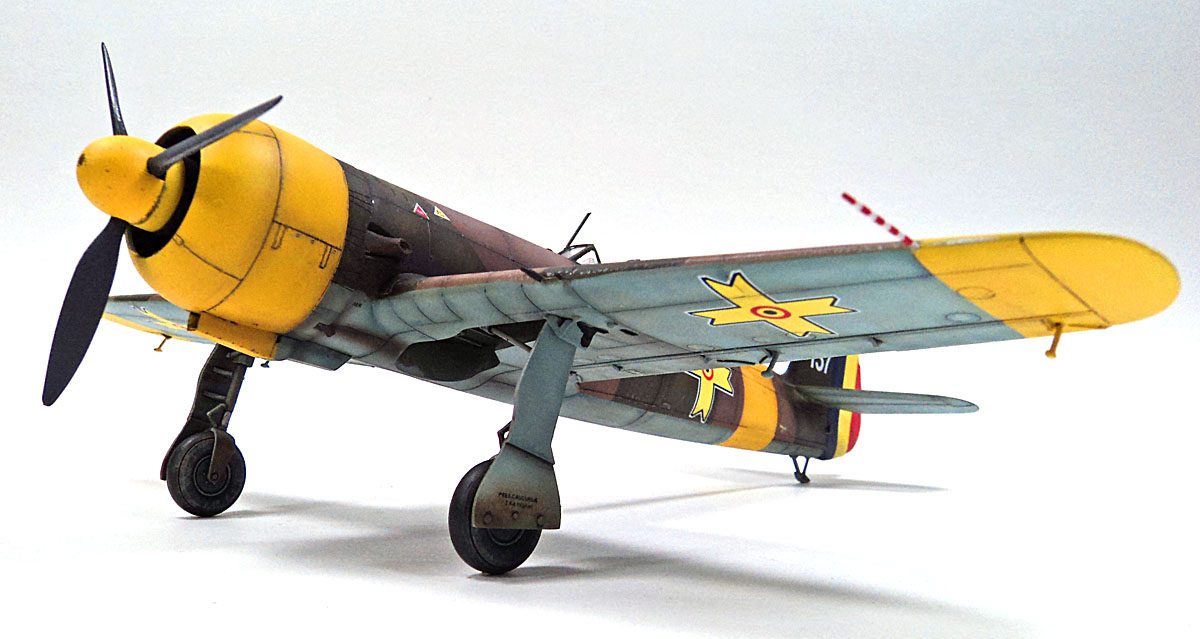
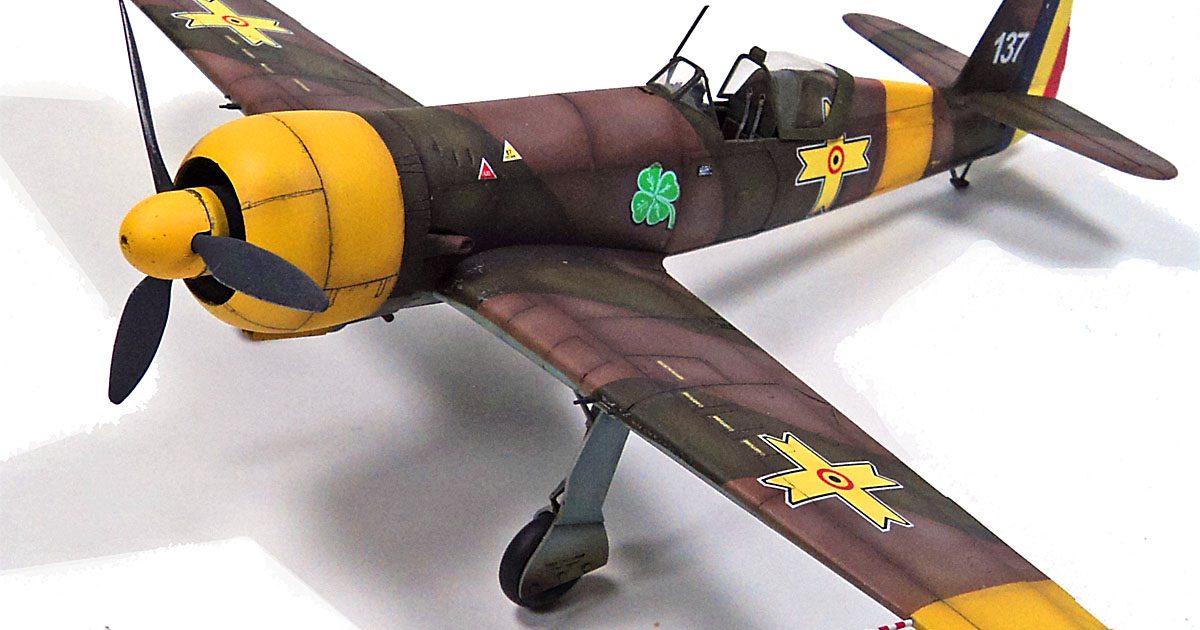
The color call outs list a variety of paint brands, though for some the list is only partial where there are matches. I decided to go with “close enough” for the camo, and after painting the appropriate yellow bits and masking them off, I picked Tamiya XF-23 for the undersides, and a mix of various greens and browns for the uppers. After the base colors, various shades and tints of the base were used for post fading and shading, and then the panel lines were enhanced with Ammo of Mig Panel Line Wash, as well as some pencil lead with a mechanical pencil, armed with HB lead.
The kit decals performed very well, though the yellow of the Romanian national markings were a bit “lemony”. However, I left them as-is, continuing with the “close enough” mantra.
I added the landing gear, which on many kits can be a bit of a balancing act as a last step, but these locked right in, and were very secure and sturdy.
Some minor paint chipping, exhaust staining, and a few other weathering details were added before it was all slathered with a flat coat using Vallejo Matt Varnish.
All in all this is a really enjoyable kit to build. There’s really nothing to fuss about with it, and it results in a nice looking representation of this slender dragonfly of a fighter. I highly recommend this kit!






Leave a Reply