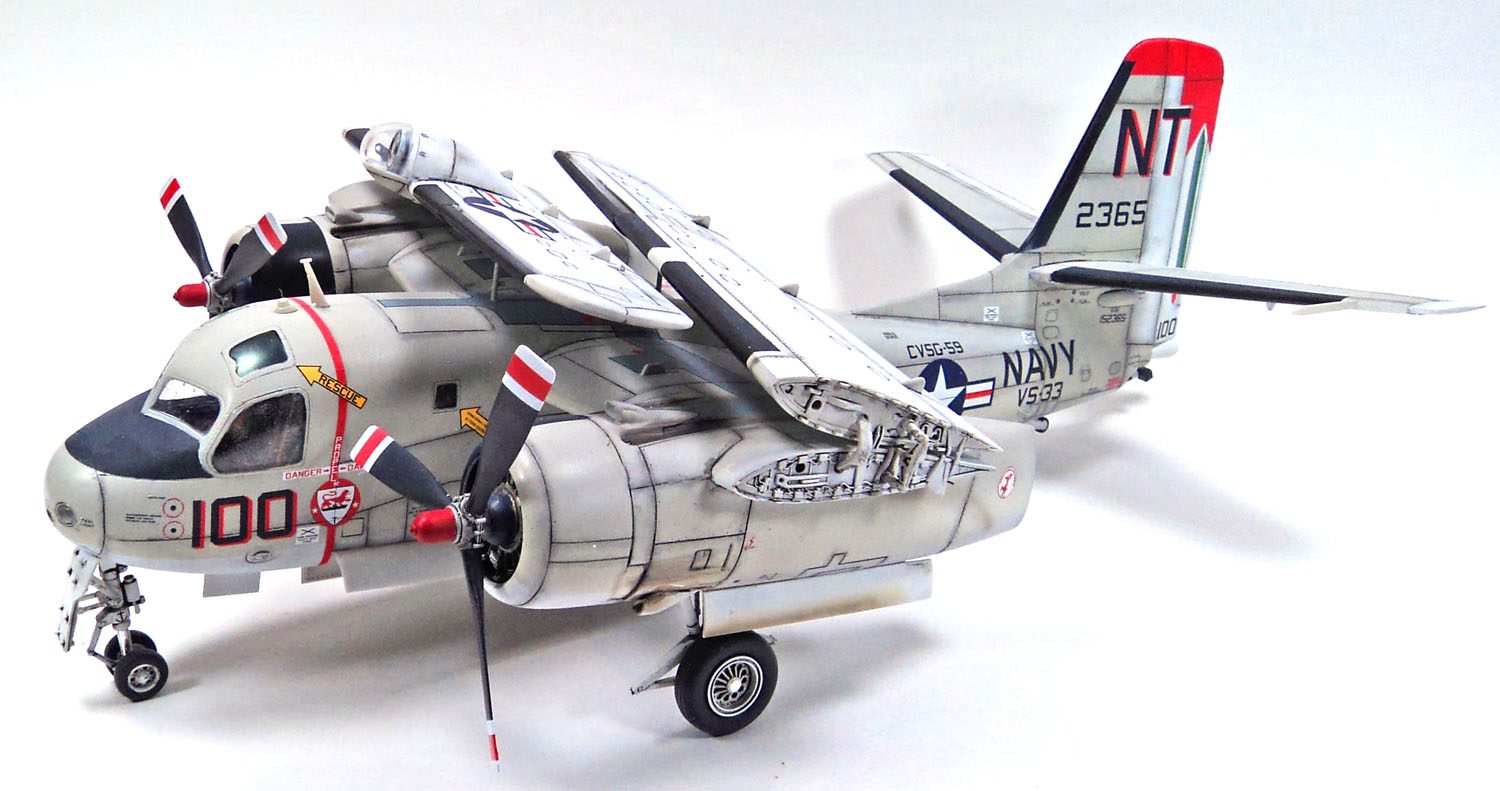
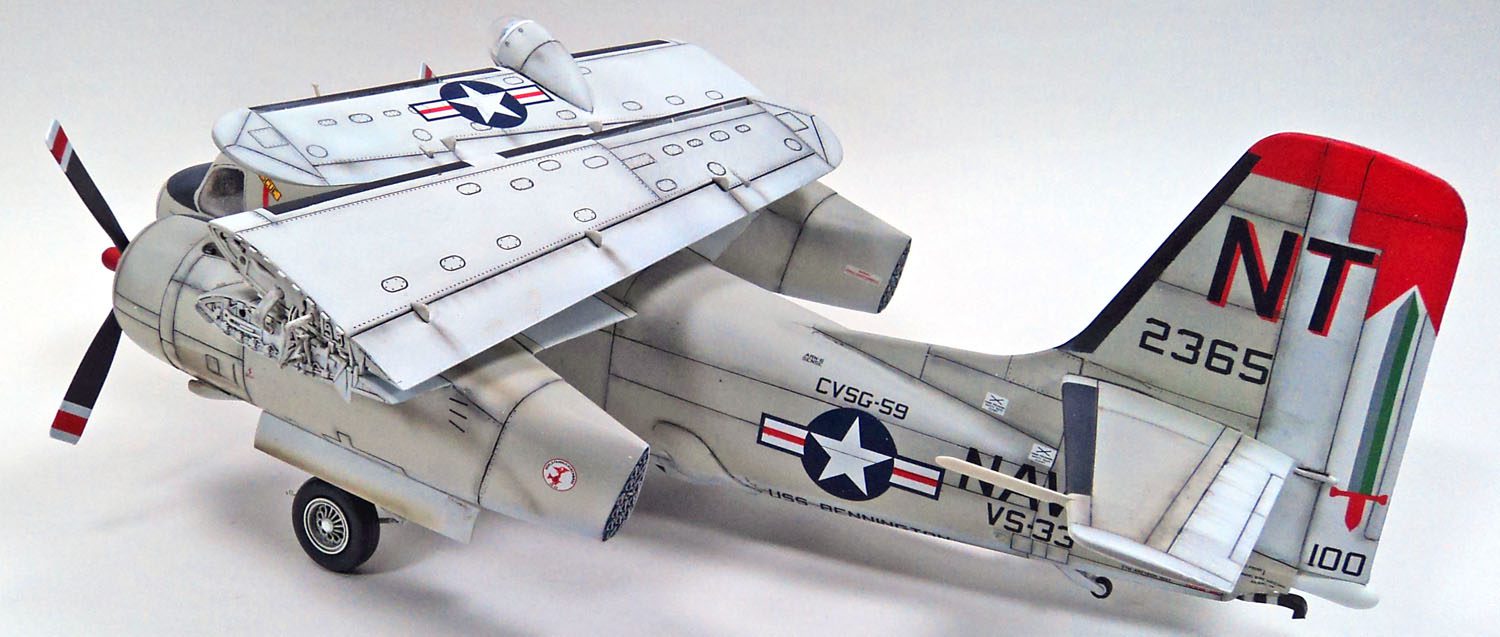
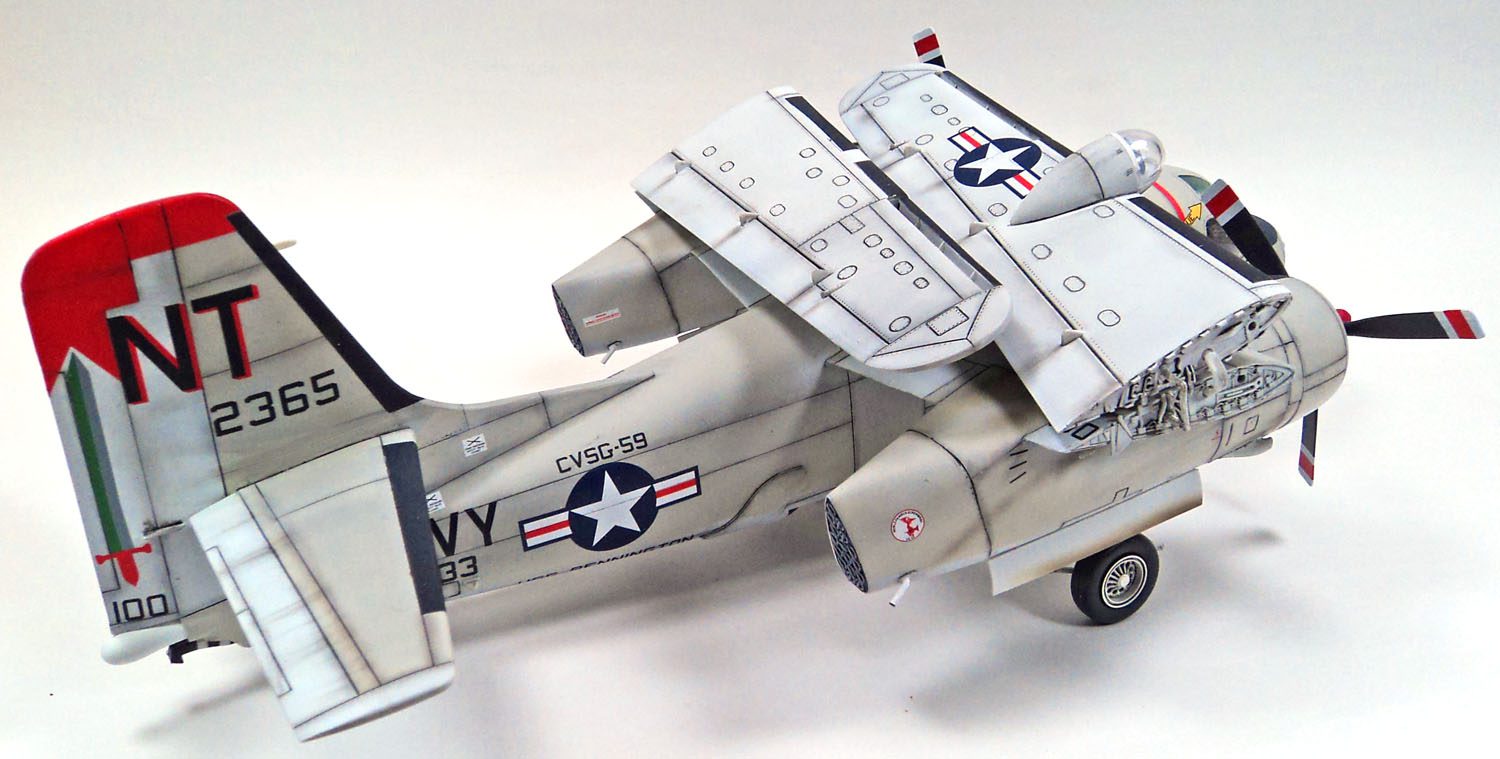
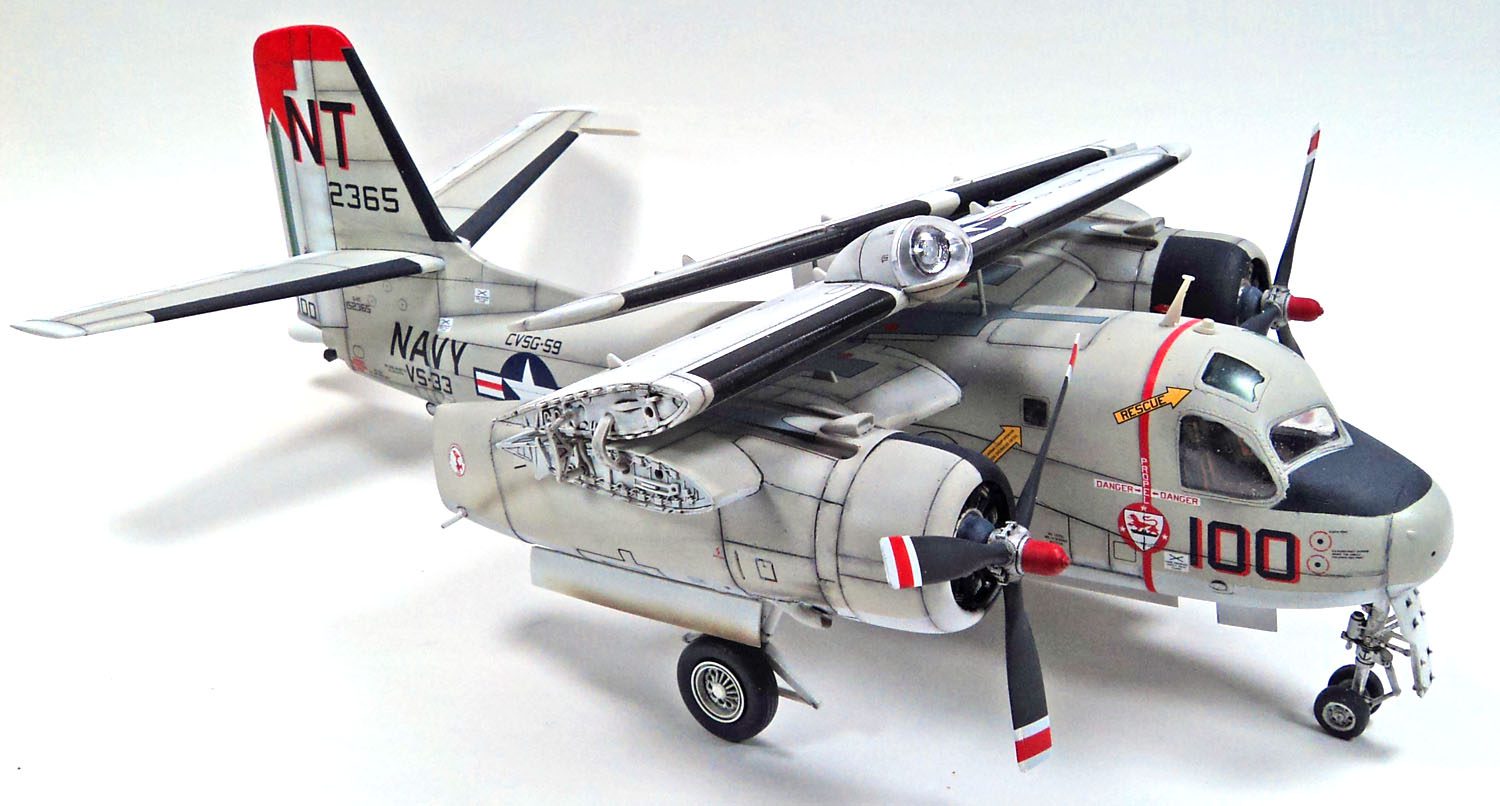
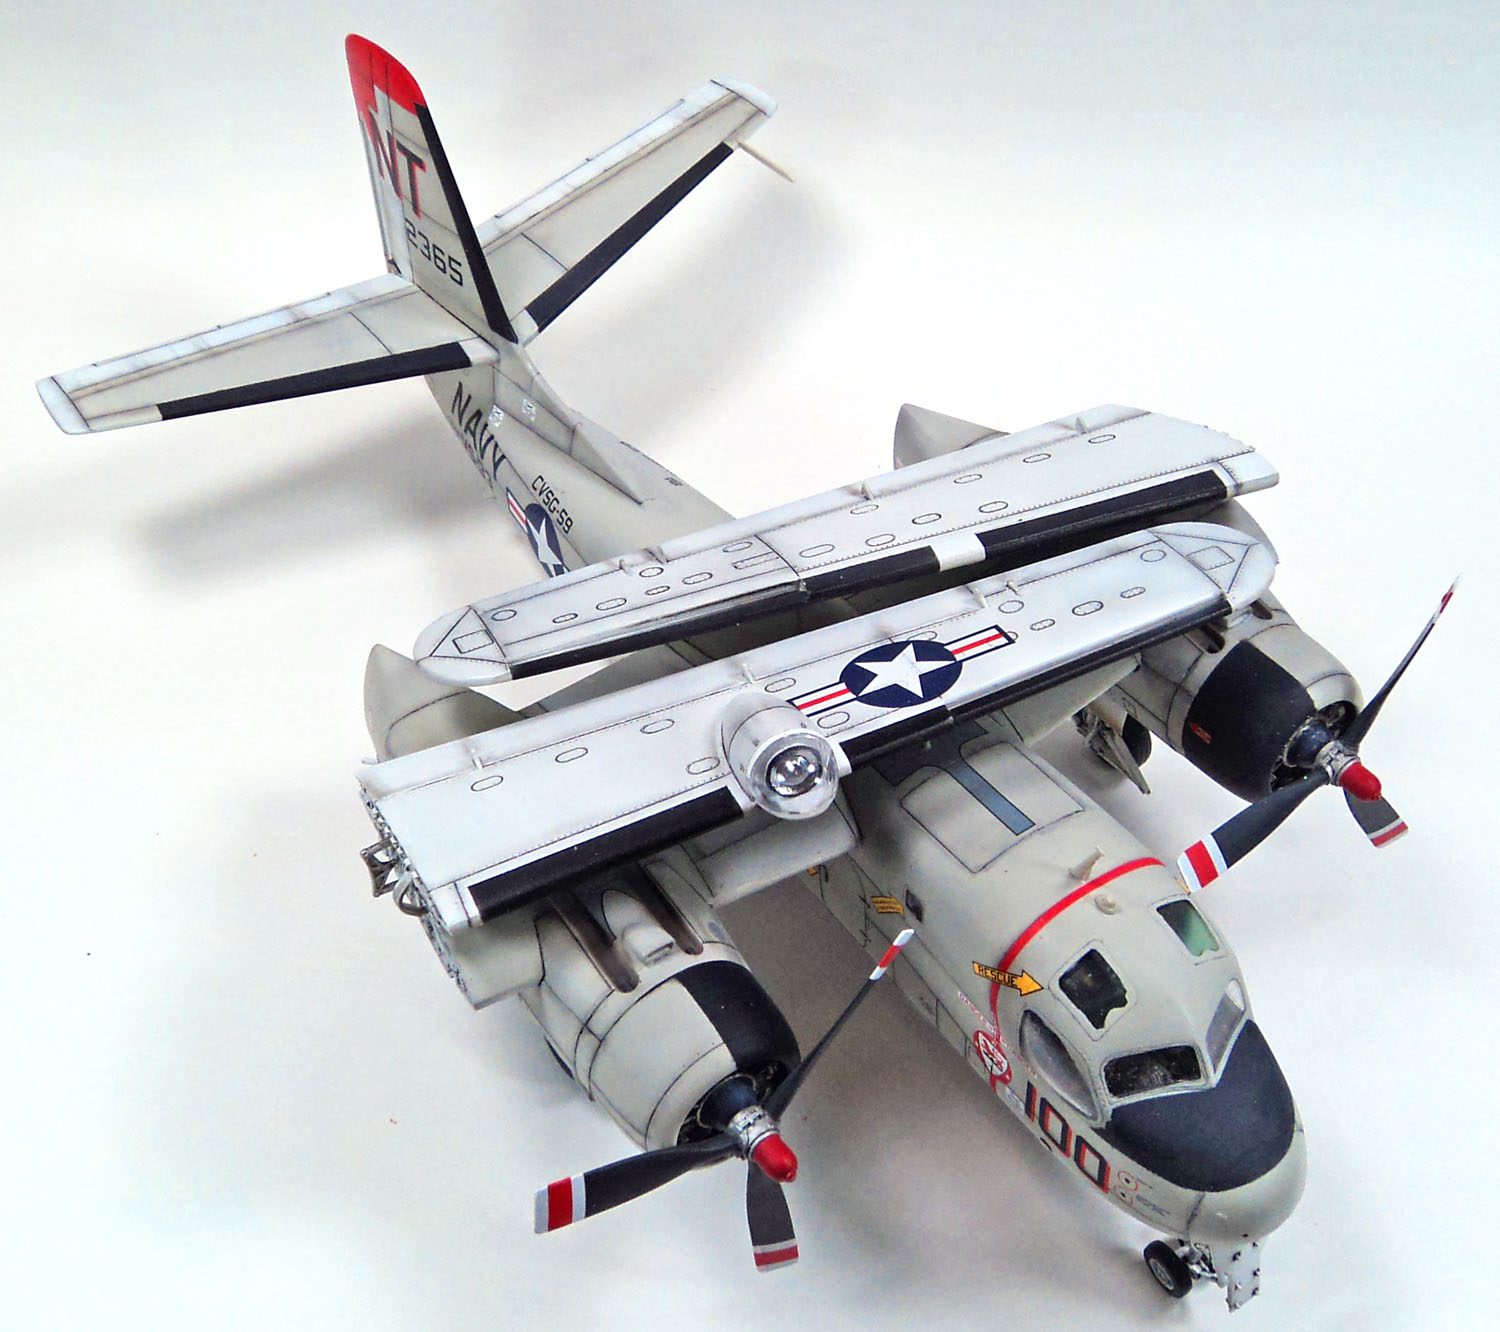
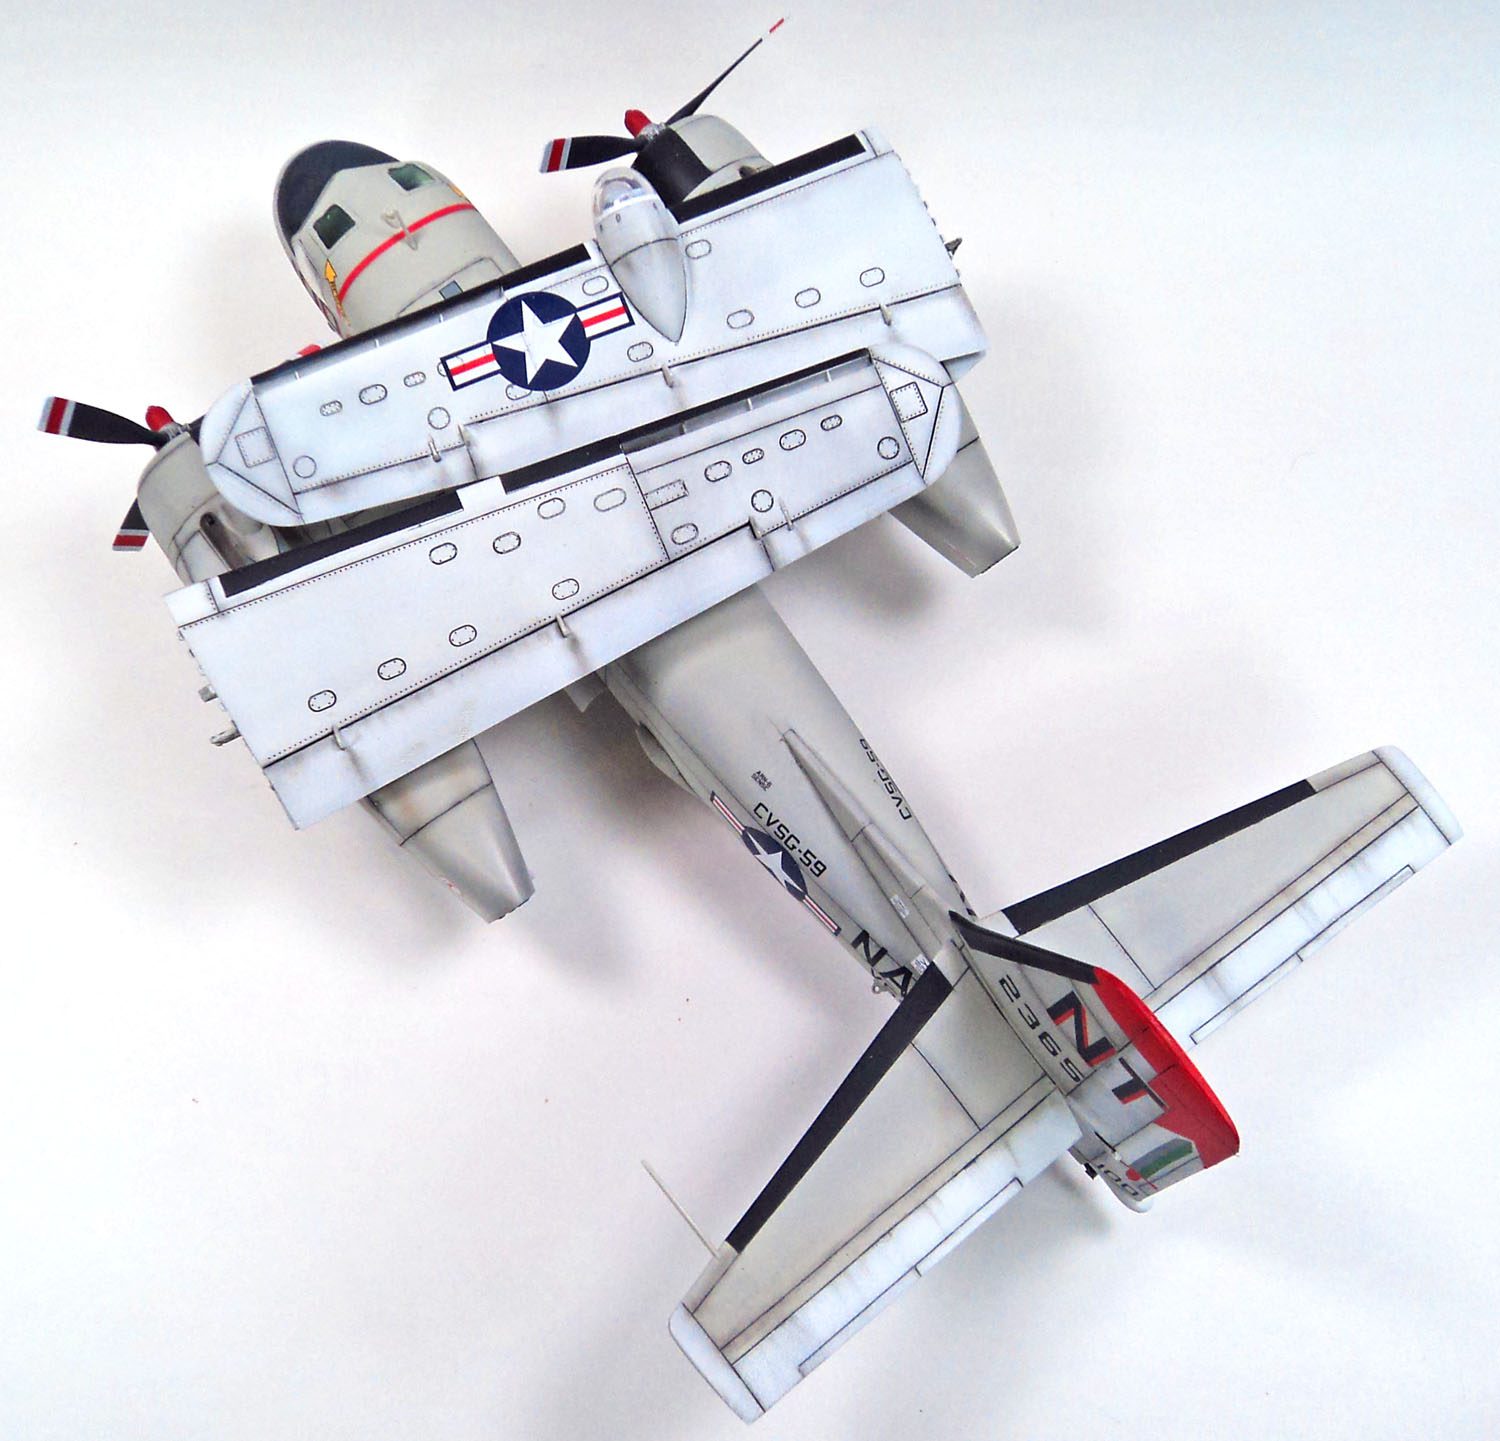
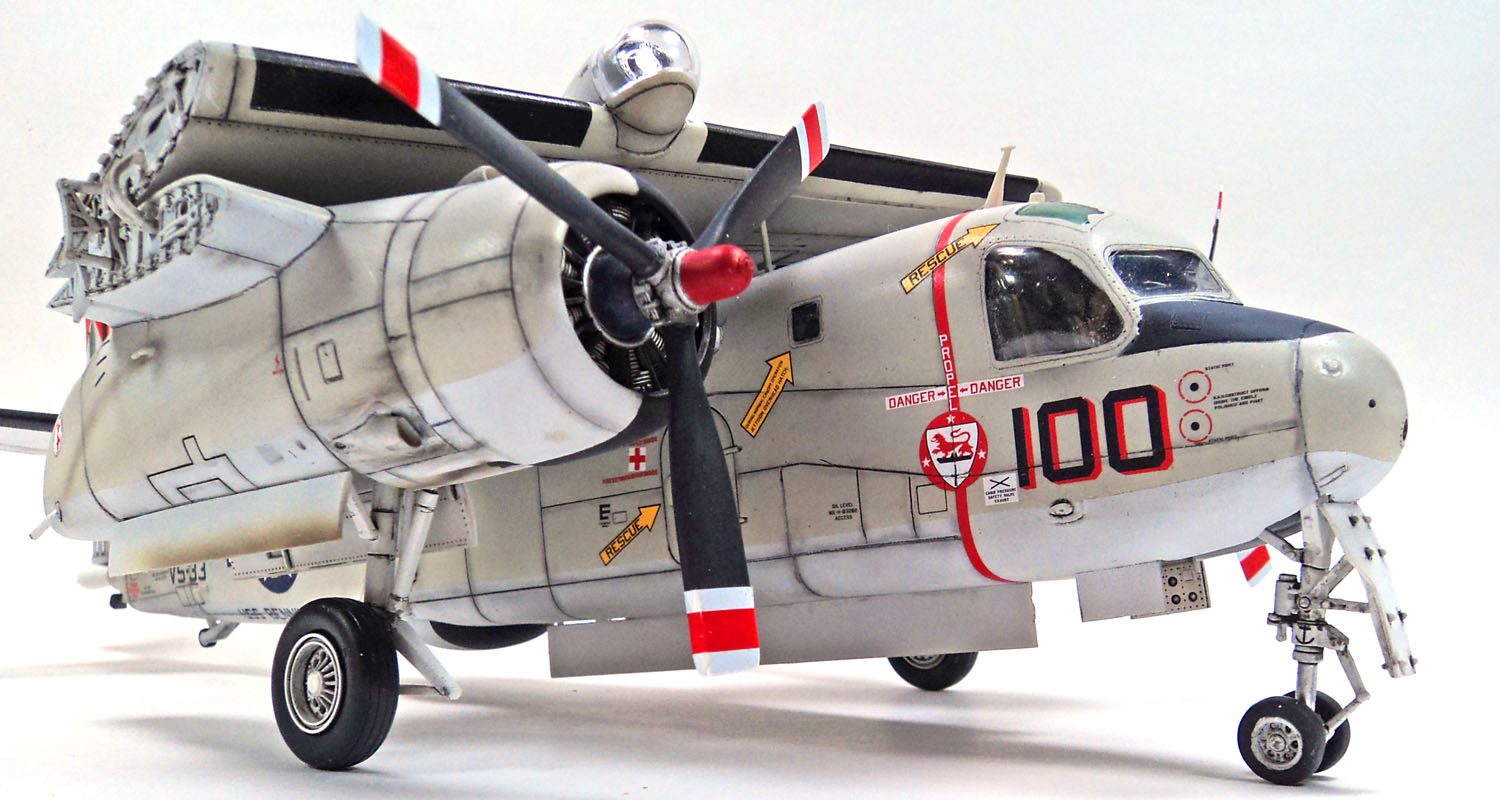
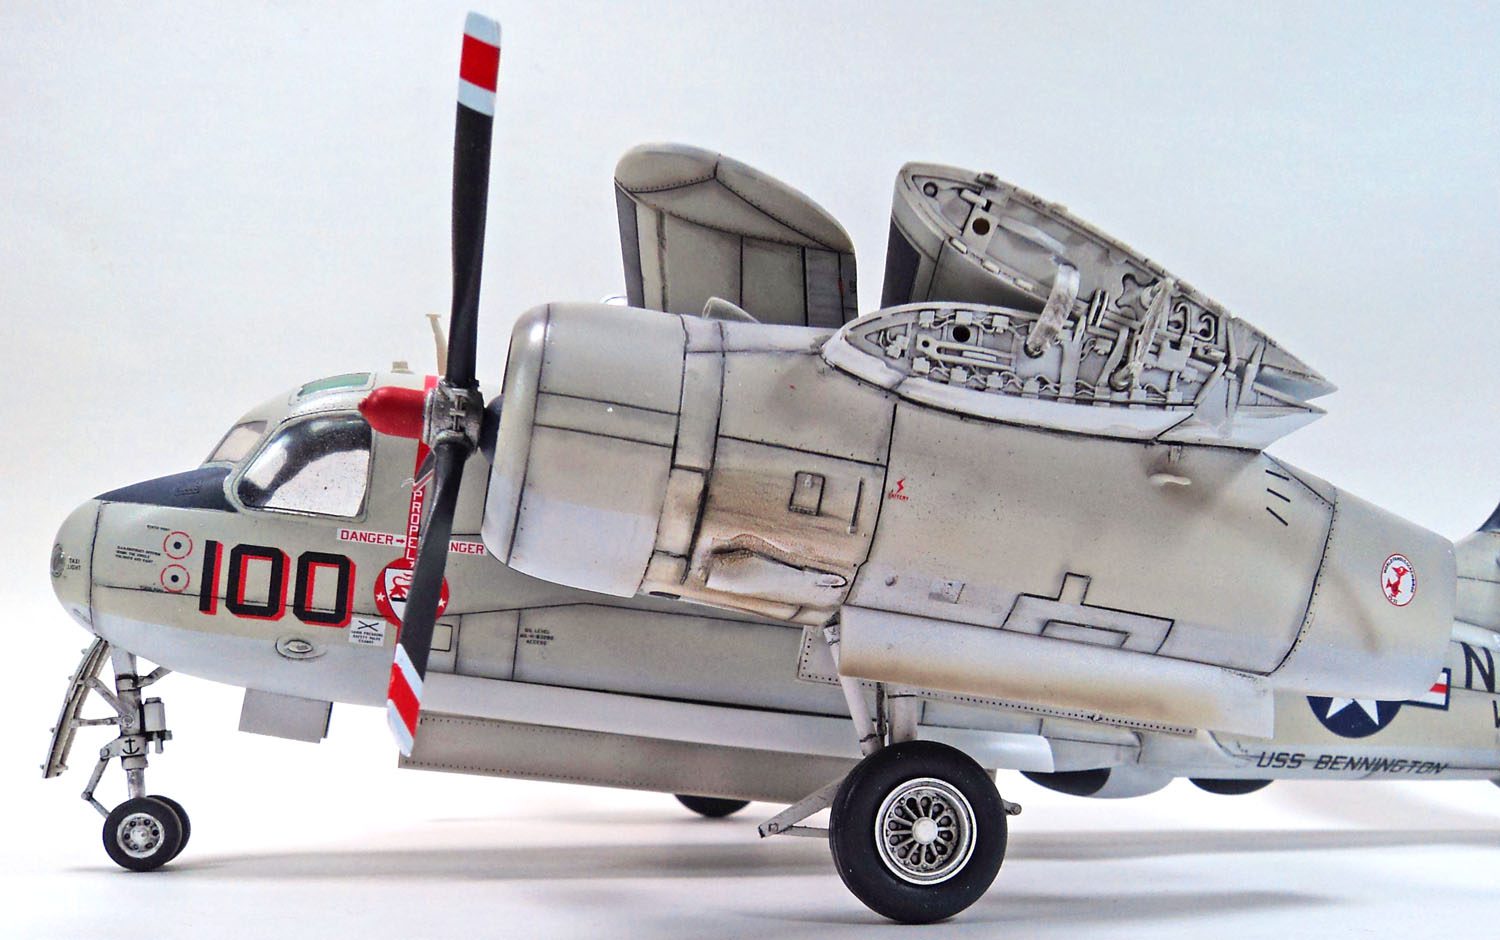
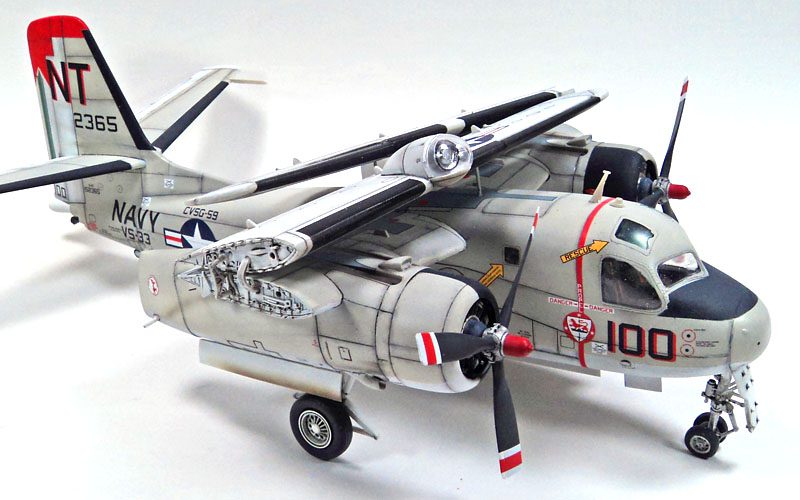
The Italeri (nee Kinetic) S-2 Tracker is finished.
Prior to starting, a fellow modeler, on hearing that I was planning to build the kit, told me “you’ll regret it.” So I came into the build with a bit of concern.
I should have stopped and thought about the fact that the fellow who told me that had never built the kit, and in fact, has not finished a model in a decade.
I am happy to report that this is not really a difficult model at all. It’s tedious- more on that- but not difficult.
The kit cockpit is very plain- no floor detail, no upper console detail, poorly detailed seats without belts. Of course, you can’t see much through the windows. I did use an Eduard set to dress up the interior, but now that it is finished, all you can really see are the belts. (But they look good! 🙂 )
Some seam work was needed along the fuselage, especially on the underside, but it was not excessive. There wasn’t a gap, really, just a bit of a small “ledge”- which I probably could have avoided with a little more test fitting and planning.
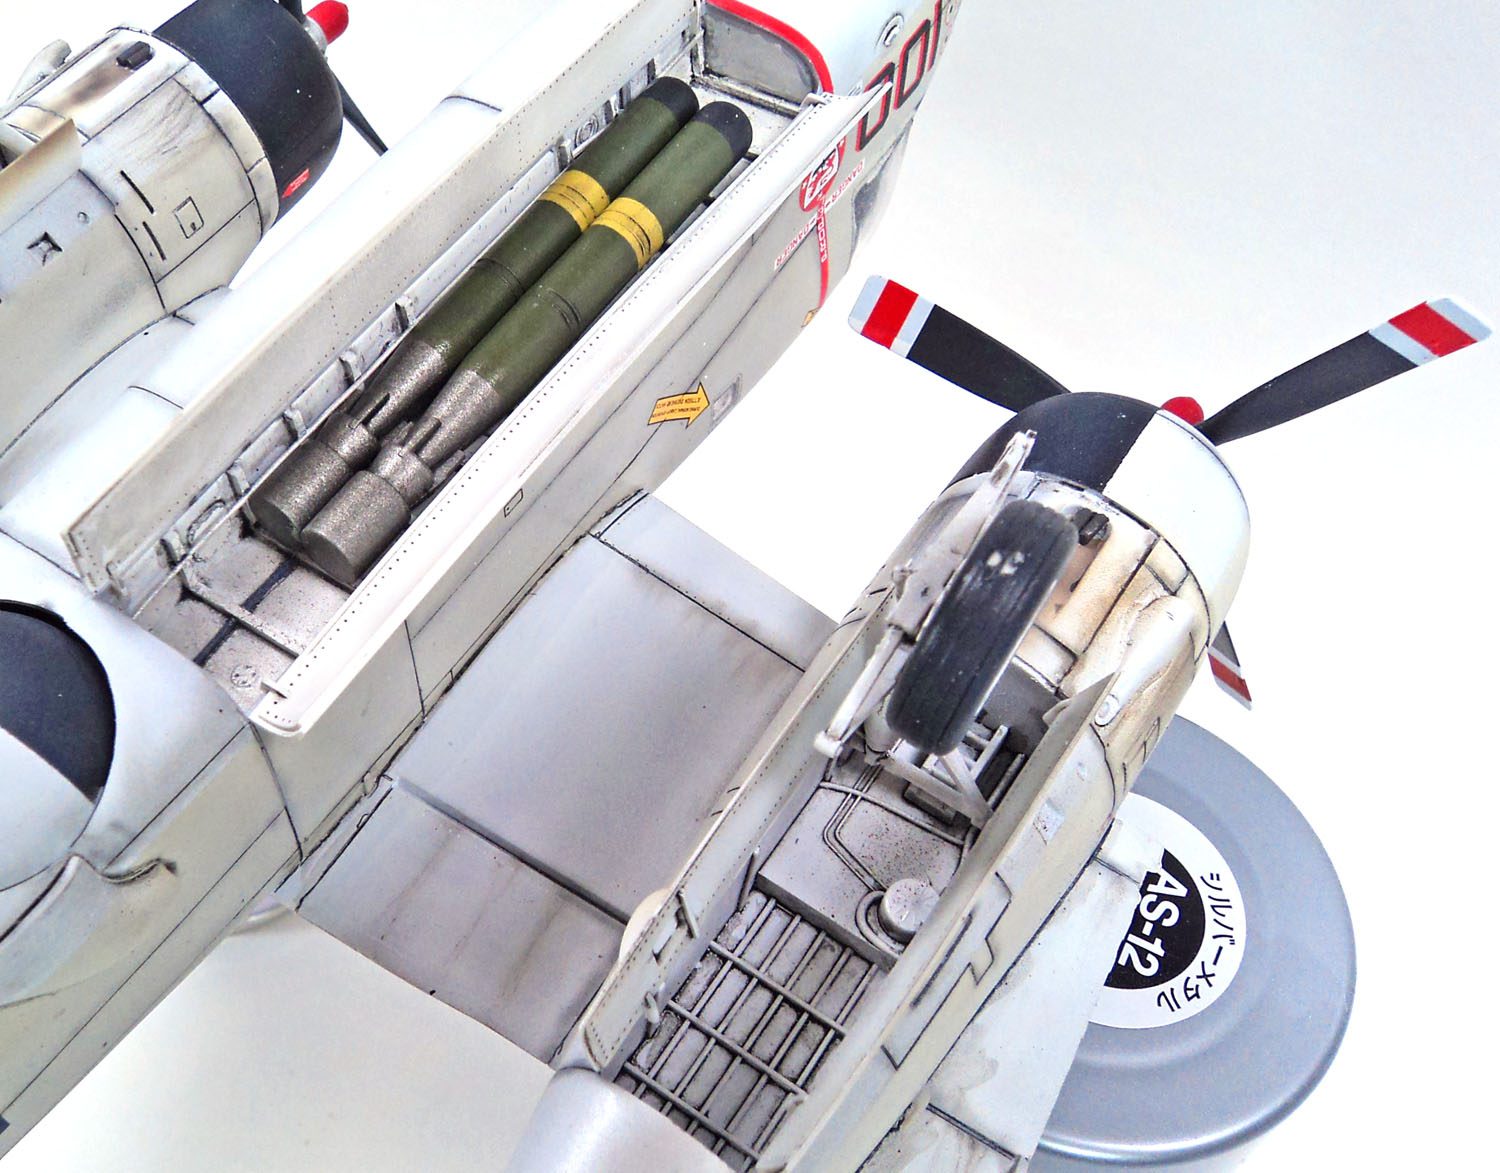
You will need to add plenty of weight before closing the fuselage- most of which will need to go behind the cockpit. Trust me, you don’t want to miscalculate the center of gravity and have to put weight in after the fuselage is sealed up.
The nacelle fit is pretty good, the wing fit is pretty good, the tail plane fit is pretty good. Everything needs a bit of light sanding and some Mr. Surfacer, but I don’t want to present it as if it’s a problem- it really isn’t. A novice 12 year old, with a little instruction, could get this one together.
There are a few points you’ll need to watch out for, though minor. Most of the small projections- antennas, wing fold supports, fuel drains, etc., will need a hole drilled. The instructions clearly show where, even though at a few places they don’t indicate a hole should be drilled. But those places are apparent. If it looks like it should just be glued to the exterior- drill a hole.
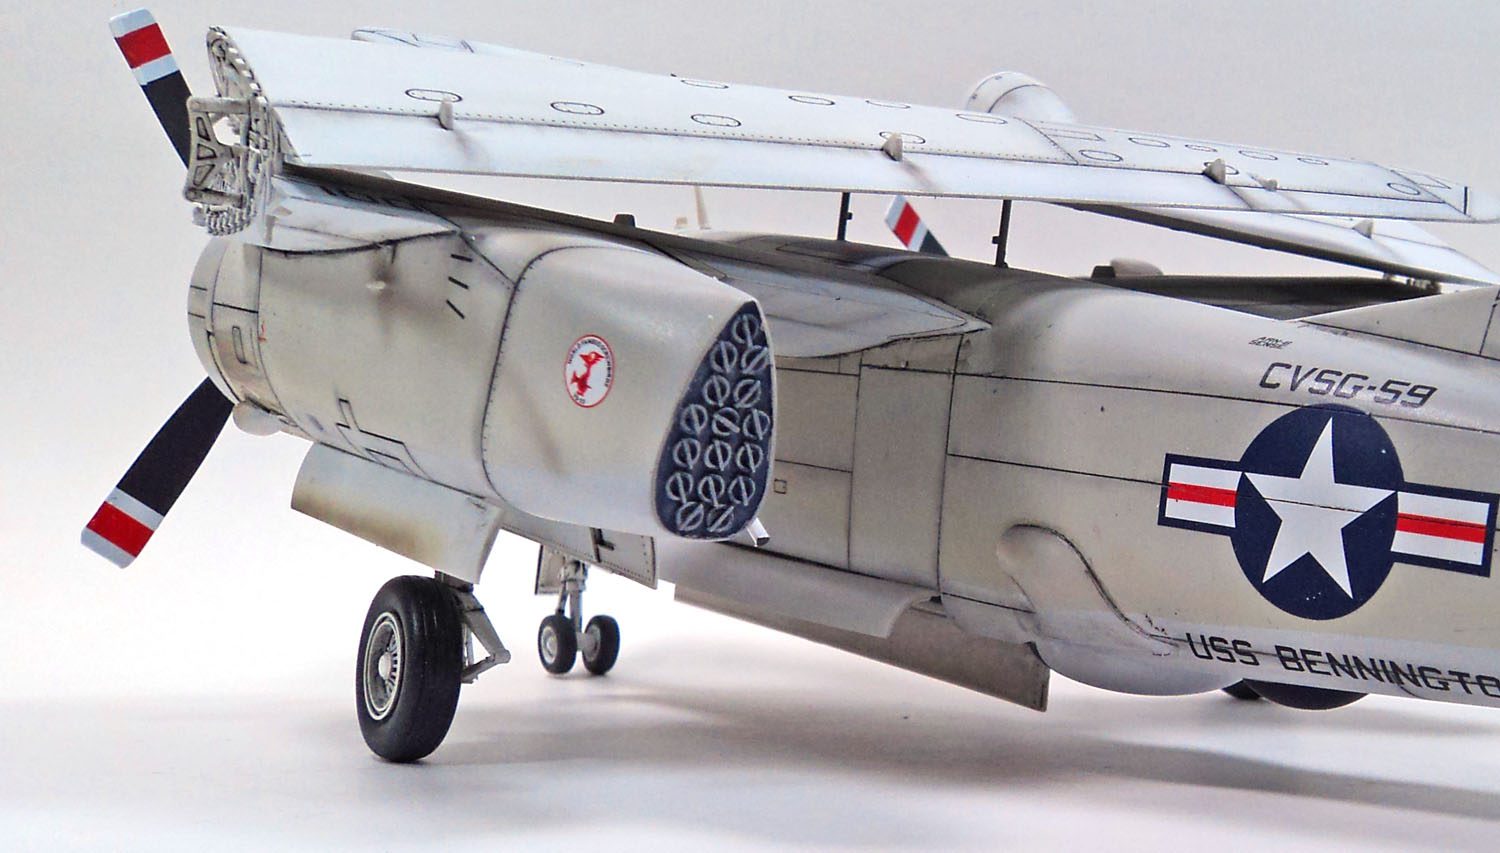
As this was a commission build model, the customer asked for me to use Scale Aircraft Conversions metal gear. I ended up using it only on the front, as I thought it might be slightly more rigid. But the main gear parts supplied with the kit were better, and because it was a plastic to plastic join, I felt a better bond could result. In terms of looks- the SAC parts are basically duplicates. (I don’t get why so many people use them…)
Paint was Tamiya on the bottom, and Gunze on the top. The decals were from the kit, and were flawless. (They’re Cartograph, so….)
The customer asked for folded wings, which are quite delicate to get in place. I would have preferred to do the wings extended- but it’s not my model. Still, I think it looks kind of cool.
Overall, my only criticism of this kit is not so much of the kit but the subject- it’s just tediously unexciting. It’s a chubby, twin engined workhorse of an airplane. No sexy shapes or a look of going fast or any of those things that the fighters have. Just… a big cockpit with gangly wings and a giant tail. Yet…
There are no problems during construction, really. The only ones I encountered were self inflicted. But you really have to want an S-2 to build it. Lots of little projections and antennas and doors and so forth, and the whole time it’s like having to hang out with your friend’s goofy kid brother. He’s alright, and shows occassional signs of being fun, but certainly not exciting.
Yet when you’re done- you will have a kit not many people build, and I suppose in its “mundaneness”, it has a cool all of its own.
And if nothing else, it is a build lacking in frustration.
Or excitement.
(But no frustration.)


Leave a Reply