Every once and a while I run into a kit that surprises me with how good it is. Such was the case with this Meng G.91. I’d never built a Meng kit before, so I wasn’t sure what to expect. As it turned out, this kit is a real gem.
There are minimal parts, and the breakdown of it all is fairly conventional. I think the parts for underwing stores actually outnumber the parts of the airframe itself.
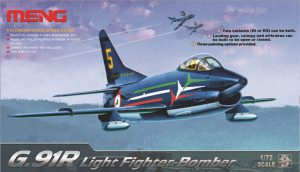
Kit: Fiat G.91
Manufacturer: Meng
Stock Number: DS-004
Scale: 1/72
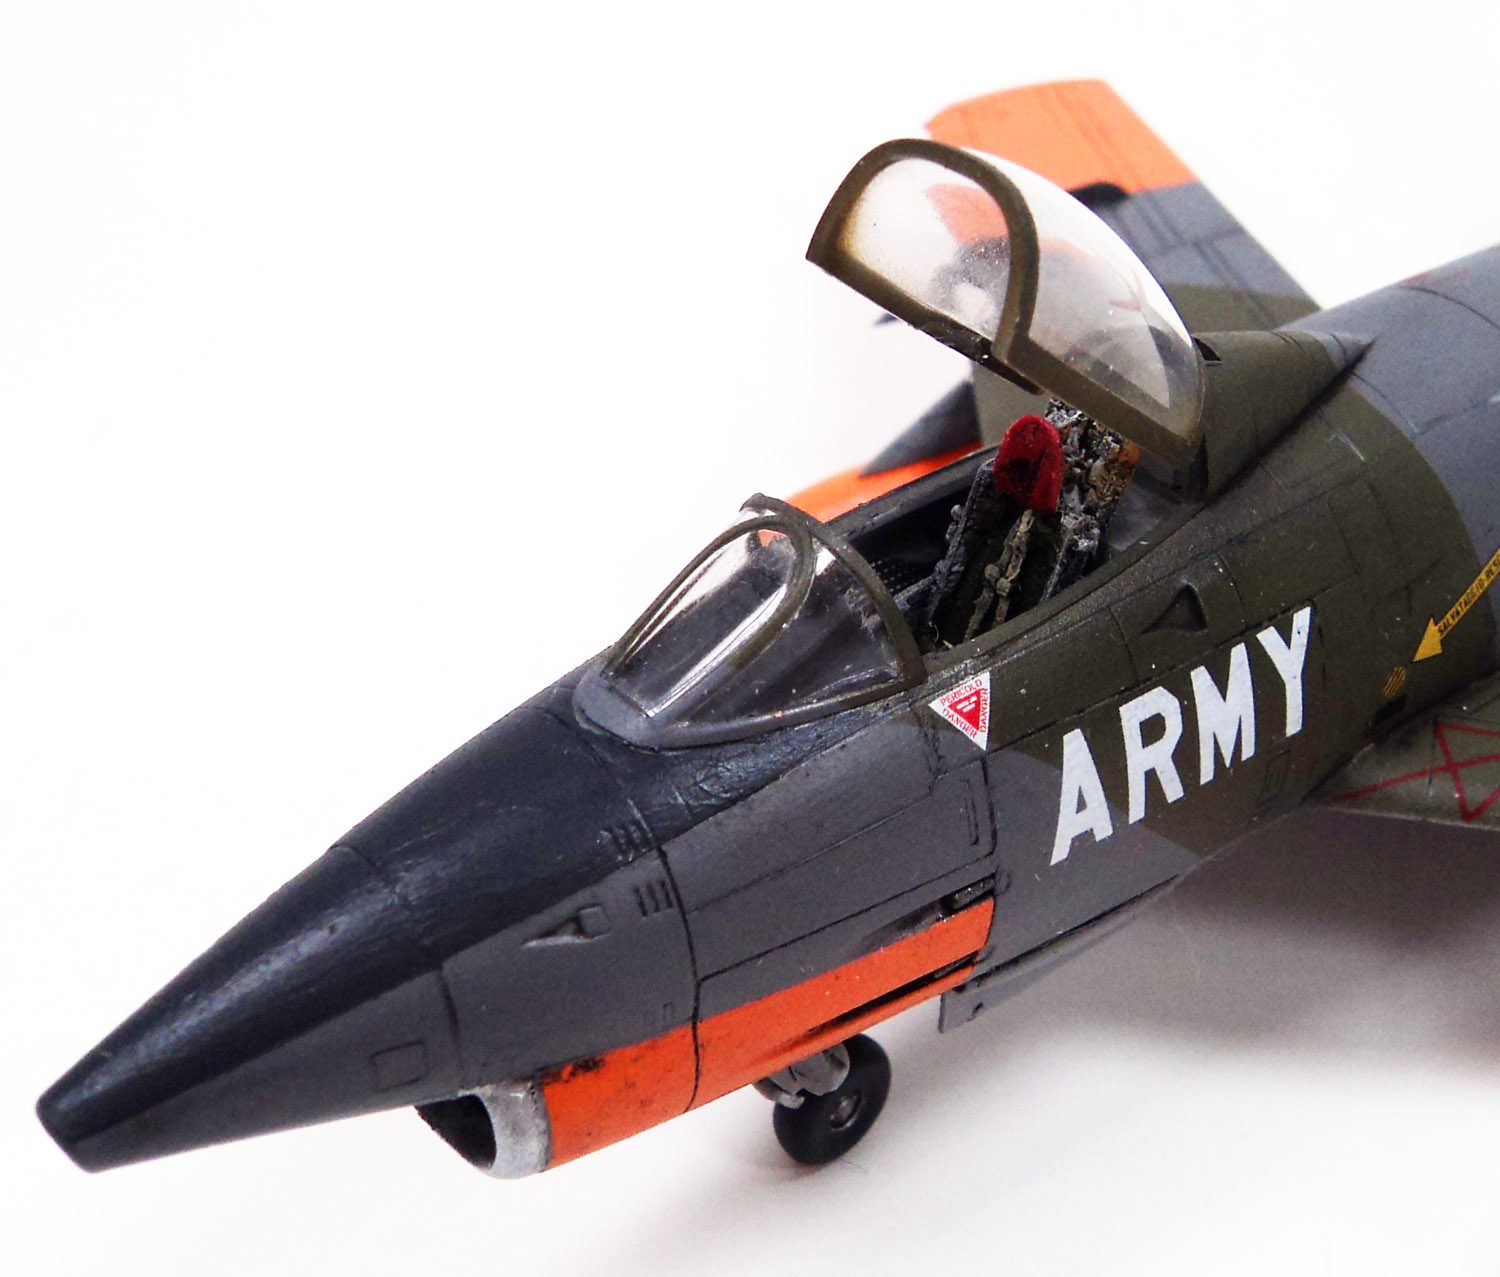
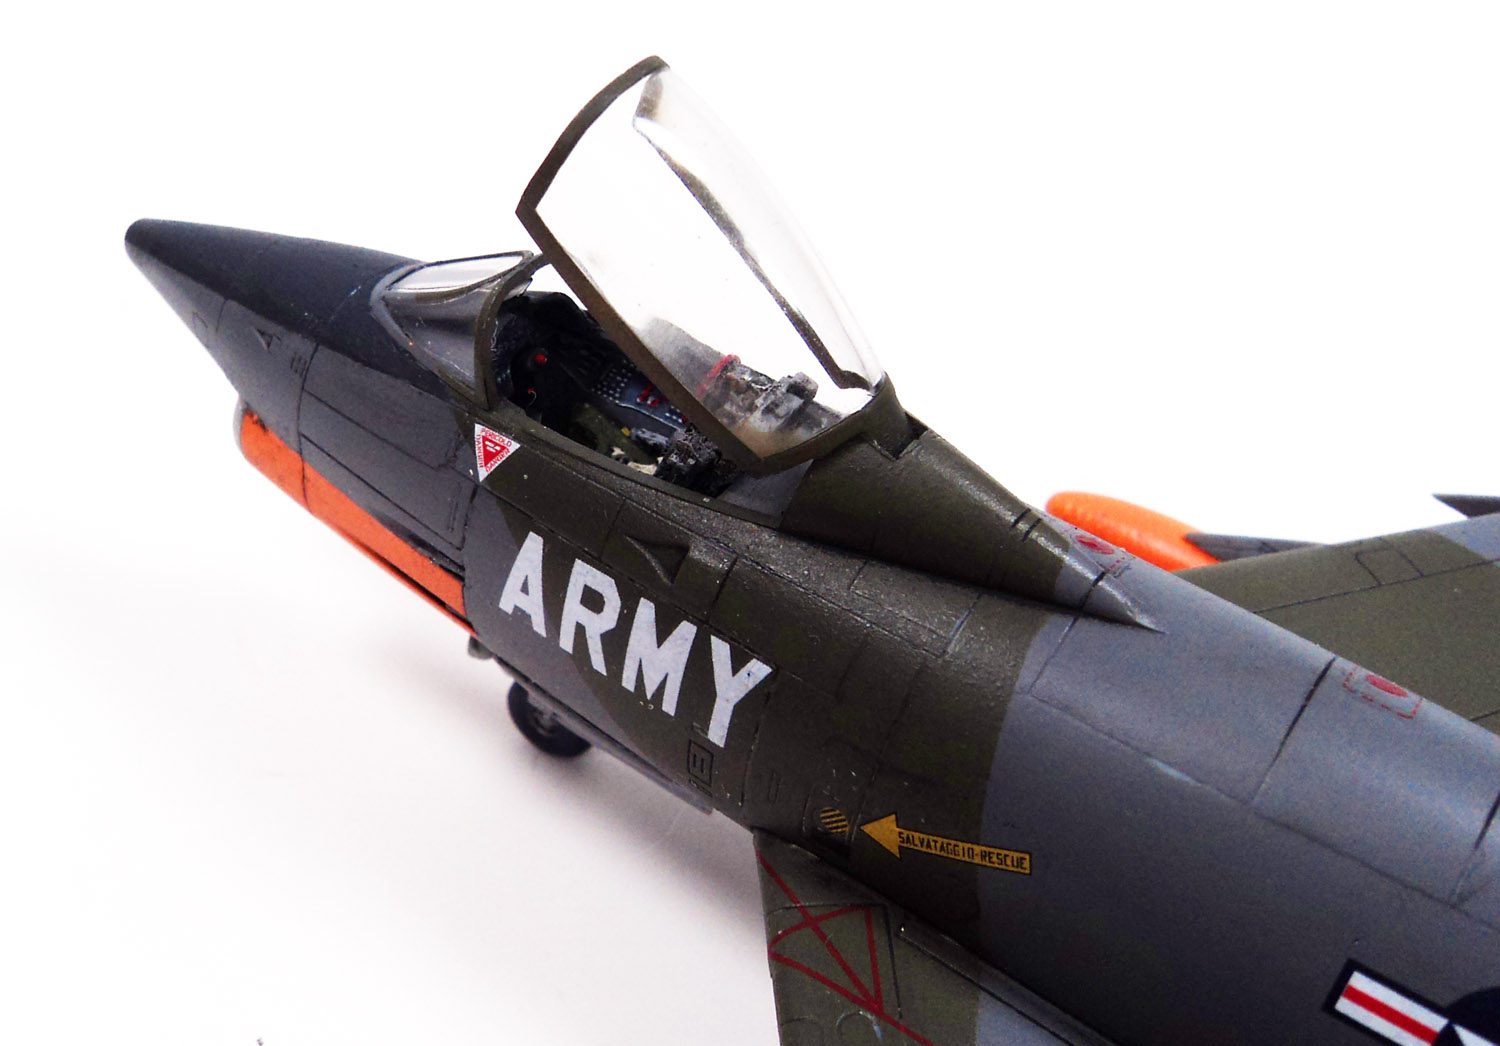
The cockpit is very simple, with a cockpit tub, stick, instrument panel, and seat. The cockpit consoles work well enough with some paint and a good drybrush, as does the IP, though barely. The seat is too simple- basically a plastic “throne”, though with some belts it will work. I replaced it with a resin seat, though it was actually from an F-5A set.
Two single piece wheel well tubs comprise the nose and main gear bays, and while the detail is simple, it works under paint and some wash. Closing the fuselage halves was pain free, as the cockpit and wheel wells fit in with zero fuss. Seam line cleanup was minimal. I did depart from the instructions a bit, and left out the jet nozzle, as that can be fitted later.
To allow for the 2 or 4 gun option to be built, small side panels are provided for either side of the aircraft just below the cockpit. I left one of these off to allow for nose weight to be added after the wings are on, which ensured this would not be a tail sitter.
The wings are single piece moldings for the left and right wing. They fit perfect, with just a bit of eyeballing needed to make sure they have equal dihedral. The tailplanes fir so well that they can be left off until after painting, which made the masking for the markings I chose much simpler.
With adequate nose weight in place, and all panels closed, I affixed the front windscreen- which fit perfectly- covered up the cockpit opening, and began the paint process.
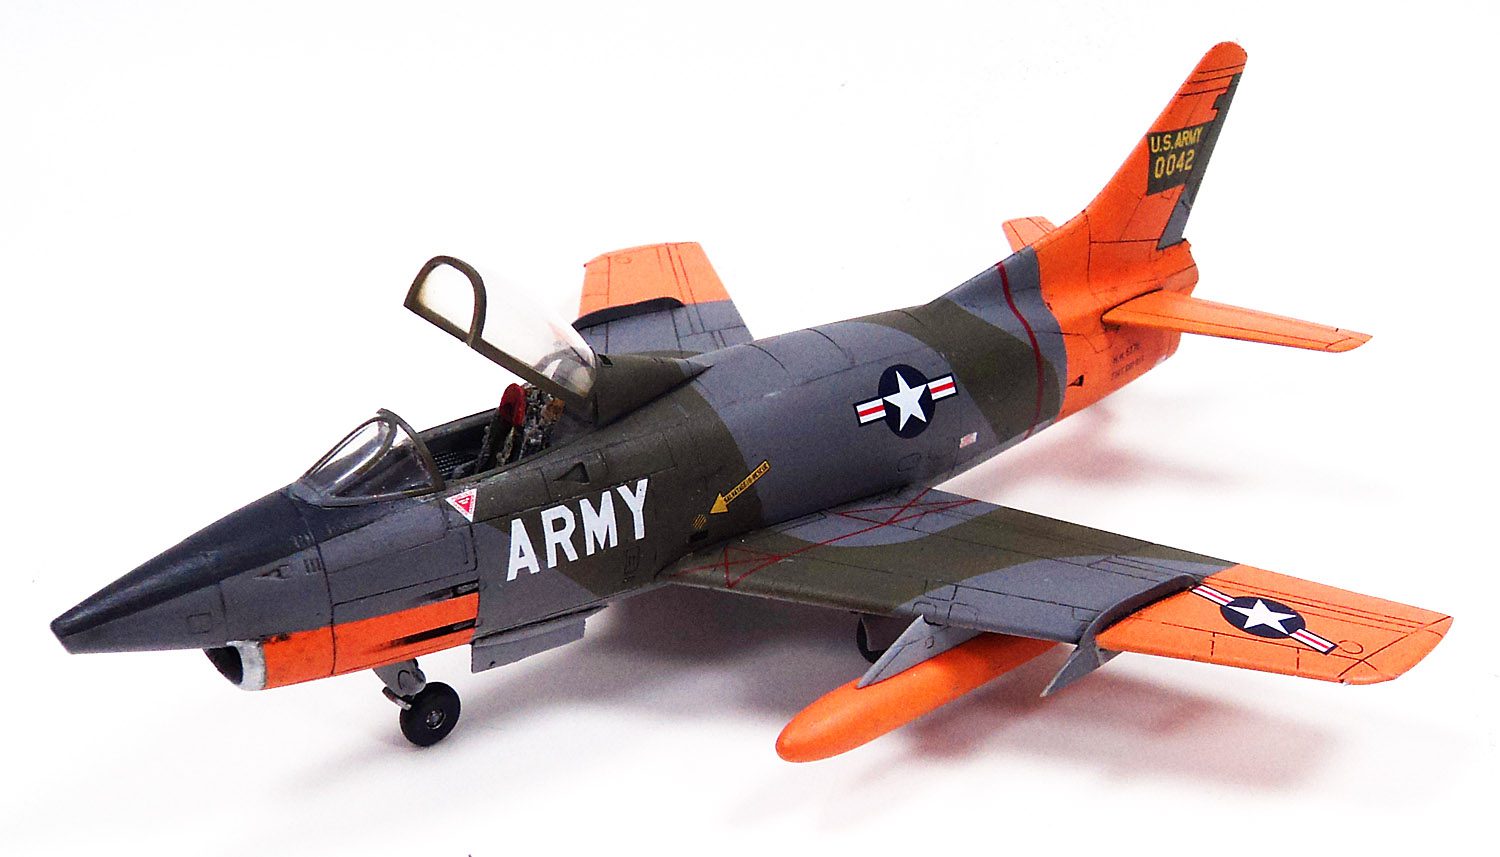
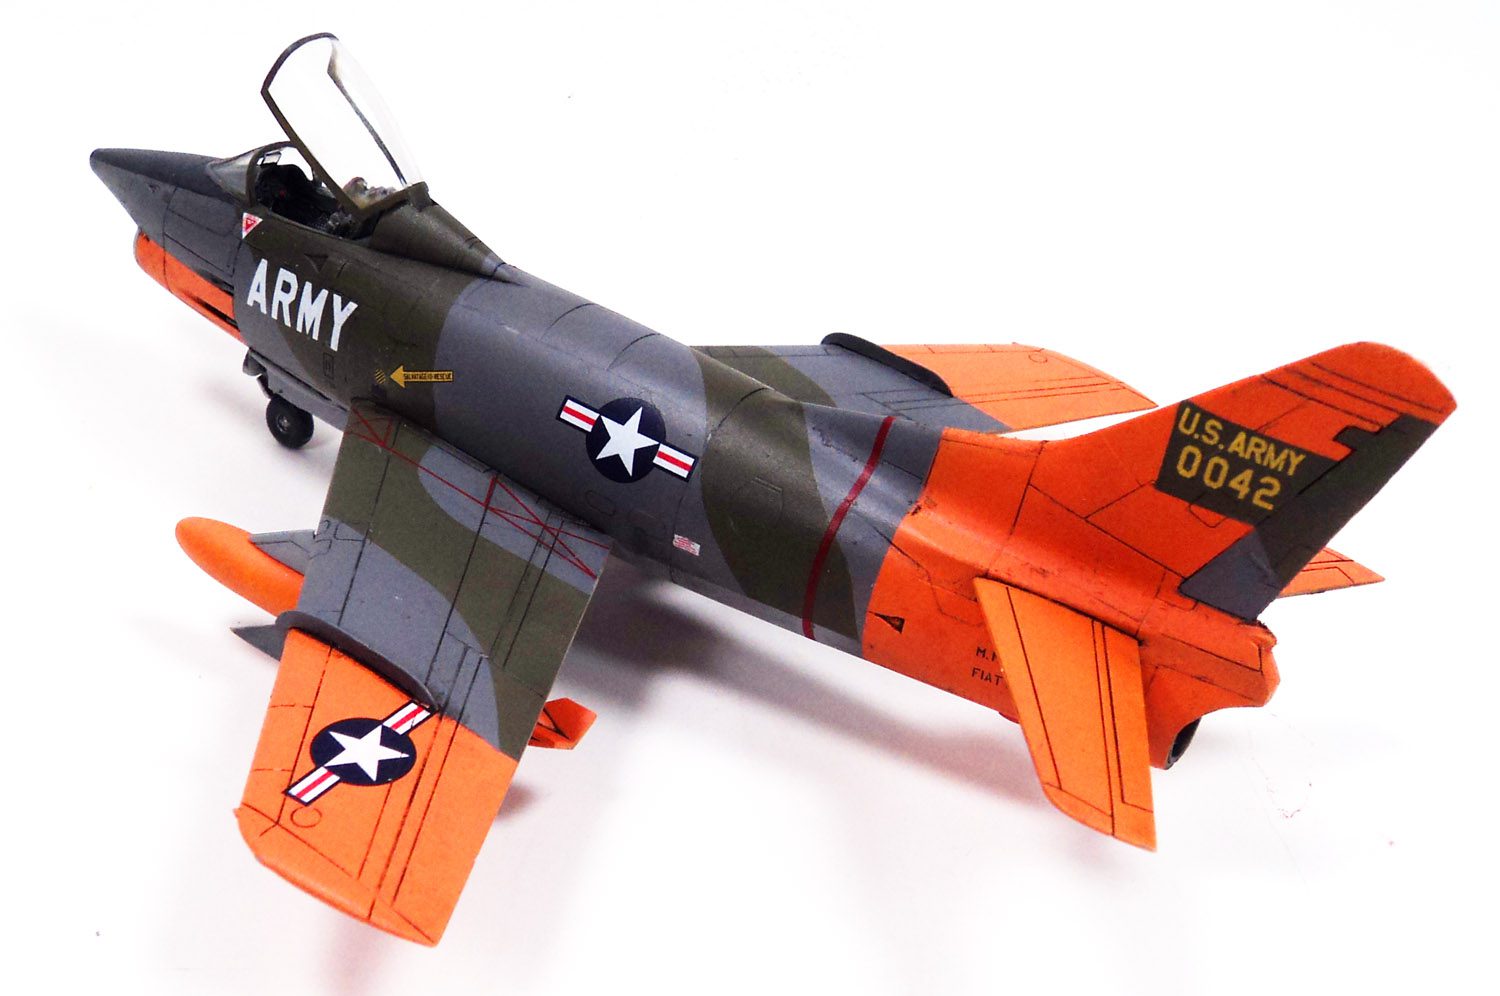
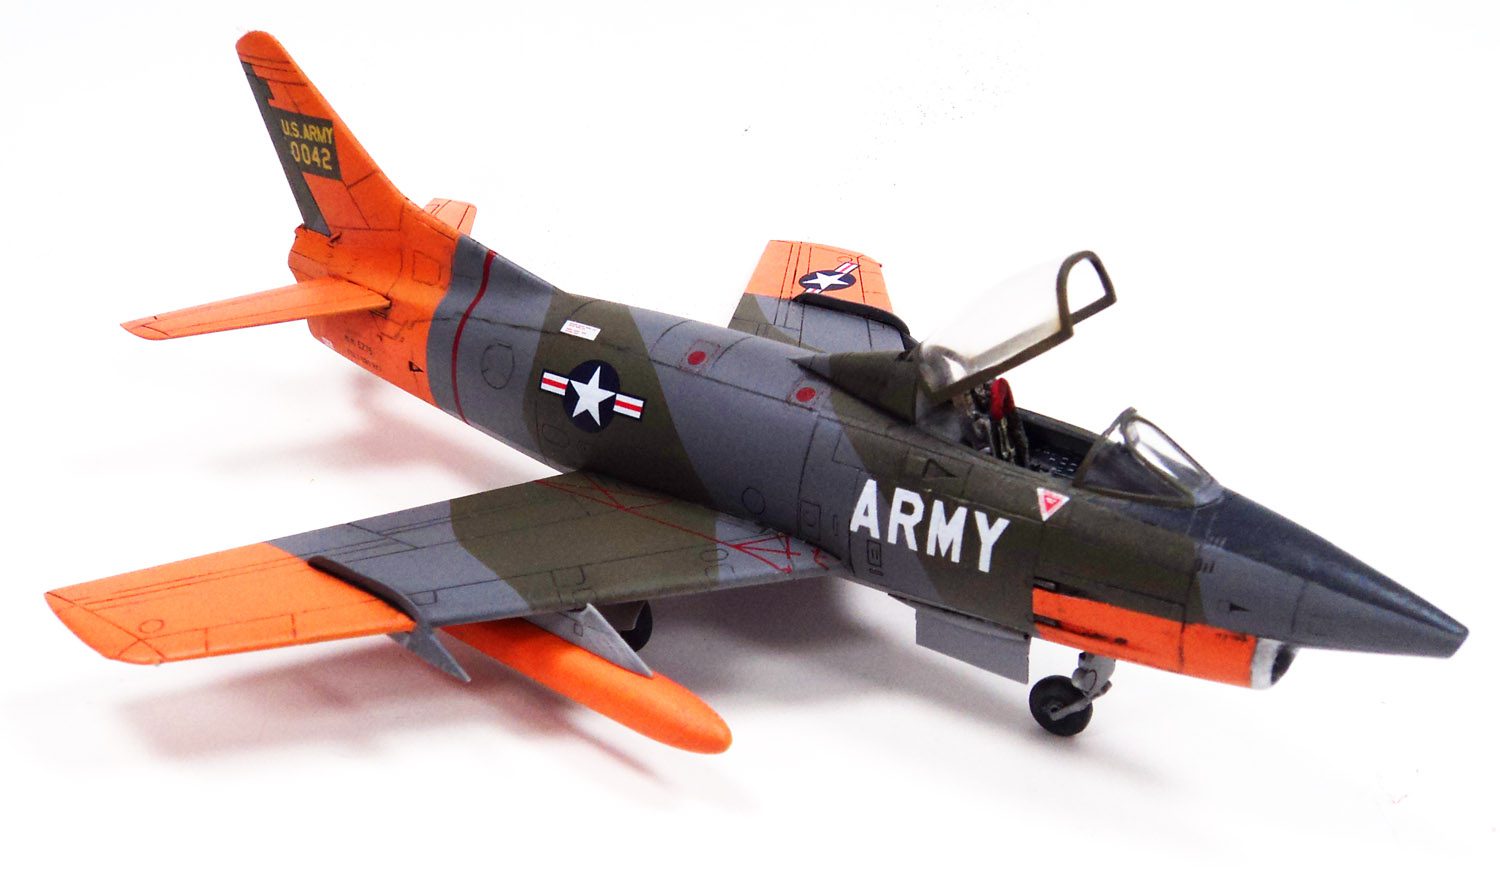
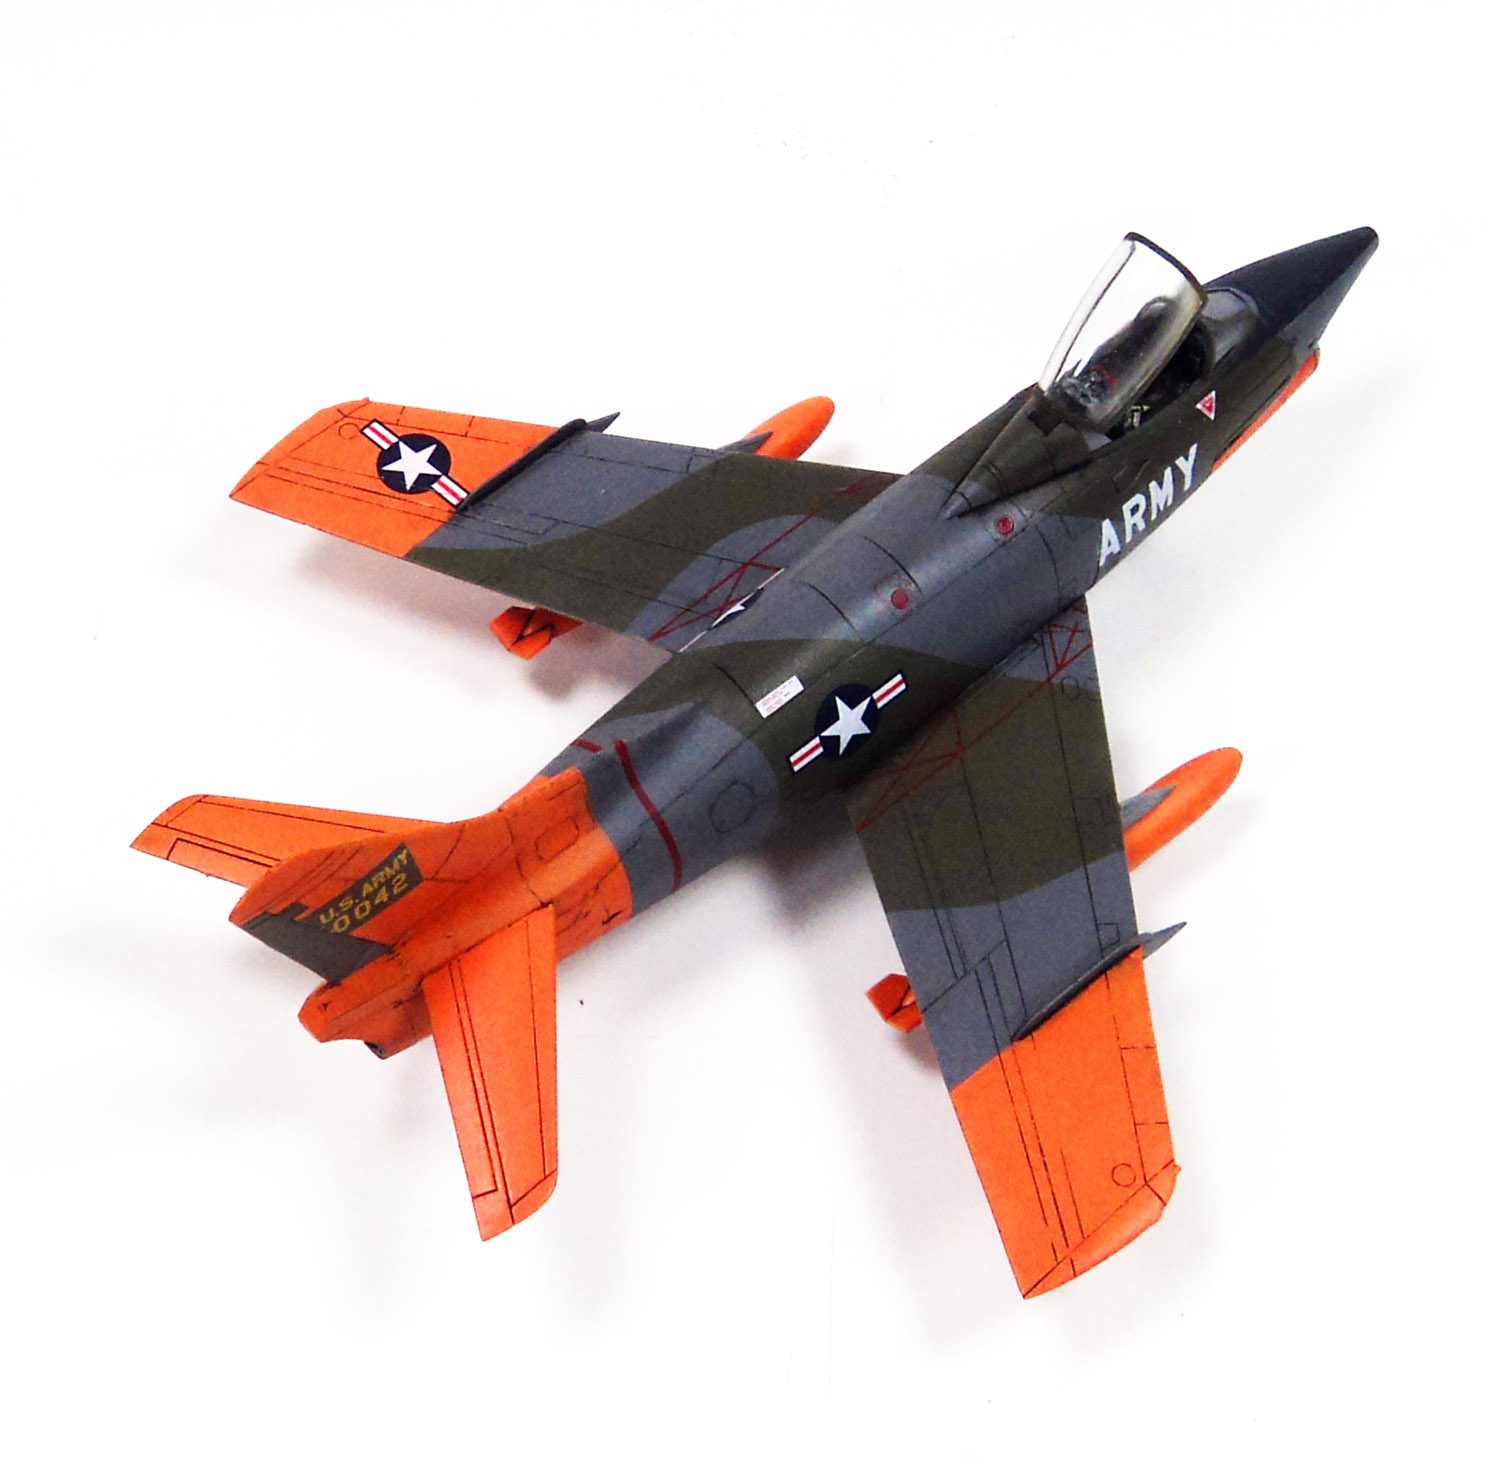
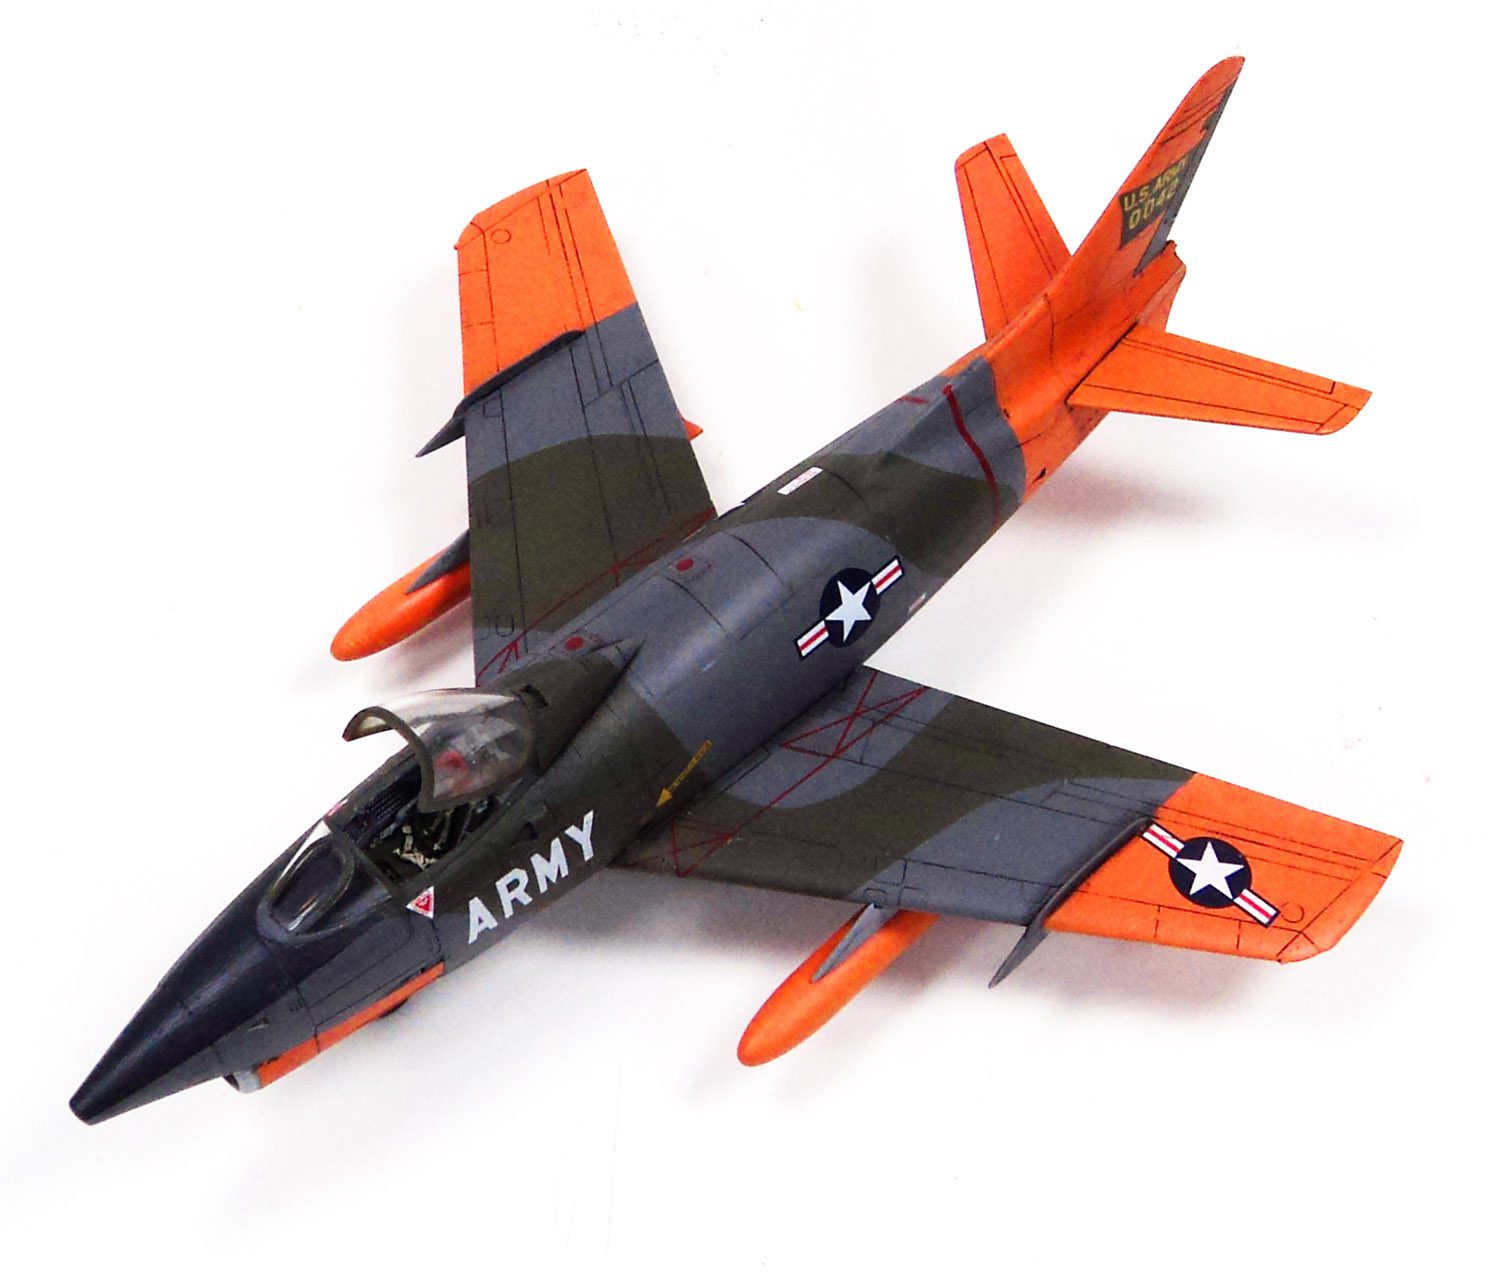
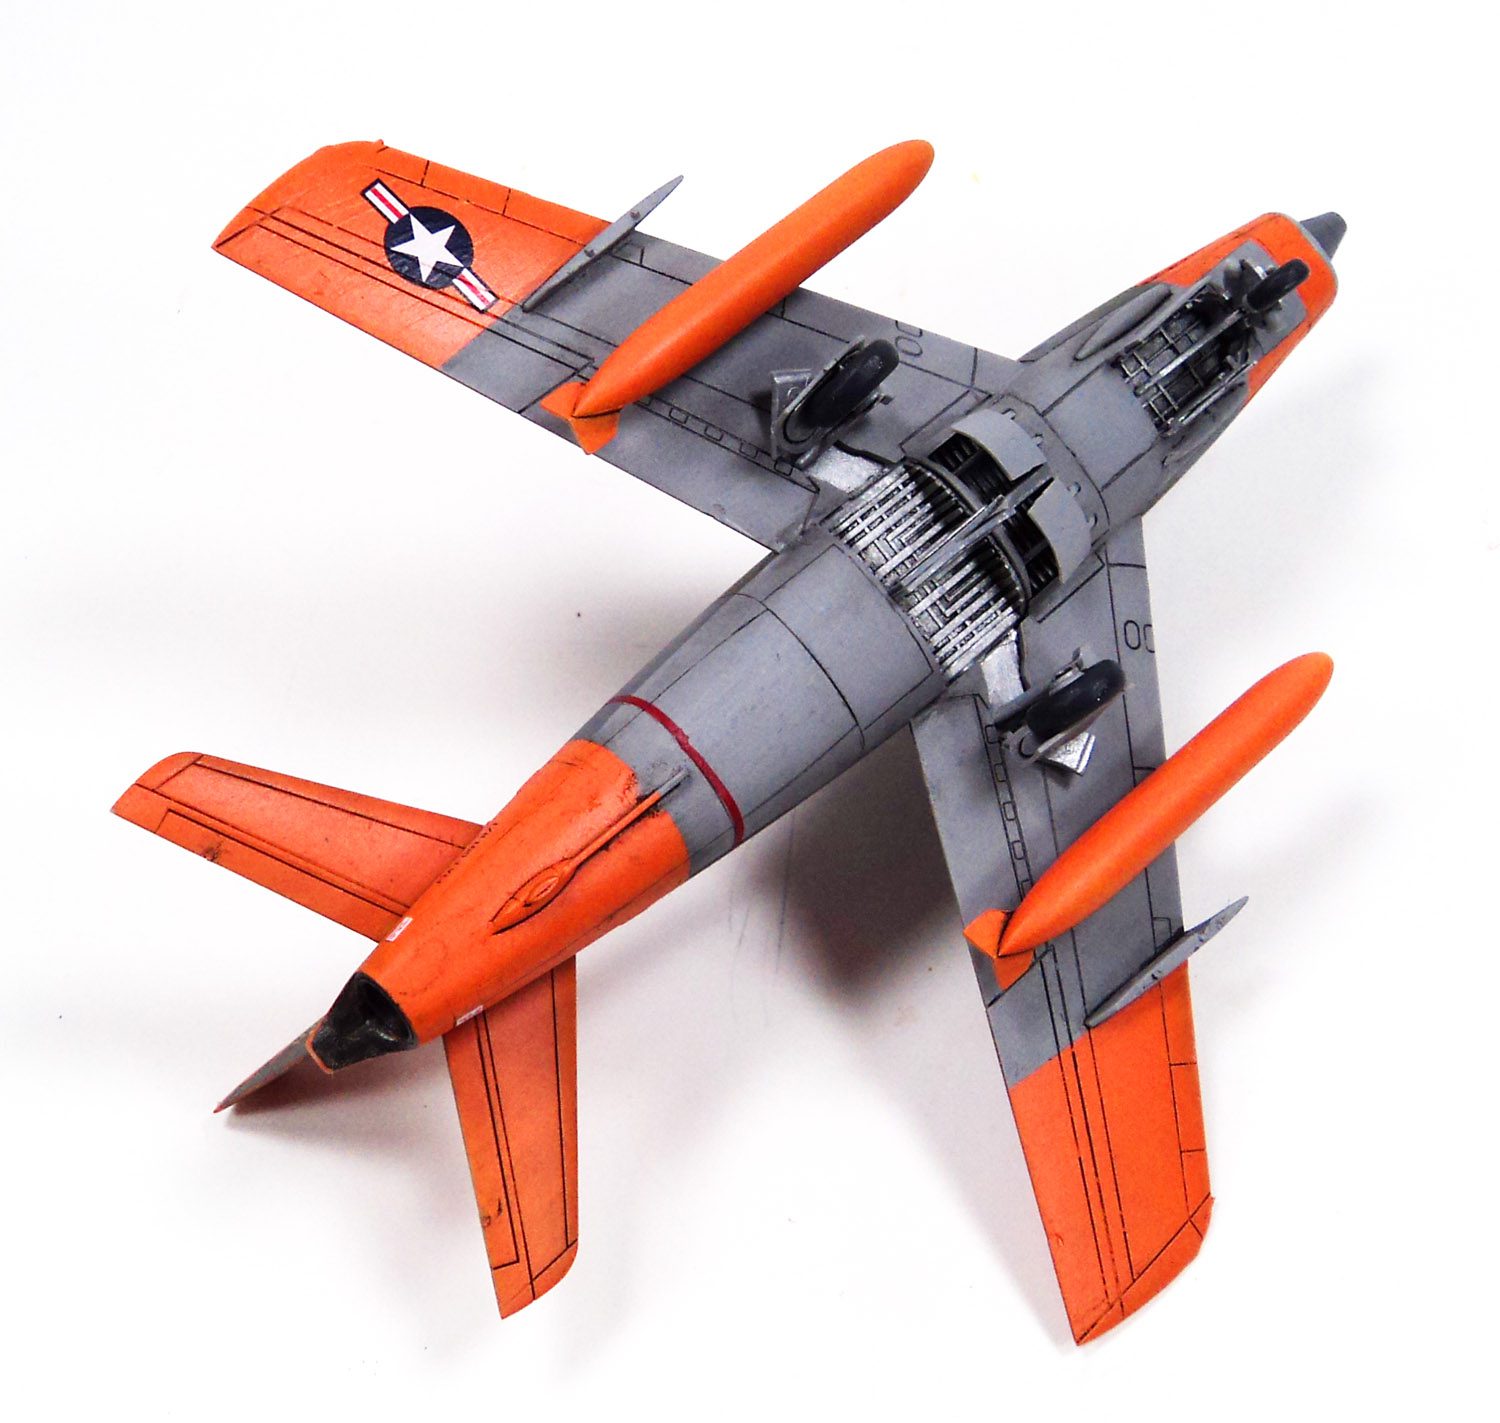
The kit comes with three very nice marking choices- an Italian Air Force aerobatic team scheme, a camouflaged German option with a cool tiger’s mouth, and my choice, being a US Army veteran, the camo and orange version tested by the US Army in the early 60s as a close air support airframe.
I mixed my orange color using Tamiya yellow and clear red, and applied that to the model. After masking that off, I used Tamiya XF-19 on the undersides, and Ocean Gray and Dark Green for the uppers. With the masking removed, a coat of gloss was applied.
The kit decals performed very nicely, and settled perfectly with Solvaset. The carrier film is a bit “wide”, so careful trimming will be in order. With the decals on and a final gloss coat applied, I added a wash of Ammo of Mig Panel Line Wash (Night Black), sealed it with a flat coat, and called it finished.
This is simply a great little model to build. The only thing I had issues with were placing the landing gear doors in place, and I think this was partially self induced because I forgot to scrape away paint from the mating edges at first. But even that was a minimal issue.
If you’re looking for a great kit that is a bit different, I highly recommend this one!


Leave a Reply