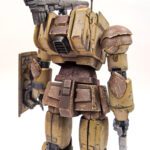
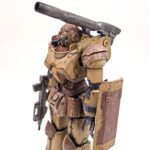
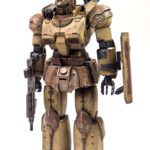
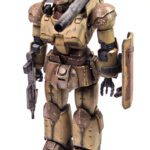
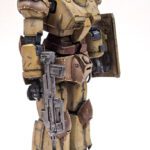
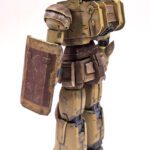
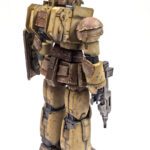
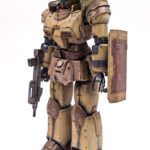
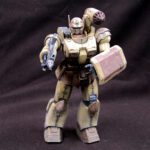
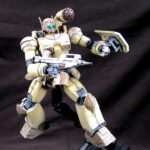
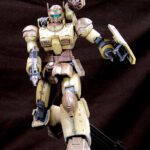
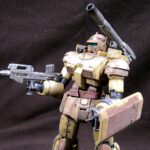
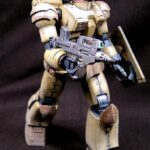
My third Bandai Gundam build is complete, and overall, I’m pretty happy with it. The final result was not exactly what I intended, but the overall purpose behind the build was achieved, so that is really the key in my mind.
My purpose was twofold going into the build- I wanted to experiment with applying real world military color schemes to Gunpla, and to practice various chipping methods. Both were accomplished, though each with varying degrees of success.
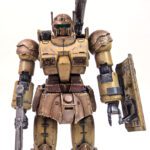
The color scheme was simple- I decided that I wanted to draw from the RAF colors used in the desert in WWII. Dark earth and middlestone were the order of the day then, so I knew those would play into the mix. Most RAF fighters also featured a red propeller spinner. Gundam, of course, have no prop spinners- not yet, anyway 🙂 , so I thought arbitrarily applying red might seem to garish when attempting to use real world colors.
As I looked over my paint rack, I saw Tamiya XF-9 Hull Red, and it occurred to me that this might be the perfect way to allude to the red, yet in a more organic way that would fit the overall scheme. I grabbed an image of the mobile suit (OK… technically “it’s not a mobile suit!” ) from Gundam Wiki, and altered the colors a bit in Photoshop to see how I liked it. Turns out I did like it!
With the colors settled, I could begin the build. On my two previous builds, I’d followed the example I saw online from multiple builders, which was essentially nip-denub-prime everything- paint everything- assemble everything. While that worked fine, the process seemed so boring. When would the fun part begin? On this build, I approached it by sections. I nipped and denubbed everything during my lunch breaks at the office, to save build time at home. Then, I primed just the torso and head, painted them, applied some fading/shading, assembled them, and added a gloss coat. I then moved on to arms, legs, waist and pack, and finally weapons, each sub-assembly being fully finished before starting the next one.
Of course, the overall time spent was probably the same- but in my mind, because it was broken up a bit with priming, painting, and assembling all along the way, I enjoyed the process much more. I plan to continue doing this method on my (as of now) current build, an RE/100 Gerbera. We’ll see how it goes this time.
With all sub-assemblies completed, I began the process of weathering. Because I wanted to really apply a lot of chipping, I decided to try out a method Linc Wright of Paint on Plastic fame demonstrated, using the edge of a larger brush to quickly but effectively add chips to a Gundam. (Or any model, really.)
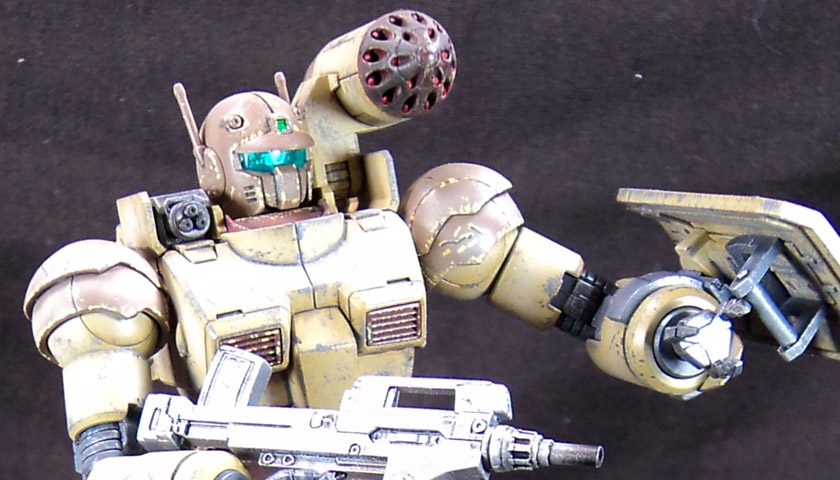
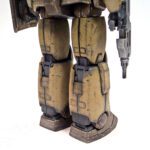
For the lighter colored parts, I chose Vallejo Basalt Gray as the chipping color. Linc’s method worked great! I did see it takes practice, as anything in the hobby does, because you can quickly get carried away. Technique and subtlety really count in this method. But it’s not hard at all. And it goes very quickly.
After completing that chipping process, I wanted to add in a few more dramatic areas, so I went with the “traditional” method of painted chips, and that nicely added to the effect. I even tried a few areas of “two tone” paint chipping, using a light and a dark color to simulate depth. (Although, admittedly, it looks more like a middle aged man who plays with toys tried to simulate depth, rather than actually simulating depth. 🙂 Oh well….)
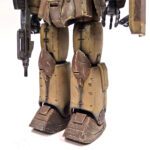
Because I imagined this suit (err…. tank, sorry) to be desert based, I reasoned there would be lots and lots of chips. Sandstorms, you know. If it seems overdone (and yes, I know, it does a bit), I actually had logic behind the make believe. So at least give me credit for that! (Though I must admit, I can also logically come up with reasons for eating too much pizza, even though my heartburn tells me the logic is not valid there either.)
The biggest problem I had with the chipping was of my own making- the color choice. For the light armor, the basalt gray worked nicely. I could look at it and think “that’s the composite armor’s color underneath”, and that made sense.
For the darker parts, I wanted a more “contrasty” look. (Is that even a word?) My reasoning behind the color choice- a yellowish beige- was that the darker colors were painted over the lighter sand color, so chips would show that. Then, deeper chips would show the basalt gray.
*SPOILER ALERT*
If you are watching “Mobile Suit Gundam: The Origin”, and have not watched Episode IV, you probably want to stop reading now, as it may spoil things for you. Still reading? OK, you were warned! So I’m watching episode IV of MSGO, and I was all excited because it was this episode that showed my wonderful Guncannon Gunpla in action. Yeah! So they drop a dozen of them from a dropship, and they come jetting down from the sky, all ready to do battle with five (pfffft… a mere 5? This will be easy…) Zaku mobile suits. Fight ON! Yeah, baby, yeah. And promptly had their butts handed to them on a platter. Yeah…. Zakus: 12, Jon’s Gunpla: ZERO. NADA. ZILCH. NYET. All twelve, just piles of junk on the moon. {sigh}
When I tested it on one part- a foot- it looked pretty good. So I moved along through all the parts. All looked decent to my eye, at the time. It was only when I assembled it all into the full suit that I realized it basically looked like that same previously mentioned middle aged man who tried to simulate depth also played drums all over the model with a drumstick dipped in yellow paint.
{Heavy sigh…}
Knowing that part of being a modeler is learning how to rescue oneself from dumb mistakes, I thought about how to fix it. I finally settled on employing some of my newly arrived Oil Brushers from Ammo of Mig. I applied dots of oil to all the darker armor parts, and then blended them in. While the color shift to the dark parts was slight, the chips dulled down quite a bit. (Though in the photos, the bright lights make them shine way too much.)
So… lesson learned. Contrast is good. Bright contrast is bad. No bright contrast in the future.
The rest of the finish is just layers of Future washes, Oil Brushers, various enamel staining effects (carefully applied of course!), and some highly thinned airbrush colors to fade, shade, and break up monotone areas. I’d like to say I had a logical process, but it really amounted to adding things in, seeing how they looked, adding more things in on top, etc., etc. I actually think it helped to not try and follow a formula, but rather to think up a “story” for that part, or section of a part, and make it look how it would fit that story.
When I finally finished the weathering, I gave it all a flat coat, and called it done.
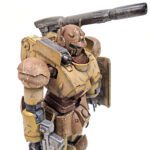
This kit is a great build. It was only $16, so it won’t break the wallet. It has a beefy, tough look that is fun to weather. The big honkin’ cannon on the shoulder is cool, though I must admit I do like the rocket pod better. The range of movement is OK, though the head is a bit limited. Still, I’d recommend this one to anyone.
I still am not happy with my ability to do “dynamic poses”, but like anything else, practice will improve it.
So of course I must build more Gunpla to improve. Which is a good problem to have!

Leave a Reply