Aside from the scene in Return of the Jedi where it crashes into the bridge of the Executioner, I’m not sure that the A-Wing fighter received much screen time. Yet as much as the X-Wing fighter is the iconic symbol of space fighters for the Alliance in the franchise, I’ve always thought the A-Wing was the coolest looking of the single seat fighters.
Of course, combining my regard for this spaceship with my love of building Bandai kits meant this one was a “must do”. And now that the project is complete, I am very happy with both the journey and the result.
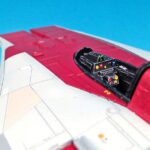
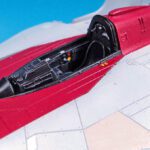
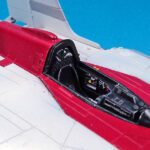
The cockpit is simple, but enough detail is cast into the parts that a simple dry brush and spot paint will yield good results, especially given that the only out of the box option is for a closed canopy model. In keeping with my preference for scifi cockpits, I made sure there were plenty of bright colors visible. I also went for a high contrast look between the main cockpit color of black, and the dry brush of light gray. While looking a bit stark initially, this will help bring out the detail when viewed through the clear part.
Typically, I would assemble the model, and then paint it. However, because Bandai kits fit so well, I decided to paint the major colors while unassembled, and only then bring them all together.
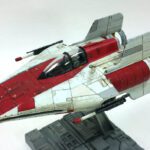
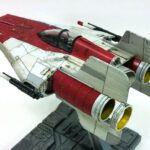
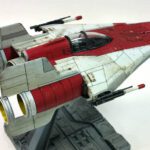
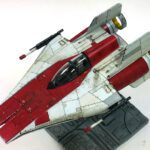
The white parts were painted with Vallejo Mecha Color Off White (69.003), and the maroon parts were given a bit of a color shift using the same brand’s Dark Red (69.011). While canon color is more of a dark maroon, I made the switch simply because I like the dark red color. It just has a quality that really catches my eye.
Once all the parts were painted, I snapped the kit up, and it all worked out nicely. There is a bit of a ridge on the upper hull between the dark red and white separation, but after trying to pry the parts apart a bit to account for it, I decided to just leave it as-is and count it as a “feature”.
With the main fuselage assembled, I picked out a few colored panels on the surface with various Vallejo paints. The kit provides decals for all of this, but I thought it was simple enough to paint instead. I didn’t even bother doing a proper mask/airbrush job of it either. I opted for the simplest method- brush painting. In two thin coats, of course.
Once the colors were all sorted out, the entire model received a healthy dose of Future for the gloss coat, and then I applied the few small stencil decals that came with the kit. The decals behaved nicely, and presented no problems. I considered adding a few stencils from other aircraft kits, but ultimately decided to just go out of the box with it.
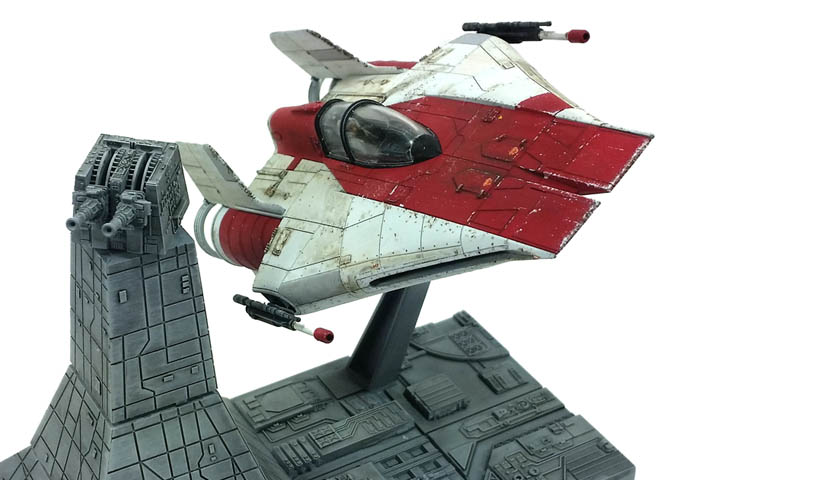
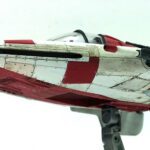
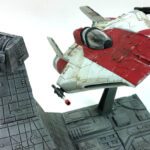
With the decals on, the weathering process started. I’d like to say I had some sort of planned process in mind, but aside from step one being “apply Citadel Nuln Oil” to the recesses, the rest was a decidedly serendipitous process of simply adding touches here and there in no particular order until I thought it achieved the look I wanted. The chipping was done via “sponge method”, with the Off White color used to chip the Dark Red, and the white sections being chipped with Ammo of Mig Chipping color (AMIG0044). The various streaks and splotches and stains were a combination of Ammo of Mig Starship Filth Oilbrusher (AMIG3513), Engine Grime (AMIG1407), and Streaking Grime (AMIG1203). At times, I applied them straight from the bottle/tube, and simply blended them with odorless thinners. In other places, I thinned them to varying degrees, and used them as washes and filters. I’d apply some to an area here, another area there, and let it dry for a few days. Then I’d go back, add some more, and repeat the process. It’s actually quite a few layers, built up on top of each other. And while some later laters mostly obscured previous ones, I think the net effect is better than having not used this process. I also tried to think out the “story” of the weathering. Where might the crew walk about when servicing the craft? What might leak fluids, creating stains? Would some areas leak in flight, while others on the ground? I tried to “answer” all of these questions via the application of the various materials.
Once I decided the weathering was what I wanted, I gave the full model an ultra matte coat to flatten it all out.
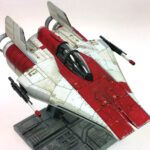
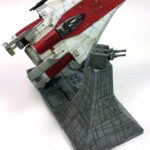
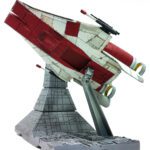
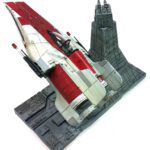
The kit is supplied with two nice bases for display. One is the actual stand for the model, and depicts the surface of an Imperial vessel. The other is a large and detailed laser turret. The stand is configured in such a way that the two can be connected on any side, allowing for a wide variety of presentations. Additionally, the aircraft can be posed at multiple angles, so a really nice effect can be achieved.
I kept it simple for painting the bases. I started with Badgere’s Stynylrez Gray primer, applied a very heavy coat of Nuln Oil, then drybrushed with Vallejo’s Sky Gray. All was then sealed with ultra matte coat. I chose this method for two reasons. First, I did not want the display base to draw more attention than the model. Second, it was the end of the project, and I wasn’t wanting to spend too much time on it. (You can decide which was the overriding factor… 😉 )
With everything finished, I stuck it all together, and was quite happy with how it turned out. The bright flash of dark red down the center of the A-Wing fighter really makes it stand out, and I thought the presentation on the display base, as if it is just swooping by the laser turret in oh-so-close fashion, really gives it a feel of speed and movement.
Recommending this kit is simple- buy it. Any skill level, any age. Snap it up as it is, or go to town painting it. It is a joy to build, and fun to fly around the room, making laser and engine sounds.
Just don’t go crashing it into any Imperial bridge sections!

Leave a Reply