I’d originally been inspired to build this kit by watching Modelmaking Guru’s Youtube series on his Revell 1/32 Colonial Viper Mk. II kit. I’d already found his information about Gunpla builds entertaining and helpful, and as I watched his Viper Mk. II videos, it gave me the urge to tackle one myself.
I did decide to go back a bit though, to the original Battlestar Galactica series, and the iconic Viper of my youth. As sleek as the newer versions are from the more recent shows, an old guy like me loves his nostalgia.
This was my first Moebius kit. Though I’d seen MMG’s Mk. II build (the Revell Viper is just a Moebius reboxing), and I’d read a few reviews, my overall impression of Moebius was to expect some fit issues. When my kit arrived, courtesy of a large South American river, I noted that the plastic parts did seem to be slightly thick, and with more exaggerated panel lines. However, I actually like this for scifi subjects, as I think “over the top” works well when dealing with made up nonsense. And if fit were to be an issue, thick plastic gives plenty of sanding space.
Happily, once I began initial test fitting, I found it all went nicely together. There was a need for good parts cleanup, making sure all mating surfaces were smooth, ejector crowns removed, and a few areas of slightly “out of bounds” molding cleaned up. But it was not really difficult to check for all of that. I think I had the whole thing cleaned up and test fitted within an hour.
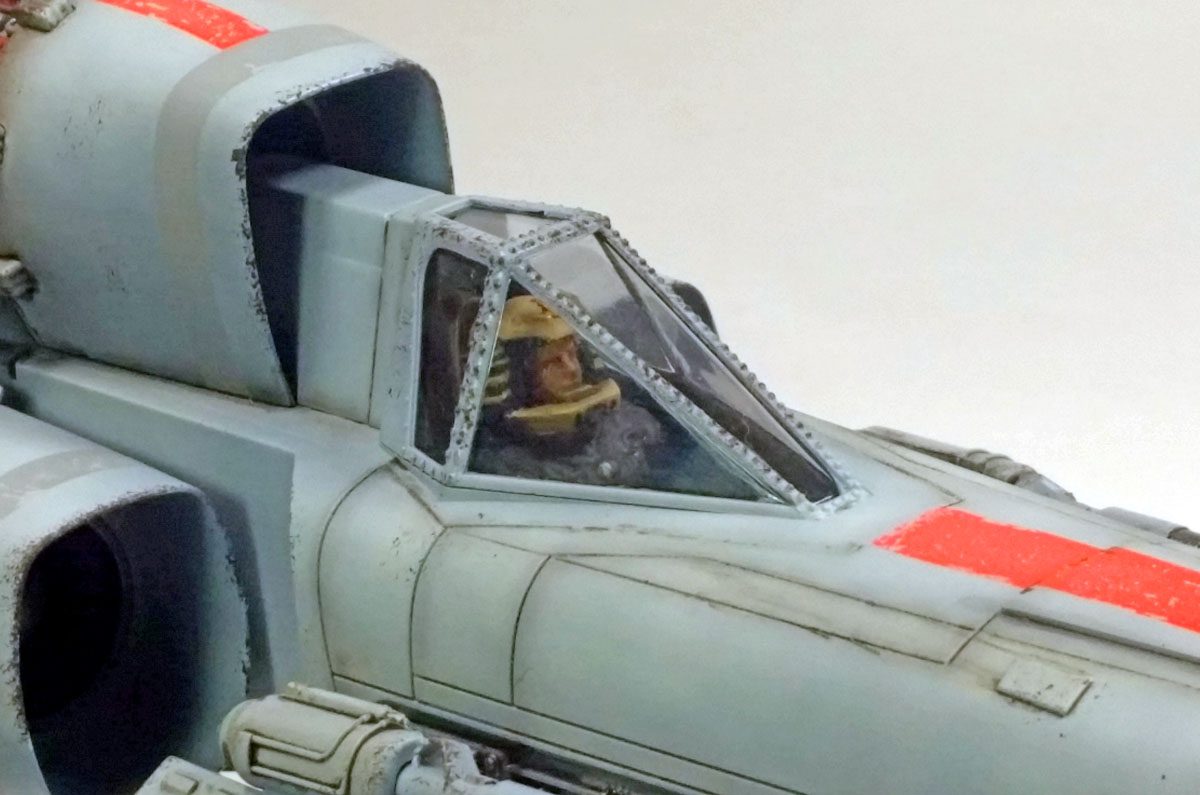
Test fitting showed that a reasonable build sequence would be to build the forward and aft fuselage sections separately, as per the instructions. I started with painting the cockpit, which I covered in a previous blog entry. With that complete, I sealed it up in the forward fuselage halves. There is a reasonably substantial seam line to fill down the center. While the parts join up well, it took a bit of work to get rid of the seam line. In fact, now that it’s complete, I still see a hint of a ghost seam- so I didn’t close it well enough. If I were to do it again, I think I’d skip the traditional modeling putties and go right to the CA/talc mix.
The rear fuselage was then assembled. I’d painted the engine intakes faces, and the intakes themselves, separately prior to assembly, so I could make sure there was a good, sharp line of demarcation between the two. With the rear assembly fully assembled, I joined it to the forward fuselage. The fit was good, but it did require a bit of progressive gluing and clamping to make as tidy a fit as possible.
(One note on that- if I were to build the kit again, I’d wait until all of the painting and weathering was complete before adding the laser cannons. They were a minor sticking point in the final parts of the build.)
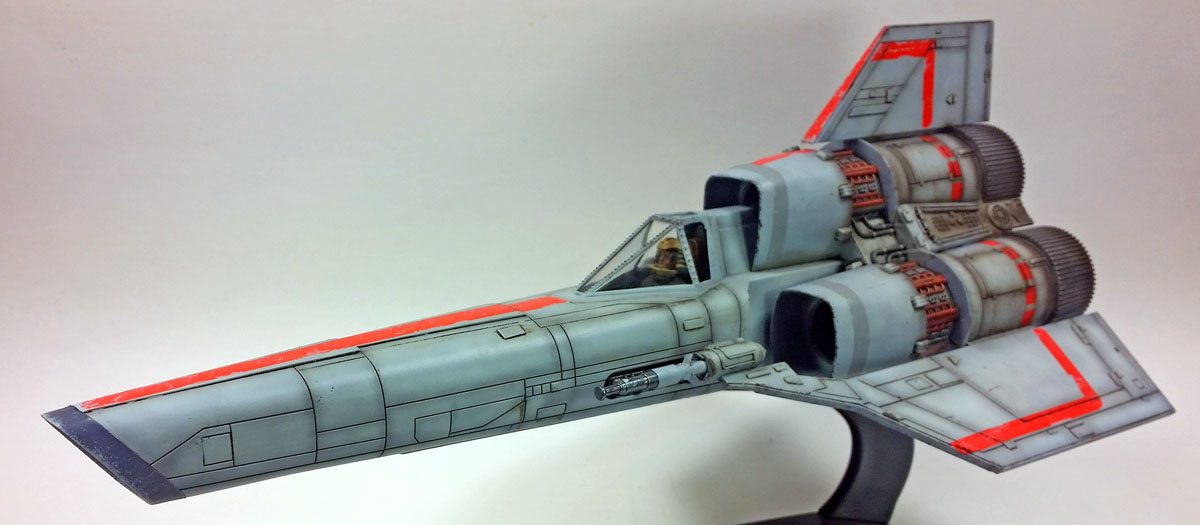
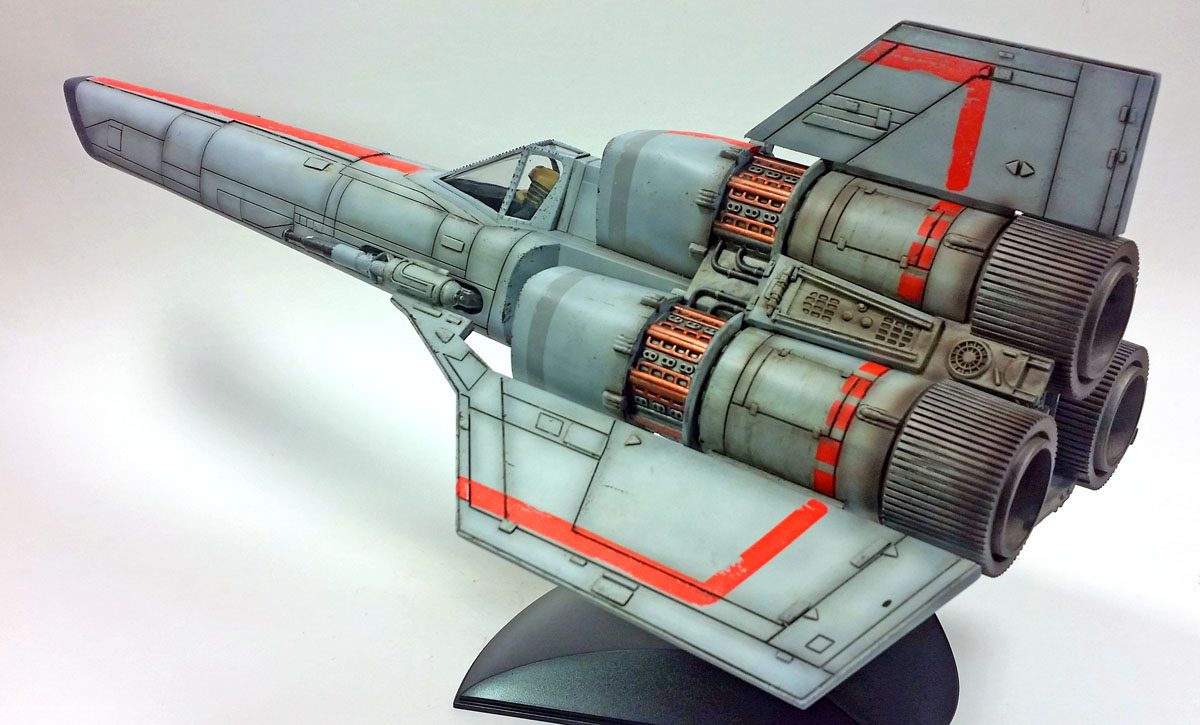
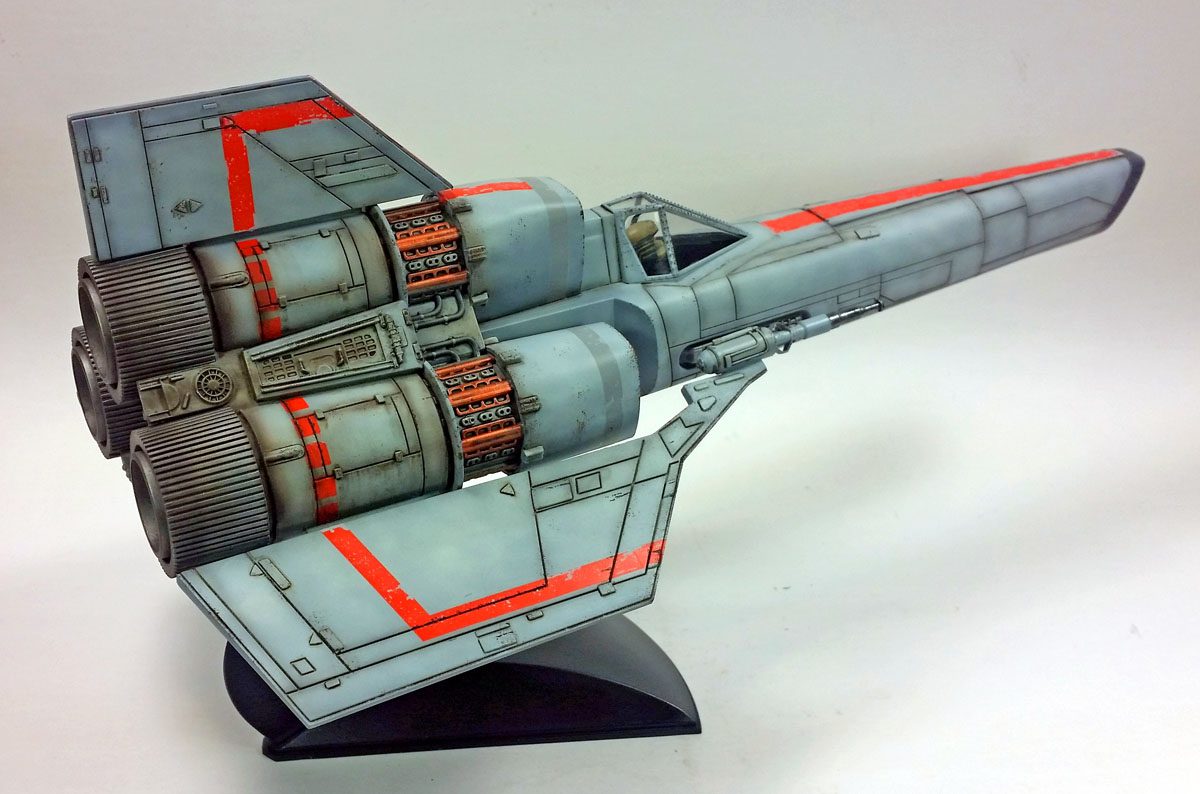
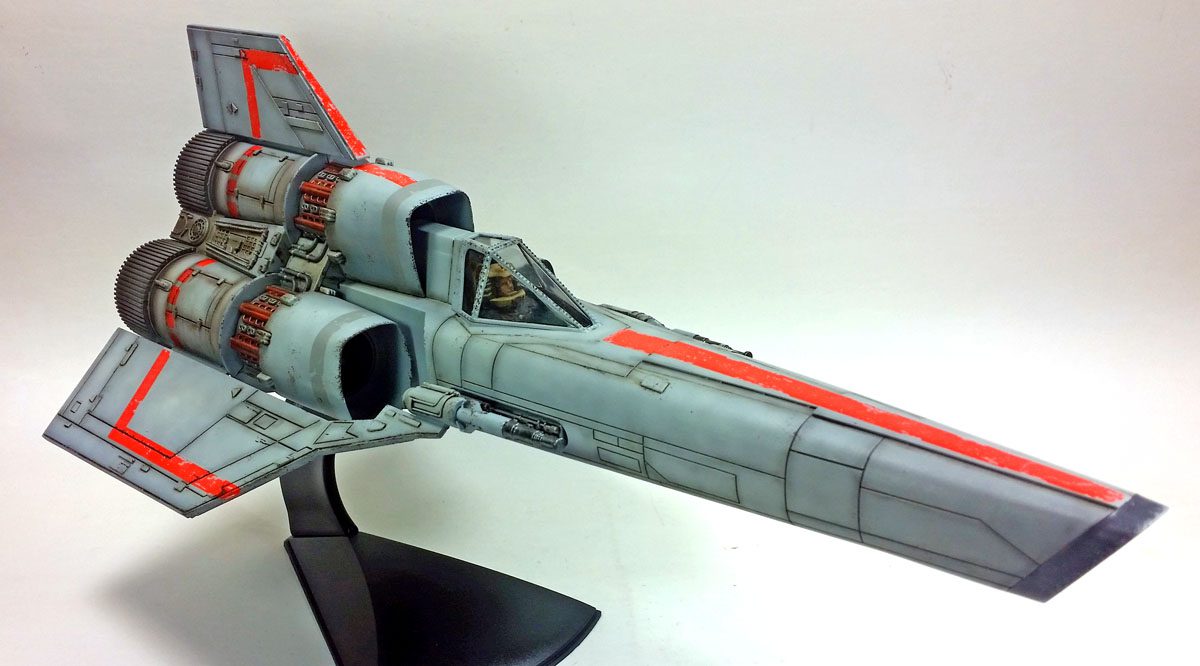
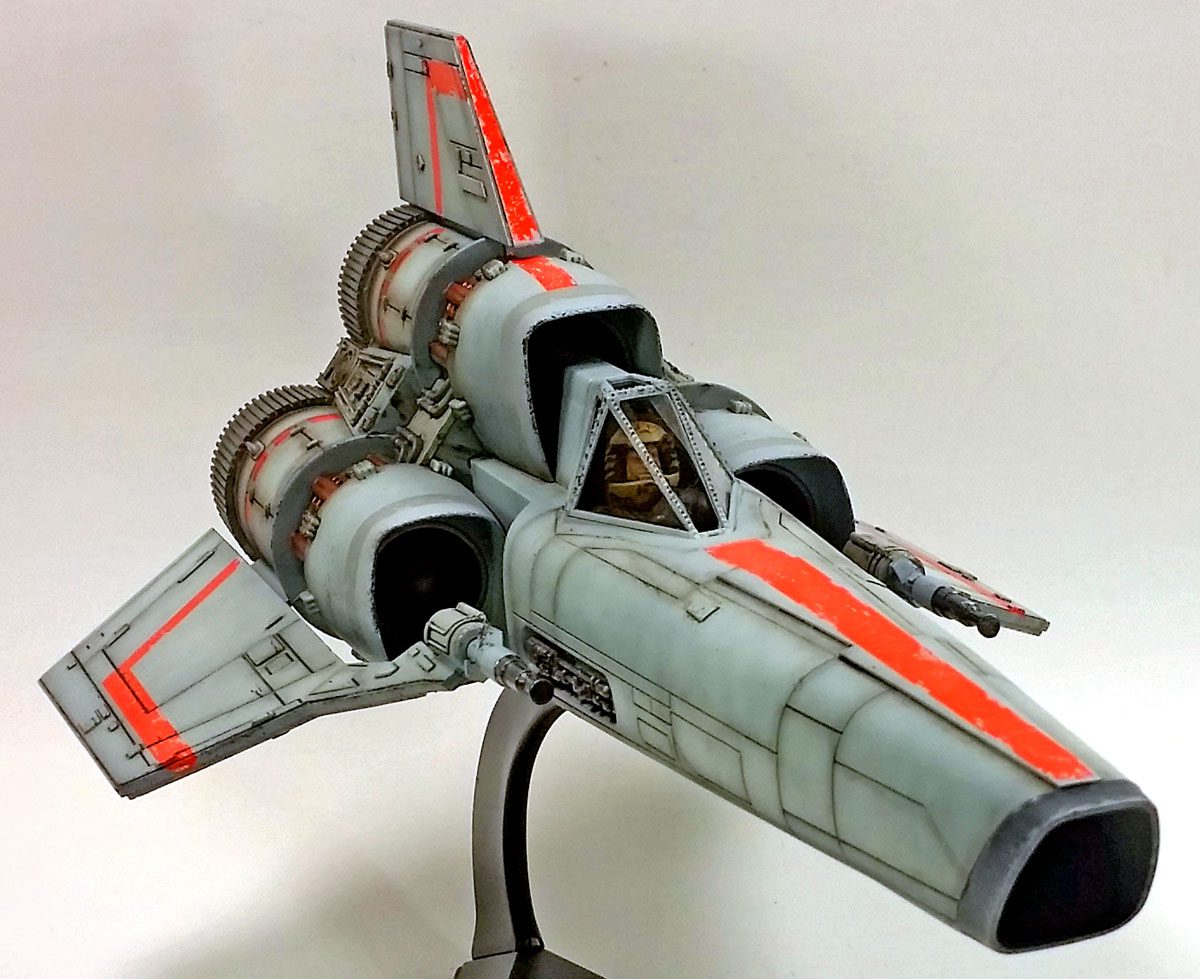
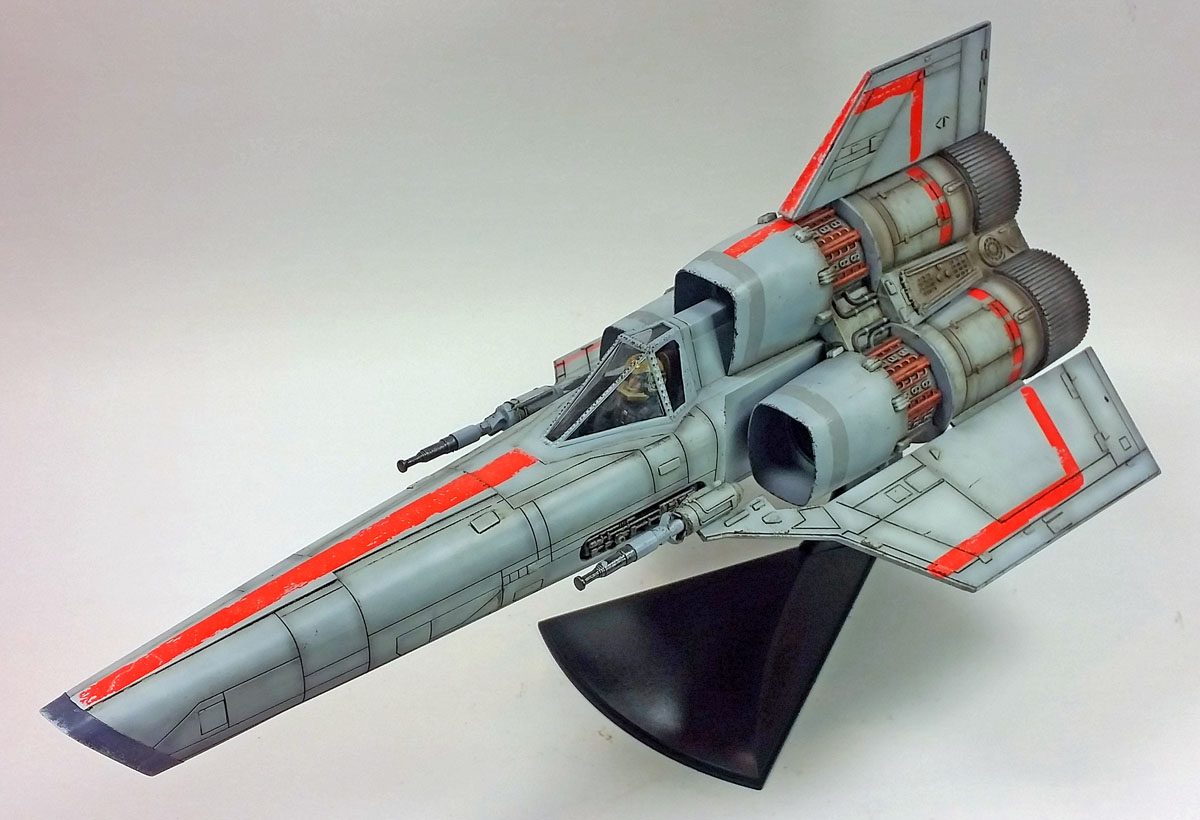
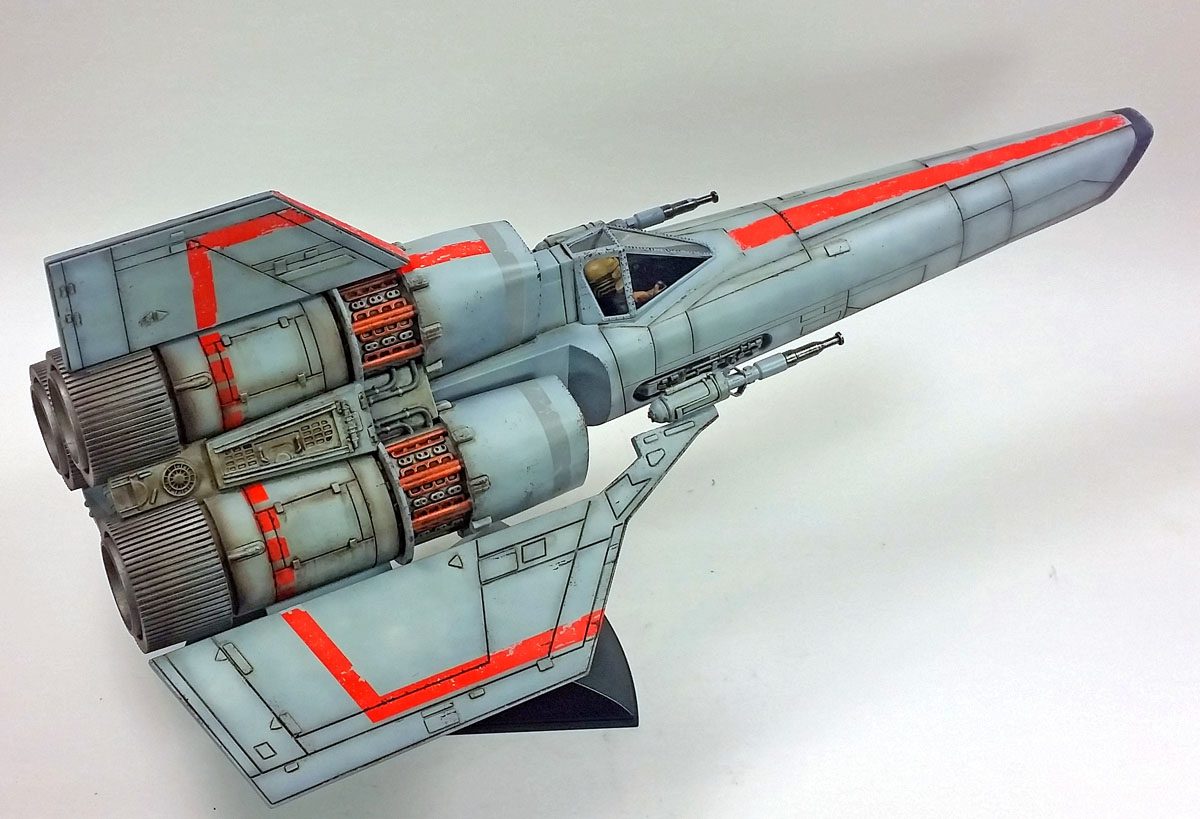
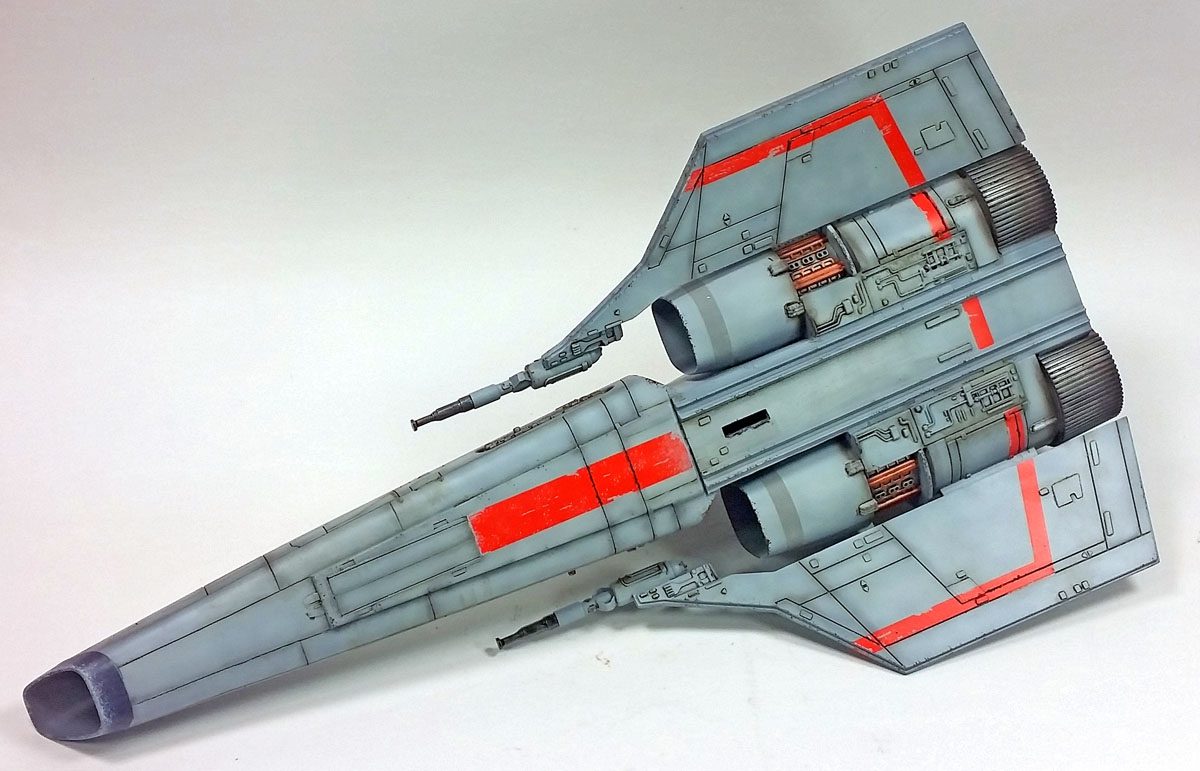
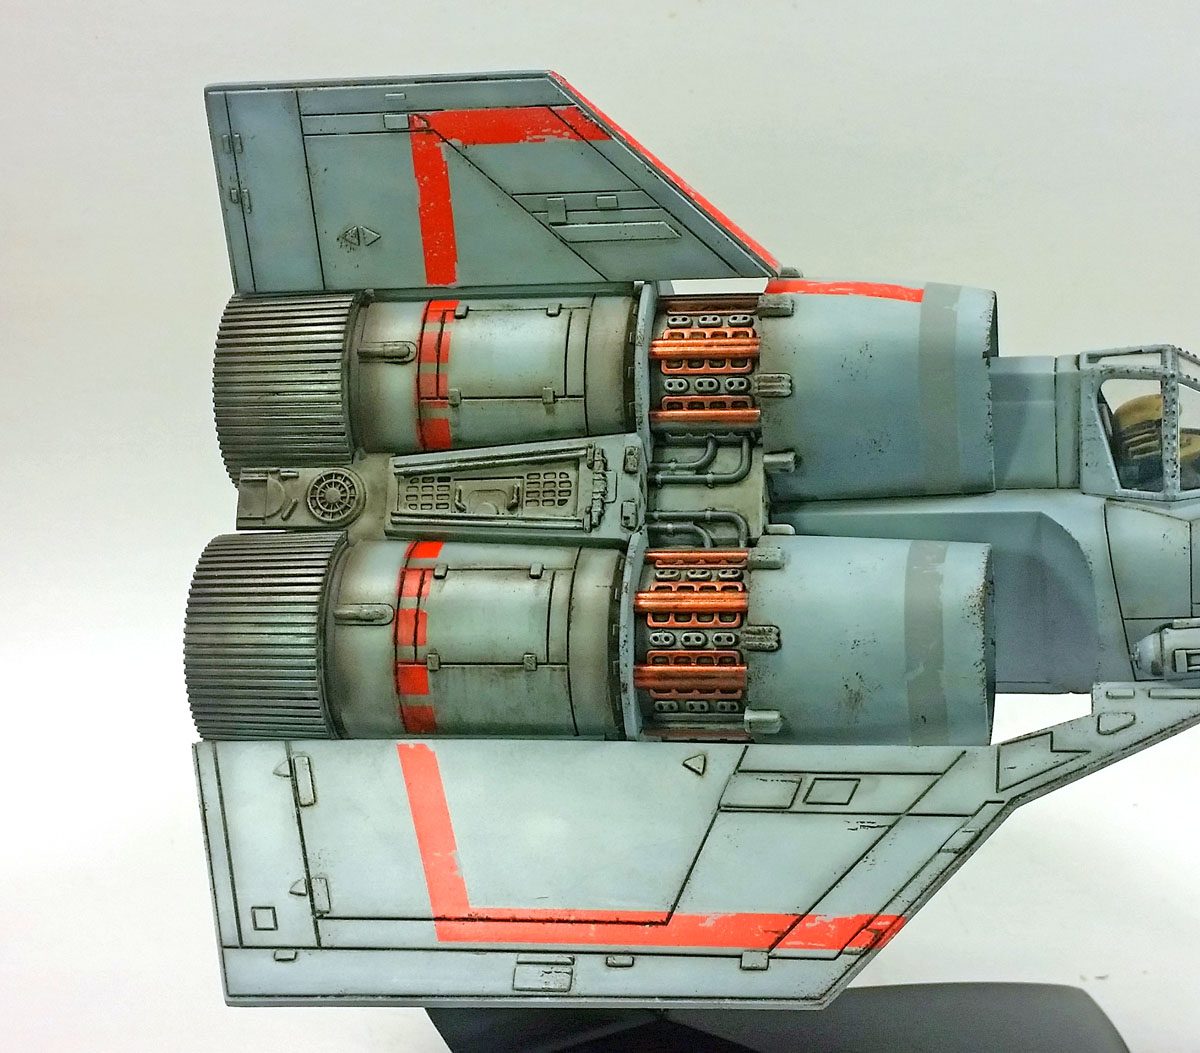
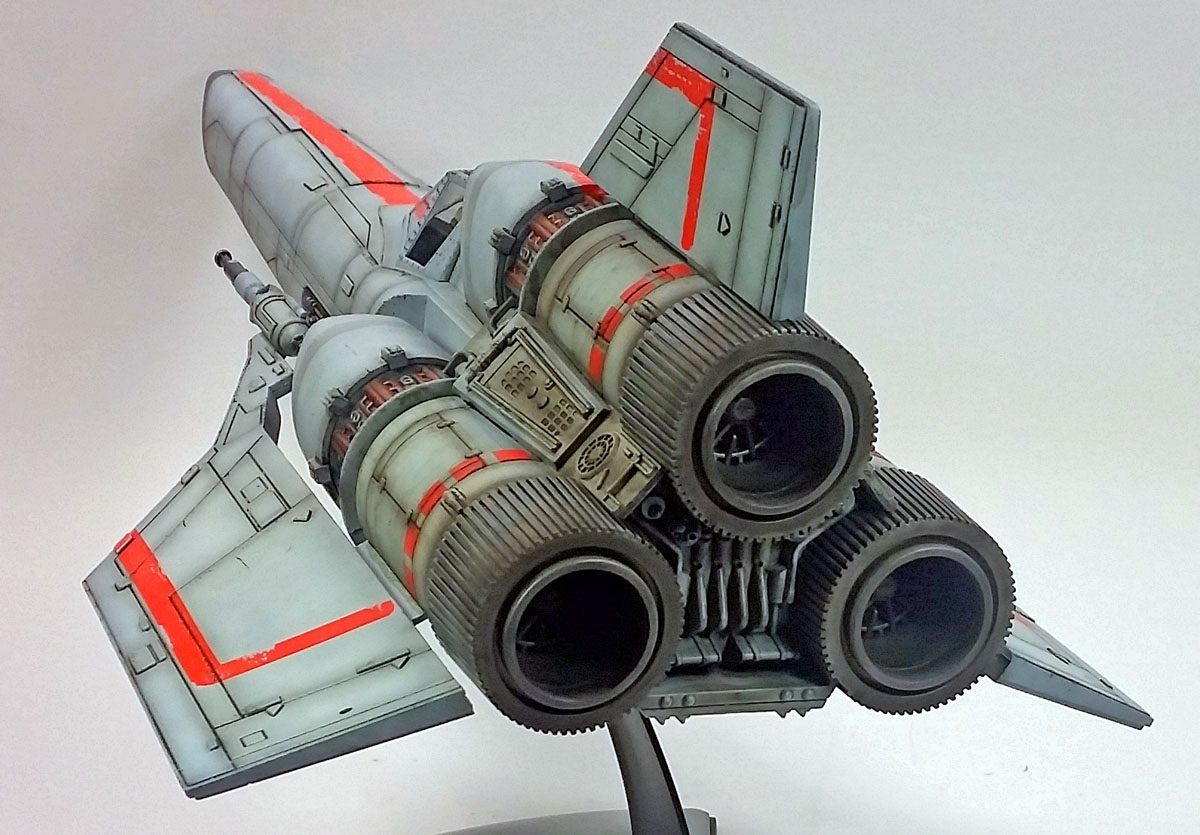
With the airframe assembled, I primed it all using Badger’s Stynylrez gray primer, though I did mask off the intake faces to preserve the sharp line I’d achieved by painting those parts prior to assembly. I started the actual paint by airbrushing on Vallejo’s Sky Gray in patchy coats, allowing some of the darker primer to show through. (More details on that process here…) Engine areas were painted with Citadel’s Leadbelcher, and a few details picked out here and there in other colors. With the basic paint in place, I added a gloss coat, and then applied the decals.
I was a bit worried that the Moebius decals might not be up to par, but I did so want to avoid the masking off required to paint all those stripes. (I hatez da maskings….) Surprisingly, they worked very well. I used plain water to float them in place, smoothed them out with a cotton bud, and applied Solvaset to snug them down. Allowing them to dry for several hours, I then went back and sliced things along all panel lines, and around raised detail, and then applied more Solvaset. In a few places, my decal application skill was not the best, but I simply cut additional strips from the leftover decals and corrected things. While painted stripes would have looked slightly better, I think, I have no confidence at all my masking work would have been as straight. So in my opinion, using the decals results in a decent outcome, especially if you are not a tape guru.
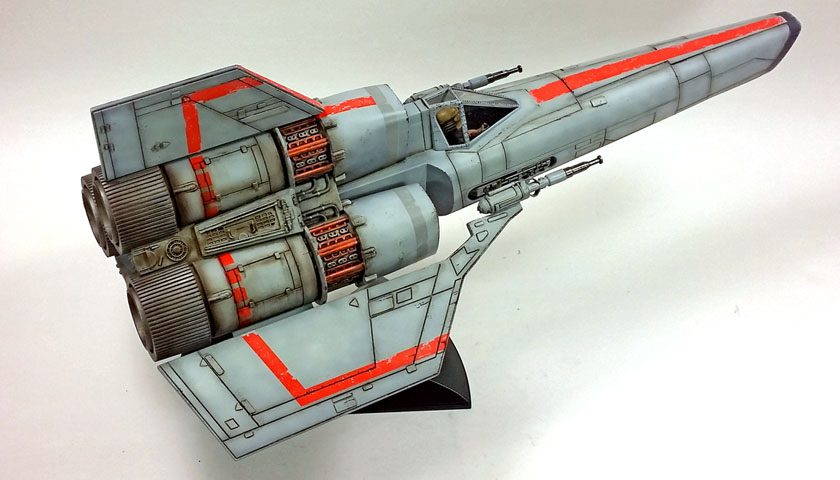
The decals were sealed with more gloss coat, and then I began to apply progressive layers of airbrush fading and shading, enamel washes and stains, some artist oil staining, and probably a few other gimmicks that elude my brain at the moment. (Eluding my brain is not difficult… just distract it with shiny objects and/or bacon, and you can calmly walk away. 🙂 ) I did try to concentrate the weathering towards the aft section, as I thought that area would get the most grimy because of all the space oils and radiator fluid and steering fluid and so forth that had to leak out. (It works in my mind…) I also added some sponge chipping to the model, using a dark brown chipping color on the lighter areas, and the Sky Gray on the stripes. I followed that up some painted on chips to make a few areas a bit more “chippy”. I was especially happy with how the chipping on the stripes worked out. I thought it made them appear less like decals, and more like painted stripes.
With all of the weathering in place, a final matte varnish, courtesy Vallejo, was applied, the canopy masking removed, and the model placed on it’s display stand.
While I’d not hold my finished model up as a stellar example of the genre, I was very happy with the overall look. There are certainly things here and there I know I’d have done differently looking back, especially the weathering. (My approach to it was a bit absent minded and haphazard.) Still, I’m happy to let it sit on the shelf for a while, before it moves on to the Ebay for (hopefully) an eventual home on someone else’s shelf.
If you’re looking for a low cost, low drama, fun build- I can definitely recommend this kit. It goes together with little difficulty, and presents an amazing palette for a variety of paint and weathering schemes.
The best part of this whole build was the fun that the kid in me had building a model from a TV show I loved in my youth. That alone, really, was worth it.

Leave a Reply