I think I may be getting slightly addicted to these Warhammer 40K vehicles. First came the Land Speeder Storm, then the Chimera, now this- a Space Marine Razorback.
There’s a lot to like about these kits. The parts count is low, the fit is good. The details are designed to make painting easy and fun. They look very cool. It’s totally made up nonsense, so the rivet counting can be left at the door. I guess the only complaint I can level at them is that for some kits, the price can be a bit high. Still- the enjoyment I’ve gotten building them certainly compensates.
This kit appealed to me on a few levels. First, it wasn’t too expensive. Second, it had a nice interior that looked fun to paint. Third, it’s wide, slab sides will allow for some (hopefully) cool weathering application.
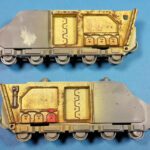
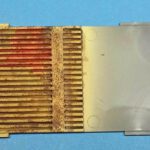
I started by assembling all the components that could be built ahead of time without compromising ease of painting later. Everything fit just fine, though most parts needed a bit of mold line removal and general neatening up along mating surface edges. Nothing was so egregious that a simple file and hobby knife could not deal with it.
For the interior, I decided to shift away from the Leadbelcher scheme I’d followed on the Chimera. While it looked cool, and I think it follows more closely to 40K lore, when the rear ramp was dropped, the interior was so dark that little could be seen. (Although it had little detail, really.)
This vehicle has some nice detail- seats, sidewall bits, and a really cool looking control display gizmo thingy that probably goes “ping” at regular intervals. So a lighter colored interior would help that show better.
Some armored vehicle interiors are white, some pea green, some an off white. Certainly there are other variations. I thought about white, but I wondered if it would be too stark. The light green just seemed to “realistic”, and not scifi. I thought perhaps a tan/beige color might be a nice, warm balance to the cool blue that the exterior will be.
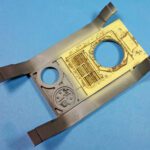
After priming the parts with Badger’s Stynylrez Black, I airbrushed the interior Vallejo Model Color Beige. A quick test assembly showed it would improve visibility being the lighter color, and I did like the look of the beige.
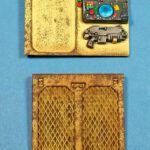
The rear control panel that goes ping was painted in Vallejo Model Color Black Gray (or Gray Black…). I wanted to use Ammo’s Crystal Blue for the larger screens, as I thought it would stick with the blue armor theme. However, as I began to plan the interior colors, I decidedly silly notion came to me.
I’d known from the start that I wanted to rip off borrow an idea from Foxx over on Modelmaking Guru. When he’d been building his Stormwolf Assault Craft, at some point he’d made mention of the idea of putting a blood stain on the floor. I can’t recall if he ever did or not, but the idea had stuck in my head. I thought this would be a cool detail to add.
But it was a bit grim, really, when you think about it.

So as I considered that point, as well as the rest of the interior detail painting, I thought “why not balance the grim, dark future stuff with something a bit lighthearted?” And as I looked at the control panel on the back wall, my mind suddenly realized it looked like that “Simon” electronic game I played many years ago, both as a kid, and with my own kids later. That decided it. Simon it was.
I grabbed all my clear, primary colors, and painted away, sticking as always to my general theme of “if it’s a scifi control panel, it has to be colorful”. And I was quite happy with the result.
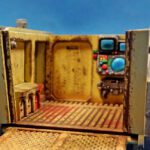
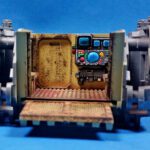
I then went on to do some sponge chipping with Ammo of Mig Chipping color, concentrating most heavily on the floor, seat edges, and door edges. Shading was courtesy Citadel’s Nuln Oil. The blood stain was a mix of Ammo’s Metallic Red, and Vallejo Mecha Color Dark Red. I just sort of sloshed that around a bit, and splashed some upon the seat. I topped it all off with an application of pastel chalks to add a bit of dustiness to the floor, and sealed it with Vallejo Matt Varnish.
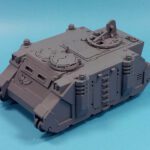
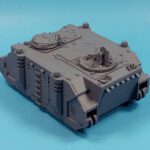
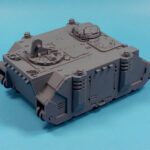
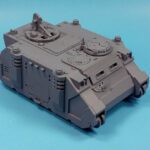
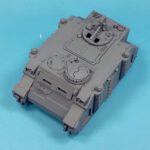
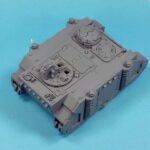
Assembly continued on the main frame of the vehicle, with no drama at all. The few seams lines were dealt with in the “simplest approach” method, that being to scribe them a bit deeper and call them “panel lines”. Once it was all together, I gave it a coat of Badger’s Stynylrez Gray primer.
After the primer was touch dry, I popped open the rear ramp, turned it up to the light- and my theory was right. The lighter color helped show the interior, and gave good contrast. The blood stain looked the part, and there, in the back of the crew compartment, was my Simon game.
Because, even in the grim, dark future, there are blinky lights that you must remember, in sequence. Just don’t slip in the pools of blood as you play. 🙂
Whether or not you’re into Warhammer 40K, this is a fun kit, and I highly recommend it.
Stay tuned for the next steps- paint, decals, and the weatherings!





Leave a Reply