Though I am fairly new to building Warhammer kits – I just began doing so in December 2017 – they have quickly grown on me sufficiently that I must exercise some restraint to avoid focusing on those alone. (You can take a look at my previous Warhammer 40K work here.) They are fun kits that go together well, and are loaded with well cast detail to paint and weather. From the standpoint of the building, painting, and weathering process, I cannot find a single reason to complain.
Yet I have found one aspect frustrating. I am a “no game” builder. I don’t actually play the game. Though others have urged me too, I’ve not felt the draw to do so. In fact, giving the basic rules a read pushed me further into the “nope” camp when it comes to gameplay.
It’s not that I am against gaming – far from it. I grew up when Dungeons and Dragons was new, and played a bit of that. I played Avalon Hill’s Panzer Leader and Panzer Blitz with frequency. I recall even making up “tabletop games” with friends simply using plastic soldiers and dice. We’d set them up on the ‘battlefield” (my backyard), and then begin to play. The rules were simple. Roll a 1, nothing happened. Roll a 2,3, or 4, and the figure was wounded, and had to be taken from the field of play to a “reinforcement pool.” Roll a 5 or a 6 and that was a dead plastic soldier. If we got bored, we resorted to firecrackers and BB guns. (We got bored frequently… 😉 )
So I am certainly not anti-gaming. It’s just simply something I’m not interested in. I’d rather build.
Unfortunately, if you’re not a gamer, navigating the mysteries of which thing is what color can be quite difficult. And because the way I support this site, the hobby in general, and get extra income for the family, is by selling what I build, I can’t easily just go with whatever colors and schemes that my imagination dreams up. People don’t want to pay for my whimsy. Canon color rules.
Thus, it has been an adjustment to buy a model that does not have explicit marking instructions.
Still, I’ve learned that by asking a few questions of friends who do play – and are gracious enough to help – and by using the Webs of the Intertubes, I can generally find out enough to get me started.
Stop The Chatter, Already. What About This Armiger?
Glad you asked. 🙂

While the box art showed a gorgeous blue scheme for the Armiger Helverins, I wanted to break away from blue. Having built three different Ultramarine models of late gave me cause to seek something else out. (If you’re not a gamer, Ultramarines are painted blue, and are fans of the Indianapolis Colts.) Of course, the kit box art only shows the blue scheme. And not having any gaming documentation to go on, I was not sure what I wanted to do.
I took a look at the decals, and noticed some names above the various markings. One seemed a bit cool – “Hawkshroud”. A quick perusal of the net turned up that Hawkshroud is a noble house in the game lore. I skimmed the lore part of the article, and zeroed in on the colors – yellow, with black and white trim.
Now that was something I could go with.
Further research turned up some photos of various models painted in Hawkshroud colors, and seeing those cemented my choice.
Yellow it would be.
Starting With The Frame
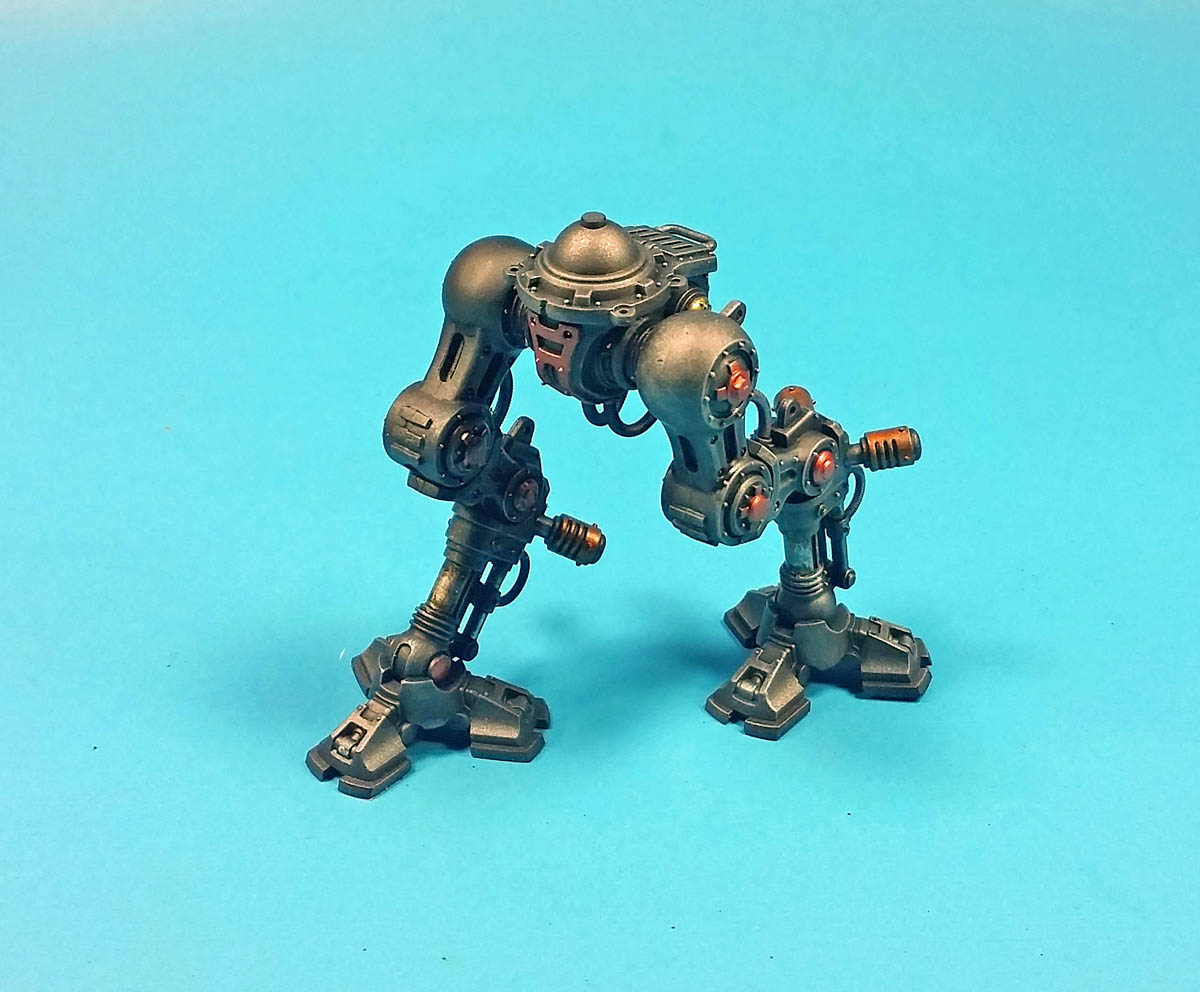
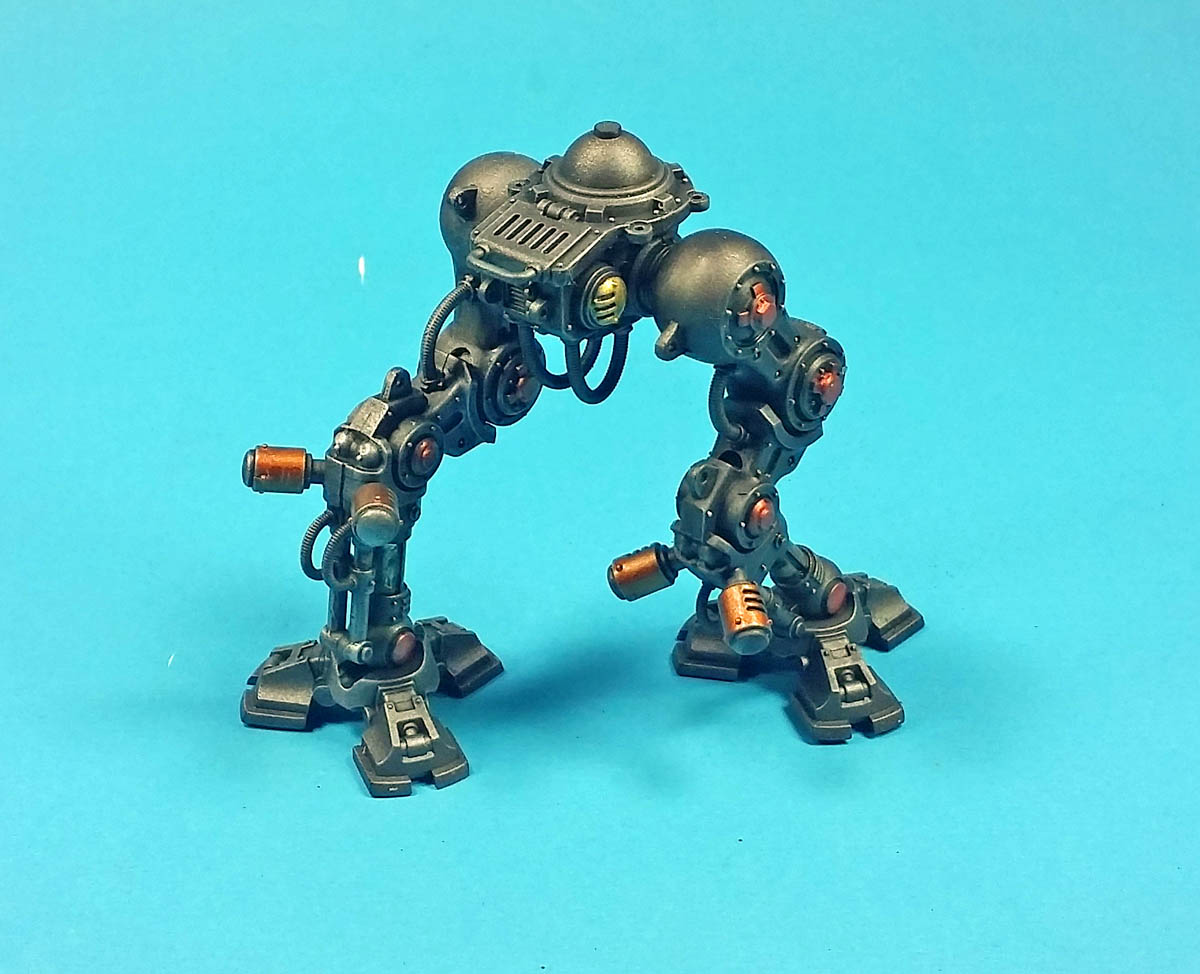
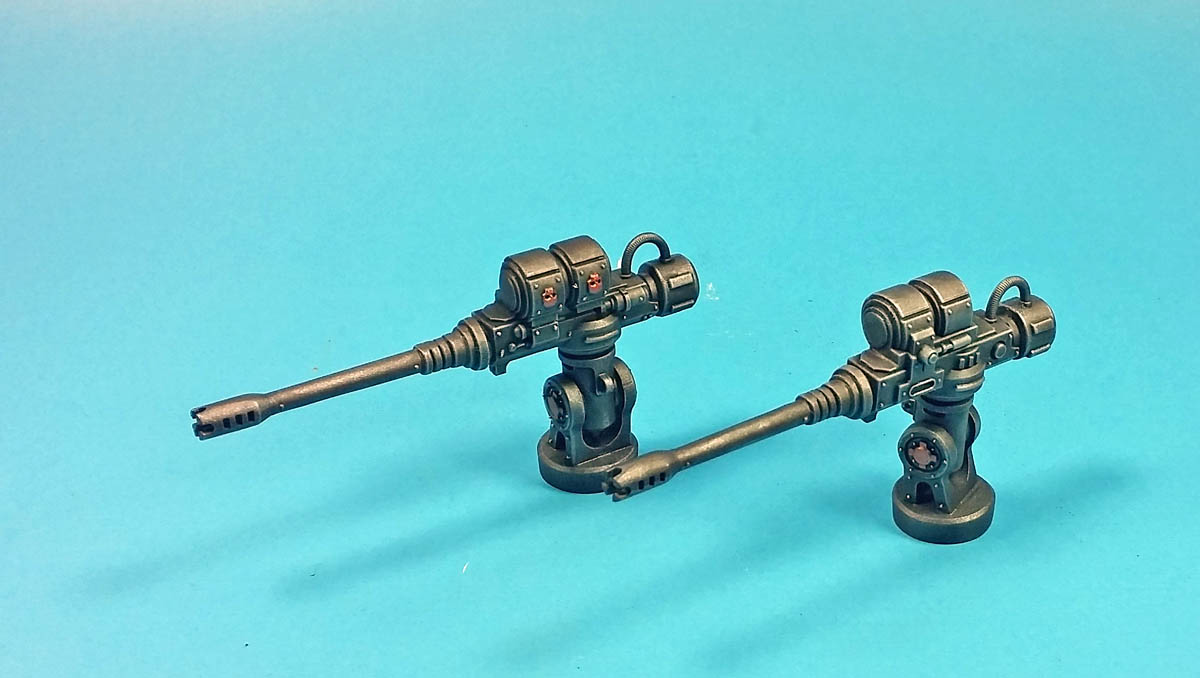
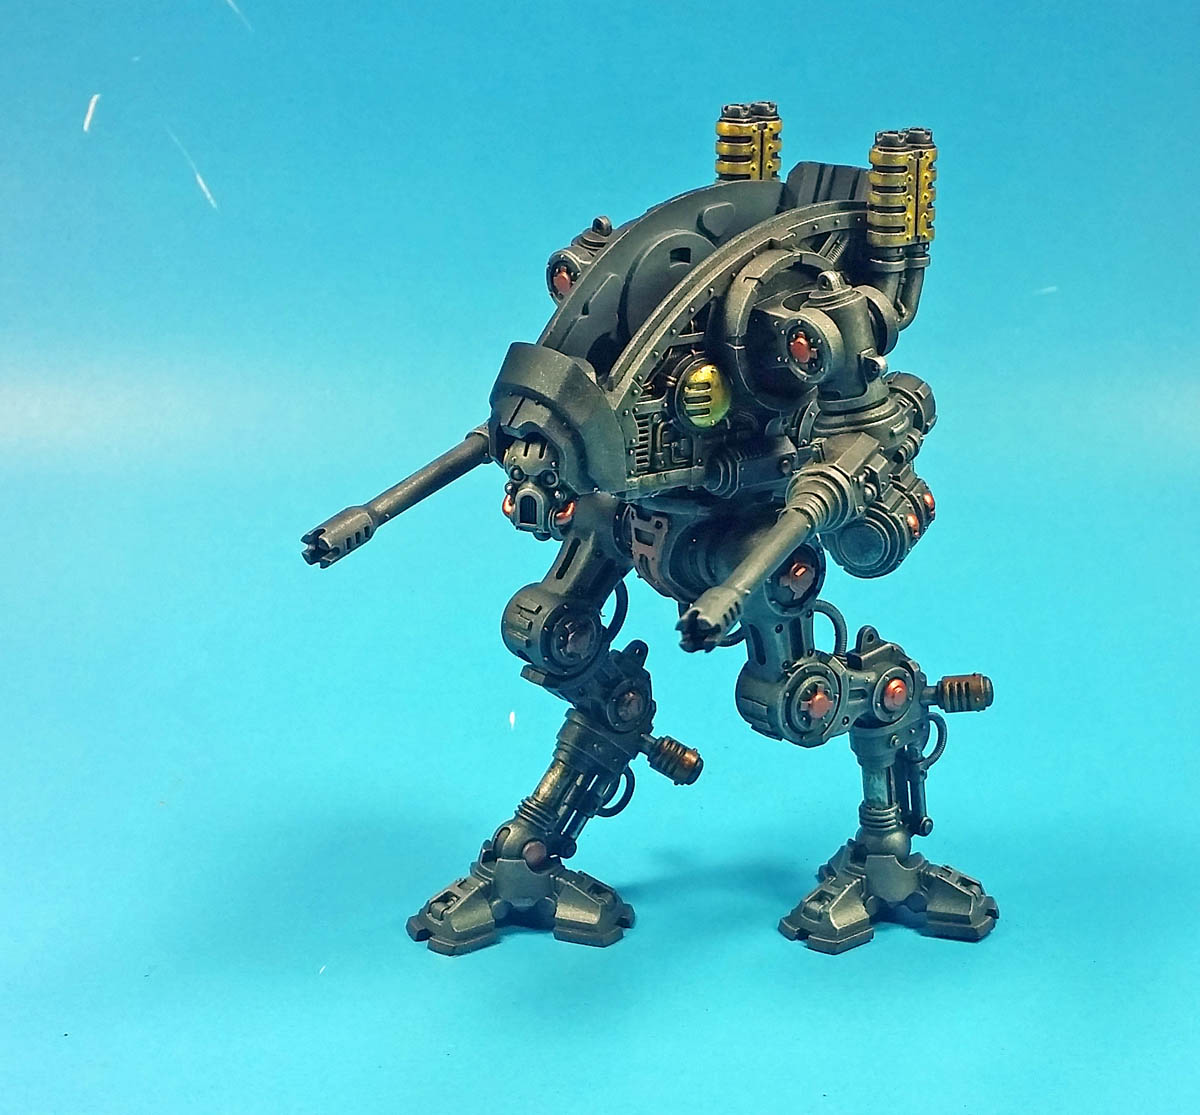
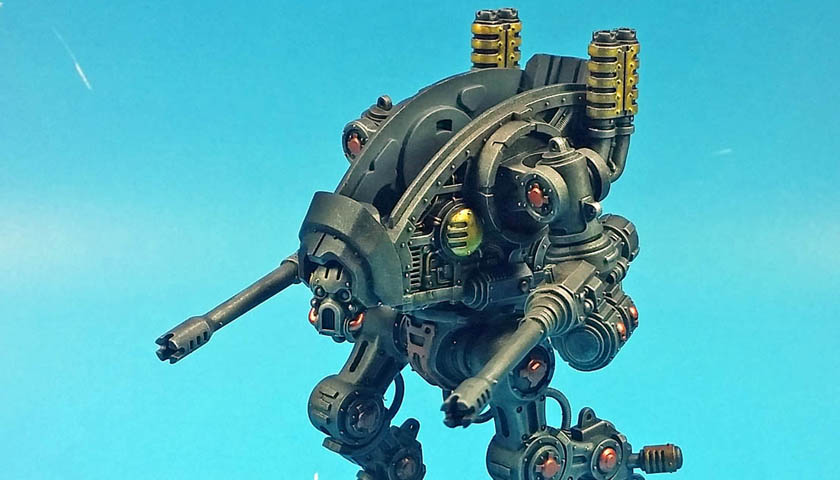
I’d assembled the Helverin so that I could paint all of the skeletal frame parts aside from the armor, simply to facilitate ease of painting. I thought about going the hand brush method for this, using my new favorite paint, Citadel’s Leadbelcher. However, I decided for speed’s sake, and for as smooth a coat as possible, I’d opt for the airbrush. And my choice there was Ammo of Mig’s Gun Metal.
When airbrushed on, that color is remarkably Leadbelcher-like, so it fit with the Games Workshop style nicely. With that dried, I gave all the parts a double coat of Citadel’s Nuln oil, to really darken it up and deepen the shadows. Once that was dry I gave everything a fairly heavy drybrush of Citadel’s Runefang Steel, which is a brighter silver color. This really helped punch up the contrast between light and dark.
My next step was to add some additional metallic colors. The box art showed various parts on the frame painted with a bronze color. While I thought it looked good, knowing my armor parts would be yellow made me think of how I could give things a bit of a twist to go better with that choice. I also thought about how much contrast there would be between the bright yellow armor and the dark frame. And while the yellow would obviously draw the eye, I also wanted some element to help pull a second notice to the frame itself.
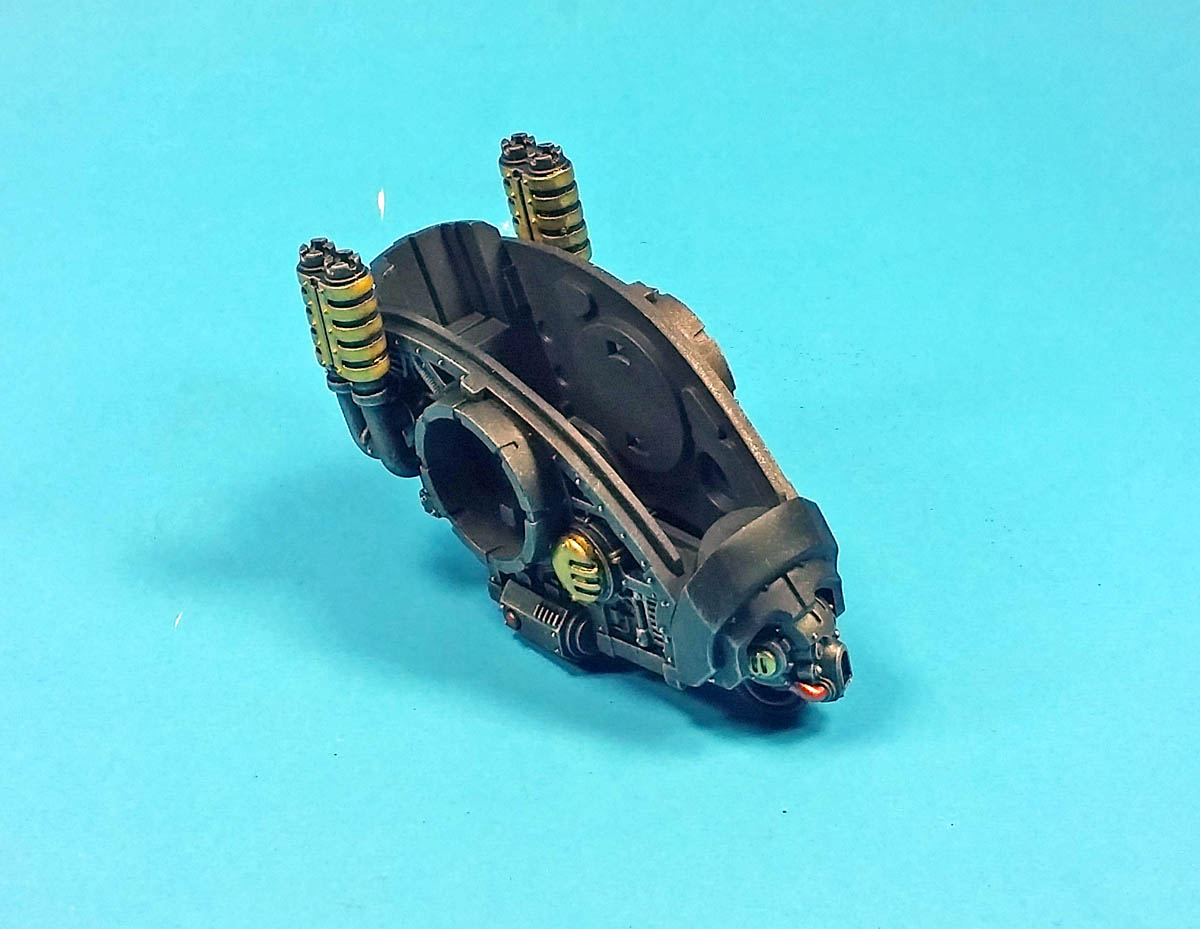
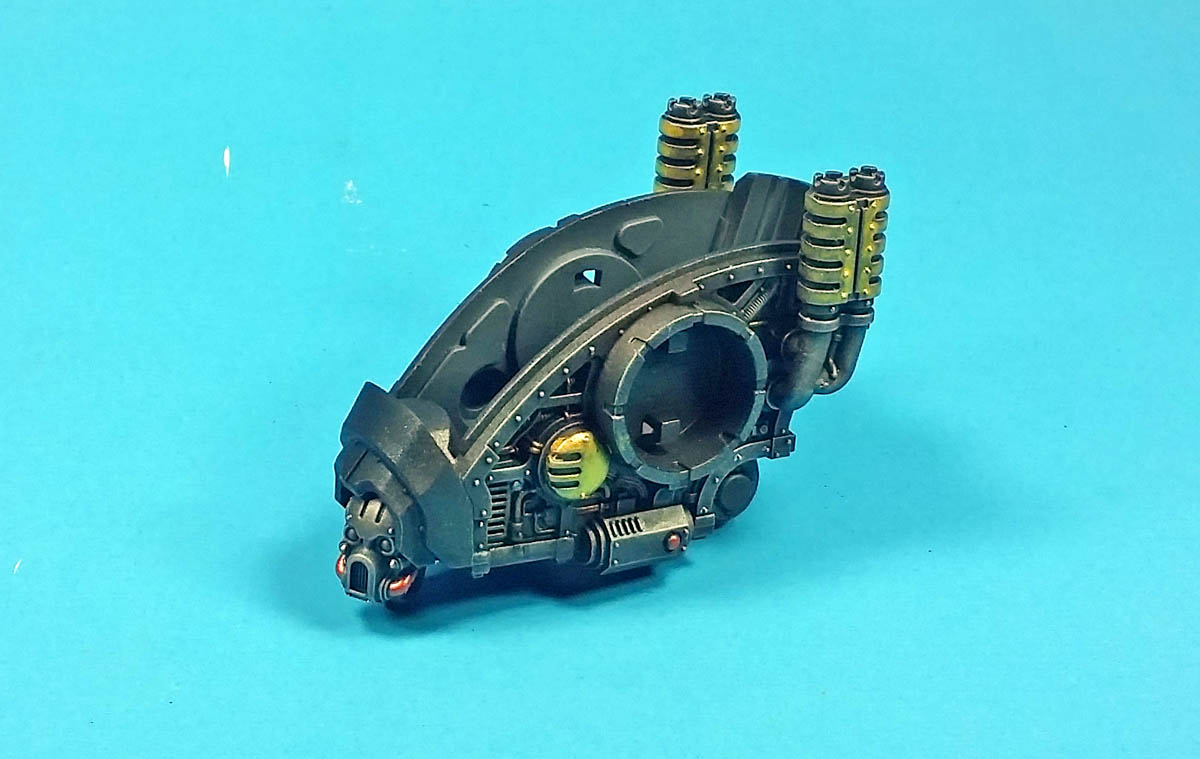
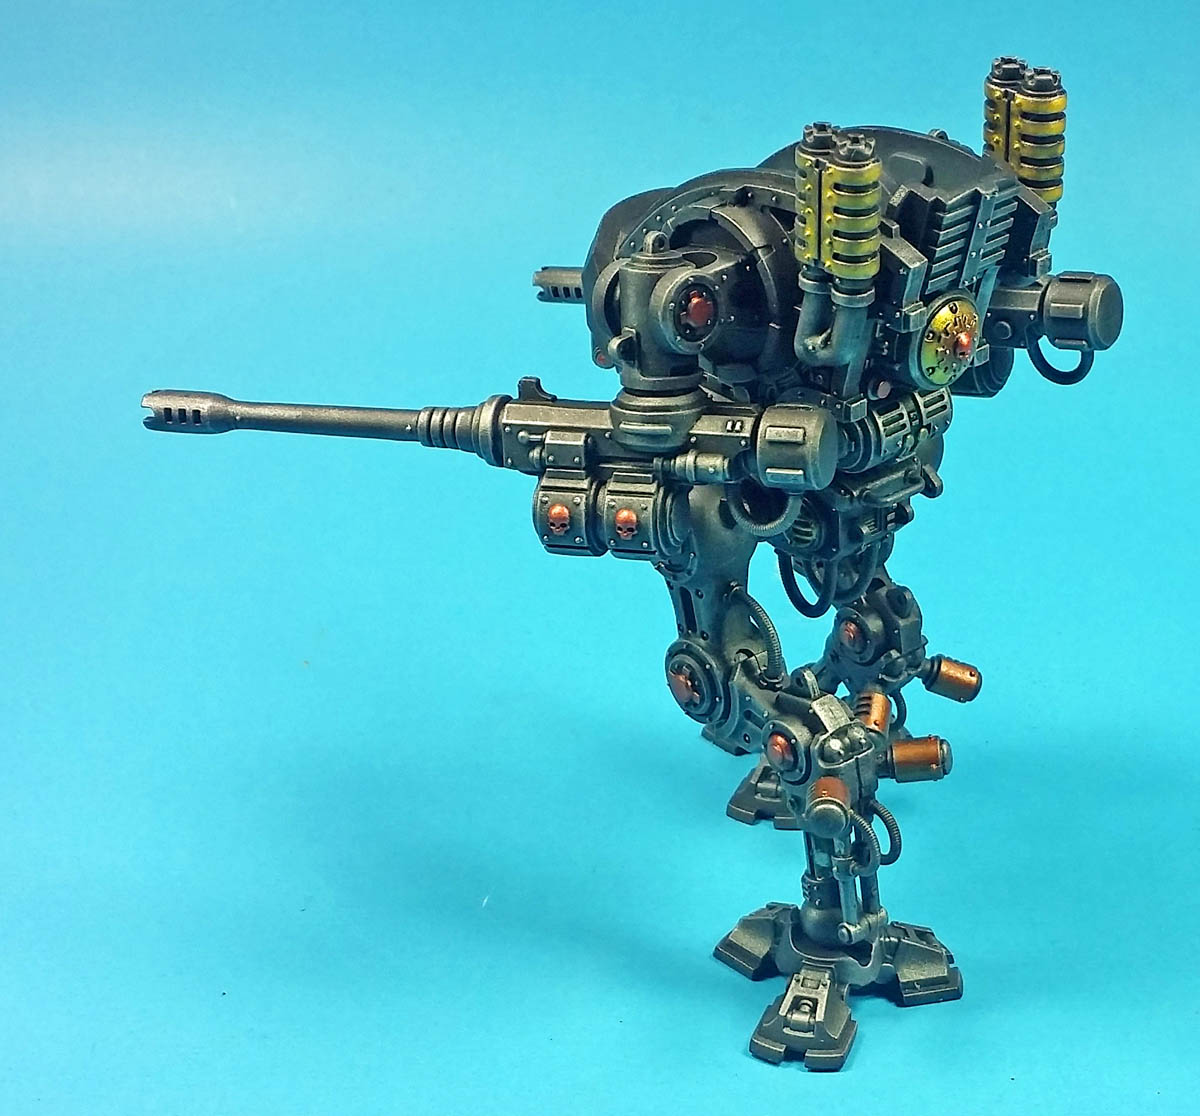
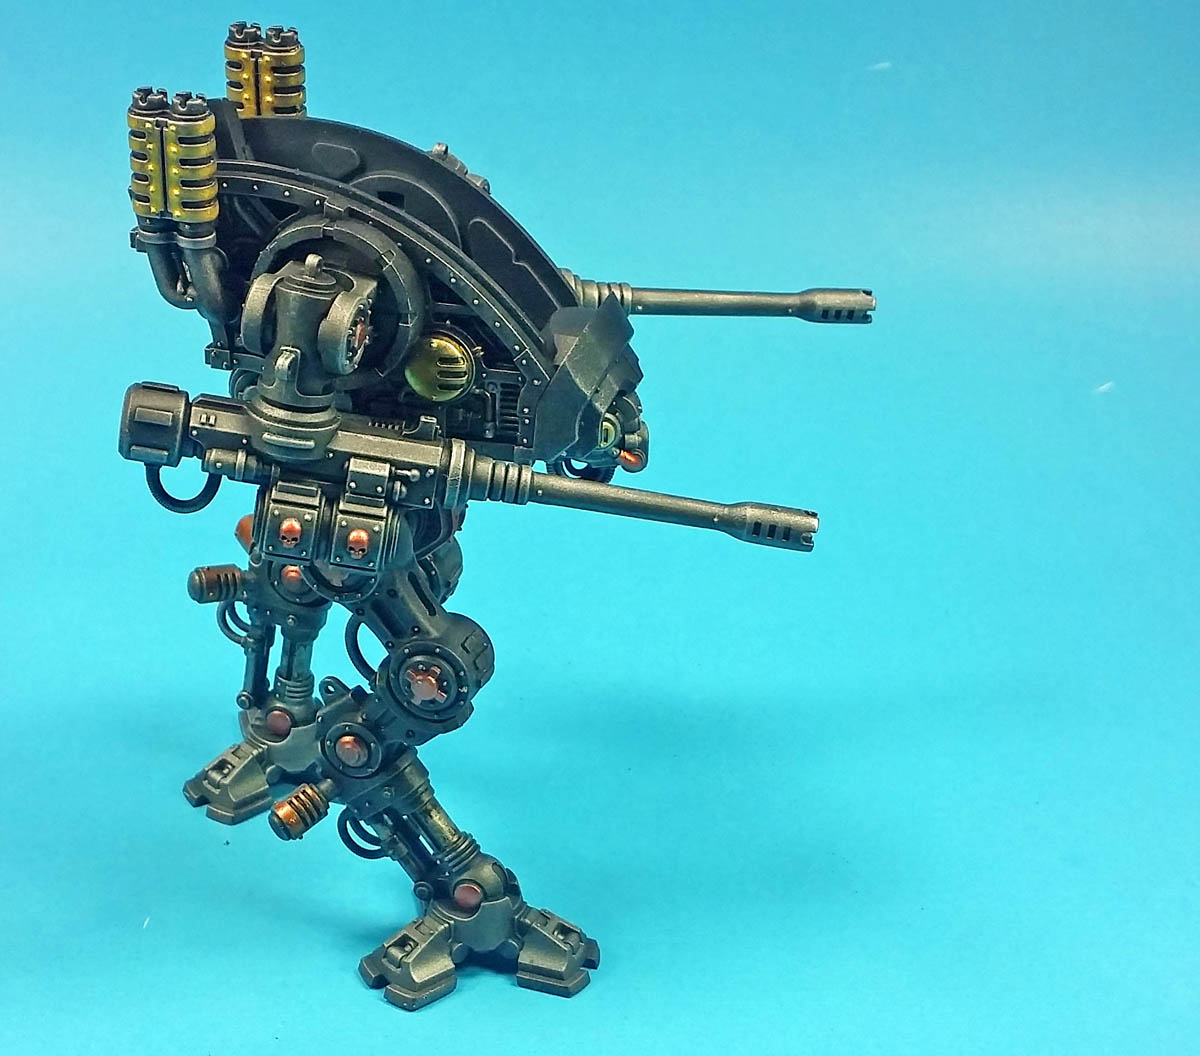
I eventually settled on a split strategy. For the brighter metallics in close proximity to the armor, I’d go with Ammo of Mig Brass, which is a really shiny yellow color. I painted the metallic “wraps” around the exhausts, as well as some circular do-dads on the side of the frame, with this color. It was a bit difficult to apply as it is a very thin paint, and does not seem to be heavily pigmented. However, after quite a few coats, it did begin to shine, and I liked the look immensely.
For the legs and… arms? (What do you call those appendages?) Anyway, for the legs and arms, I decided to focus the metallics on the joints, namely the circular bits that seemed to form the hinge. For this area, I wanted to use a color other than the brass, something different that would draw some attention. After a few test dabs of various paints, I decided on Ammo of Mig Copper. I liked it for the reddish color it brought to the palette, and I thought this would perform the task of attention grabbing nicely. I also used some Tamiya Metallic Brown (X-34) for the bits sticking out of the back of the legs. I might have used this color a bit more, but even thinned with their own thinner, and with a good dose of Tamiya Paint Retarder, it was still an absolute pig to brush on.
With those major color areas knocked out, I then went in to the gorgeous pipework on the sides of the torso and painted the various bits with all of the metallics previously mentioned.
The process was finished off with some streaks down the legs with Ak Interactive Engine Grime, though to be sure it doesn’t really show up very well.
I did leave a few bits in their gunmetal color, though I plan to possibly paint them later. I want to see how it all comes together when I get the yellow armor on, so I can view it as a whole, deciding what adjustments I’d like to make at that point.
I’m also waiting to paint the “eyes”. Most examples I’ve seen have been painted red, though a look at the color wheel makes me wonder if moving that color towards the purple end of things might work well. I’ll wait and see after I’ve added the armor to decide that though.
Painting this Armiger’s skeleton has been quite fun. It’s loaded with detail, and it’s all very well-defined and quite easy to paint. Drawing out contrasting shadows and highlights is quite easy, and I’m very happy with the look so far.
I know I sound like a broken record if you’re a regular reader, but if you’ve not built one of these Warhammer 40K kits, I can heartily recommend doing so. They are great fun, simple to assemble, easy to paint, and look really cool when you’re finished.
Just be warned…
They are addictive!

Leave a Reply