With every new Citadel Warhammer 40K kit I build, my write-ups go on and on about how much I enjoyed them. Each seems to be even slightly more enjoyable than the last. I suppose at some point I’ll need to stop, for fear of “enjoyment meltdown”.
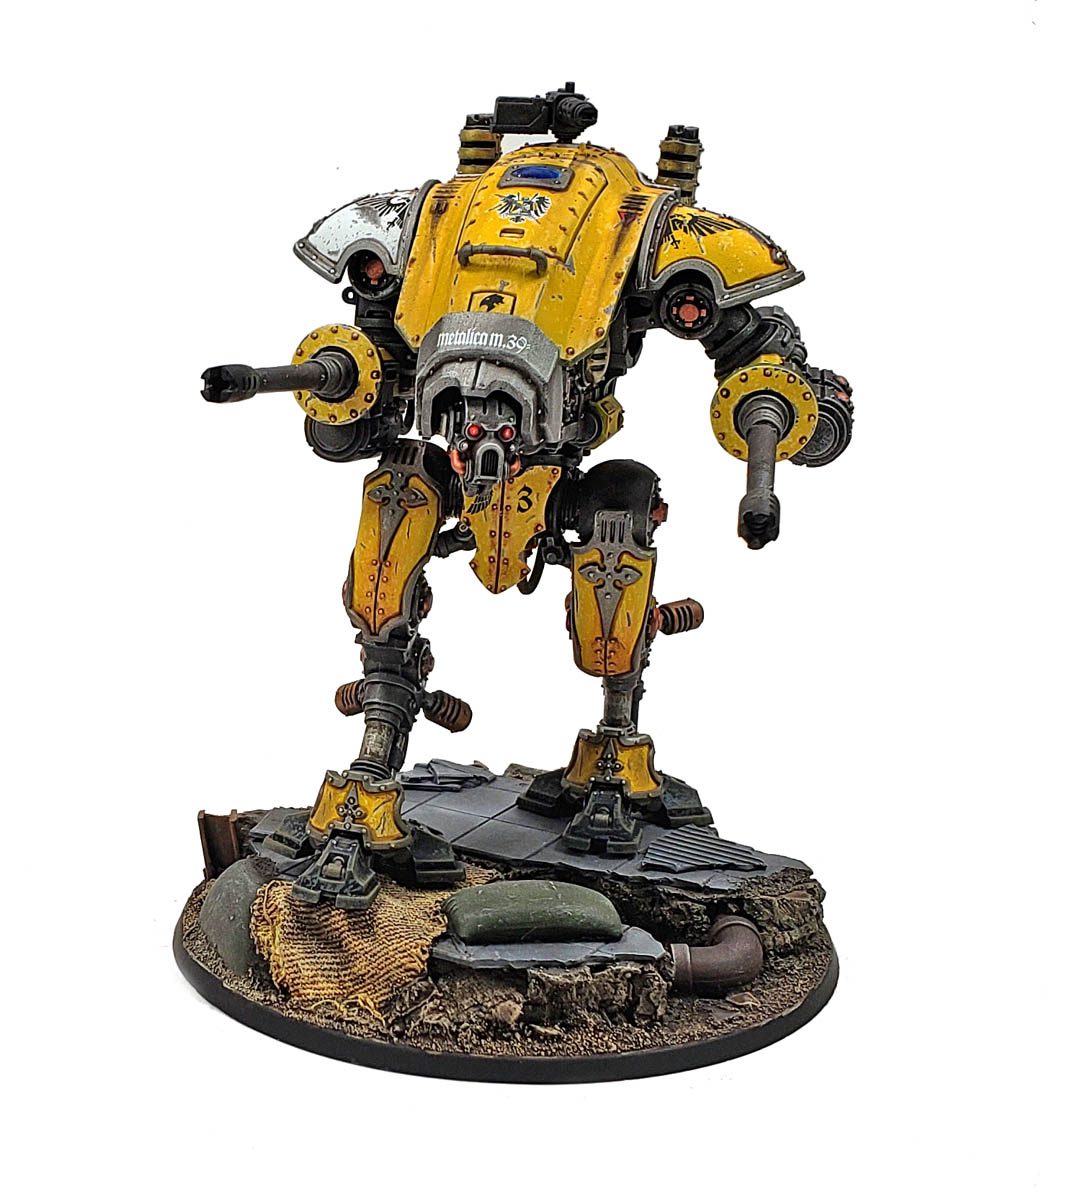
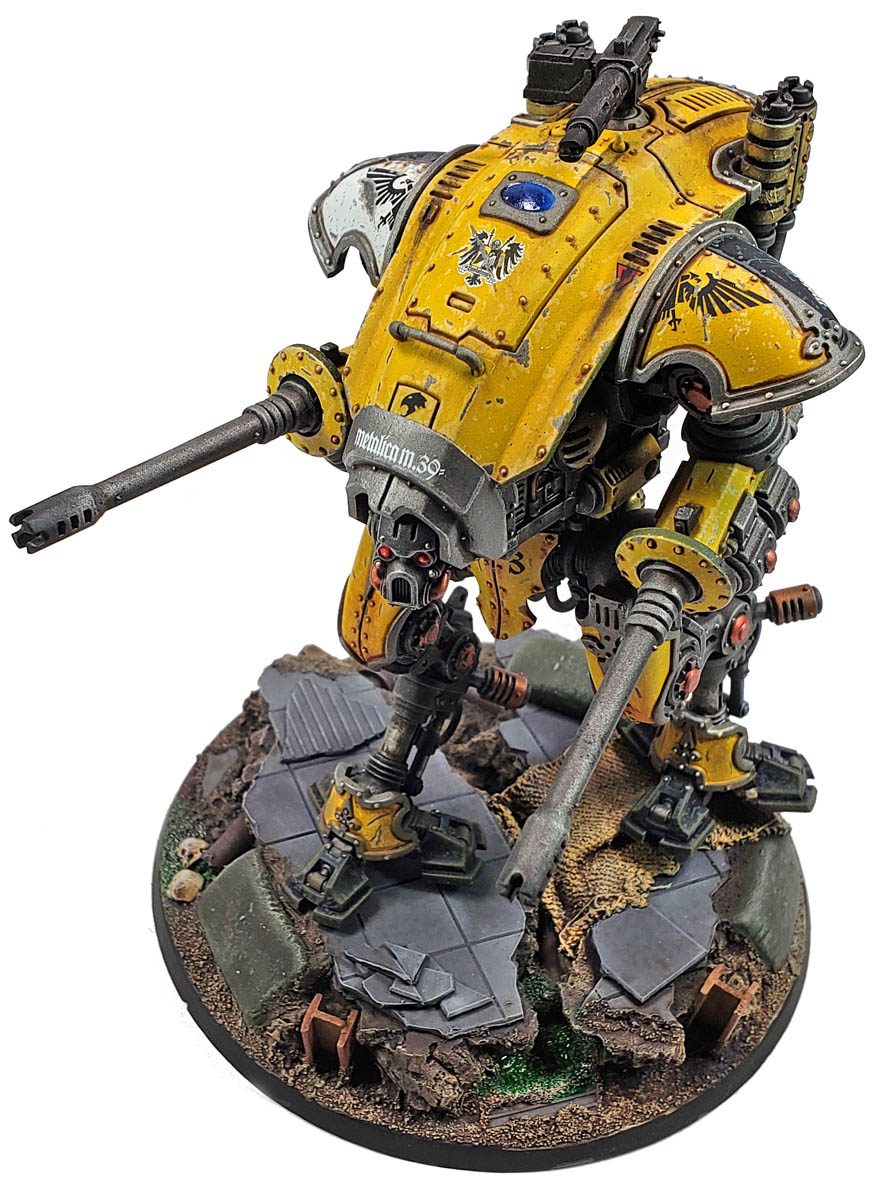
This Armiger Helverin was certainly no exception. It was simply pure fun to build and paint. The casting of the parts, the fit, the overall look of it… just about every step of the process embodied what it means to have fun in the hobby.
Even the part that I had to do some research on – the color scheme – was simple enough.
If you’ve not built any Citadel Warhammer 40K kits, they’re actually pieces used in the play of a tabletop game system. You line up your army, the opponent lines up their army, you then roll dice, and they roll dice, all according to various rule books, and everyone keeps playing until someone is declared a winner through some criteria that is a mystery to me. When it’s all finished up, the last part seems to be to get on Facebook and then discuss how everyone is a horrid cheater. Though I’m not entirely clear on the process, that is the gist of it. (Based on casual observation, of course. I may be way off. 😉 )
Anyway… back to the color scheme…
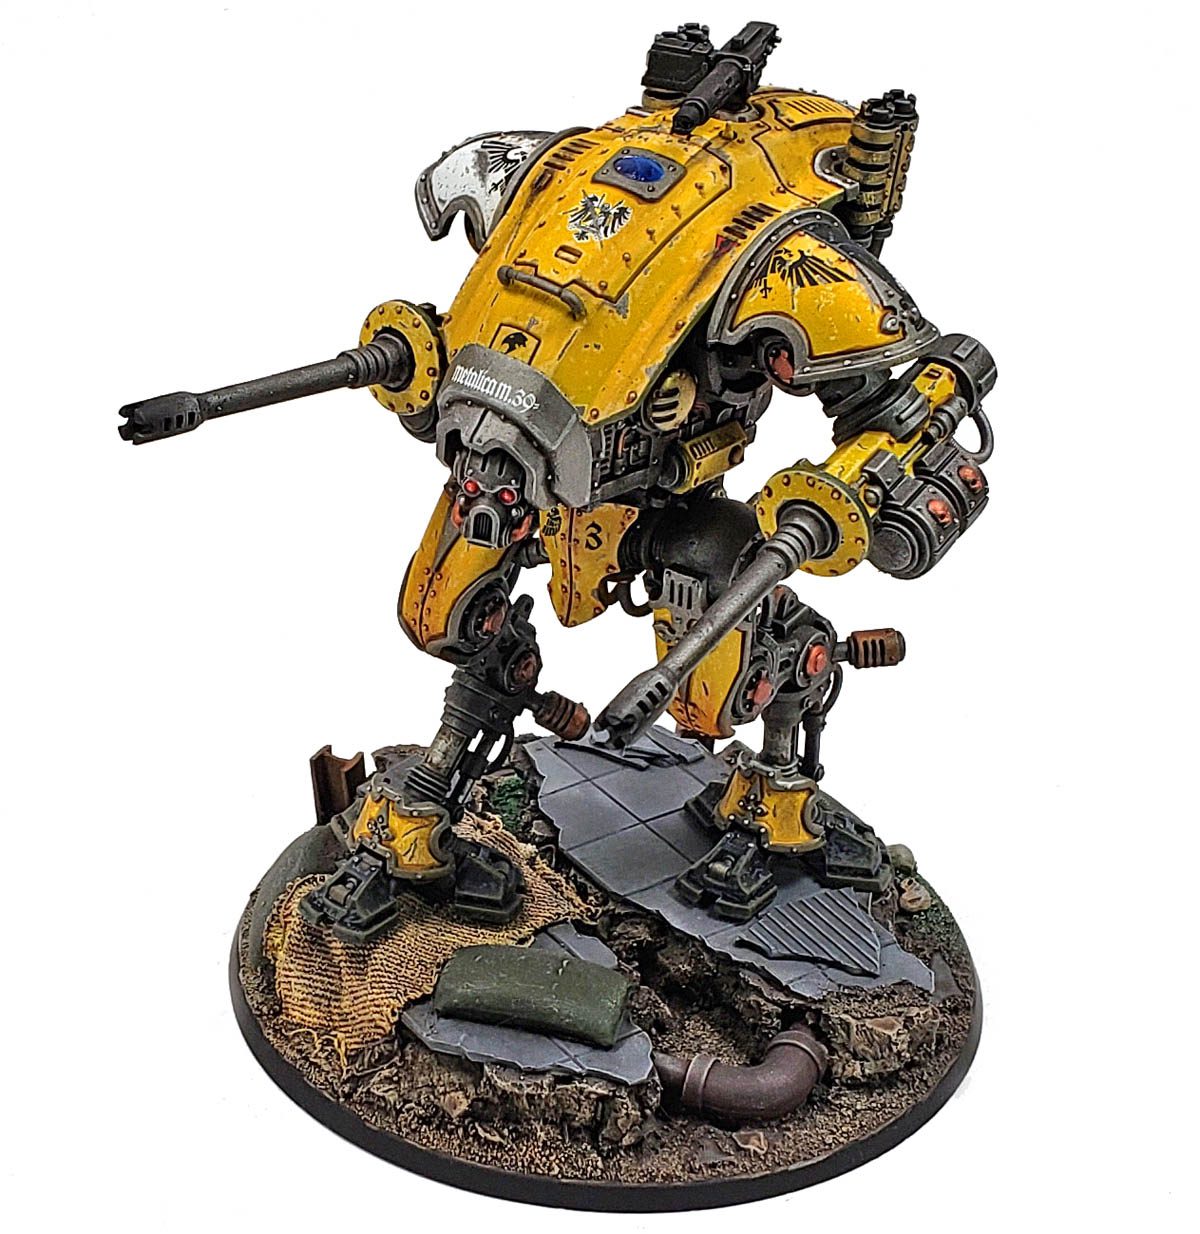
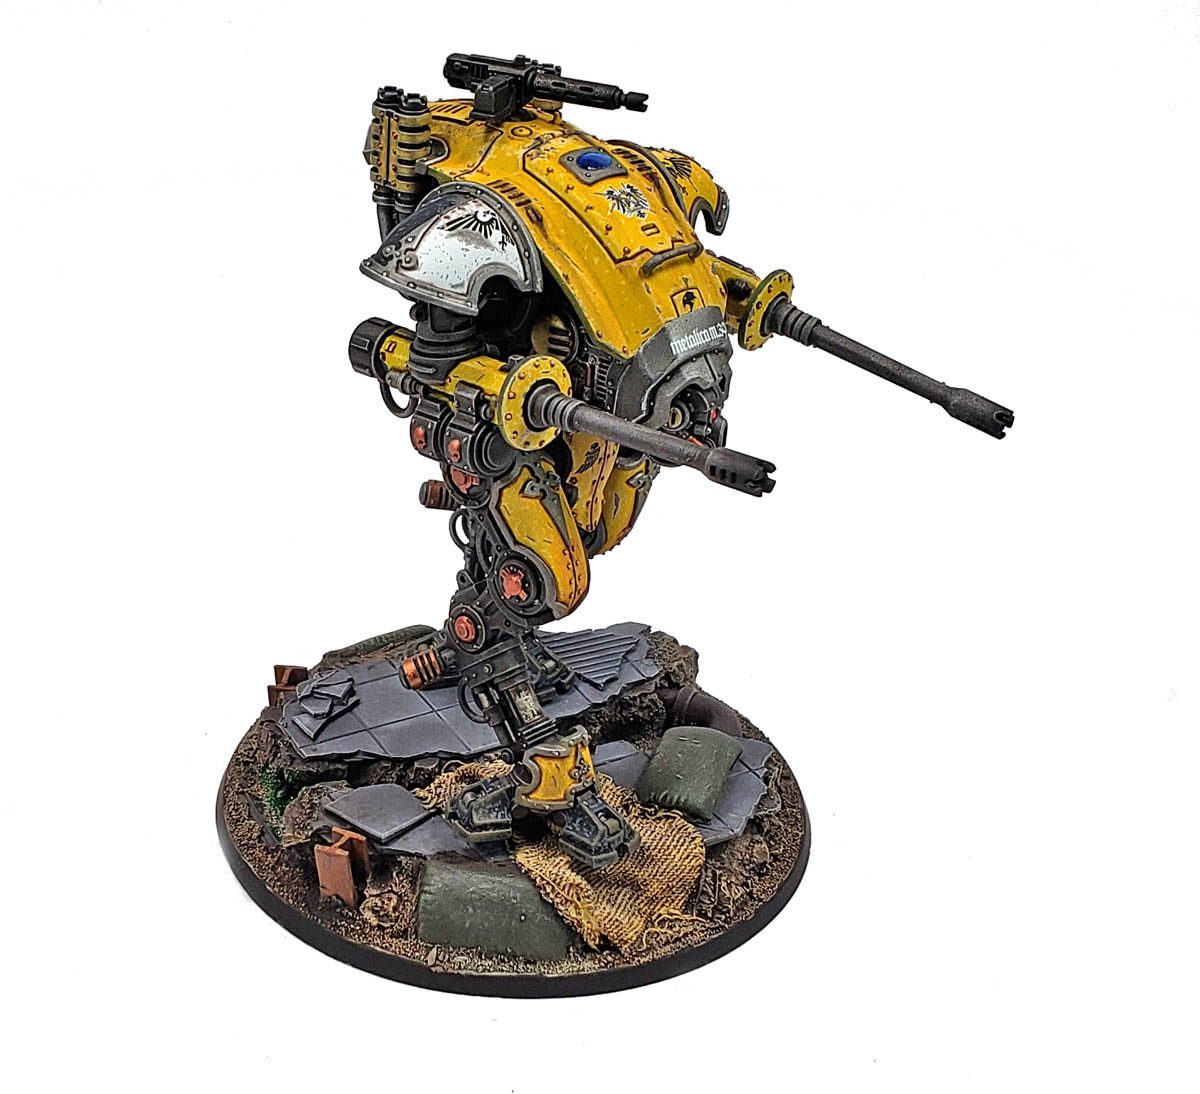
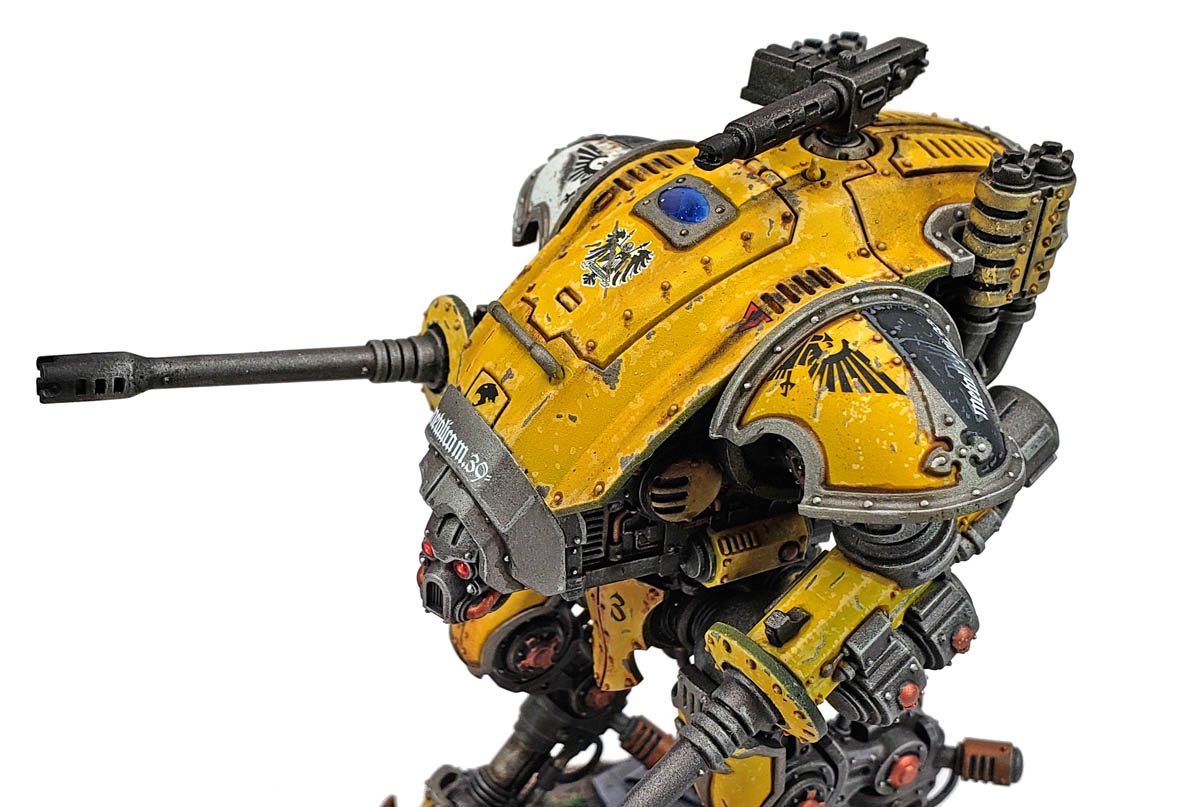
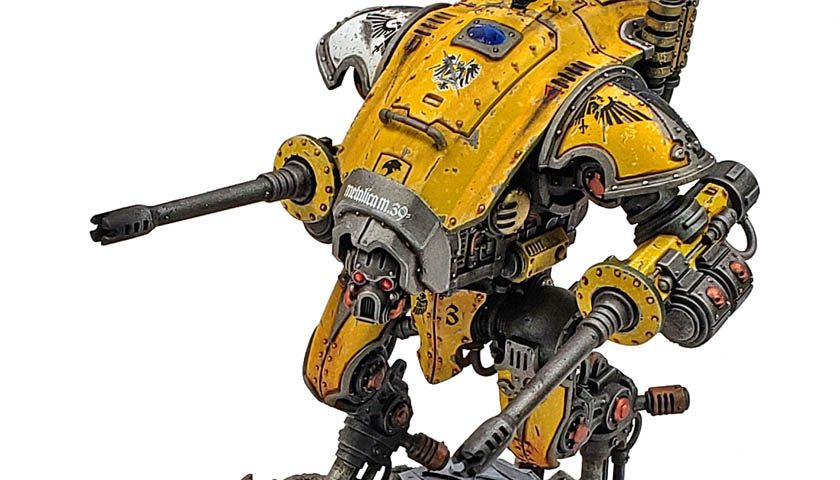
There is a huge library of Warhammer 40K lore published, all of it contained in a library that seems to have no lights. Again, that is conjecture, but so many call it “the black library” that I can only draw such a conclusion. (Again, I may be way off…) The lore dictates all of the color schemes, if you’re going to go with canon color scheme. As I plan to sell this, I wanted to stick with known colors. One of the marking sets on the decal sheet was from a group called “House Hawkshroud”, which adorns their vehicles in the tactically sound choice of yellow. I thought it looked cool, and finding some drawings and other models that showed ideas for painting, I forged ahead.
How About The Build? Can We Get To That?
Sure… sorry. I’m rambling.
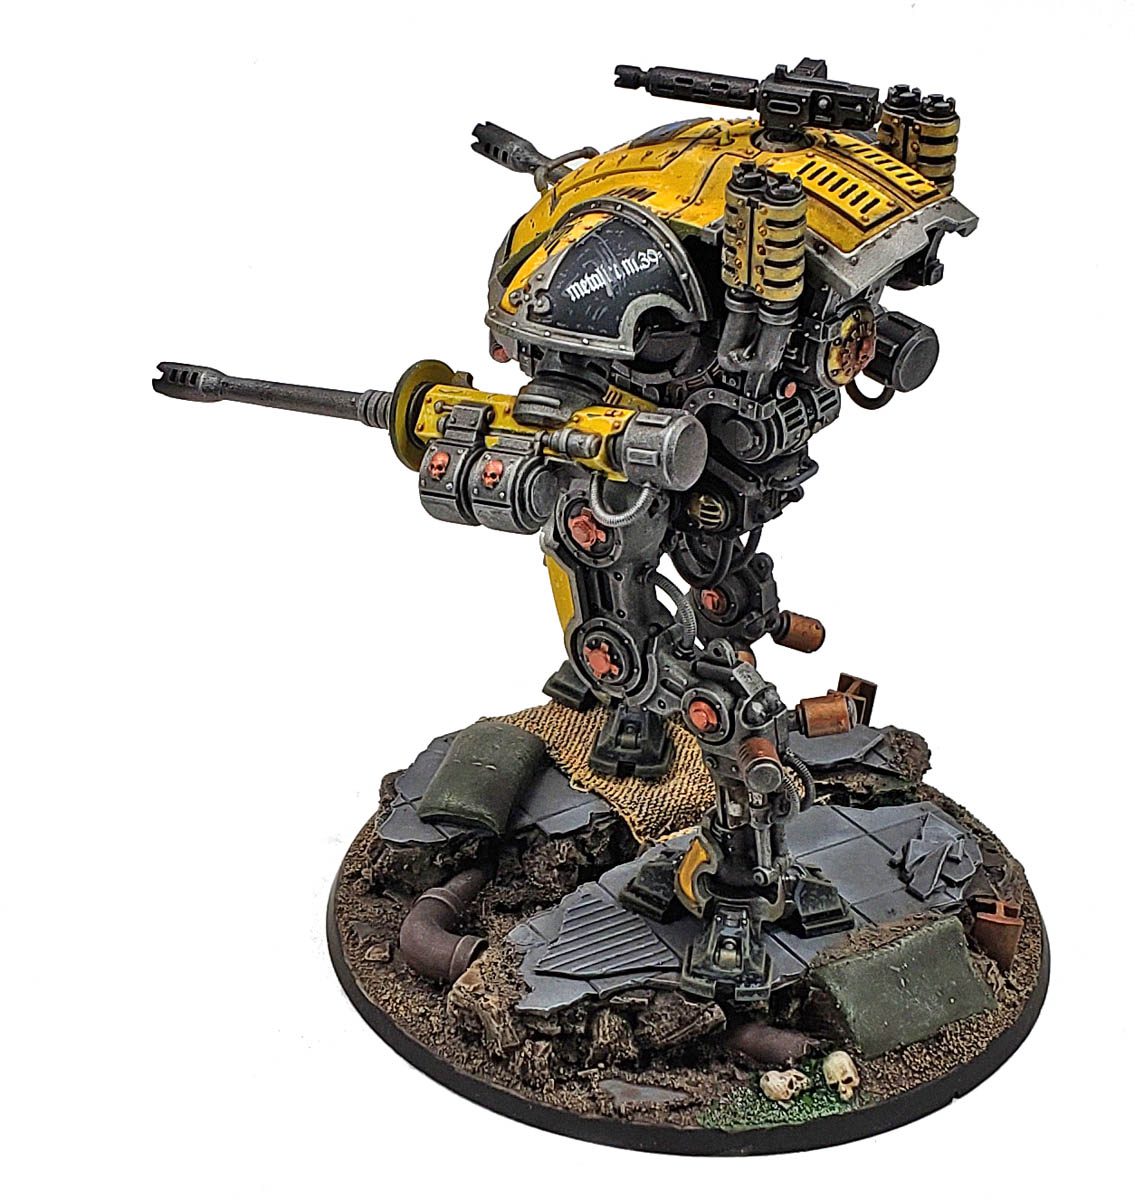
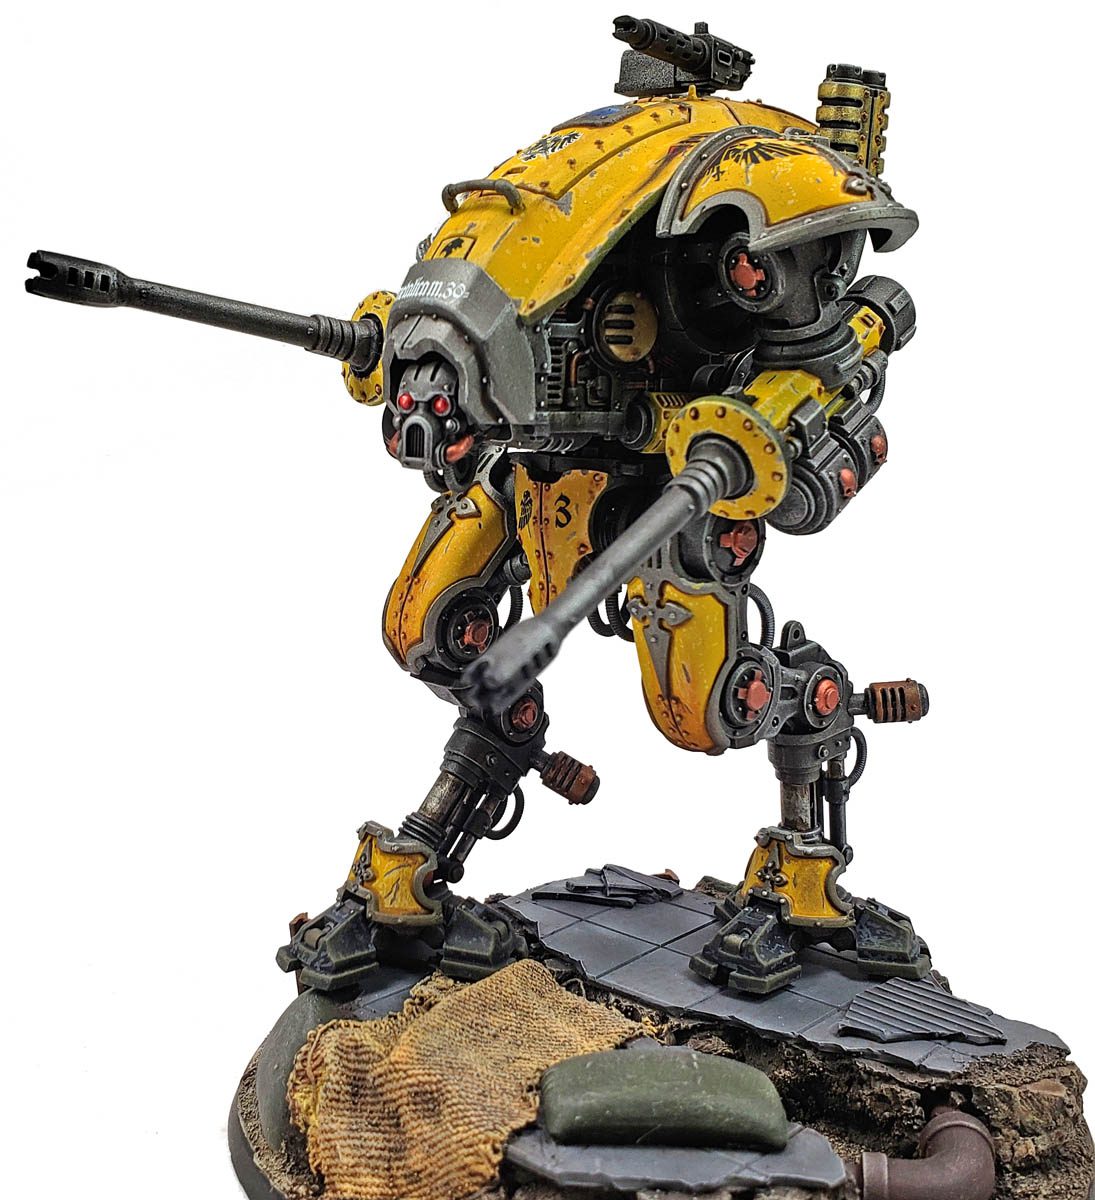
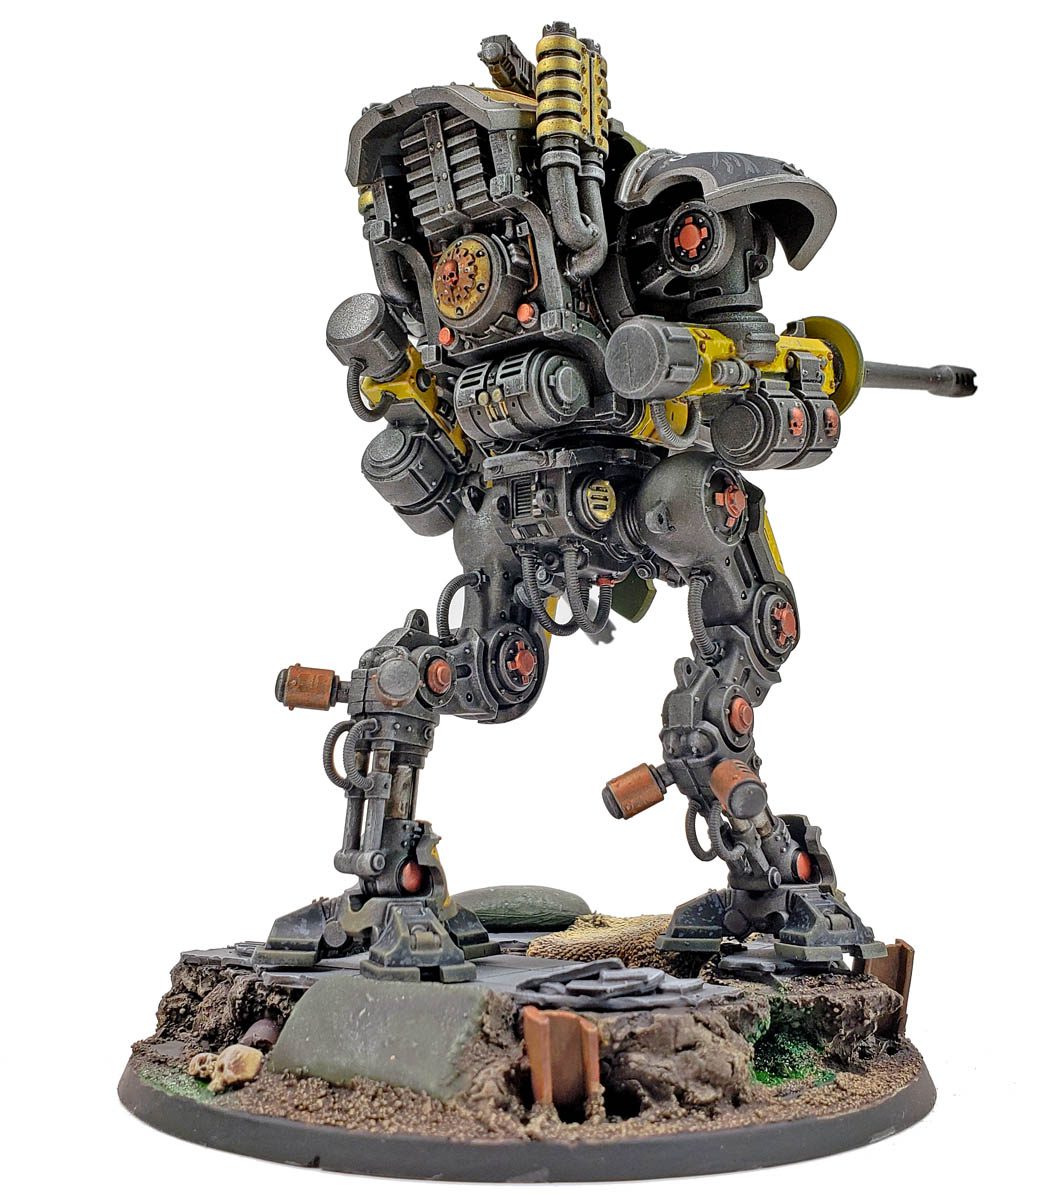
To make painting easier, I assembled the kit in various subassemblies. I kept the legs, waist, and upper torso separate, as well as the armor pieces. For the frame sections, I kept the process fairly simple – an airbrush coat of Ammo of Mig’s Gunmetal, a double wash of Nuln Oil, some Stormhost Silver highlights, and then the addition of various other metallics and weathering. You can read a more detailed accounting of that part of the build in this previous blog post.
For the armor pieces, I know that yellow can be a bit of a tricky color to work with. However, I thought I had a secret weapon.
On a few previous model builds, I’m made use of Vallejo Game Color Yellow Gold. I liked how very bright and punchy the color was… not at all lemony, but a very strong, warm yellow. And I’d seen that it covered great. I loaded it up in my airbrush, and gave all of the armor pieces a good coating.
I decided it would be easier to add the paint chips prior to adding any additional color. I started by adding some smaller chips, using Vallejo Model Color Iraqi Sand. I applied this with a small sponge piece, using a technique similar to drybrushing, with very little paint actually on the sponge. I dabbed it around in random locations, trying to avoid too much symmetry. When I hit a point that I thought I didn’t have quite enough, I stopped.
Grabbing a #0 liner brush, I then began to “join” some of the sponged sections together, and added a few more streaks, chips, and patches… again trying my best to be random. Knowing that “subtle” and Warhammer 40K” don’t belong in the same sentence, I allowed myself to go a bit overboard. Once the basic chips were in place on the yellow parts, I moved on to the other colors.
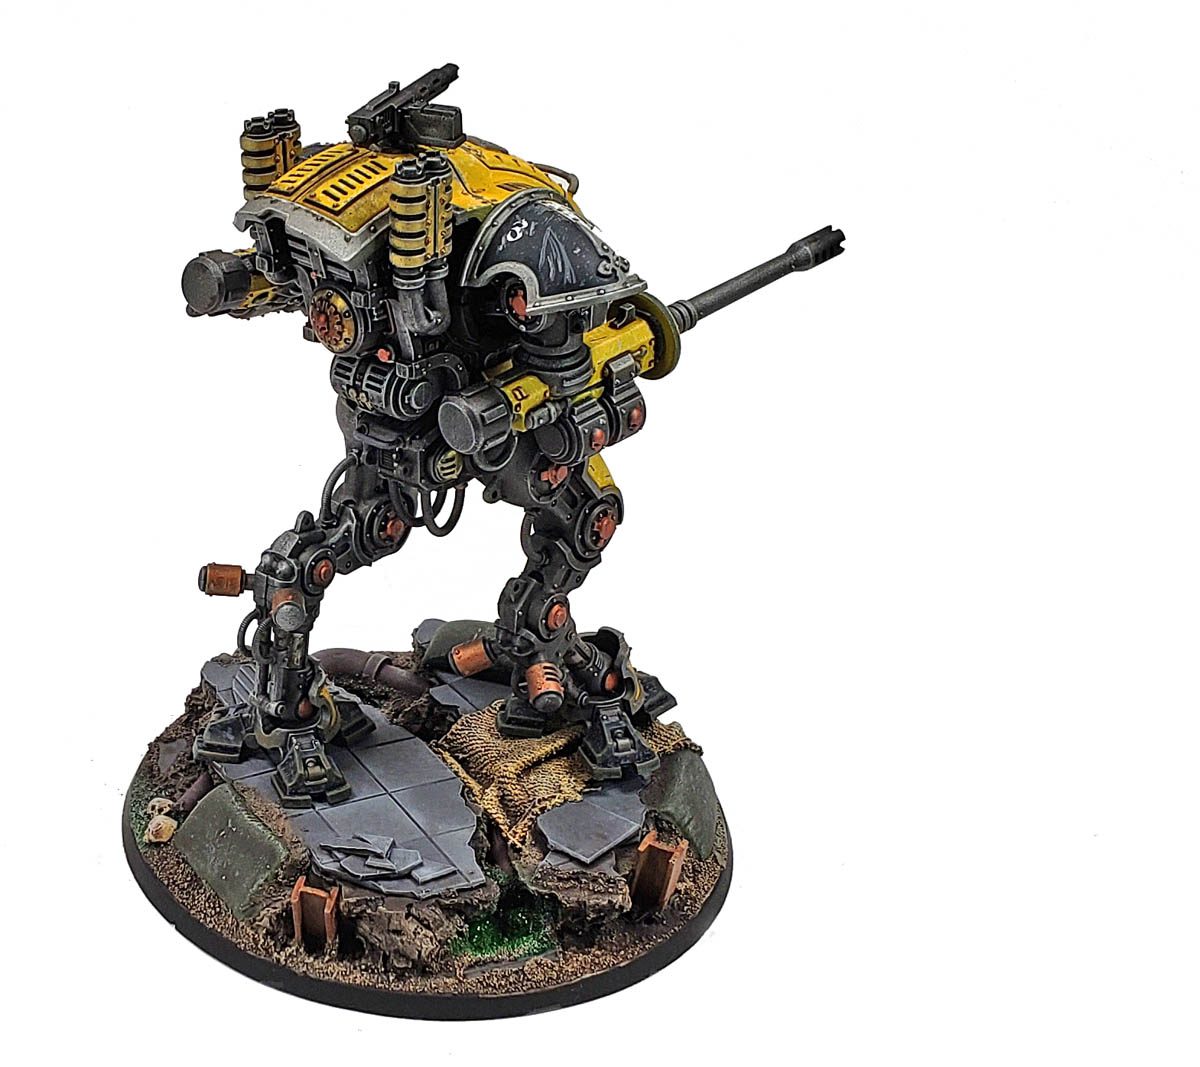
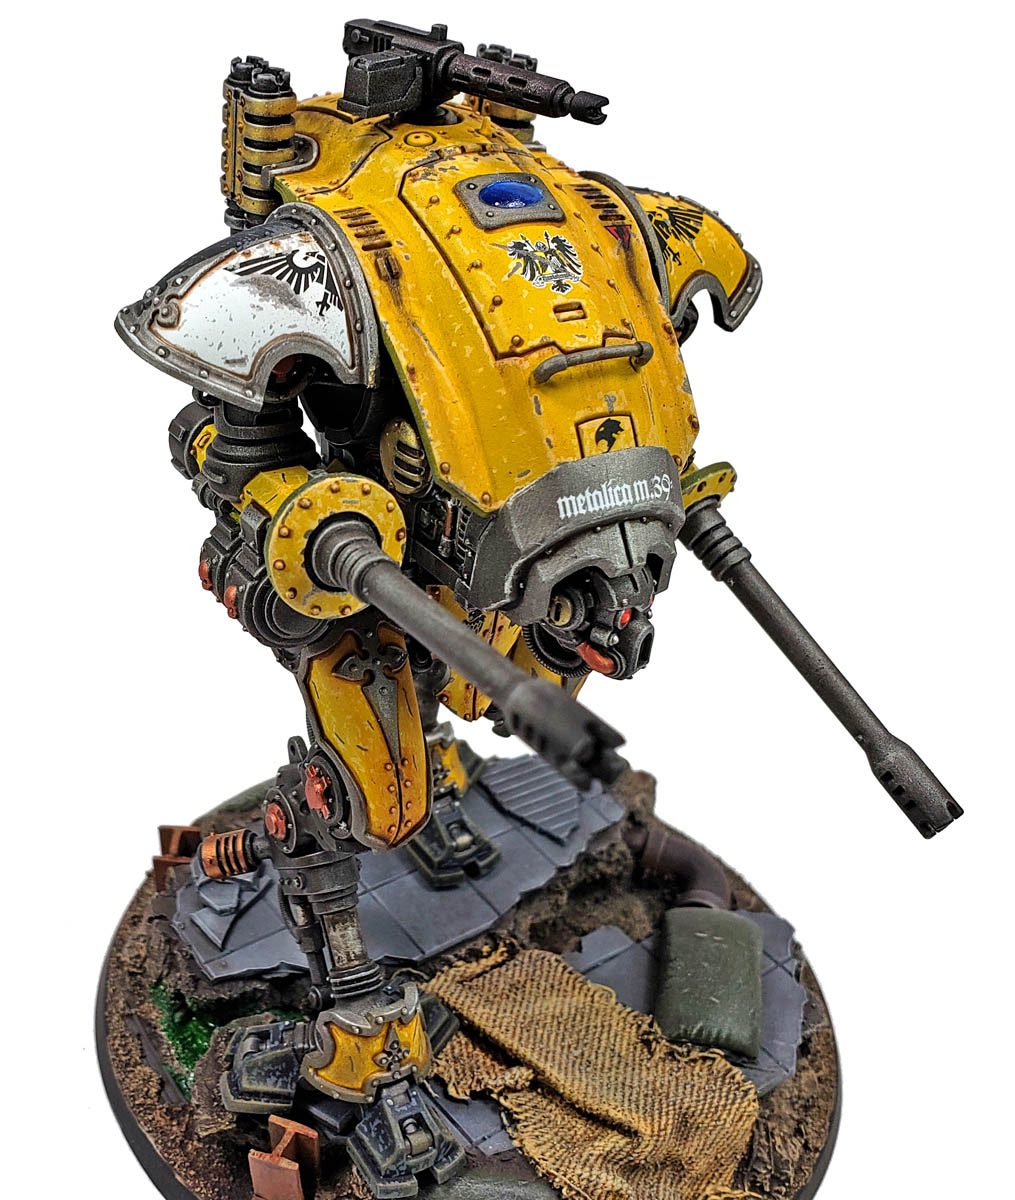
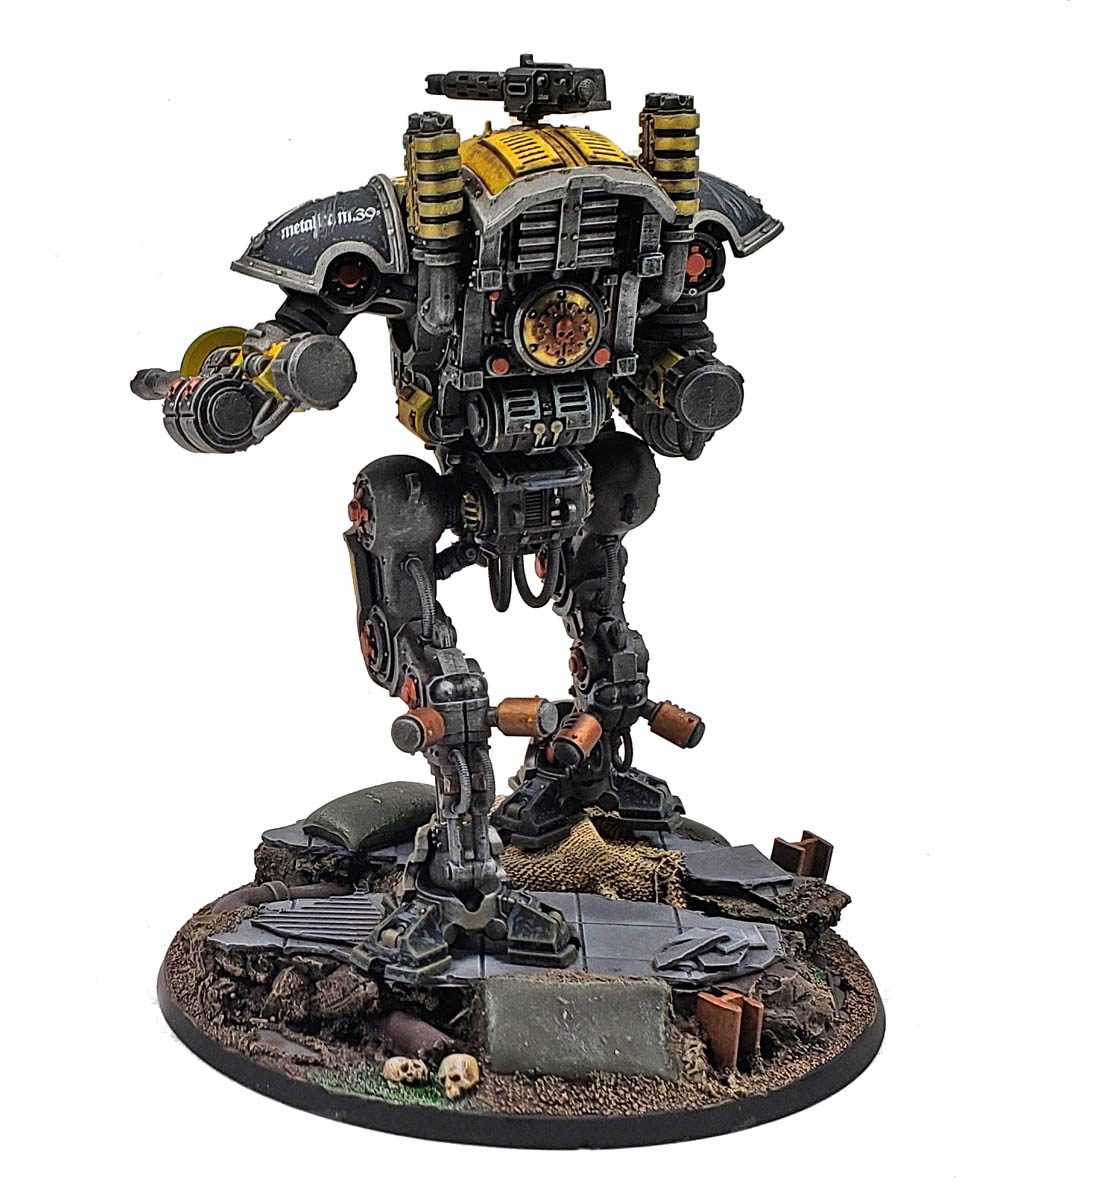
For the shoulder pauldrons, I airbrushed white on one, while the other had been previously painted yellow on one half. Masking off half of each, I airbrushed on some Tamiya XF-69 NATO Black to the remaining section. If you build this model, be sure and plan which pauldron goes on which side so you can keep them straight! ( I almost messed them up!)
With those color touches added, all of the metal trim was painted with Citadel’s Leadbelcher. I applied a coat of Nuln Oil as a shade, and the did some highlighting with Citadel’s Runefang Steel, a brighter silver color.
Additional paint chips were added to the white and black parts, with Vallejo Model Color Sky Gray employed on the white armor section, and Basalt Gray used on the black area. I then used Leadbelcher again, this time to add some additional chipping to try and give previous work a bit of depth. The yellow armor parts were then given a recess shade of Citadel’s Agrax Earthshade.
It was at this point I realized I’d forgotten to the add the decals prior to all the weathering… :/
It wasn’t a bad problem, really. I prefer to add decals and then do the weathering, just so it’s all in a nice flow of steps. Thankfully, the 40K kits don’t have too many decals. All of the armor was given a coat of Future as a gloss coat, and then I applied the decals.
With the decals on, I use my #0 liner to add some paint chipping over the top of them, and all was good.
I then began the process of additional weathering using a variety of products. AK Interactive Engine Grime added some various grime and streaks, principally on the carapace. Several acrylic wash colors were used to add rusty, grimy effects to bolts all around the armor. I gave the window on the top of the carapace several shades of blue, trying my hand at wet blending. (It looks… meh. But it’ll do as a first try.) The eyes were given a red treatment, using smaller and smaller dots of colors going from dark to light.
All About Da Base
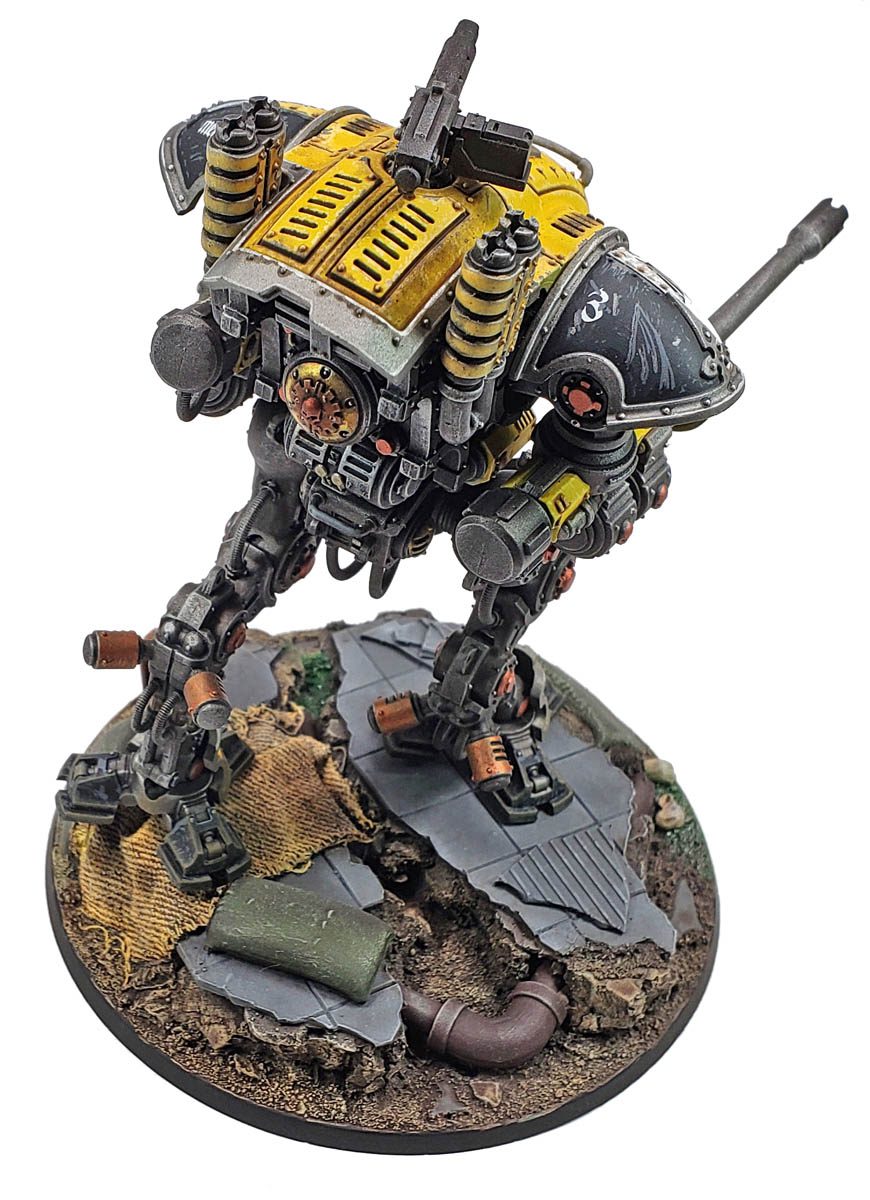
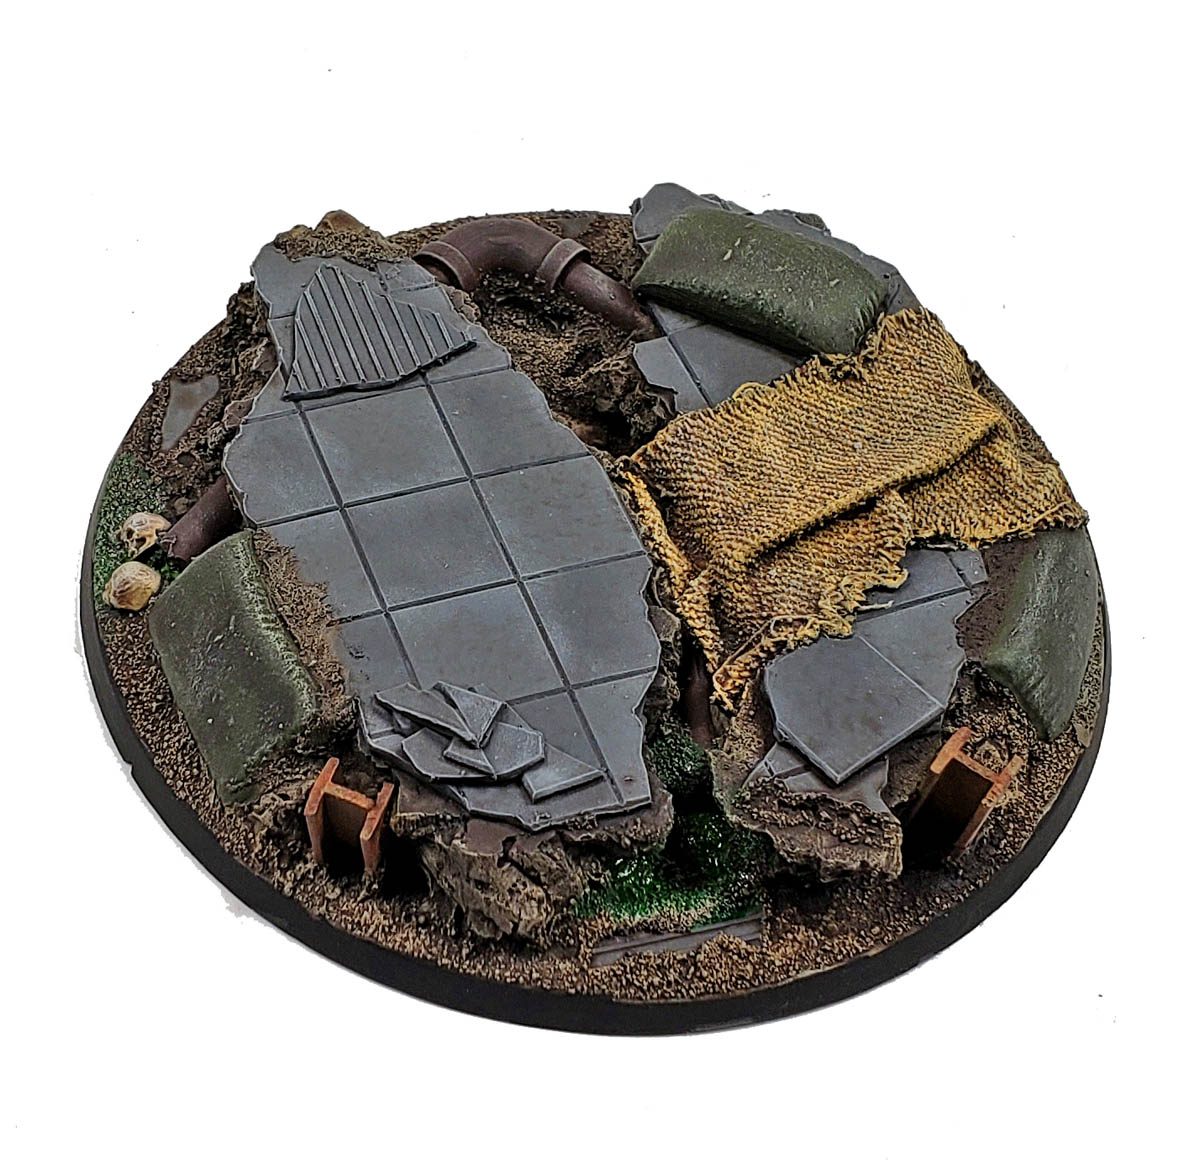
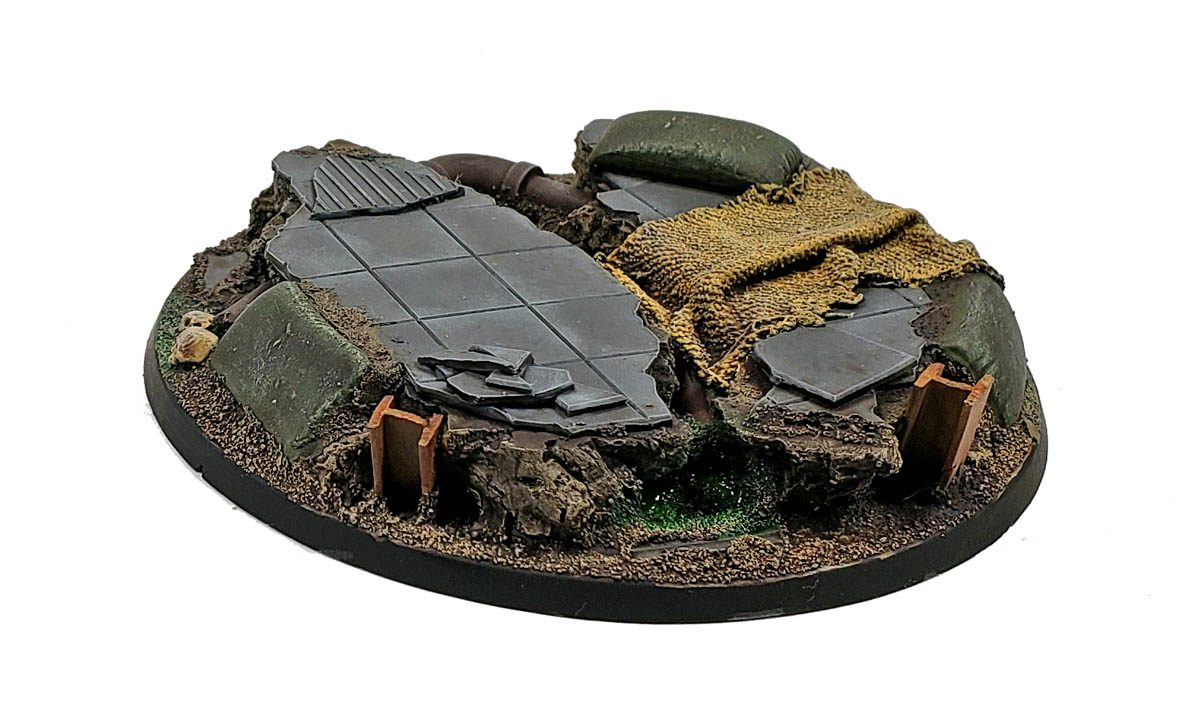
The base for this one was loads of fun, and , well, I’d recommend it to anyone for basing your army. It was from Elrik’s Hobbies City Ruins set. The sculpting on it is gorgeous. (See this previous blog post.) A thorough priming was airbrushed on with Badger’s Stynylrez Black primer. Vallejo Model Color Leather Brown was used for the dirt sections, Neutral and Basalt Gray for the tile, Camo Olive Green for the sandbags, and Iraqi Sand for the tarp. The pipework was a mix of Leather Brown and Vallejo Mecha Color Dark Red. (I’m not sure what I was going for with that mix… but I went with it anyway. 😉 ) A dark orange was used for the I-beams.
With the base colors on, I loaded the whole thing down with Nuln Oil. I mean, I really slopped it on there. After giving it a good amount of time to dry, I began a process of drybrushing all manner of colors related to the various base colors. I’d drybrush, add a bit of shade, drybrush something else… I can’t say I had any particular rhyme or reason. At some point, I simply got bored, and thought “that’ll do, pig”.
I later went back and added some slimy green glaze at the ends of the broken pipes. I figured somewhere in the grim, dark future, there is only glowy green slime in drains.
Elrik’s Hobbies really did a beautiful base. They made it easy. You can seriously just base, shade, and drybrush, and look like a genius. (Or what passes for one…)
Finishing Up
I glued the armor parts to the internal frame, though I did leave the arms movable, and the little gun on top can be swapped out for another option. I didn’t glue the model to the base, as that will make shipping easier. Plus, I thought perhaps the eventual owner may want to base it in their own way, consistent with the rest of their army.
As I mentioned at the beginning of this long rambling mass of nonsense blog post, this is a really great kit. It has no vices in assembly, and if you’re not worried about canon color, you can absolutely paint it any way you want. The design of the kit makes it easy to brush paint, and it takes to drybrushing like a grim duck takes to dark water. All of the surface features give loads of opportunity for weathering.
I’m fairly happy with how it turned out. The kit comes with two Helverins in the box, so I’m going to take what I learned on this one, and apply it to the next.
If you’re already into building 40K, I don’t have to convince you how fun Citadel kits are. If you’re on the fence about this one, I’d say just get it. The build and paint experience alone is worth it.
And if you’re not into 40K, consider taking a break from what you’ve been doing, and give them a try.
I can promise, no matter what color you paint it, you’ll have fun. And that is the key!

Leave a Reply