I suppose as long as there are modelers, there will be varying schools of thought on how to finish a model. On one side of the spectrum is the more realistic approach, and the other is a more interpretive approach. Read any forum, any online group, and much of the contention that may emerge is generally rooted in those two approaches. Regardless of whether it be accuracy of color or shape, application of technique, or simply the notion of what is “right”, voices from both directions can be quite loud.
Yet quite often, the big picture notion slips on by, often silently, until someone interjects with the argument that no one wants to hear, but few can argue with.
“It’s only a hobby.”
Usually this brings a few words conceding that point, perhaps a few more of reconciliation even. Everyone smiles and slaps backs and chuckles a bit, and moves back to their corners. And the wait is on for the next round, when all charge out to defend their camp.
I get it, I really do. In any endeavor, we all form differing justifications for why we do things. We form those because it reflects deep seated beliefs and values. I suppose in a way, it’s simply a microcosm of man’s history. (Wow… he’s really going on a philosophical bender today… 😉 ) Whether we are arguing color accuracy on a model, or something on a larger and grander scale, such as political ideologies, we’ll generally discover something to argue about.
However, in the modeling realm (heading to a point, don’t worry), I’d submit there is good justification for a “both/and” approach when it comes to realism versus interpretivism.
Have Your Cake And Eat It Too
If you normally take one approach over the other, you’re used to the methods and techniques that produce the end result you favor. You will work on it, model after model, adding new touches here and there, in a quest to perfect the technique. And for most folks, a certain level of mastery will happen.
Yet, as I’ve built more and more models, it dawned on me that ignoring the one end of the spectrum to focus on the other quite often leaves huge gaps in the total skillset a modeler can bring to bear on a project.
For years, I suppose you could describe my line of thought as being rather centrist, really. I was not experienced enough (I thought) to dive into the far ends of either side. Certainly looking back at my past work, I tended to be a slight bit more interpretive in approach, but not so far off into that for the realists to be too upset with me.
As I read and observed more and more of how top modelers finished their projects, though, I became far more intrigued with the “how” than the “why”.
The “how” question became more and more important to me. I realized that learning the techniques and methods to build a model on either end of the spectrum would serve me well no matter how I chose to interpret the end result.
¿Hablas español?
One of the styles that seems to be very polarizing is what is often termed “Spanish” style. It’s an approach to finishing a model that is very much rooted in a more artistic approach to light and shadow, color and tone. To the realistic eye, it can appear horribly patchy and overblown. Yet someone more rooted in that style will see it a gorgeous.

On this model, I wanted to further explore the execution of this style, with a plan of starting on a deliberately exaggerated base. As I’ve explored this method, I’ve noticed how later applications of weathering will “mute” earlier layers. The key is learning how much contrast can be applied in the first steps, and yet avoid a too horribly overblown end result.
The victim of choice this time was the AMTech 1/48 P-40E I’ve been working on. The markings I will be finishing the model in will be for an Alaska based aircraft. The olive drab paint that was used faded and discolored quite a bit, and in the harsh conditions it operated in, a very distressed, beat up paint job would be quite appropriate.
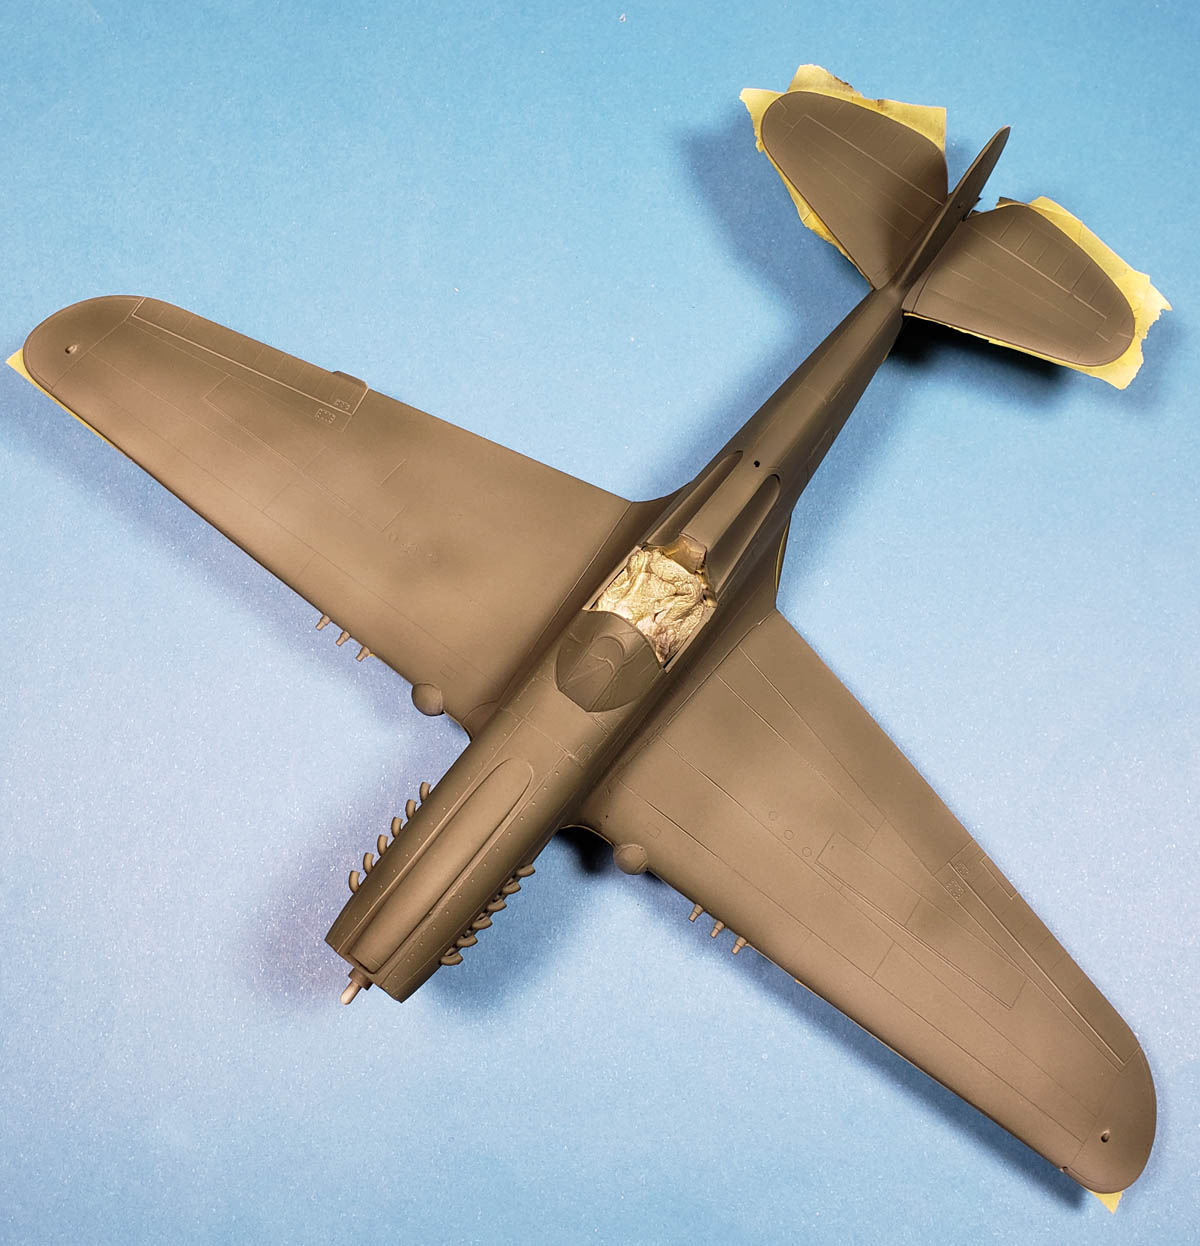
I started with a base of Badger Stynylrez Gray Primer. I considered using black primer, but I was not wanting to do the “black basing” method as much as I wanted to introduce tonal variety to the olive drab color. The first coat of paint I applied over this was Tamiya XF-27 Black Green. While it is a very dark color, it retains a definite green look to it, so later layers would be able to play off of that. I wasn’t particularly careful to get full coverage, either. As the goal was a contrasty, varied surface, allowing the patches to showed through worked. Also, note I wasn’t particular about placement either – I simply coated the full model.

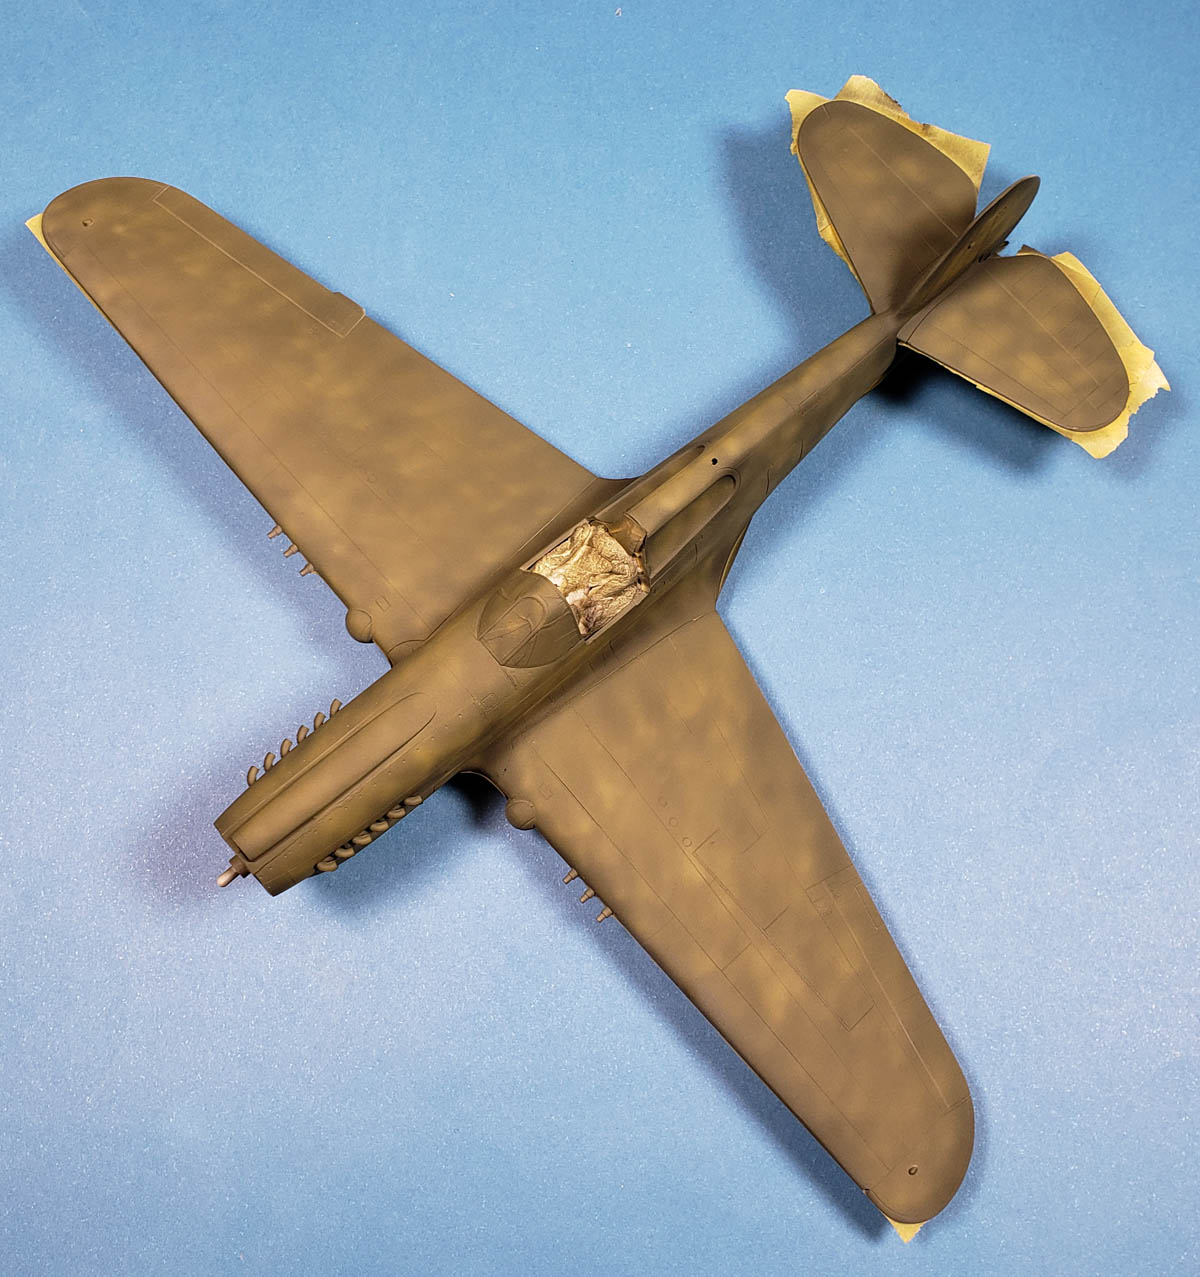
With that in place, I wanted to move on to a lighter color. I considered going in with straight olive drab, but because it would not contrast too much with the dark green, I decided on going one more “step up” in lightening the color. I made up a 50/50 mix of Tamiya’s XF-62 Olive Drab and XF-4 Yellow Green. The yellow green would lighten the OD up a bit, but would retain the “green-ness” of the OD. (The use of white would have produced a cooler, gray tint to the OD.) The paint was heavily thinned with Mr. Color Leveling Thinner, in a ratio of roughly 3 parts thinner to 1 part paint.
Application was by the fairly simple method I call “scribbling”. Imagine a child using crayons to “scribble” in a coloring book, with no concern for the lines, full coverage, etc. My hand motion with the airbrush was the same thing – darting about here and there, varying from close to maybe 2 inches away, and not trying to fully coat or even concentrate in any one area.
The end result was headed in the right direction.
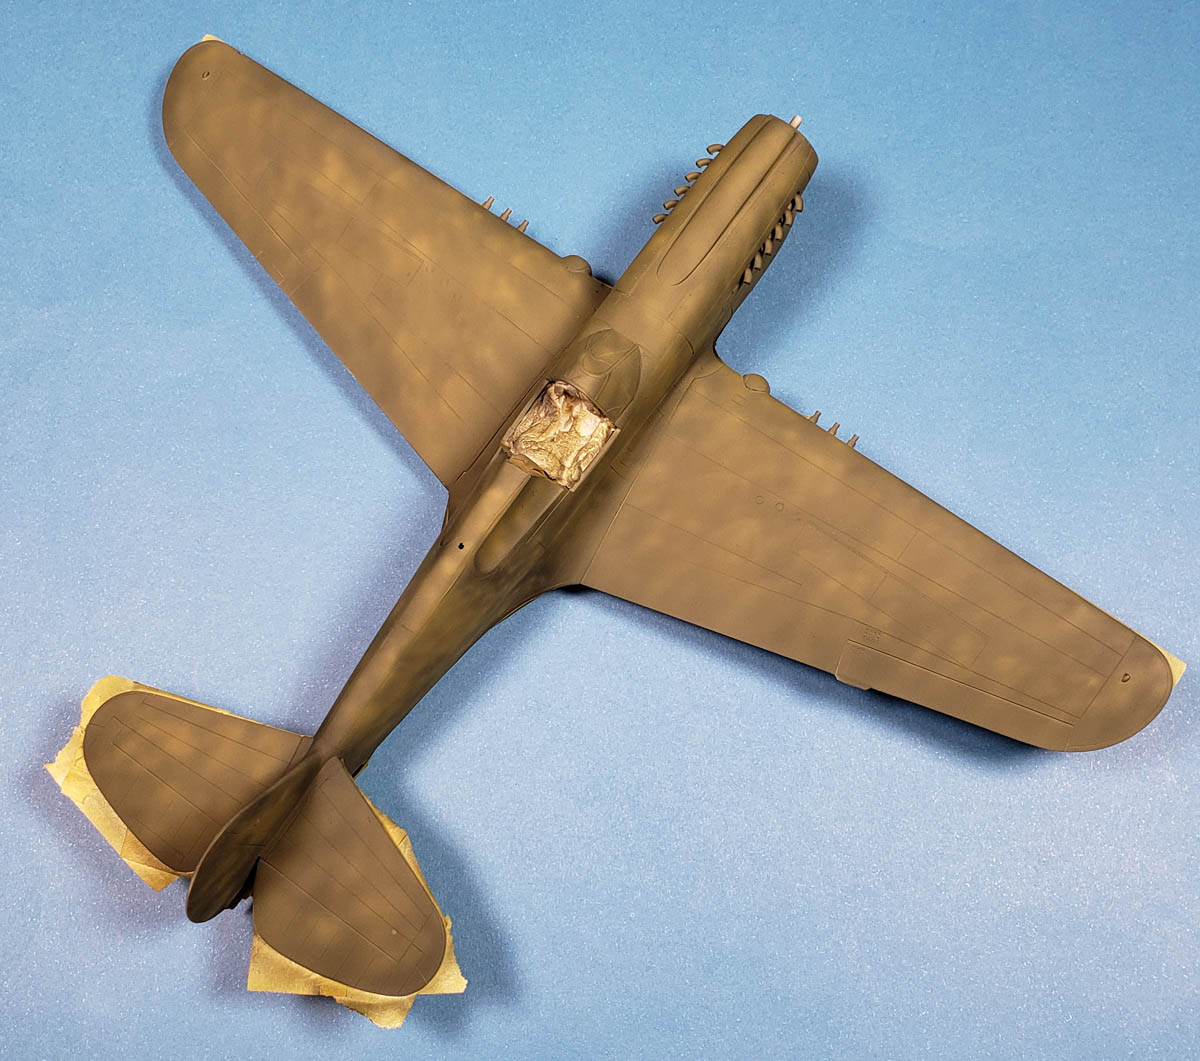
The next layer was applied as before, but this time with only the XF-4. Thinning ratios remained the same. I did begin to focus a few more highlights in some panel centers, and along the wing roots, as these will eventually receive heavier weathering. I also spent more of the airbrush time closer in, making the scribbles a bit smaller and tighter, yet still striving for a haphazard look.
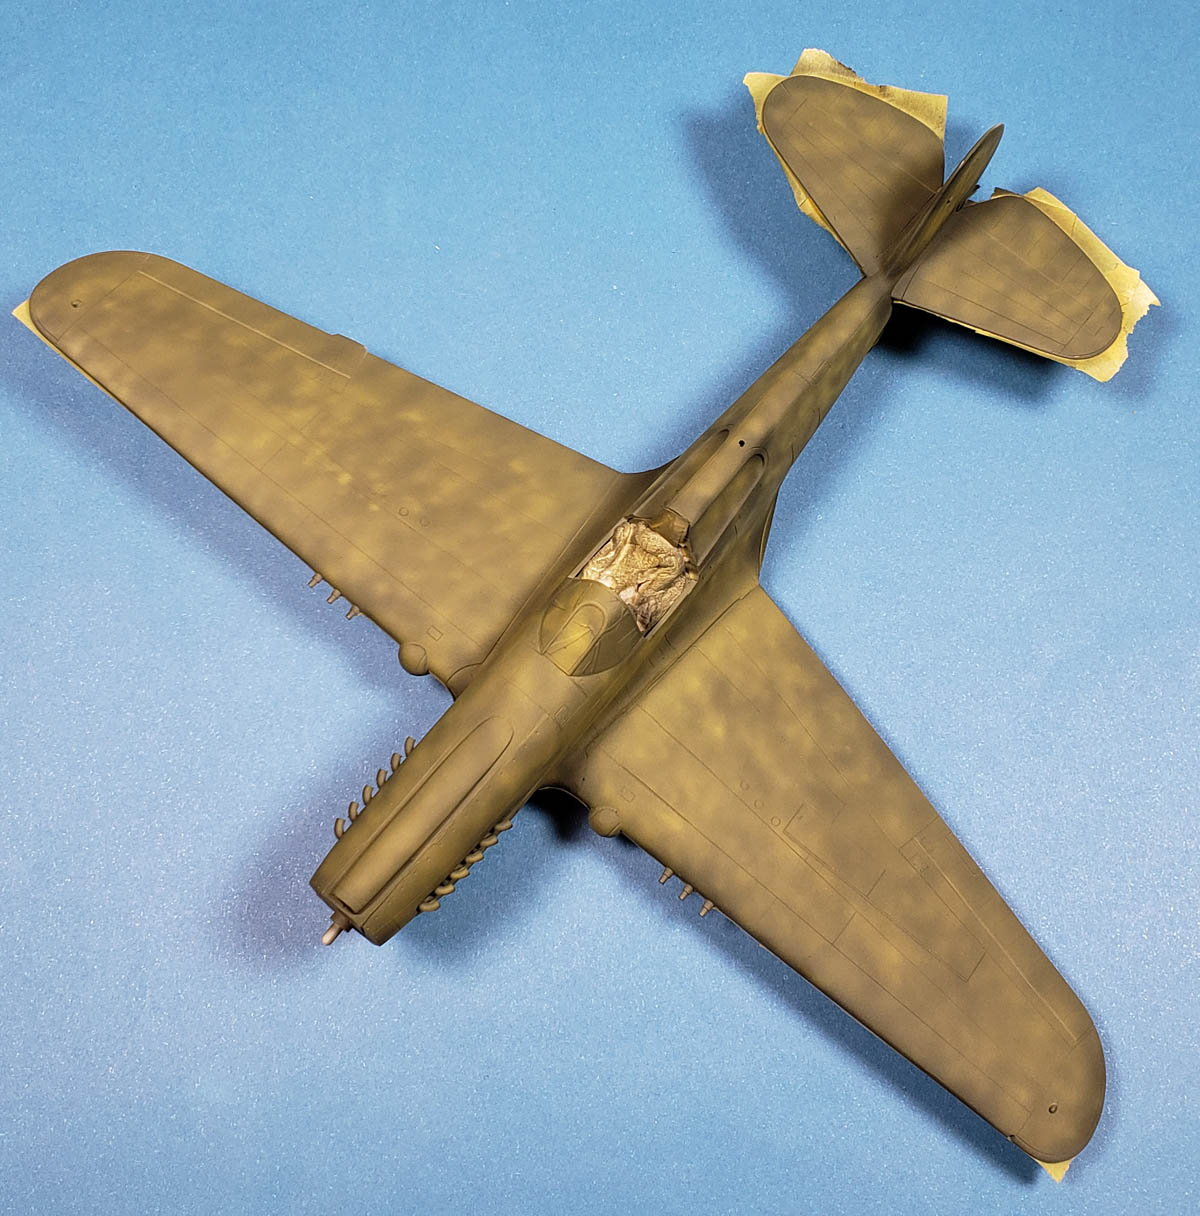
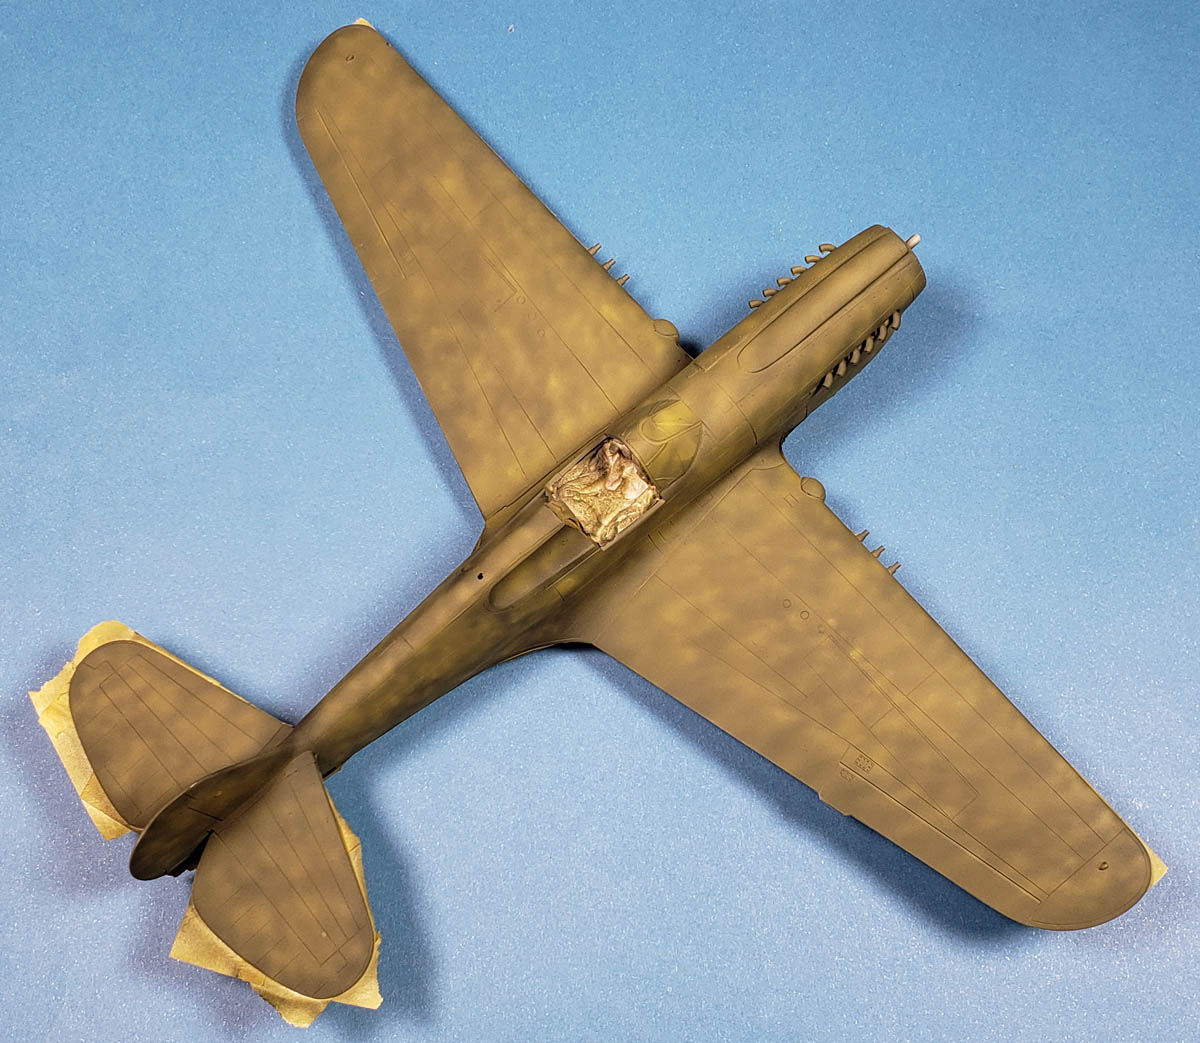
The final “scribbling” layer was done with XF-4 Yellow. I wanted to create a few areas of high contrast, and provide a bit more lightness to the wing root area. Thinning ratios remained the same, but this time the application was much tighter and focused, though the pattern was still mostly random and haphazard.
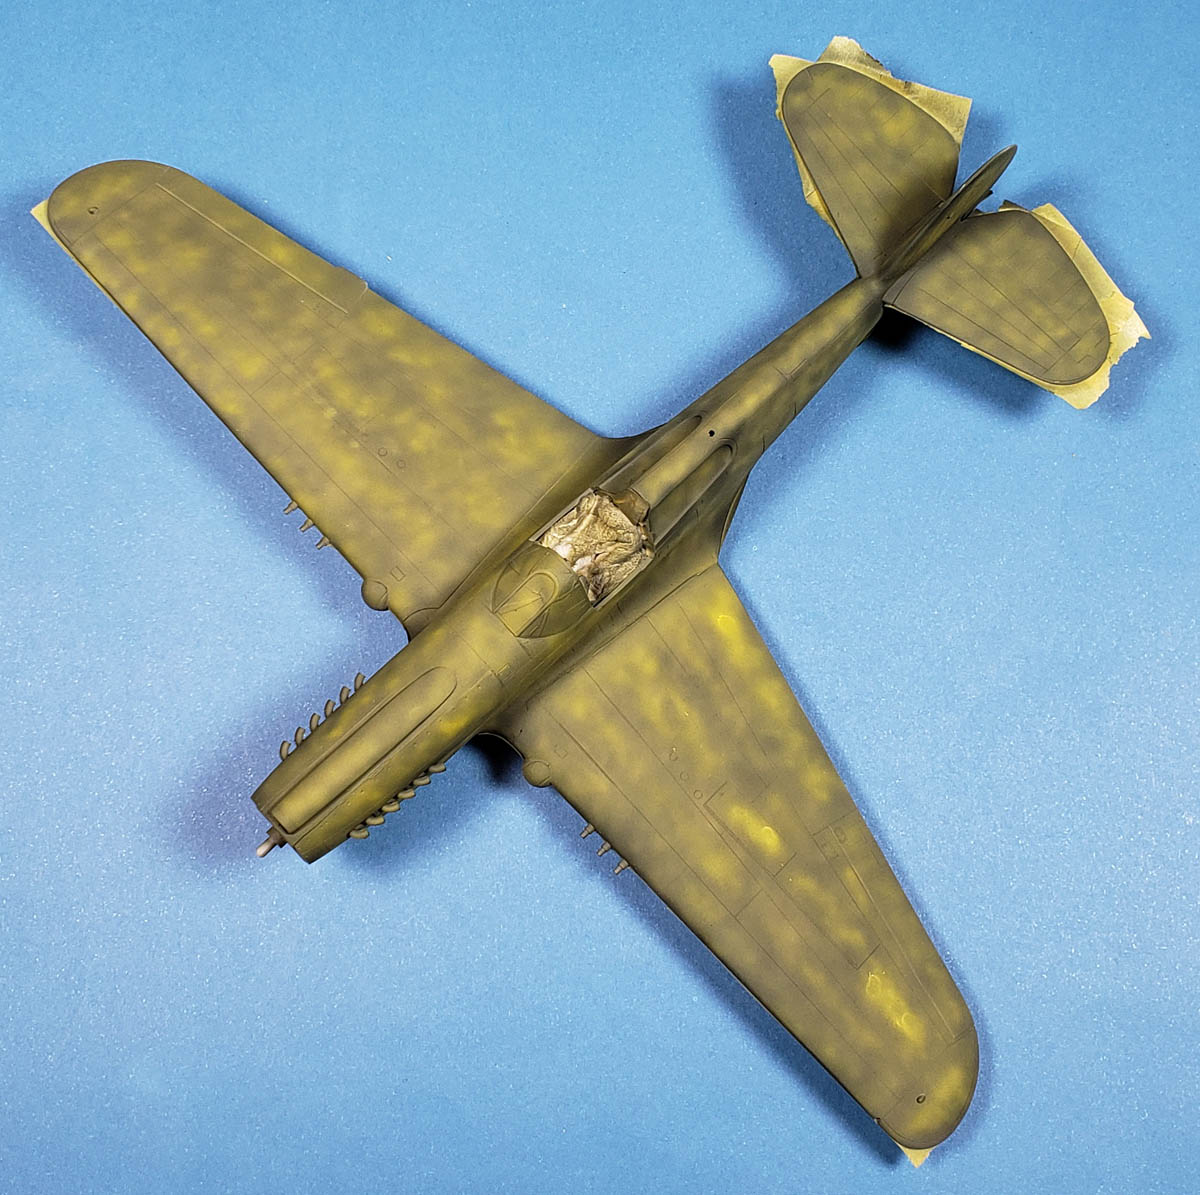
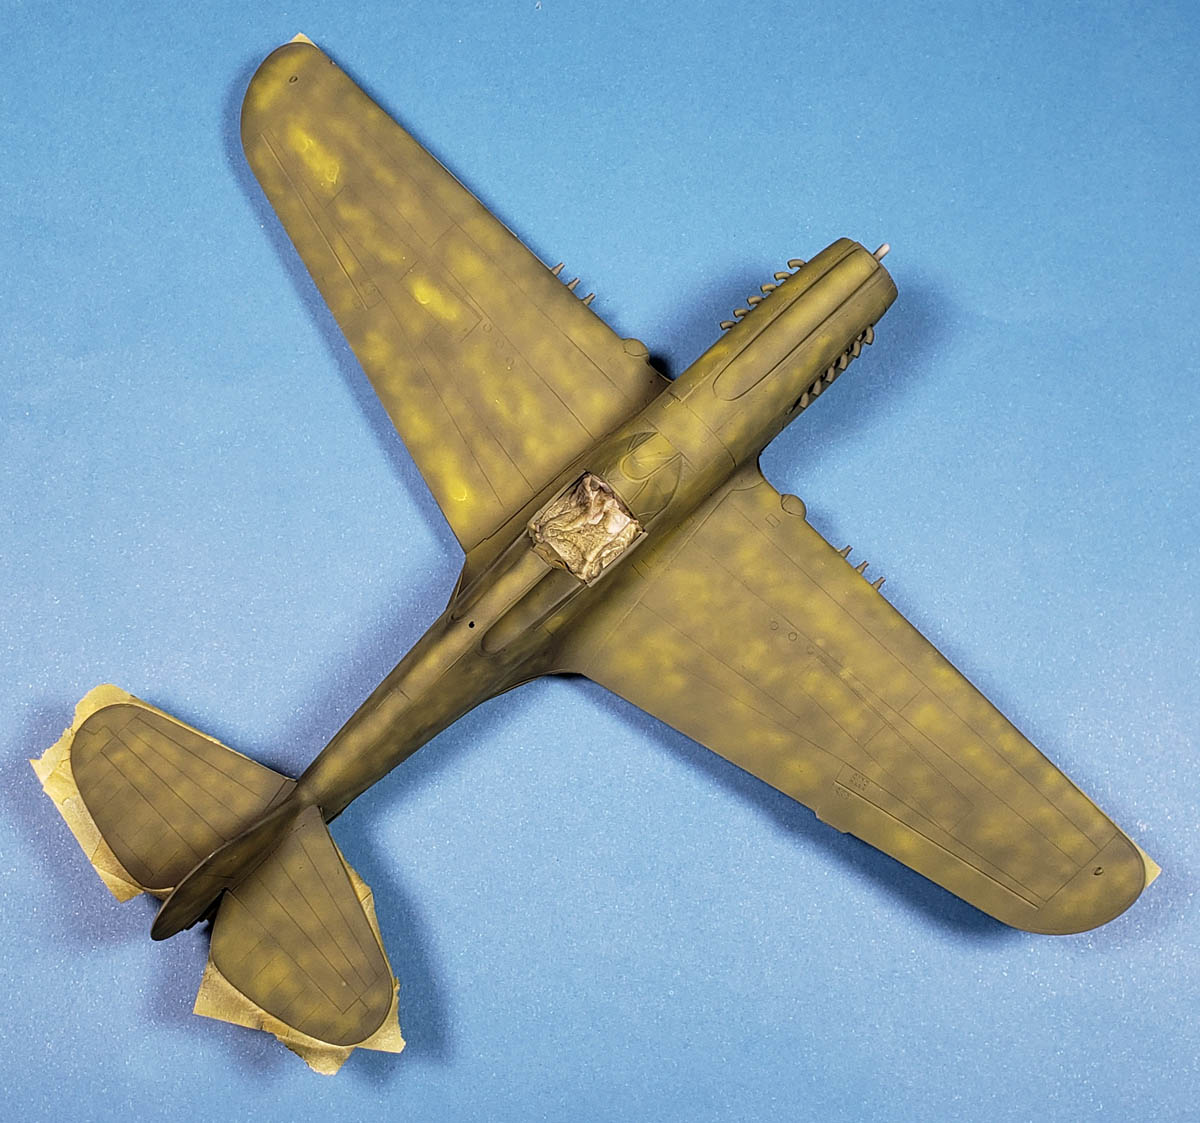
The final step in this process was to blend it all together. This is where your own goals come into play, certainly. The base at this point was rather awful and patchy looking, almost to the point of being cartoonish. I used the XF-62 Olive Drab again, this time in a quite thin mix of about 5 parts thinner to 1 part paint. This would allow the blending to be built up slowly. Also, my pattern of application shifted this time too. Instead of “scribbling”, I went for a more sedate, back and forth approach, sweeping over major sections of the model. I simply used the old Mk. I eyeball to decide when it was enough. I tried to make the sides a little more blended in than I did the wings, reasoning that those upward facing surfaces would likely receive more sun. The point I wanted to get to was “blended but not hidden”. As I knew later weathering layers would further blend and mute this base, leaving a more contrasty look would nw help me decide how “wild” I could get with a base coat when later layers were applied.
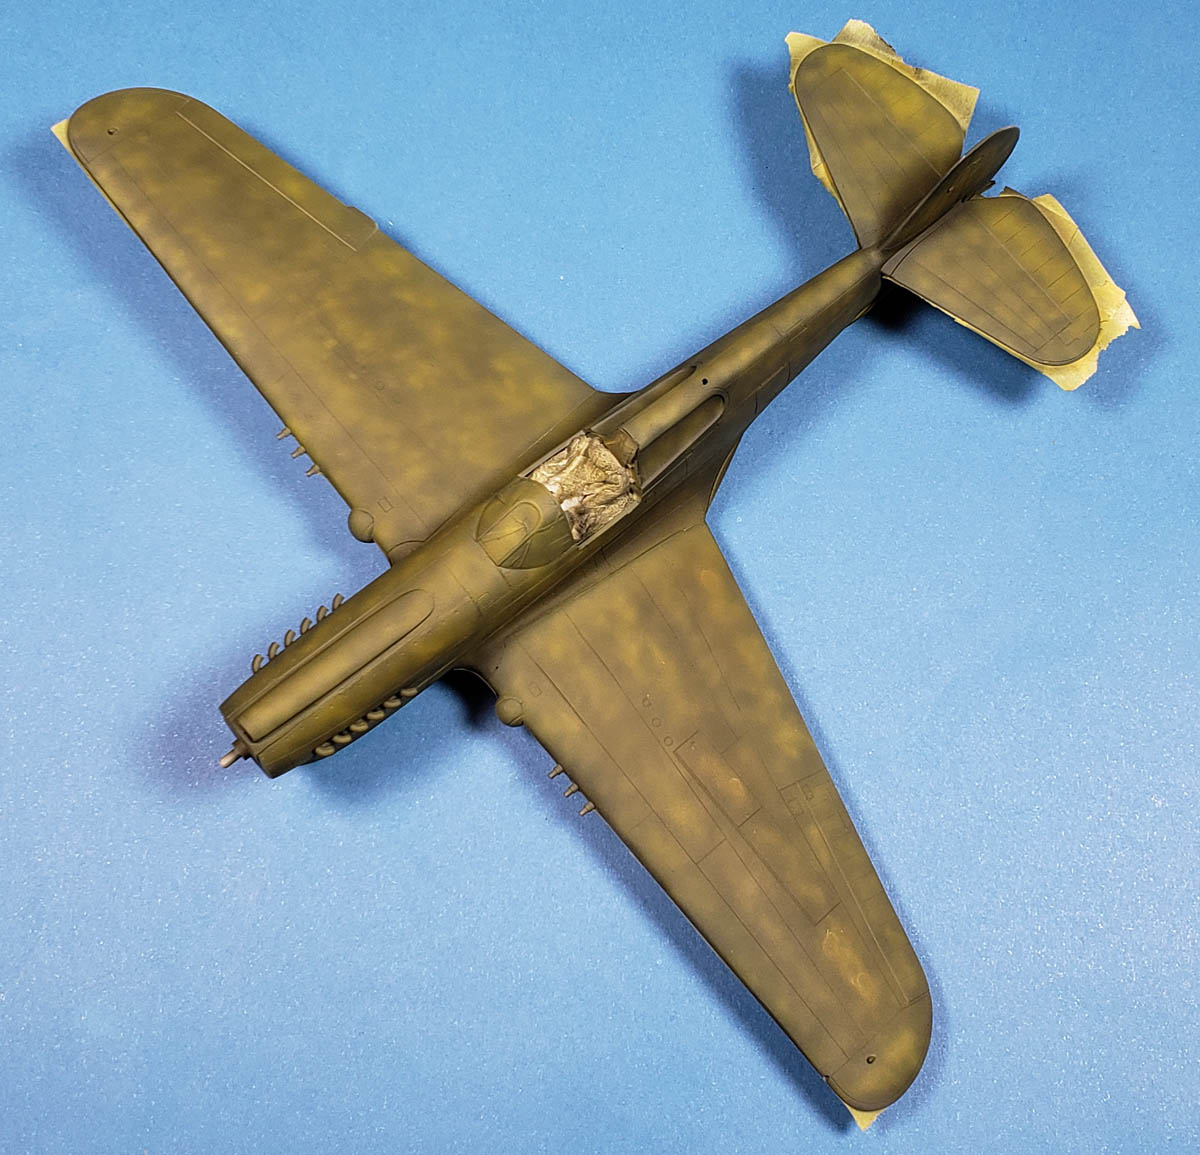
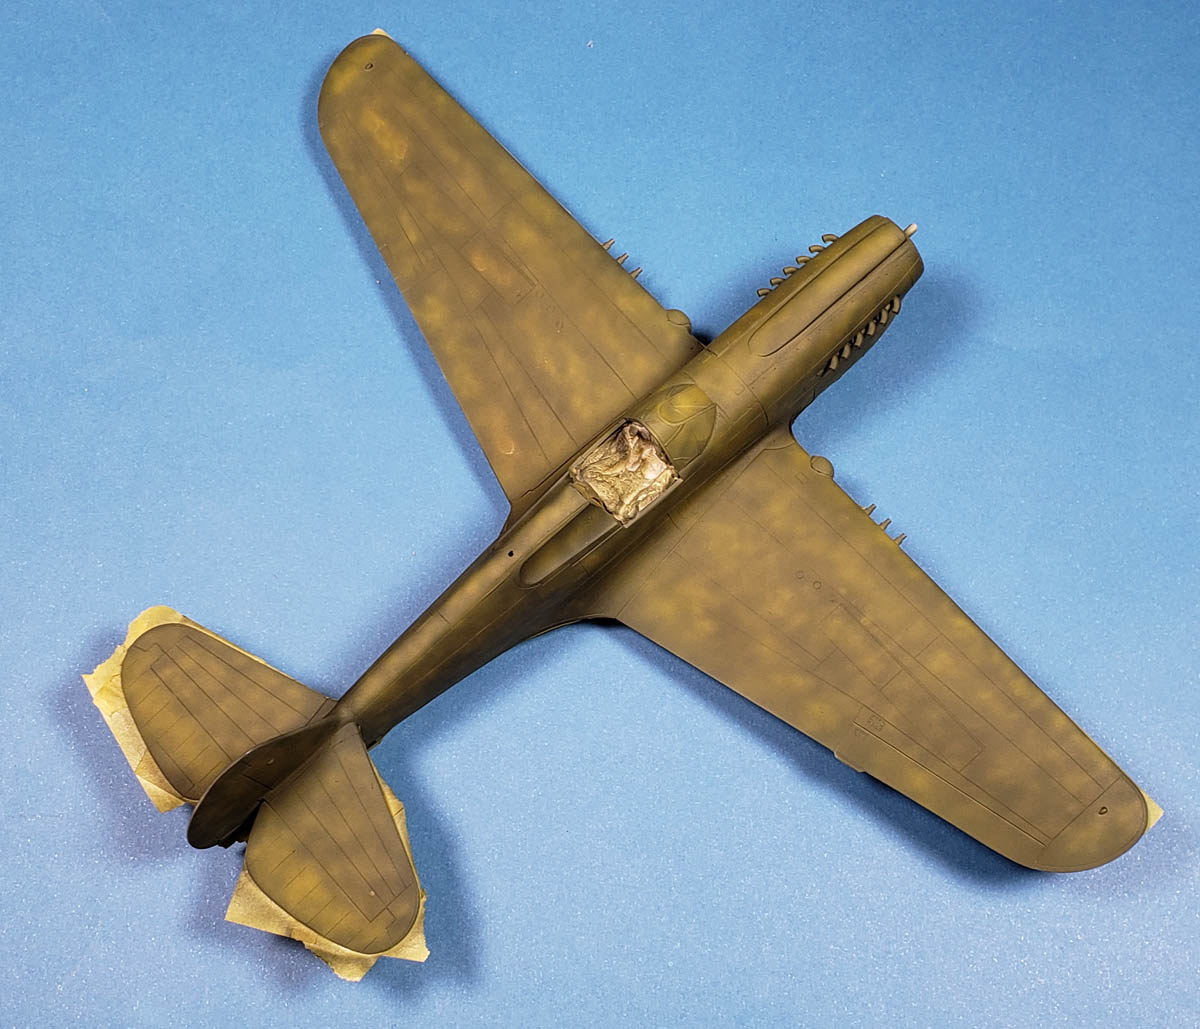
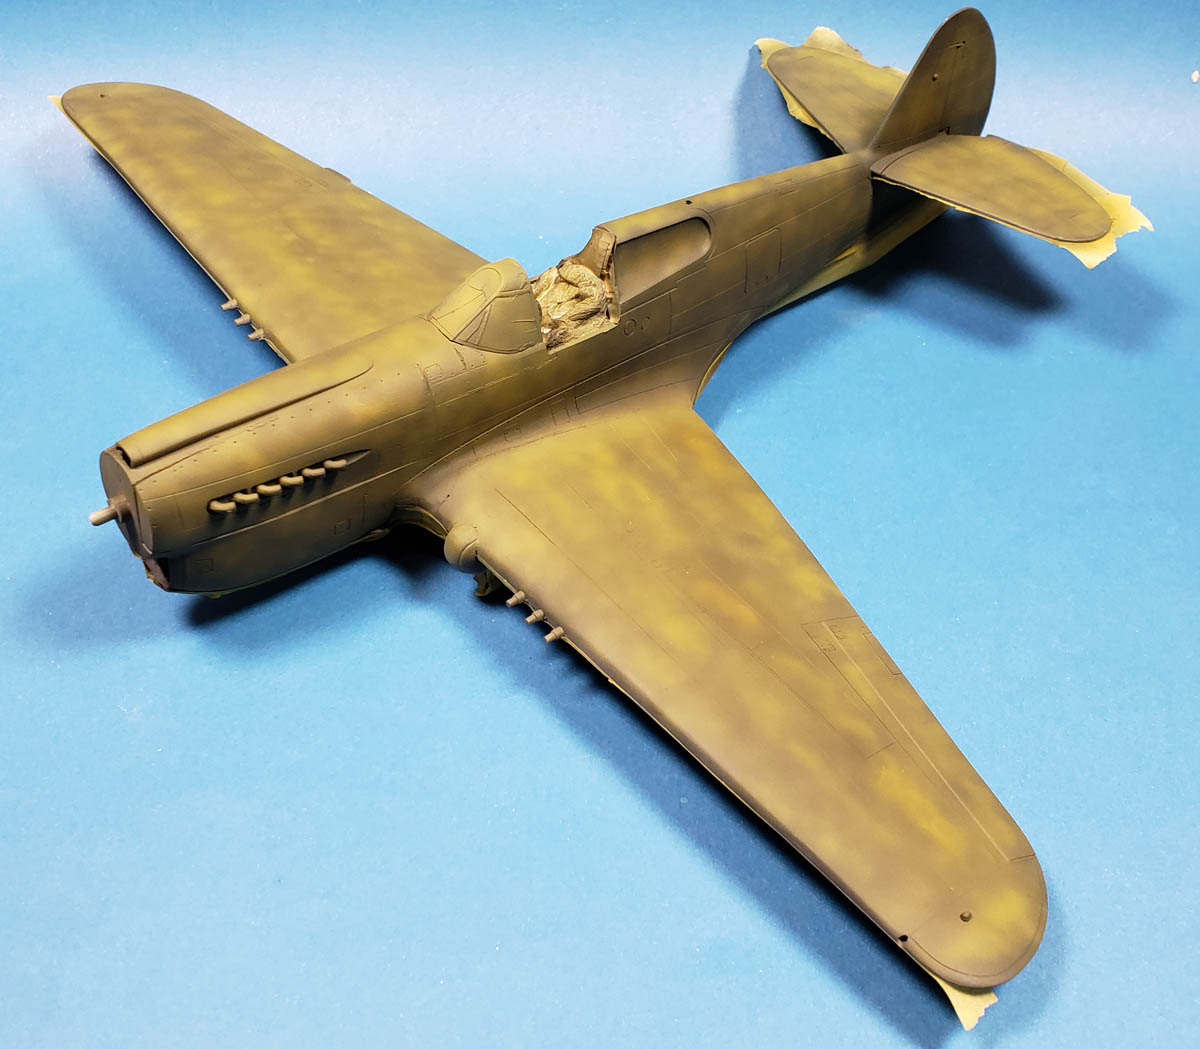
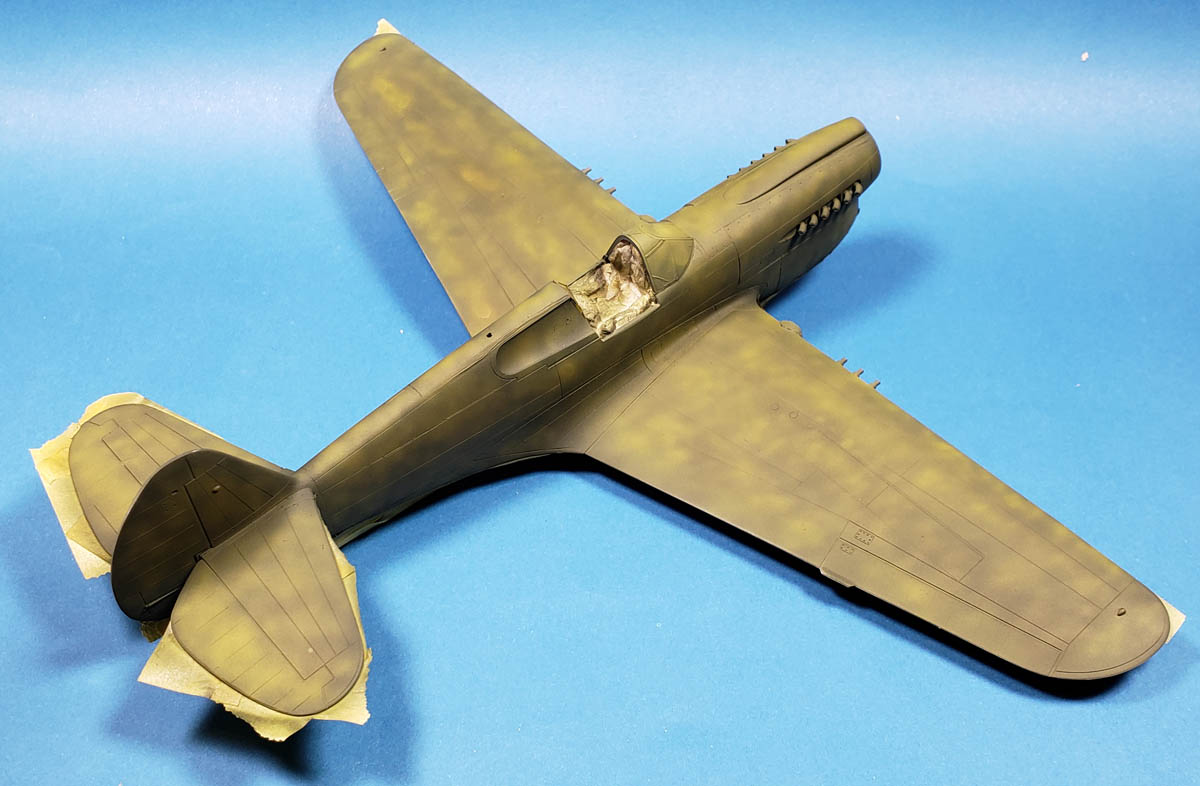
My next step will be to follow up with the dot filter method, and then gloss coat and apply decals. Then, later weathering will be added on top of all that.
I get the fact that many people have a favored approach to their painting and finishing style. And that’s great! Ultimately the hobby is to be enjoyed, above all. Still, I think there is definite value in exploring techniques and styles that may differ from your norm, simply because doing so will better equip you from a technique and experience point. You may find that adding a bit of seasoning from one end of the spectrum of modeling will help improve the style you normally pursue.
And you may have fun in the process. 😉

Leave a Reply