One of the things about growing up in the southern part of the United States is the number of colorful saying one hears over the years. All manner of comparison and contrast are bandied about, using simple, down-home jargon that reflects the culture in so many ways.
I believe if I tried, I could come up with an entire book of them – though I’m quite sure someone already has. Phrases like “dumber than a box of rocks”, “confused like a pig looking at a wristwatch”, and “busier than a nine-eyed man watching a trotline” were all part of the lexicon that I learned growing up. While many of them sound funny, they always conveyed a reality that the speaker was trying to get across to the listener. Often times it helped, sometimes not.
Especially if the listener was dim as a two watt bulb. 😉
Of course, such sayings are not exclusive to the Southern US. Every language, every culture, every region will have its own versions of those sayings. Some are readily apparent, regardless of your background. Others may take a degree of familiarity with the language and people in which the saying originates.
All of that went through my mind as I was getting started on building this Esci 1/48 MB-326K.
What In The Wide World Of Sports Is An MB-326K?
I’m glad you asked. 😉
Wikipedia says it better than I can…
The Aermacchi or Macchi MB-326 is a light military jet trainer designed in Italy. Originally conceived as a two-seat trainer, there have also been single and two-seat light attack versions produced. It is one of the most commercially successful aircraft of its type, being bought by more than 10 countries and produced under licence in Australia, Brazil and South Africa. It set many category records, including an altitude record of 56,807 ft (17,315 m) on 18 March 1966. More than 800 MB-326s were constructed between 1961–1975.
Pretty much sums it up.
I’d actually never heard of the little airplane before, or if I did, I don’t recall it. (Because my memory is worse than a politician’s after election day…)
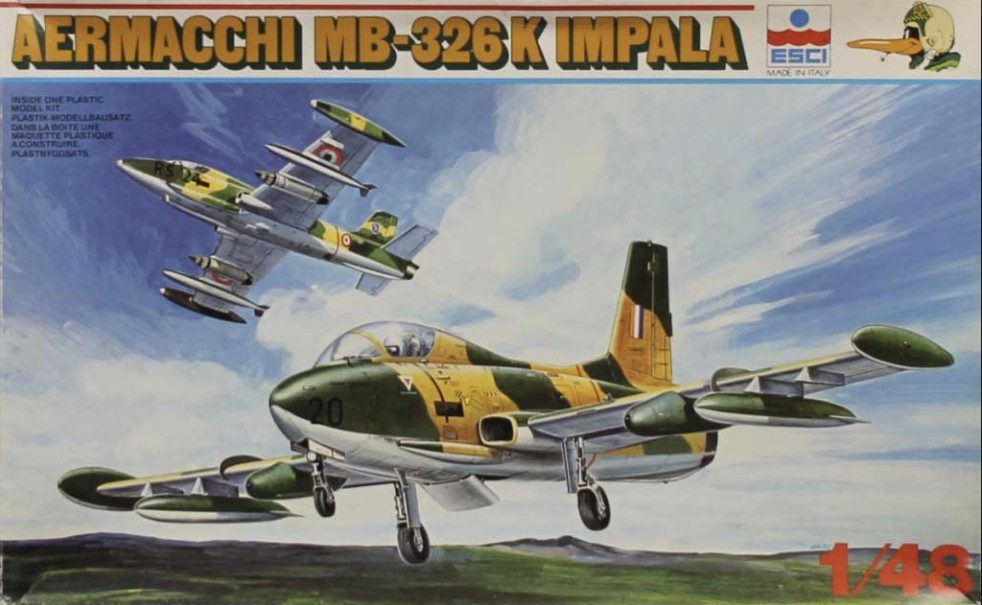
However, when I saw it at a model show a few years ago, I thought “hey, that is a weird looking jet.” And when I saw the price was $5… I thought “hey, that is a weird looking jet I’ll be taking home with me to build someday.”
And someday has arrived.
Other than taking a quick glance at the sprues when I brought it home, I haven’t really paid much attention to the kit. So when I decided to build it, I was a bit surprised to find that the cockpit was essentially a bare plastic shell, with only decals for the flat instrument panel, and one decal for the right side console. The seat was OK, but as ejection seats go, it was lifeless. Sparse doesn’t begin to describe how the office parts looked.
I had a decision to make. I found a nice resin cockpit that could really jazz it up. However, the cockpit itself cost more than twice what the kit cost. Yes, I know that’s still just a bit more than $10, but I have a thing about spending more on aftermarket than on the kit itself… even when said kit is a cheap one. So the cheap part of my brain rejected that idea.
Next I considered really going to town and scratch building a detailed cockpit. That would cost nothing, as I have plenty of plastic scraps and bits to work with. And I found loads of reference photos. But while the cheap part of my brain was giving the thumbs up, the lazy part was eyeing the entire plan, and saying “nope”.
So how do you resolve “cheap” and “lazy” and still get something remotely workable.
Like Squeezing Blood From A Turnip
My mom was a child of the depression-era US. Born in rural south Georgia in 1936, she understood what it was like to be of simple means. And even after she grew up and her financial situation improved, those frugal lessons she learned in youth never left her. And she of course passed those on to me.
One of the sayings she quoted quite often was “make do, wear it out, use it up, or do without”. Essentially, the saying conveys that you should do the best with what you have, or just learn to live without it.
I didn’t want this cockpit to be bare bones. Yet I really didn’t want to spend a lot of time on it. I wasn’t even entirely sure I’d build it with the canopy open.
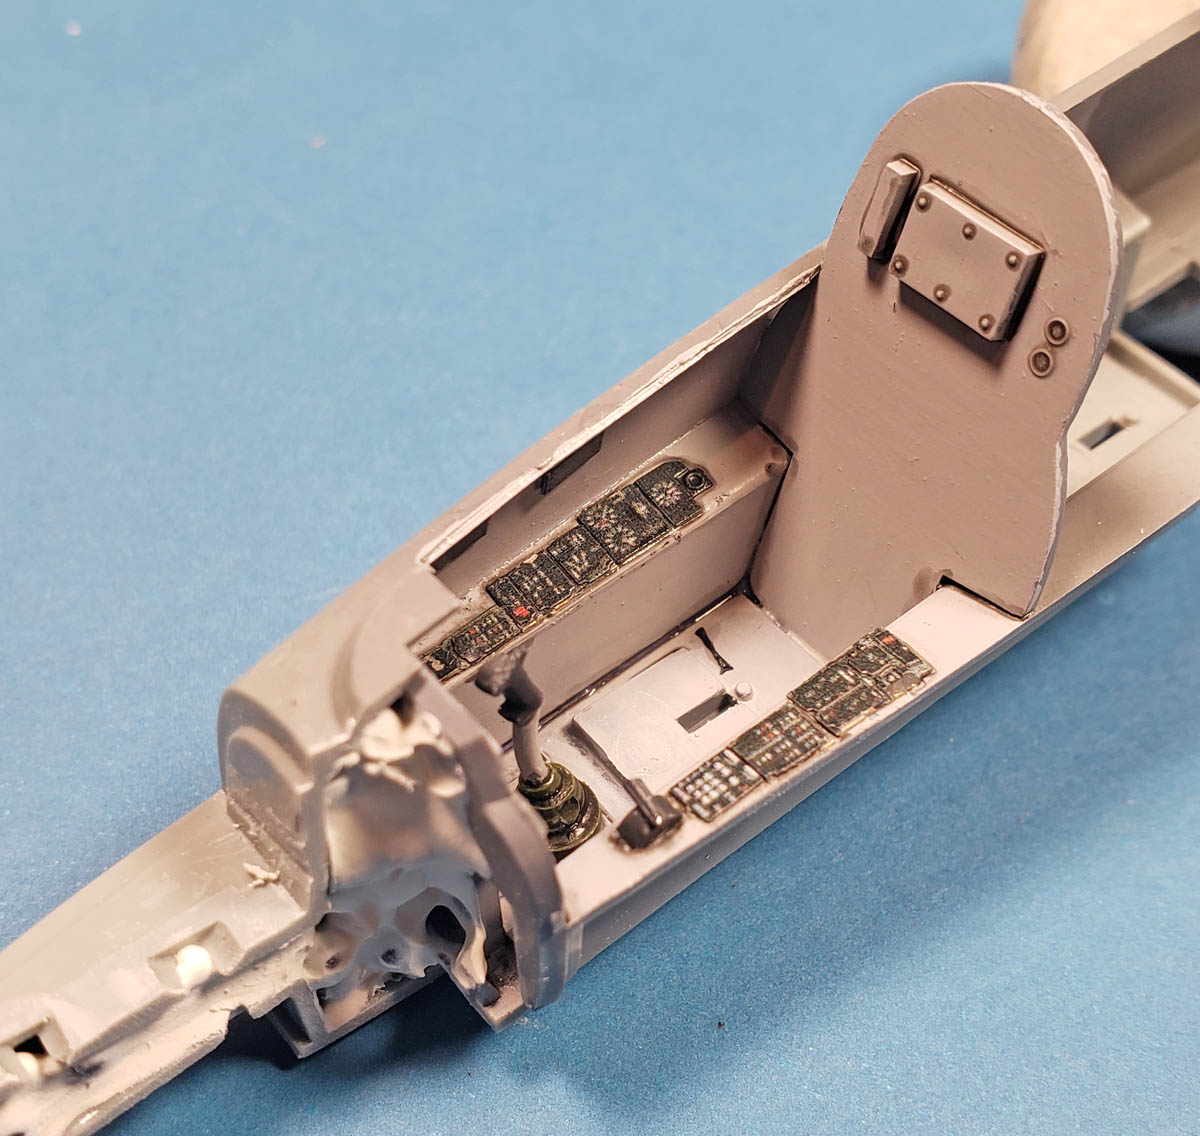
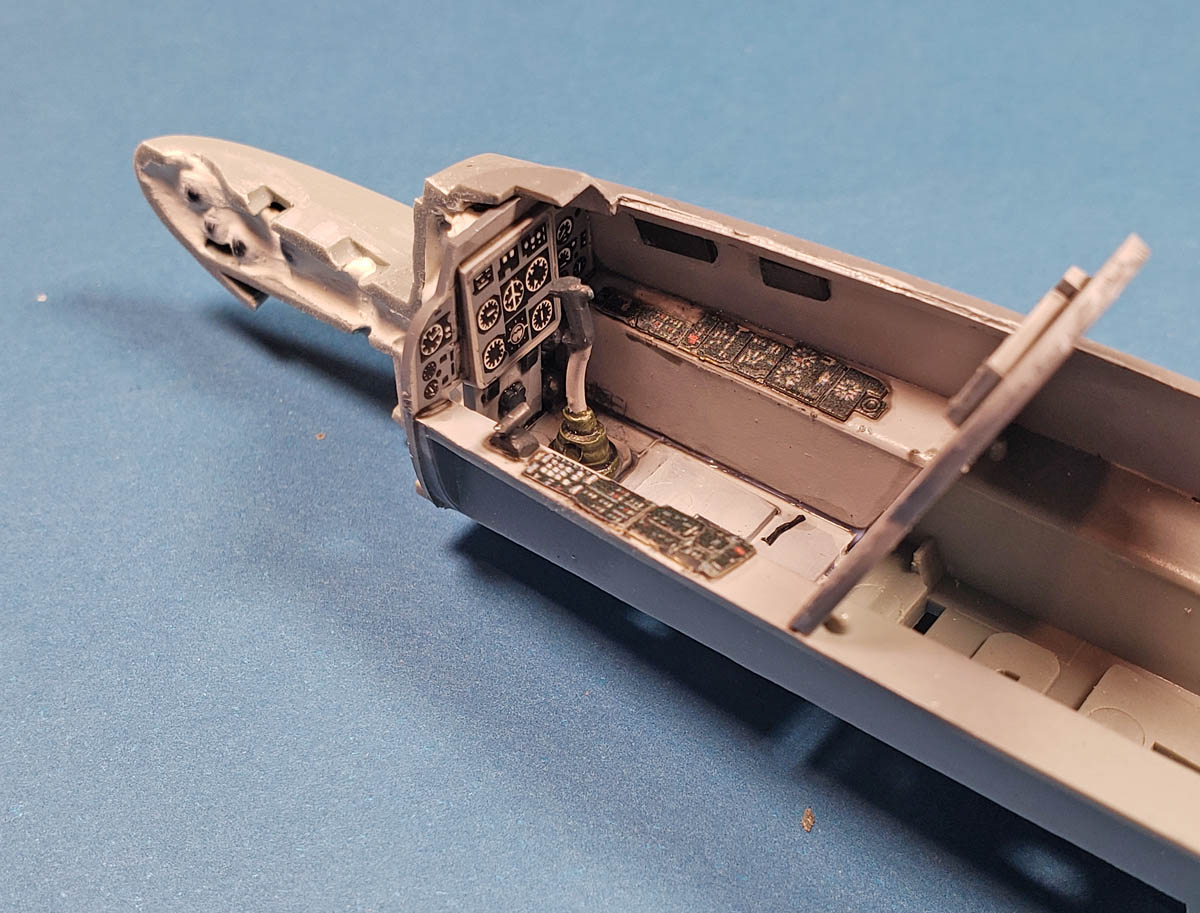
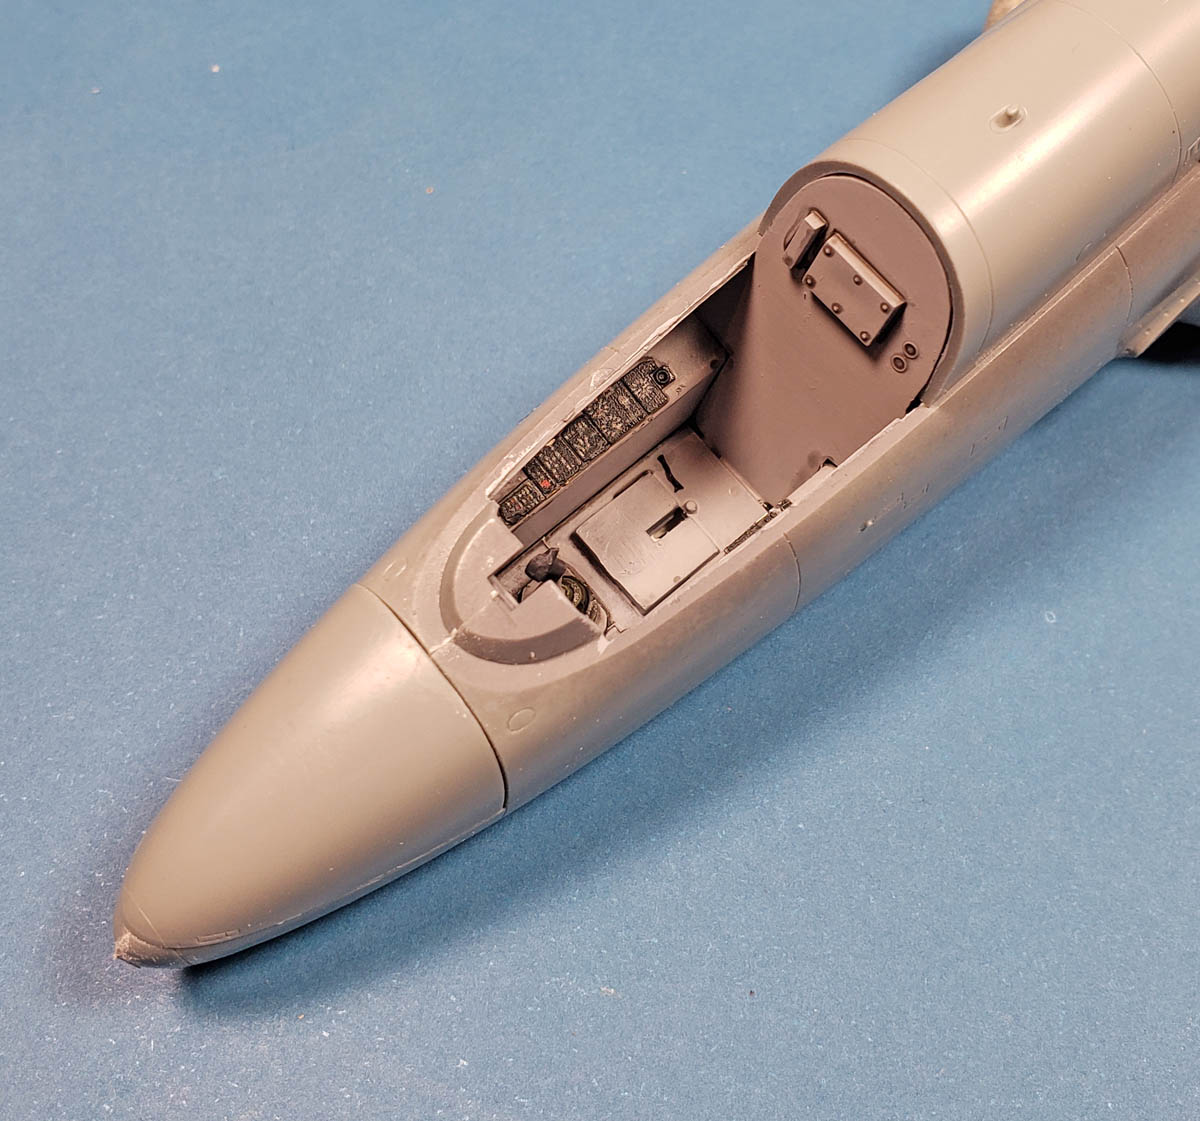
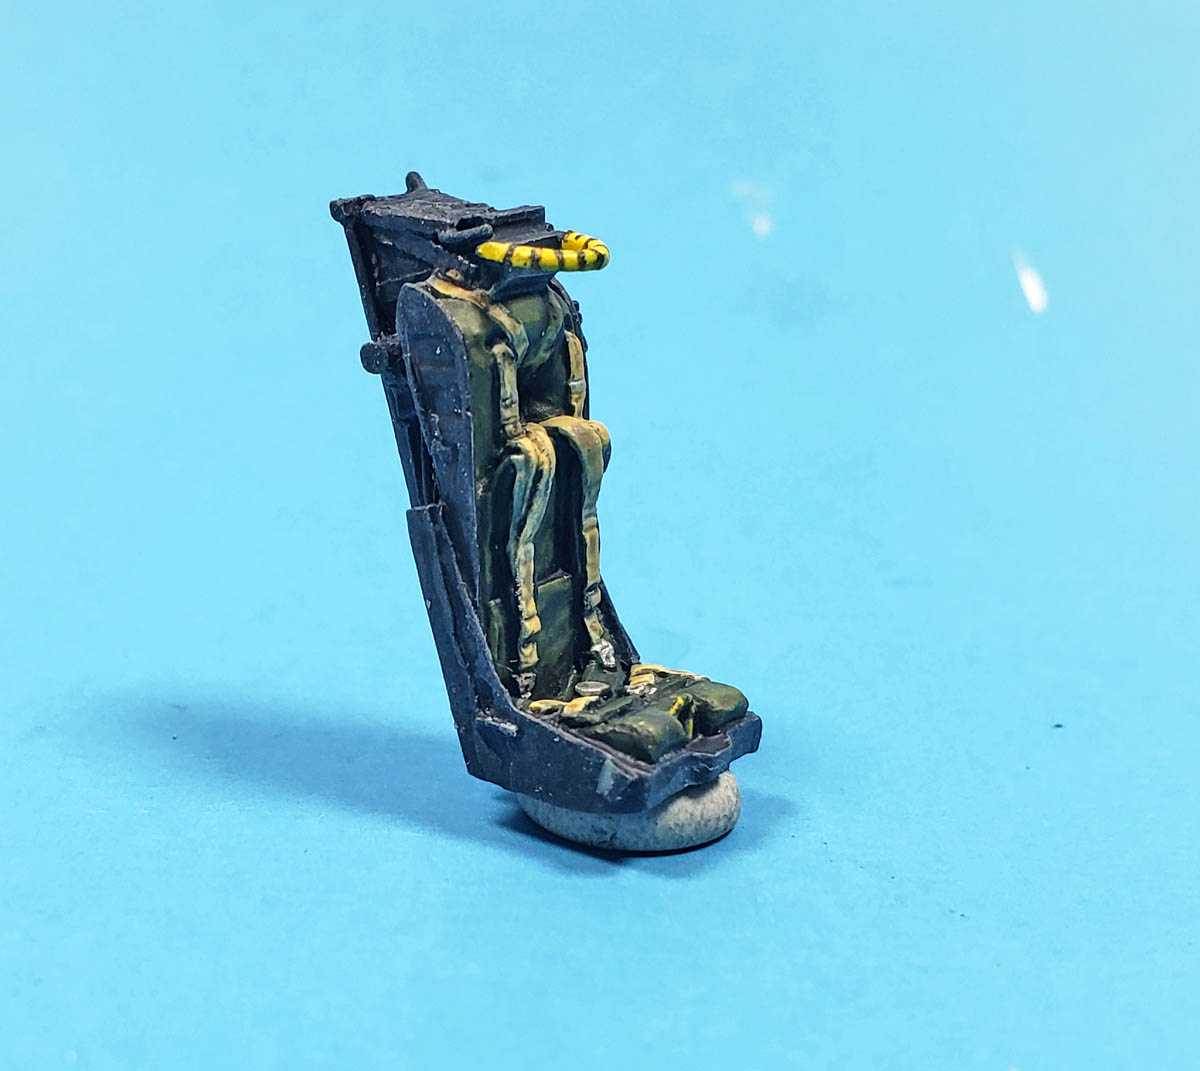
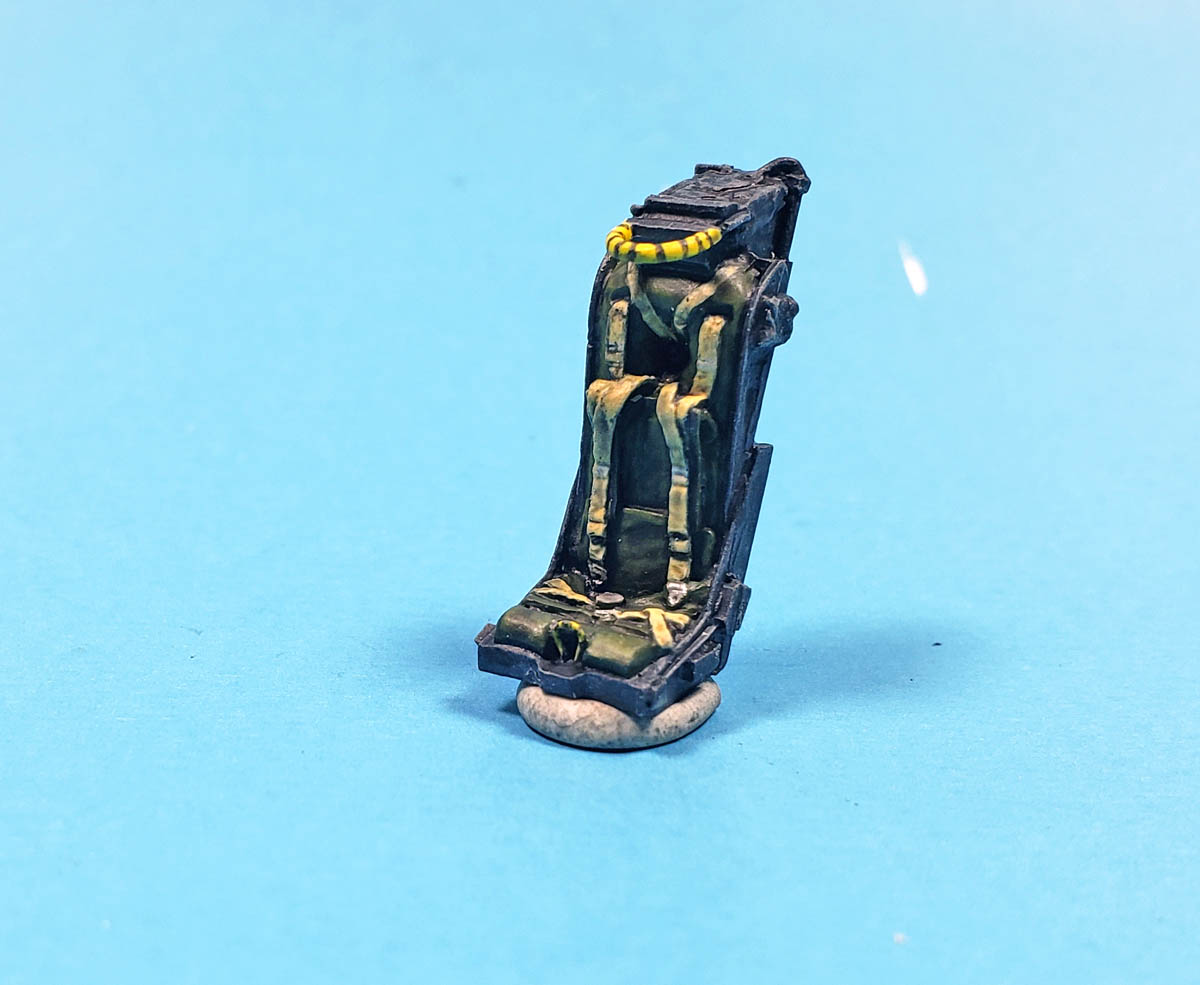
So I began to rummage through my spares box. I quickly found a resin ejection seat, complete with belts cast in. I don’t know if it is the correct seat, but I know for sure that is most definitely a seat. I tossed that in the kit box. Next I found an Eduard colored photoetch set for a two seat F-16. I don’t recall when, where, or even why I purchased it, because I am not a fan of photoetch – even the kind you’re just supposed to stick on. But as I looked at the parts, I realized I could slice up some of the side console bits, and glue them into the cockpit. So that took care of those.
For the instrument panel, I realized that I may as well use the kit supplied decals. While not great looking, they did convey what I was going for: a toy airplane made by a balding, overweight, middle-aged man. No, wait… strike that. I was going for a simple instrument panel. (Yeah… that sounds better…)
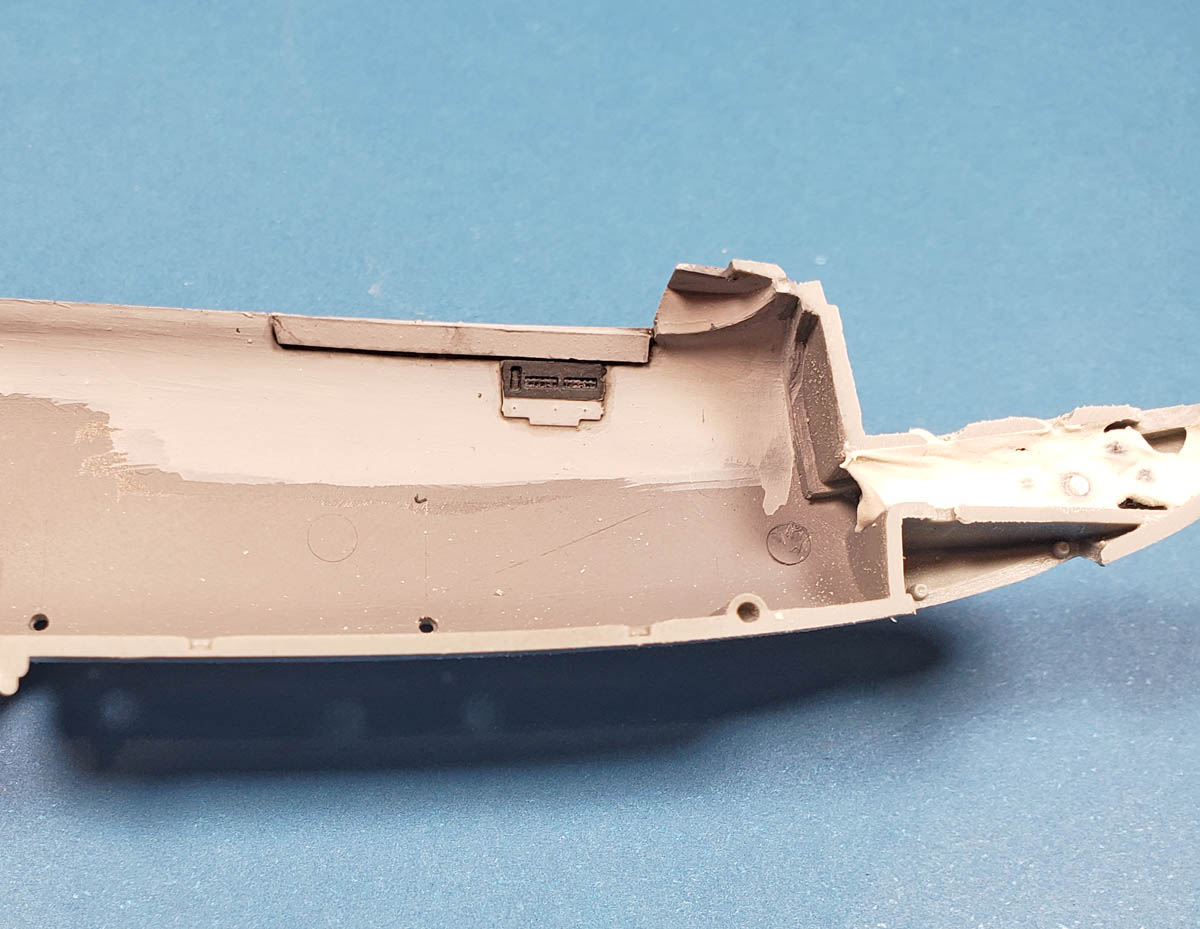
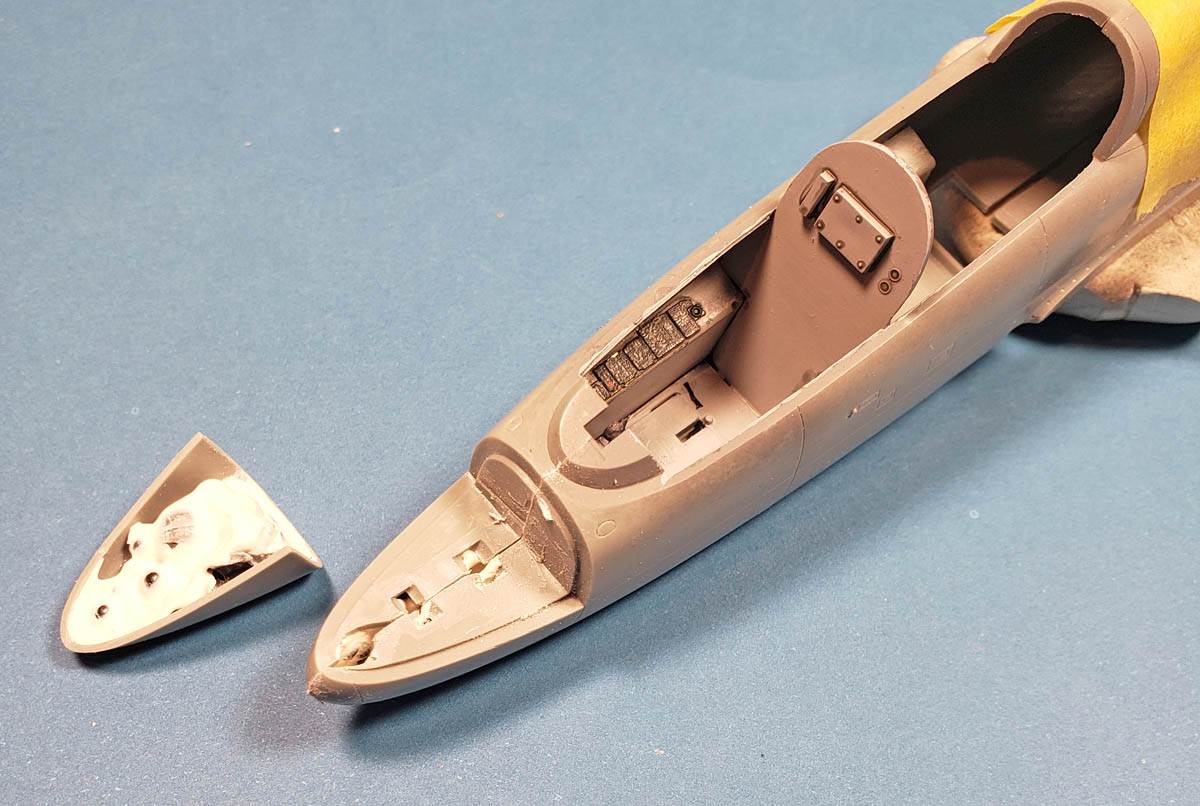
The final steps were last minute afterthoughts – a bit of sprue sanded to shape made a throttle mount, and some stretched sprue made the throttle. A few bits of sheet styrene lined the canopy sill, and some more bits originally intended to dress up an F-16 were added to the sidewalls to make them look less bare.
I gave the cockpit a coat of Badger’s Stynylrez Gray Primer, then a coat of Tamiya XF-19 Sky Gray. The photoetch bits were glued on, decals added, and after a quick brush applied gloss coat of Future, everything was shaded with Citadel’s Nuln Oil. I painted the seat using a variety of Vallejo colors, and tried to add a bit of shade and highlight to the cushion, just to give it a bit more depth. Another gloss coat followed, more Nuln Oil, and then everything was given a coat of Vallejo Mecha Color Matte varnish.
Looking at the cockpit sitting on my workbench, it still looked a bit bland. However, when I test fitted it into the fuselage halves, it didn’t look to bad. If you get your face right down on it, you see it’s very plain. but from even a foot away, you essentially see what I wanted – some cockpit looking stuff. The eye is drawn more to the seat anyway, which was easier to make look a bit better.
I glued the one side of the cockpit into the right fuselage half, taped the left half in place to make sure the angle was right, and let that dry.
Avoiding The Tail Sit
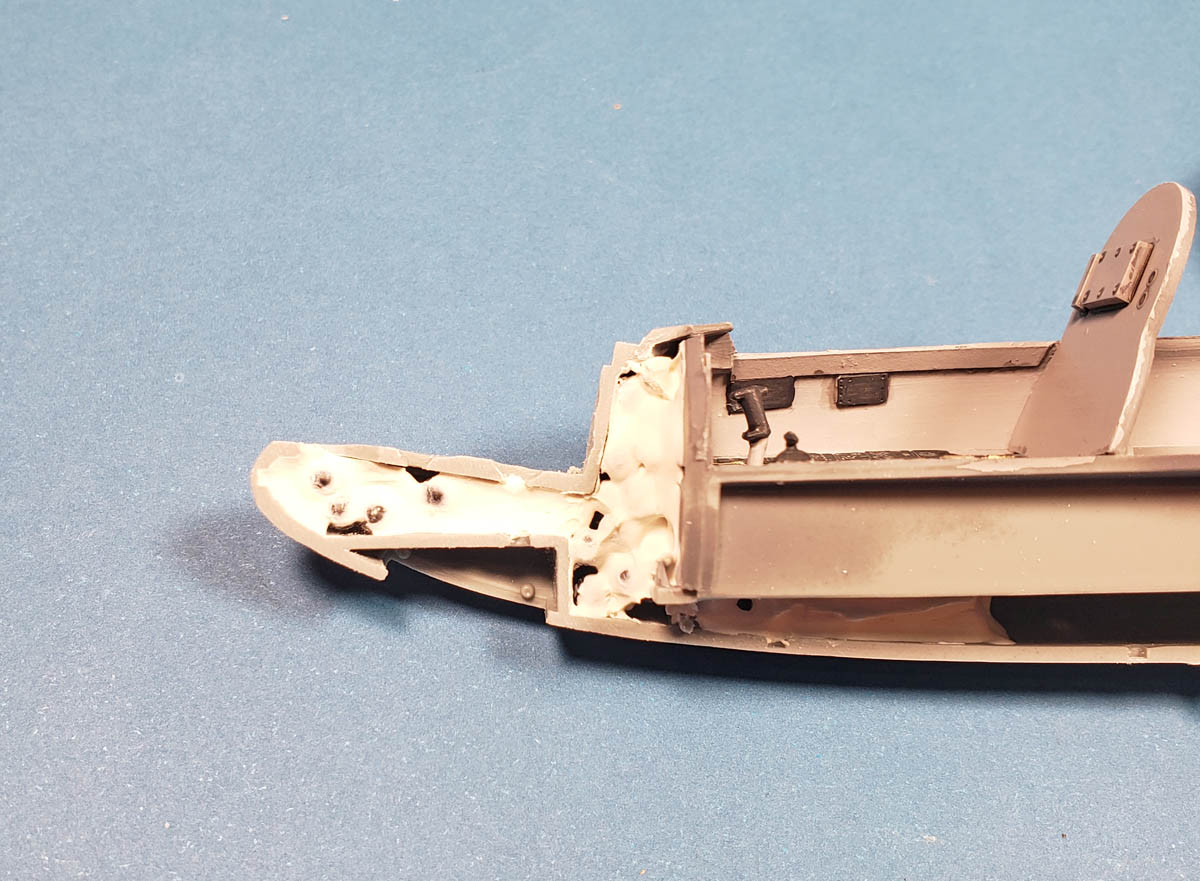
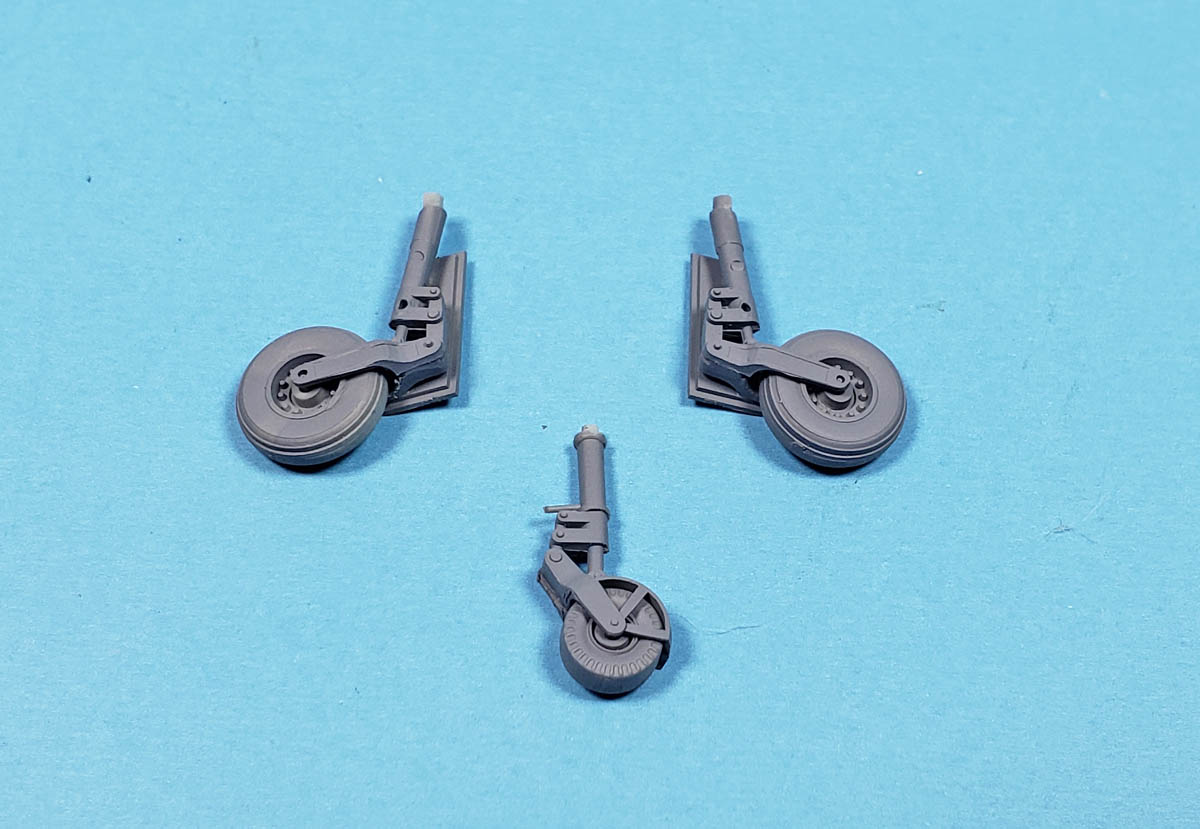
Once the cockpit was set, I pulled the fuselage halves apart, and looked for where I could add nose weight. When you’re building an aircraft with tricycle landing gear, making sure the nose is heavier than the tail is critical. At first glance, this kit didn’t offer too much space to work with. The area forward of and under the cockpit was tiny. And the section under the nose cover had some cast in boxes that I suppose represented radios or radar or some other machine that goes “ping”. Realizing those would never be seen, I sliced them out, and filled the nose cover with lead fishing weights. A few more were added in forward and under the cockpit. They were glued in with super glue, but to avoid the possibility that anything might come loose and forever afterwards roll around inside the fuselage, I filled the gaps with Vallejo Plastic Putty. Once that dried, all would be locked in place.
With regards to adding nose weight… I always test it out with as many of the parts on the airframe as possible, even if they’re just taped on. I will set the model on my fingertips, letting it rest on the point that represents where the wheels will make contact. I use some poster putty to fix a plastic cup to the nose of the model, and then just add weights until the tail sit is gone. Finally, I move my fingers forward, usually about half an inch , and then see if it still needs more weight. By doing this, you make sure the nose weight is accounted for at a point well forward of the actual “pivot point”. That way, later additions to the airframe that you may not have accounted for should be taken care of.
With all that sorted out, I could begin assembling the fuselage.
A Little Gem Of A Kit
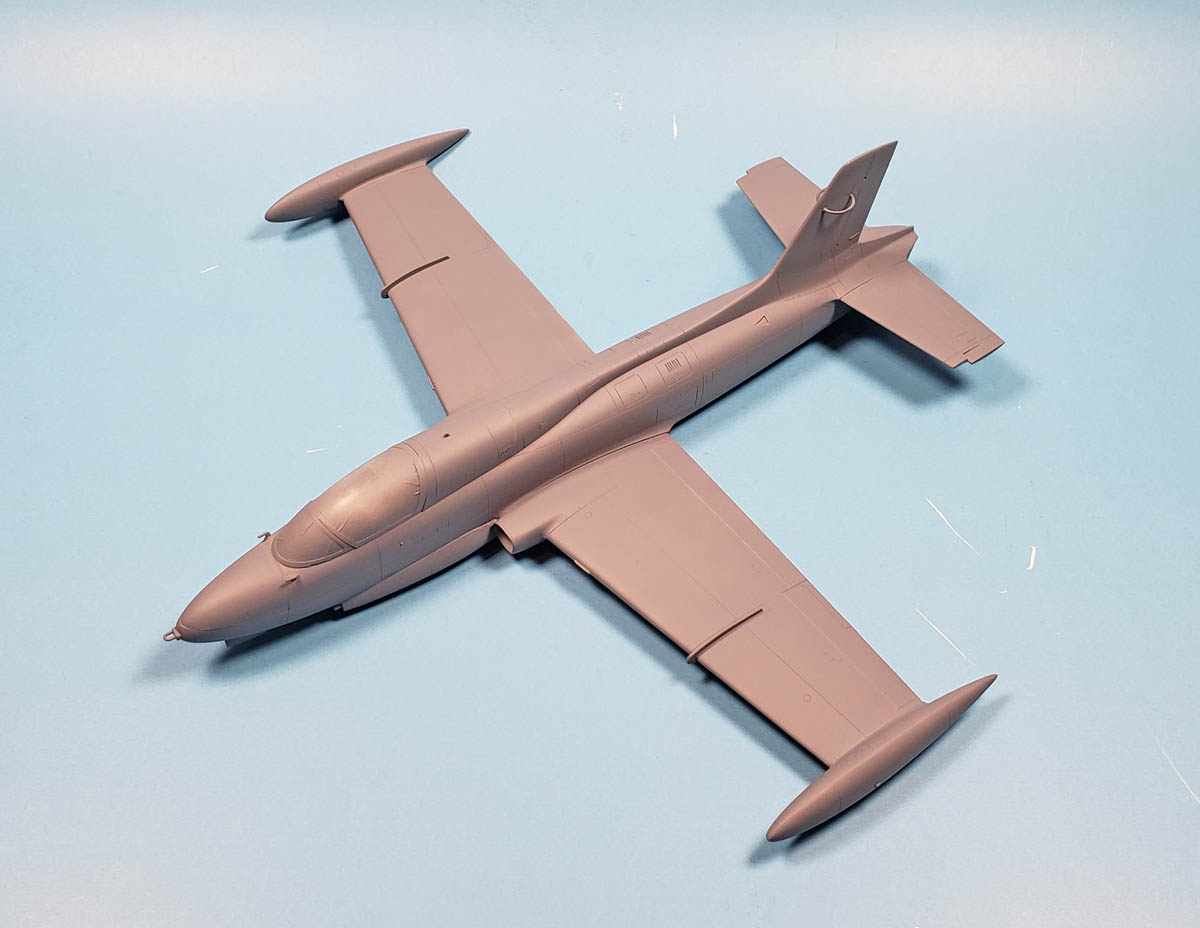
While this kit is fairly old, the exterior detailing is very nice. Test fitting showed no major concerns. All the detail is nicely recessed, and if I had to compare it to another manufacturer, I’d say it’s on par with Hasegawa. While the interior detail is sparse, the exterior is very nice, and compares well with modern kits.
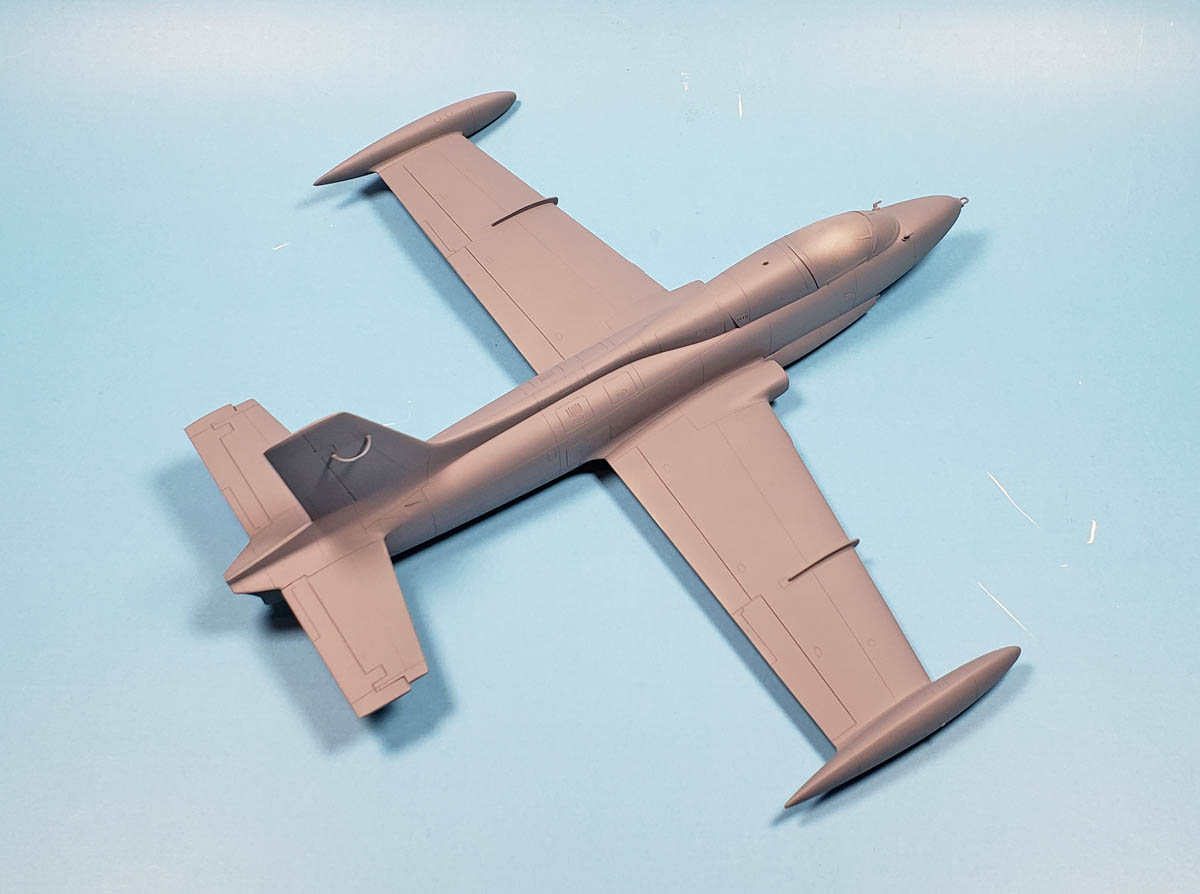
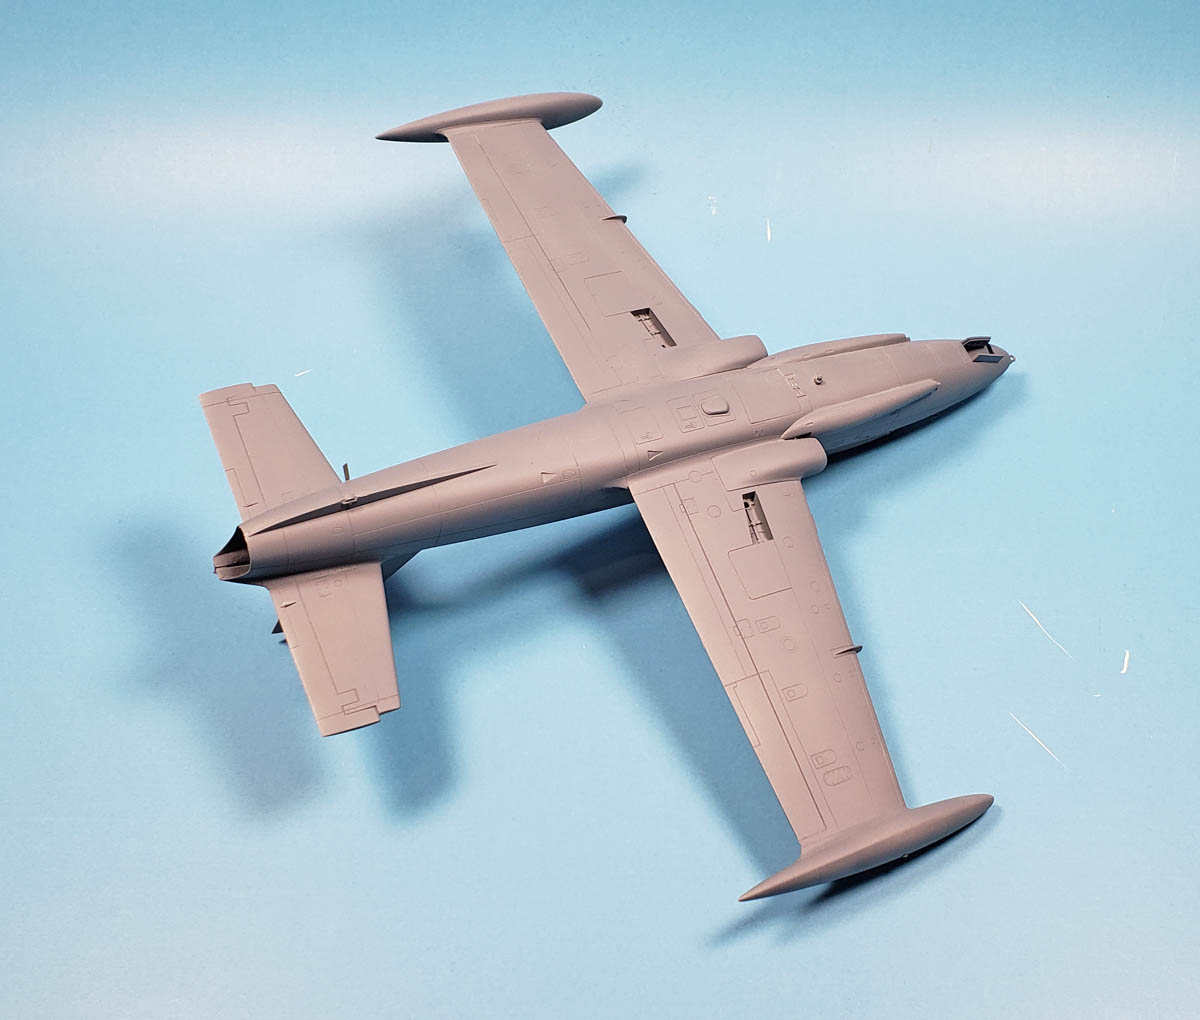
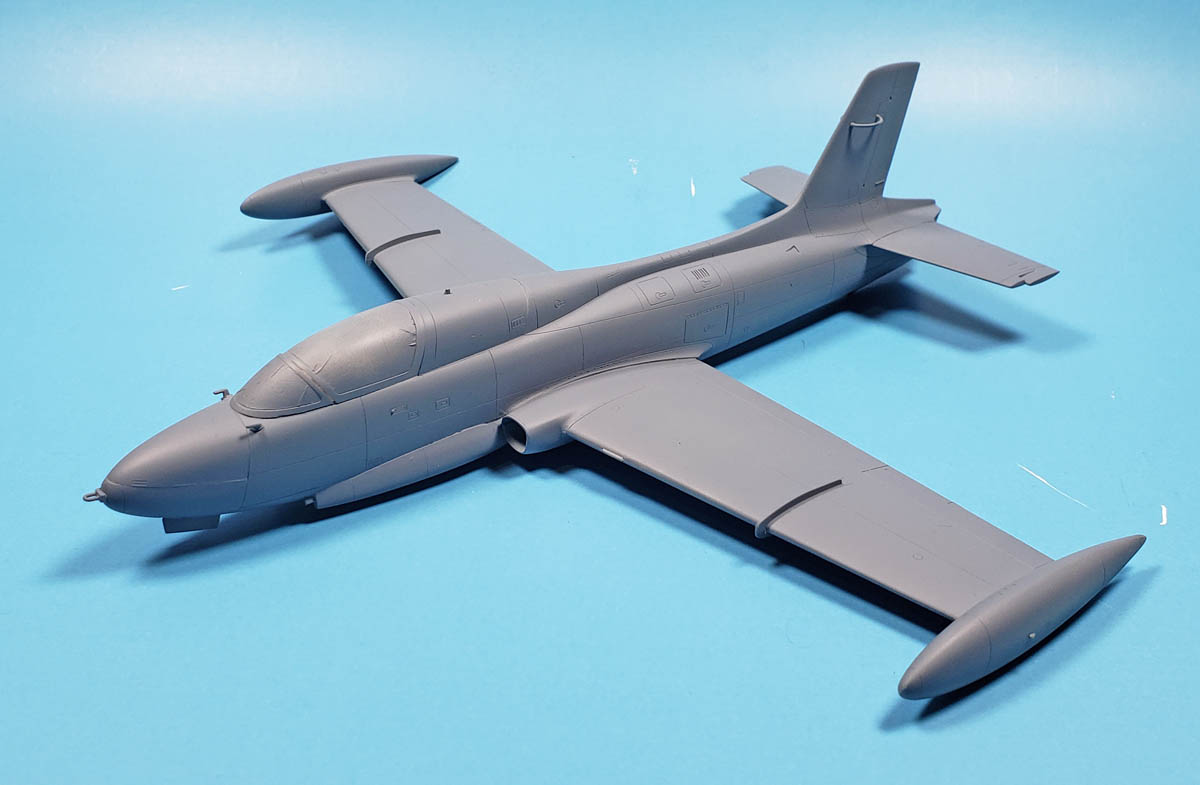
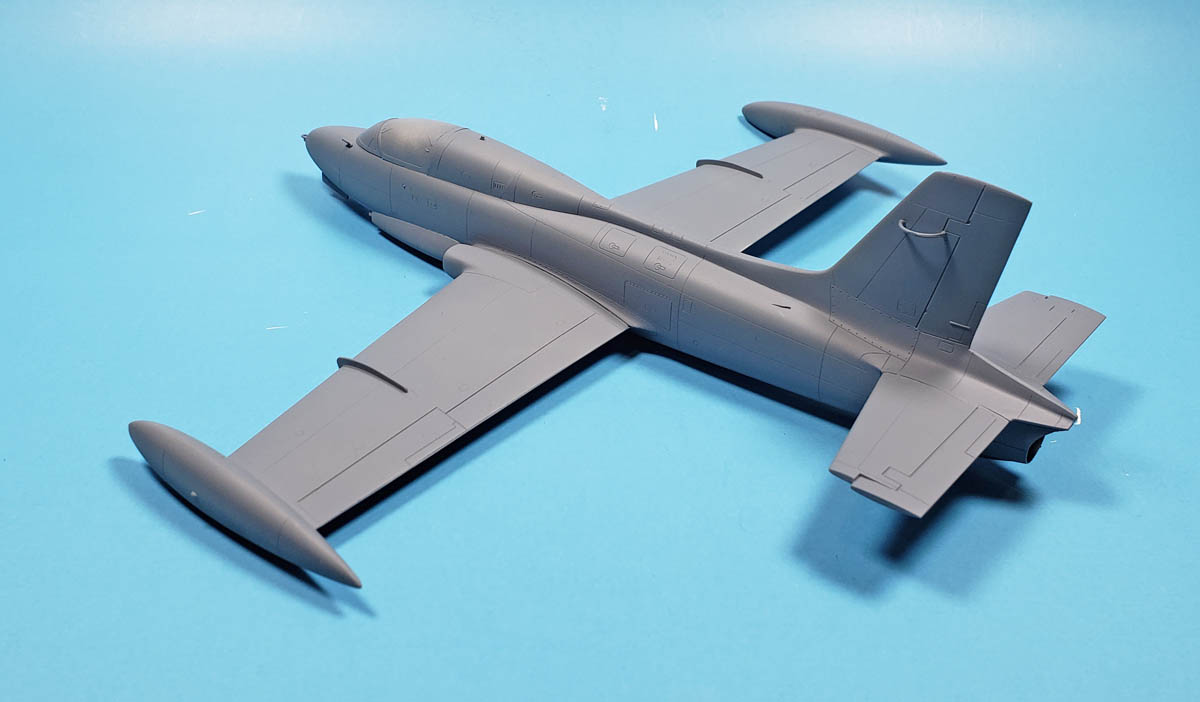
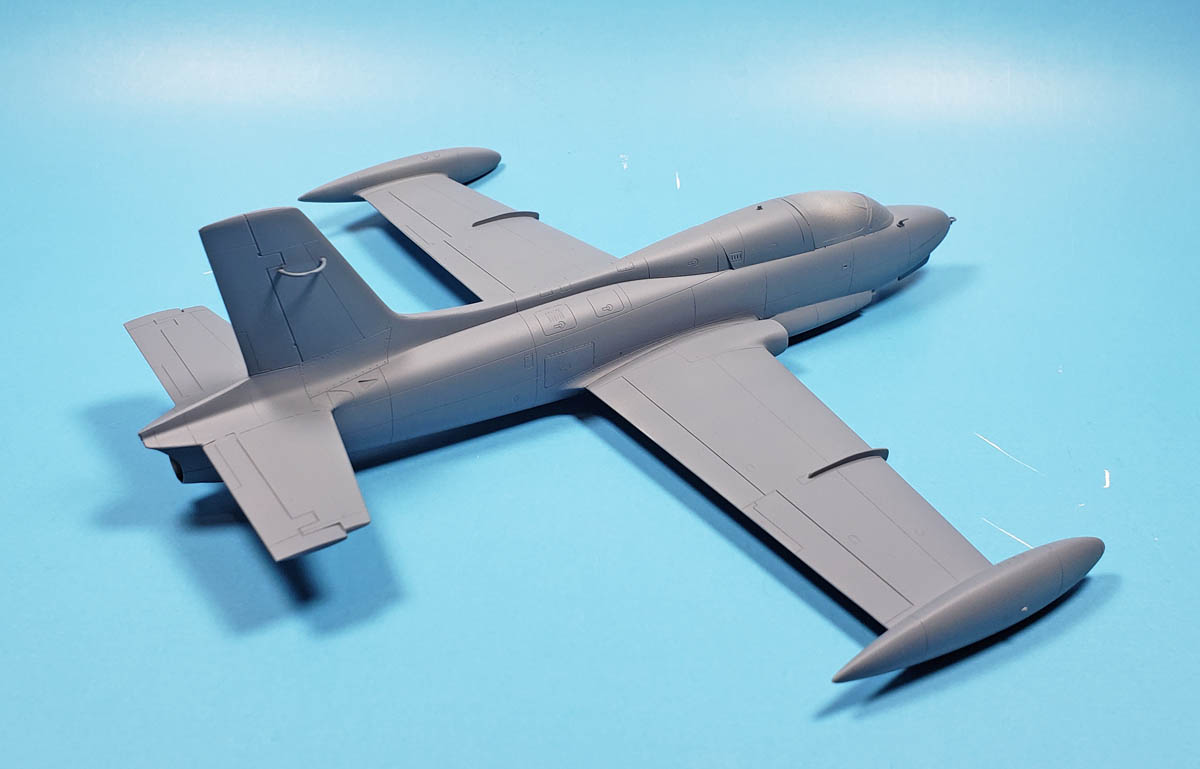
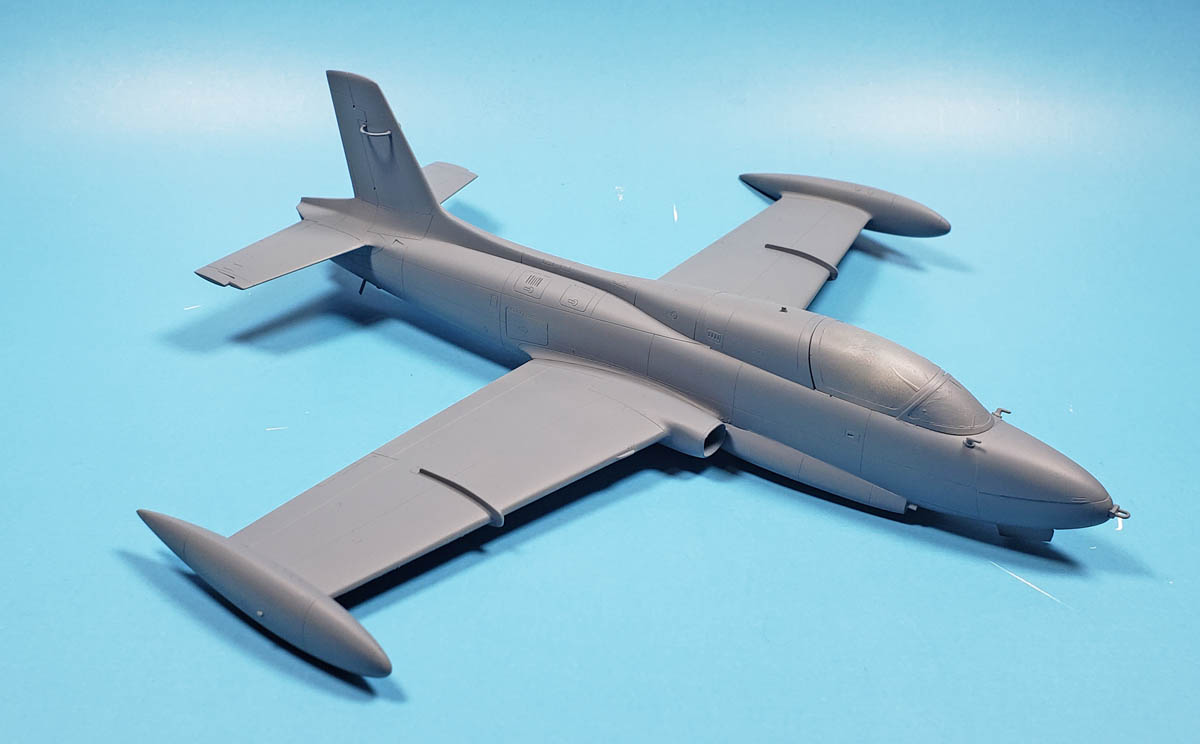
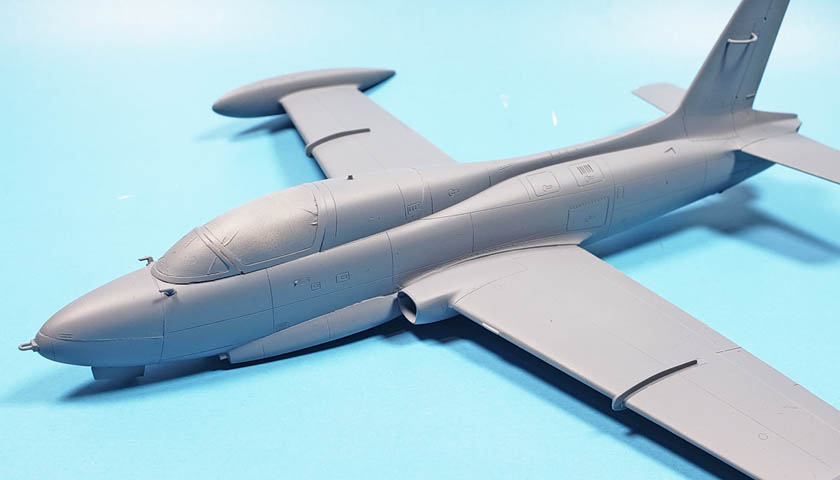
The fuselage went together with no problems, and only some sanding was needed to remove the seam lines. The single piece lower wing joined nicely to the two upper wing halves, and again, only a bit of sanding was needed to remove the seam. Fitting the wing to the fuselage seemed to be a bit troublesome at first, but some sanding along the mold lines, and removal of an errant sprue nub, resolved that easily. The tailplanes fitted perfectly- just stick them in and glue them on. I decided to add a few little probes and dangly bits, as it is often easier to get a good glue join that way before painting, and just use careful handling during painting.
I treated all of the gaps that did not need sanding to a coat of Mr. Surfacer, and then used a cotton bud soaked in alcohol to remove the excess. This made sure any hairline cracks were filled, and made the area look like an organic panel line. The forward windscreen was glued in place with Tamiya Extra Thin Cement, the canopy tacked in place with Future, and it was ready for priming.
Priming was again done with Badger’s Stynylrez Gray primer.
The next step will be to add the paint, of course. I plan on this bird being in Brazilian markings, with essentially a US style SEA camo scheme. I decided to leave the wings free of stores, to give it a nice, sleek, clean look. Weathering will be minimal… I think. We’ll see. 😉
Sometimes a build can be nicely dressed up without a lot of fuss. Take a look at the parts you have, and you may find that a kit can be improved with just some spare bits you have on hand. While there is nothing wrong with getting a full resin or photoetch set, or going all out on a scratch build, sometimes modeling sanity is best preserved by keeping things simple.
And if you ask me, that’s a notion that is as pretty as a peach. 😉

Leave a Reply