One of the humorous – at least to me – aspects of modeling historical subjects is the often dogmatic insistence many people take on “fact”… without a shred of evidence, other than possibly what the guy in the nachos line at the IPMS- US Nationals told them he’d heard from “reliable sources”. 😉
Now I know that this information often enters the sphere of modeling knowledge honest;y. Without proper references, folks often have to surmise how something functioned. Only in the modern, digitally connected world are we able to examine so many photos, documents, and videos, that even just 15 years ago were virtually inaccessible. So it’s no surprise that from time to time information comes out that can shoot down a long-held belief of how a particular thing worked.
Yet though many know this is the case, quite often they fail to take it into account. Which results in no small amount of amusement for me.
Mind you, there have been plenty of times I’ve been on the other side of the equation. Someone would ask me a question, and I’d give the standard answer, only to find that the other fellow standing nearby would pull up a historic video or document and show me that I was indeed wrong. In fact, it’s happened so much that more often than not now I generally don’t try to answer questions without some basis in fact. The real, documented kind of fact. Otherwise, I just keep my mouth closed. (Which took too many years to learn! 😀 )
So How Does That Turret Work?
When Airfix released their 1/48 Boulton Paul Defiant Mk. I, I saw a few discussions regarding how its most prominent feature – the turret – actually worked. The kit models the various moving parts that facilitated the rotation of the guns in admirable fashion, allowing the modeler to choose from a variety of configurations.
While it was generally agreed that the “hump” aft of the turret was lowered for operation, some discussion – bordering on heated in a few places – focused on the section just aft of the pilot. The kit part was engineered in such a way so it could be raised with canopy open, raised with canopy closed, and lowered with canopy closed.
The disagreement revolved around whether that small section was lowered only as the turret rotated to a certain position, or if it simply stay lowered as long as the turret was in operation.
Eventually, a video from the Tubes of You made its way around, showing that the section seemed to be lowered only as the turret traversed past, or was locked into a forward firing position. Of course, this historical, visible proof should have settled the argument.
But when it comes to military, historical models, why let facts get in the way? We’re modelers, by golly, and we thrive on insistence for the pedantic. 😉
Yeah, But… The Video Shows…
I was at a local hobby shop, looking at Airfix’s newly released (at the time) Defiant Mk. I in 1/48 scale. A fellow modeler was there, possessor of a well-worn IPMS membership card with an admirably low number. We were having a pleasant discussion about the nice kits Airfix was releasing, and how cool it was that the Defiant had made it to kit form from a major manufacturer.
Eventually, the discussion focused on the turret. He asked if I planned to build the kit with the turret in its “deployed state”, with the various moving parts lowered, or in a “stowed” position. I said I’d probably build it like it would sit on the ground, with everything “stowed”.
He got a little wide-eyed, and gave that knowing nod that folks who seem to think they have inside information quite often give. “You know, most people don’t know the correct way to display it in its operational form.” Being a bit of an instigator, I asked the obvious… “Oh, really? How is it done correctly?“
He went on to explain that when in operation, both the forward AND aft sections remained in the down position. I asked with a bit of amused curiosity “Are you sure? I thought that forward section only lowered as the turret traversed past.” He continued to explain how wrong that was. Why, he had it on good authority from so-and-so in such-and-such forum that it did not operate that way.
Now, I shouldn’t have gotten any amusement from this. I should have simply said “Oh, here’s a video you might want to see that may shed further light on the subject.”
But I couldn’t help myself. I kept probing… “are you sure?” Oh, yes, he assured me… “I’m sure!” Of course, the whole time, I’m busy pulling up the video on my handy-dandy phone. When I had the video advanced to the right spot, I paused it. I handed him my phone.
“Hit play and watch this.“
Building The Defiant’s Airframe
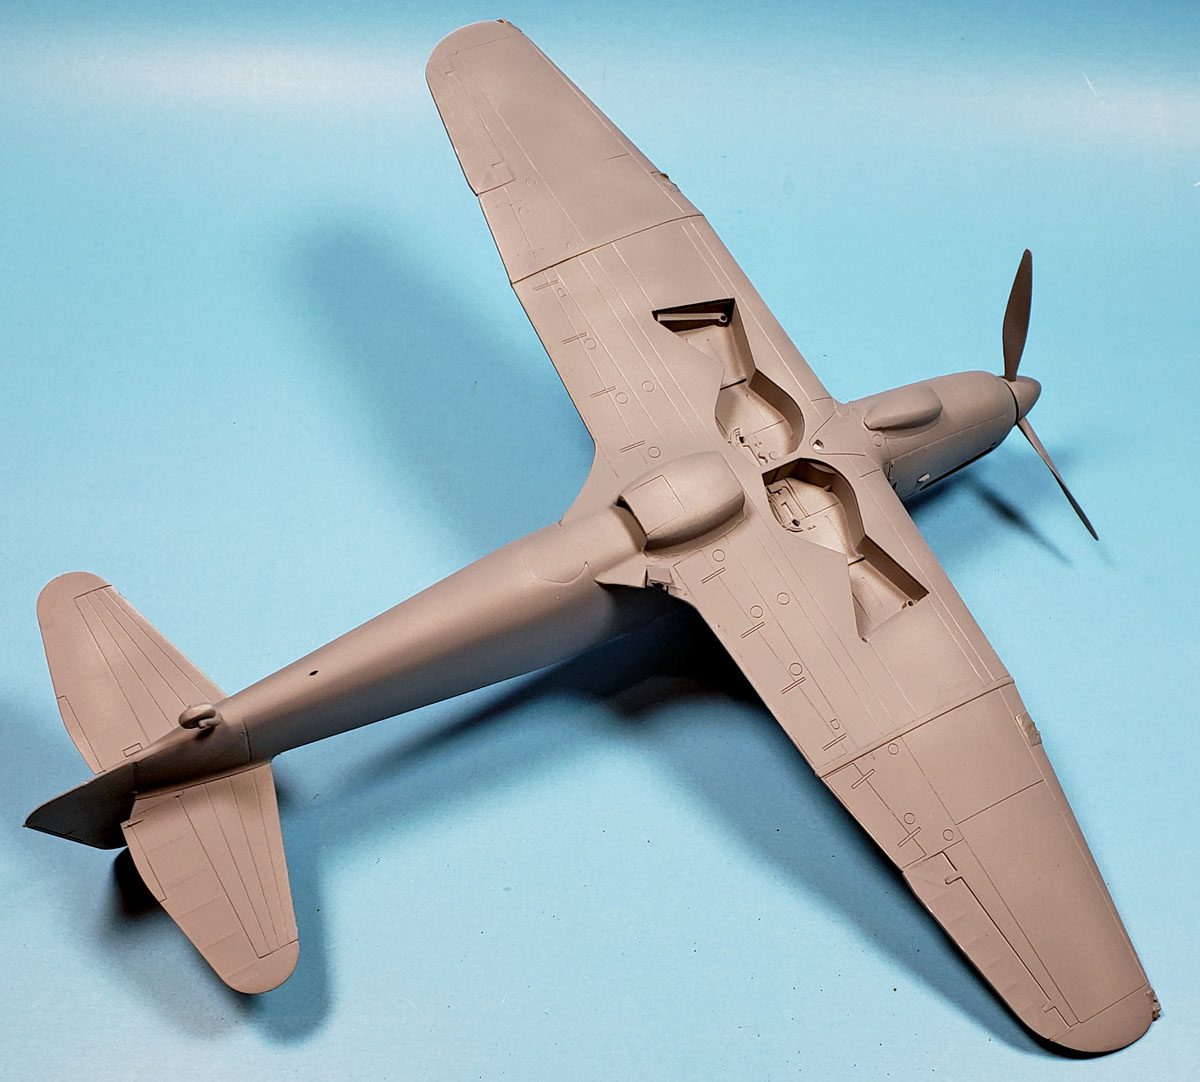
Assembly of the airframe is almost to the point of being Tamiya precise. A few places here and there needed some Mr. Surfacer to close hairline gaps, but those were easily addressed. I did need to do a bit more sanding on the leading edges of the wings, to make sure that they had a smooth and seam free appearance.
The fuselage halves closed nicely around the cockpit and gunner’s area. I did find a few swipes of the sanding stick along the edges of the modules made for an easier join.

Airfix had molded the part that formed the decking just fore and aft of the gun turret with two small bits of plastic to aid in alignment., The instructions showed to glue the part in as one unit, and then after assembling the fuselage, snip those sections away.
Having previously built the kit, I knew this would work fine. There’s no need to worry about painting the area left behind either – the turret completely covers it once inserted into place.
On my previous build, I’d left the turret out entirely, and then inserted it afterwards. Because the intended build sequence has the turret going in before some of the final fuselage bits, that method had proved to be a bit problematic. So for this one, I decided to try another method.
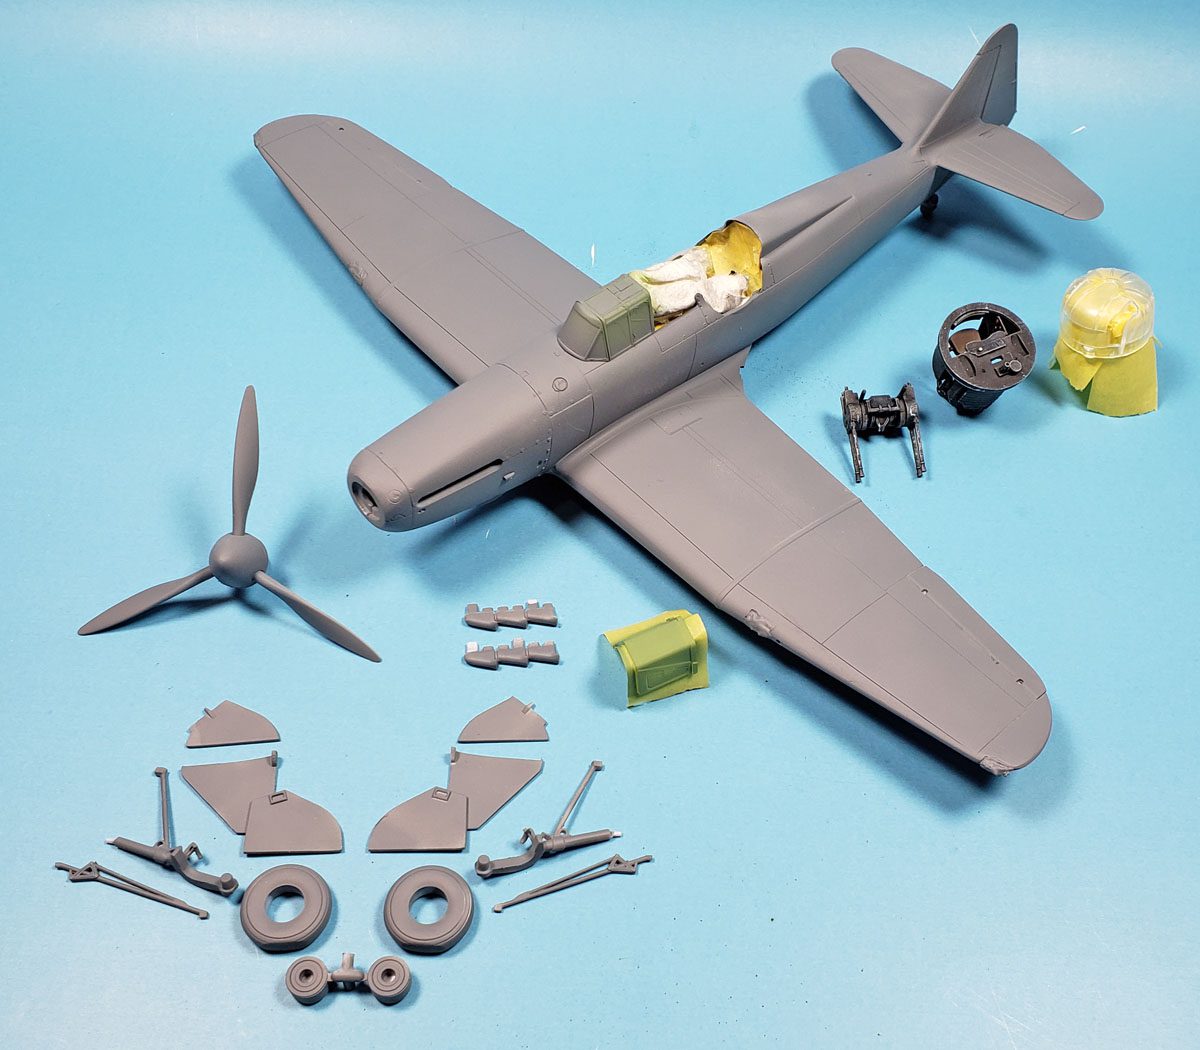
Test fitting showed that if I glued all of the parts aft of the turret in place, then inserted the lower half of the turret only, rotated it to the side, elevated the guns, and slid the clear section down over it, I could paint the model easily with no turret in place, but still be able to insert it later once the time came for that step.
Key to this assembly sequence though is making sure the turret rotates easily. Using a narrow file, I carefully trimmed down the circular opening in the aft fuselage portion where the turret would be inserted. Test fitting the turret repeatedly, I worked until I could firmly grasp the unit with my thumb and forefinger, and get it to turn, yet not so much that it felt loose. I did want some friction there to hold the unit in.
With easily a dozen test runs under my belt, I felt confident to proceed.
Ready To Prime?
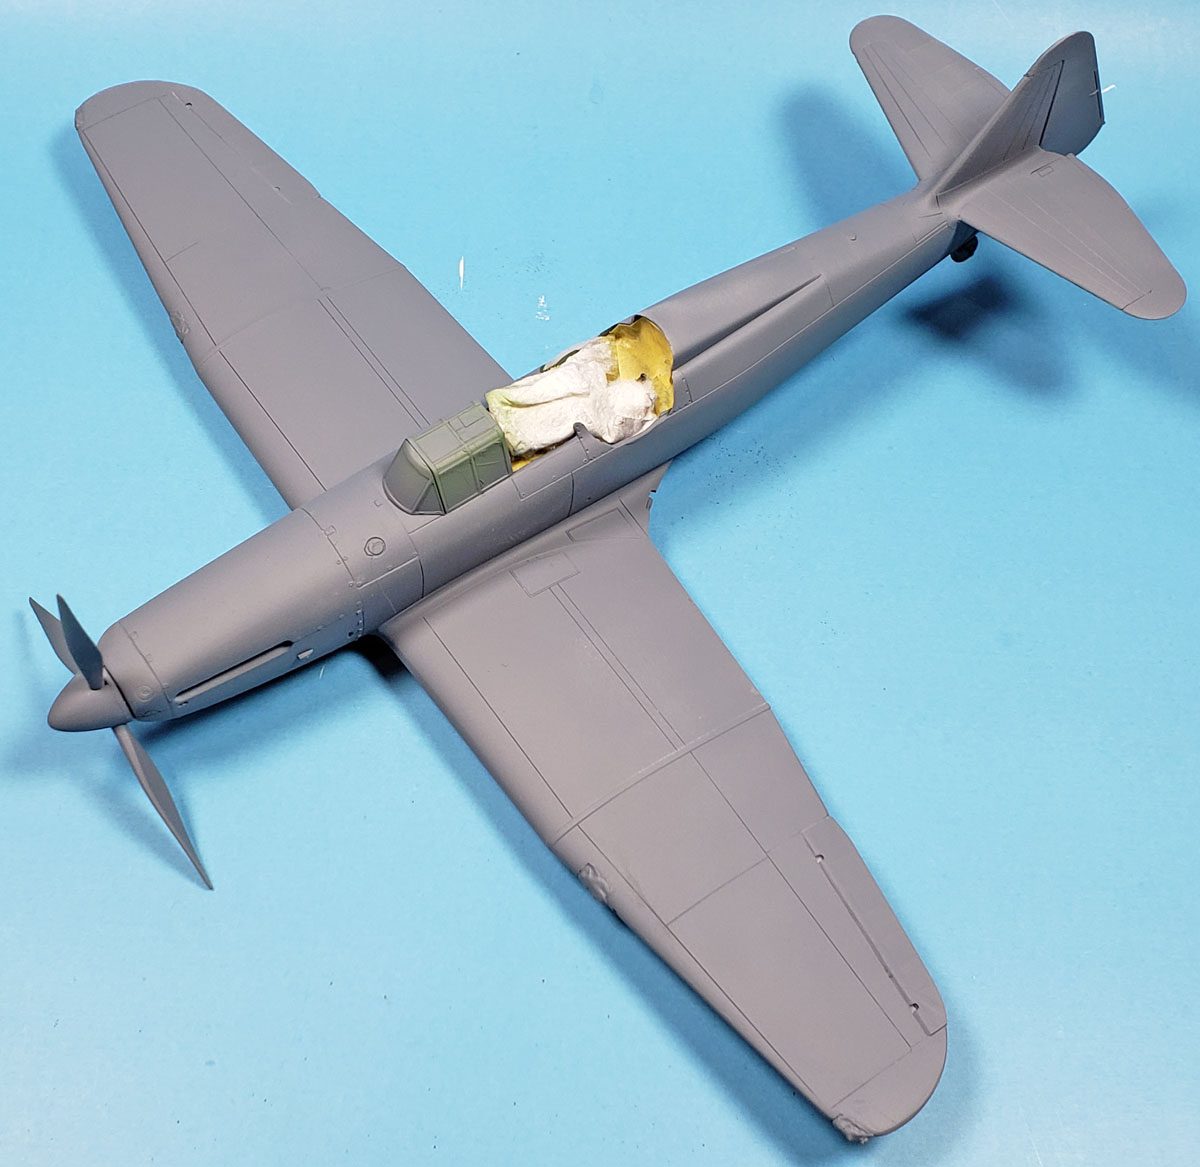
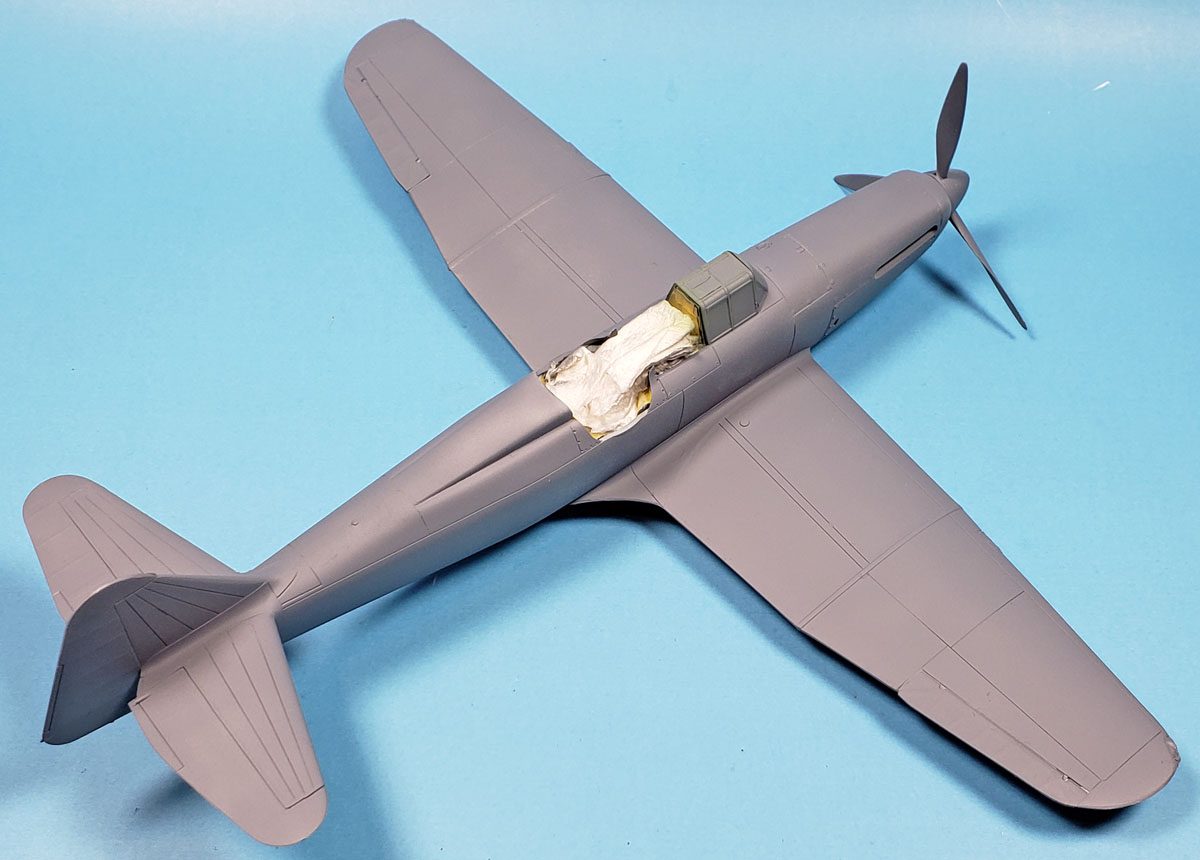
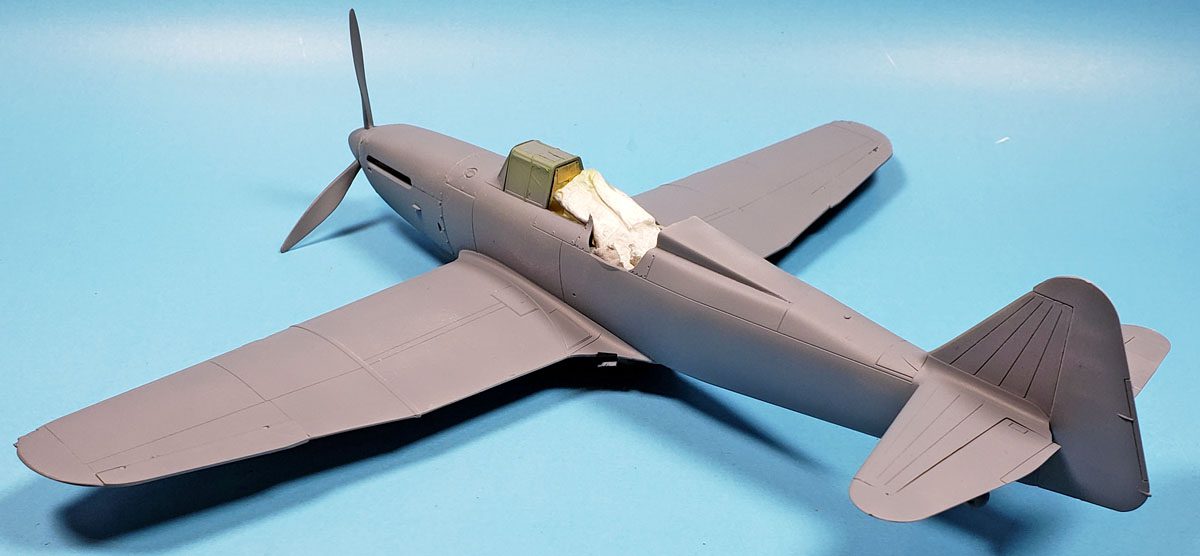
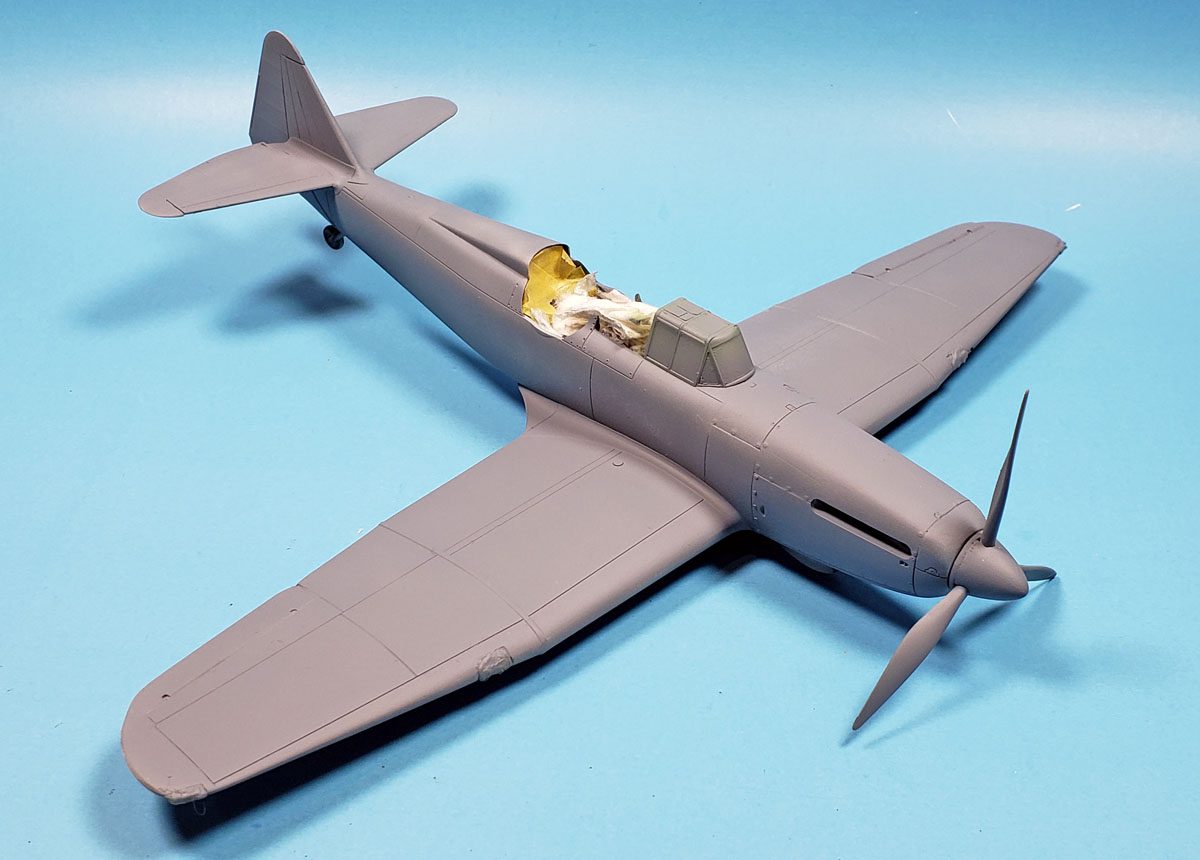
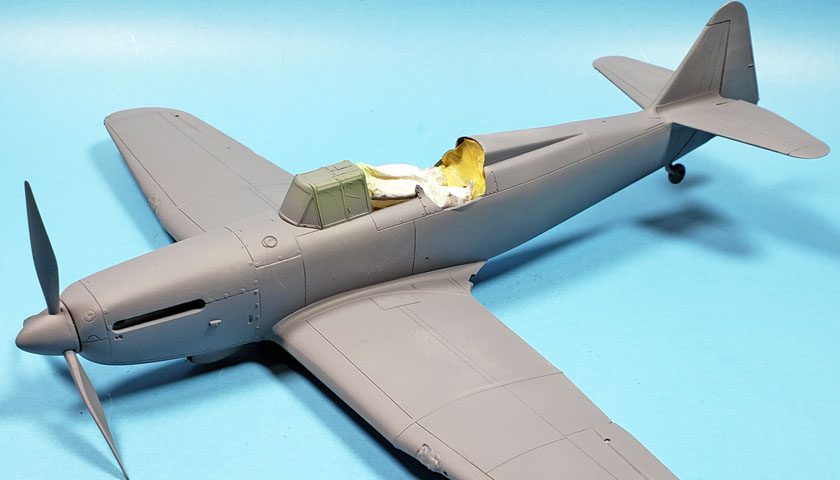
For final priming preparation, I glued the forward windscreen in place (part E1), and temporarily tacked the sliding canopy portion (E9) in the closed position, using Future as an adhesive. Part E8 would only be added after the turret was in place. Everything aft of that was masked with paper towel and Tamiya tape.
If you plan to build the model canopy closed, I recommend gluing part E7 in place, but NOT attaching part D22 until after the turret is in place near the build’s end.
I also installed the clear parts for the landing light covers and wingtip lights, allowing them to be sanded smooth to fit the wing profile nicely. They were restored with various grades of sanding stick, and covered with liquid mask.
I started the airbrush work by first spraying the masked clear canopy parts with interior green, with the exception of the turret, which appears to have been black inside and out. (But I’m not being dogmatic about it! 😉 )
For the primer coat, I opted for Badger’s Stynylrez Gray. The planned scheme for this model is black undersides with dark earth/dark green uppers, I thought the gray primer would be a good neutral basis for all colors. The primer goes down beautifully, resulting in a very smooth, somewhat satin finish. To avoid problems with later paint and primer pulling up after masking, I recommend letting it cure for 24 hours. (Ask me how I know this…)
The other dangly bits were also primed, and after painting, these will all be added to the airframe, and then weathered in place for a cohesive look.
“That Must Be Wrong”
I watched with an admitted Grinchy Grin as my friend watched the video. I could see a bit of a startled look as he undoubtedly watched the turret turn, the section aft of the cockpit drop down, and then as the turret continued around, it popped right back up. Several times he touched the screen to move the timeline back, and watch it again.
He then looked at me, and very seriously said “That must be wrong.”
I laughed out loud. “Really? Dude – it shows it right there. The turret rotates, the section drops, then as the turret rotates away, it raises back up again.“
He shook his head. Nope, nope, nope.
The video evidence controverted what he’d always “heard”.
I shook my head, chuckling to myself. Taking my phone back from him, I watched the video once again. As I did, he began explaining the long list of people who insisted his view was right. I listened, smiling and nodding, and thinking of what I’d eat for lunch and where else I needed to go that afternoon. He got more than a bit worked up about it, the more he talked. I finally said I needed to leave – I heard a cheeseburger calling my name.
When it was all said and done, I felt a bit bad. He was (still is) a friend, and I probably should have left well enough alone.
All of this is not to advocate for how the turret on a Boulton Paul Defiant Mk. I did or did not work. Or even to say that what the video shows is correct. It could be that the section could operate both ways., and the video shows just one. I may be the one who is wrong.
The point, I suppose, is to get back to the underlying theme I always return to. This is a hobby. It’s fun. It does not require precision in any way, shape, or form. You may choose to pursue it that way, and if it’s what you enjoy, go for it! Good research and documentation is always helpful.
Yet I’d submit it’s also not much fun to stick so strongly to a particular view of things that doing so becomes a point of contention. Ultimately, it’s OK to be wrong. These are plastic toys, after all. Diversions from the realities of life.
Most folks don’t like that dogmatic guy who loses sight of the hobby.
Or the smart mouthed joker who whips out his phone with a video, either… 🙂
In the next installment of the Defiant build, I’ll fully detail my method for handling the turret, all the way through, so that it may be helpful for others to consider as they build the kit. it is quite fun, fits nicely, and apart from a bit of fiddliness when dealing with the turret, it’s quite a low drama build.




Leave a Reply