I think one of my favorite subjects in early elementary school was coloring. I suppose a case could be made that nap time and recess were right up there with it. But given the choice – hand me the wax sticks any day.
I was quite the colorer too. Quite proud of my collection, too, as I had the big set of Crayola crayons – all 64 colors. I felt bad for the kids who thought they could get by on 24 or 48 colors. Sure, you might do some general background work. But to get into the really intricate stuff, a full pack of 64 was needed. I mean… those were all the colors available in the entire world, right?
And the bonus of having the big set was you got all the flavors too. Crayons were tasty in 1974.
I’d color well within the lines, always making sure to get right up to it – but not beyond. And I learned to combine colors, layer colors, smooth them over by rubbing them, and even combine them with pencils to get some pretty cool shading. And I colored things however I wanted. Who said the sky had to be blue? Or the sun yellow? Why not a yellow sky and a blue sun? Even if my yellow in that case was not so mellow…
Of course, as I got older, the powers that be for some reason determined “coloring” was not appropriate educational material after about first grade. I briefly tried to rebel against this, but quickly found out that I didn’t have sufficient political clout to sustain my rebellion. That, and being the 1970’s, the threat of being paddled with the dreaded “board of education” was far too real. So conform I did.
Another Paint In The Wall
The conformity began to stick. My growing interest model making showed it. The instructions say paint the interior a certain green, I painted it green. Exterior olive drab? Paint it olive drab. No matter if I wanted to paint that door black, it said paint it red. Red it was.
Eventually, I stopped building models, and thinking about colors.
When I did start again, many years later, my color thinking was still very conformist. Stick with what they say. Play by the rules. If the FS color says to do it this way, do it that way. The eye of the IPMS watched carefully, daring any little hairy footed modeler to dare step out of line.
And it got really boring. So much so that I was ready to leave the game entirely.
Finding The Big Box Of 64 Again
Gundam changed all that. Grasping for anything to rekindle my interest in the hobby, I picked up a few tiny stompy robots. And while the instructions told you what colors could be used, I saw many folks using whatever they wanted.
Though I had hundreds of bottles of paints, I realized I didn’t have a full set of simply the basic primary and secondary colors. The newfound freedom launched a flurry of paint purchases, with not a drab color among them. Before long I felt like a kid again, painting things in every imaginable color.
It was quite refreshing actually.
The Moonshine Gundam

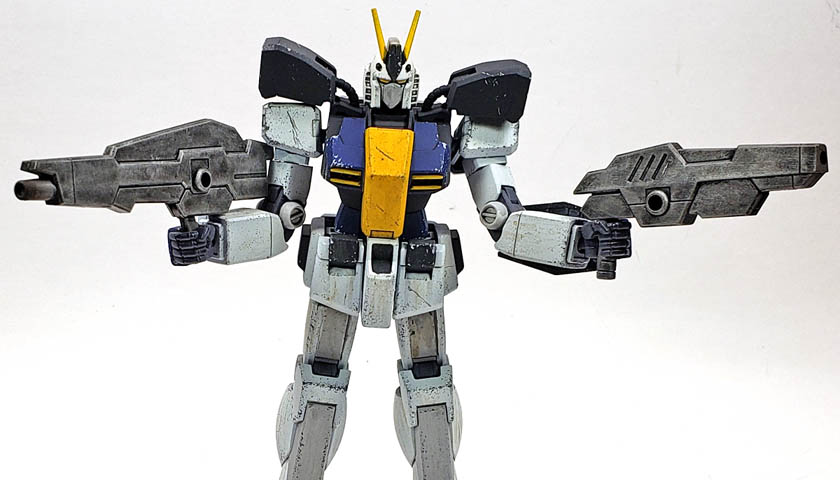
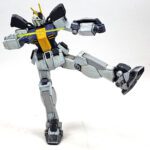
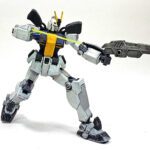
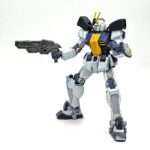
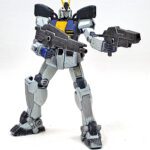
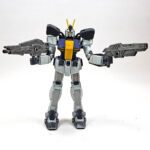
I’d purchased this HGBF Gundam Lightning Black Warrior quite a while back, and though I’d snapped it up with plans to later paint it, the little Gundam had sat in his box for months. Inspiration finally struck, and I painted him up, which I described in a previous blog entry. That’s the beauty of the genre – any color goes. All of those crayons from my childhood could once again be put to use.
The summary of it is I decided to treat this Gundam more like a miniature… I painted it while it was fully assembled. The major sections were painted – the dark upper torso, and the white frame parts, and also a few bits that could be added later. Everything else was touched up using a brush. This actually made for a fairly quick paint job for the model, a technique I plan to employ in the future.
A gloss coat was added to the model, and Citadel’s Nuln Oil Gloss was used to give depth to the panel lines. This is a great solution for Gunpla, as it does not negatively react with Bandai’s unbaked plastic.
Weathering started with a light amount of chipping. First I applied it with a sponge, using a dark gray on the white and yellow areas, and a light grey on the darker areas of armor. I tried to make sure the focus of the heavier chipping was lower down on the mobile suit, to represent the wear those areas would receive as the Gundam moved around, stomping buildings with a purposeful grimace and a terrible sound. (Oh no!) A few areas were then given additional chips and scrapes using a very fine brush.
More Acrylic Experiments
Continuing a recent theme, the process of adding streaks and grime was done using acrylics. If it seems like more than a few of my recent builds have almost been experiments, there’s good reason for it – that’s exactly what I’m doing. So often modelers will approach new techniques and products with fear, worrying they may “ruin” their model.
The fact is, you may do just that. So plan for it. Add it to a model that is not your showpiece, or the most expensive in the stash. Build a few “throwaways”. This will allow the freedom to play around, learn how to best employ the products and techniques, and then begin rolling them into your “normal” builds.
As I’ve been learning, acrylic weathering is an additive process, so multiple thin layers built up work very well. While the initial process is a bit more tedious than using enamels or oils, speed is gained because the layers can be built up in minutes, rather than having to wait hours or days for things to dry.
I’ve been focusing my order of operations so that the various colors are applied light to dark, general to specific. Here’s an example of what I mean by that. An oil streak tends to have a darker central area, with a slight radiating gradient as you move away from the center. By applying the lighter, more heavily thinned (and thus translucent) layer first, I can establish the specific area of the stain. later colors, moving toward the darker and less thinned area of the color spectrum, can then be applied in narrower bands, which serves to also build up the color, and increase its opacity. With practice, the result is a nice, very realistic oil stain.
Do keep in mind that when you are applying paint using a brush, the greatest amount of paint will be deposited at the end of the brush stroke, especially if the paint is fairly thin. So unlike oil and enamel staining, which generally runs from the source to the planned termination point, acrylics work better when applied from termination to the point of origination.
Finishing Up
I wasn’t really going for a super dirtied up look for this project, but rather a more restrained application of weathering. Using more heavily thinned acrylics washes and stains made sure things did not build up too fast.
The final step was a quick treatment for the weapons – Black Stynylrez primer, a heavy drybrush of Citadel’s Leadbelcher, Gloss Nuln Oil, and drybrush of Citadels’ Runefang Steel. Simple but effective!
A final coat of Vallejo Mecha Color Matt Varnish matted everything down.
While this kit was a simple build that really did not consume many hours, it was really a load of fun. It helped bring out the love for color, something that can often be lost in many traditional military modeling genres. Get in touch with the “inner child”, grab a cheap Bandai Gunpla kit, and let your imagination go. You may take a hit in the wallet at first, buying colors you’ve never used. But the fun will be worth it.
Just beware… acrylic paint does not taste nearly as good as crayons.
(The preceding statement is intended for humor purposes only, and should not be construed as an endorsement for drinking or eating of either paints or crayons. Though a few crayons certainly won’t hurt… just sayin’… 




Leave a Reply