As with every other Warhammer 40K build I’ve written about, this little kit is great. Fit is not an issue, and there is nothing fiddly about the assembly. Snip the parts from the sprue, trim off the nub marks and mold seams, prime, paint, weather. When you get down to it, that’s all there is.
But the fun is in the simplicity, I think.
Of course, it can’t be overlooked that the Sentinel looks strangely similar to another franchise’s bipedal scout walker. You may recall it… stomping about in the snow, looking for power generators and rebel scum.
If I had the budget, I’d put together a short parody film clip. The AT-ATs and AT-STs are stomping about, shooting things around them. Snowtroopers scurry about, blasting rebel emplacements and trying to keep their feet warm. Suddenly out of nowhere, a little green Sentinel runs up.
“Hey, what are you doing here?“
“I’m here for the glory of the Emperor! Charge!“
As he rides off into the battle, the two Imperial Snowtroopers shrug and move forward.
If I only had a big budget, equipment, talent, and time. I could be famous you hear? Famous! 🙂
Some Paint And Weathering
I’d done some initial assembly, but left the parts that made up the cockpit separate to ease painting. Everything was primed chaotically in Badger’s Stynylrez Black Primer. It somewhat fits with the 40K universe… it’s dark, but not too grim. 😉
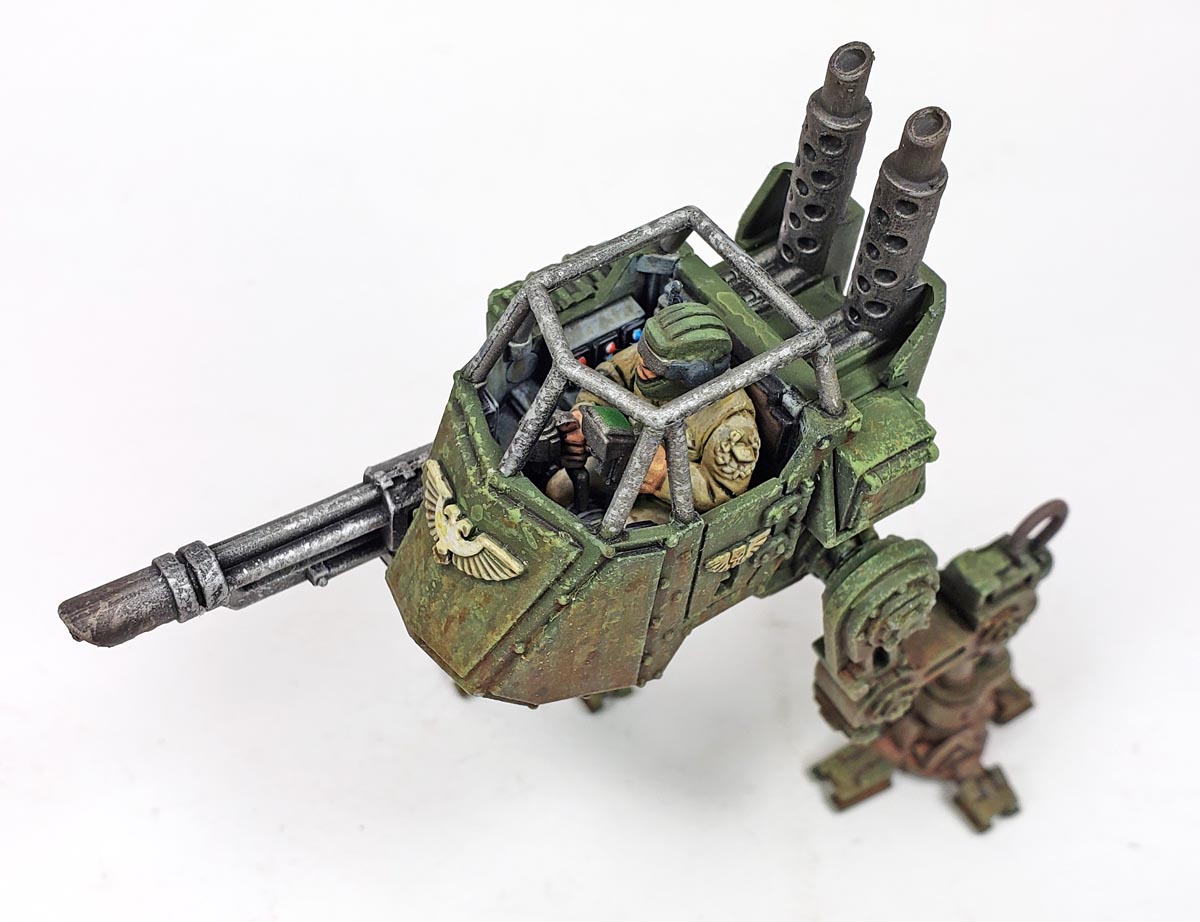
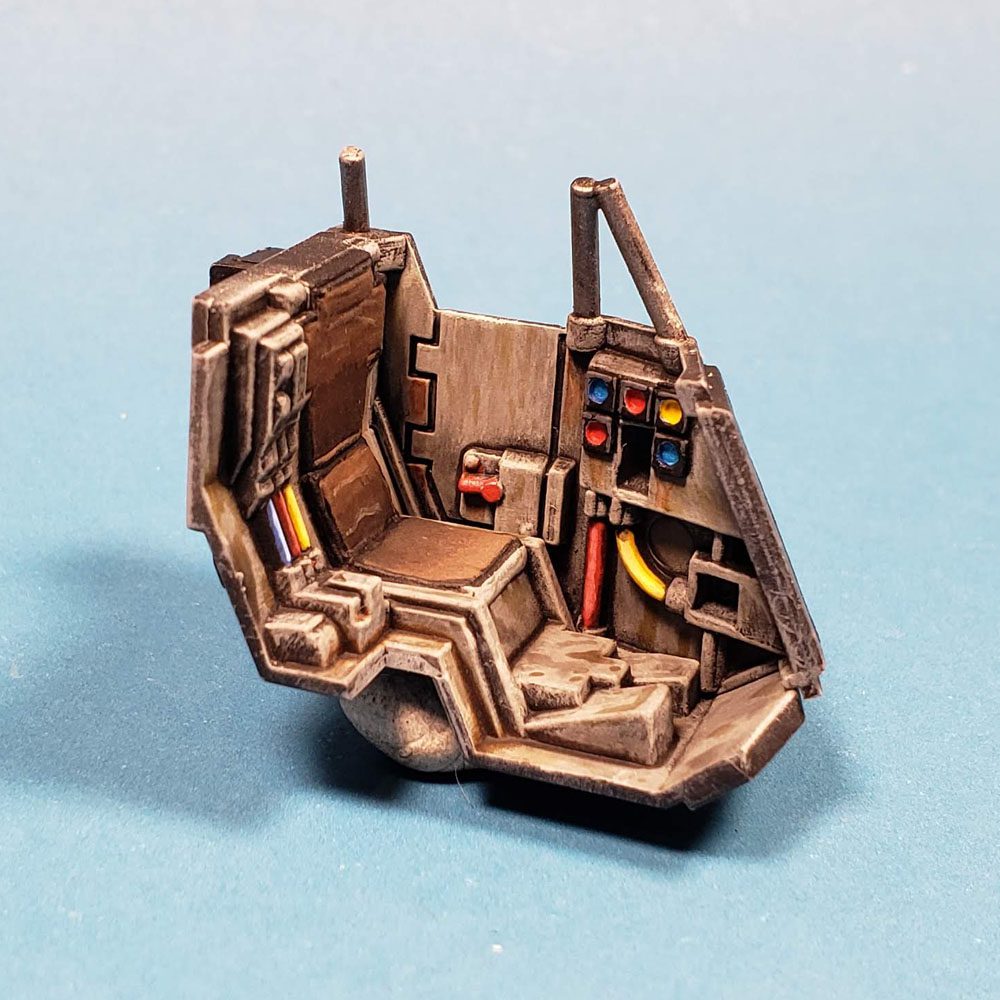
The interior is typical of most Warhammer universe kits I’ve built. Dials and tubes and boxes, all slightly exaggerated in size and relief. Everything was drybrushed heavily with varying shades of gray, in an effort to achieve a nice, deep look. Unfortunately, after adding all the weathering and detail painting, it looks like I just painted it gray. As they say, “it’s the thought that counts.” 😀
All of the buttons, knobs, and hoses were given a coat of white. Painting these details in white allows later colors to show up much better. I suppose to fit with the “grim dark” theme that is warhammer, I should paint them a bit less brightly. But ever since I painted the interior on the Razorback, I’ve had this odd compulsion for sticking to primary and secondary colors. I do think that there is a somewhat practical reason – the interior is usually difficult to see on most of these models. So a bright paint job rewards the viewer with seeing something.
Even if it is brightly blinky things. 🙂
Primary colors were used, with the base coat being somewhat darker, and lighter highlights being added. I did this work in fairly rapid fire fashion, not really waiting for anything to dry. Each color was simply added over the top of the last. Of course, acrylic paint makes this possible!
With those details blocked out, a gloss coat was added, and a heavy dose of Nuln Oil was applied to deepen the shadows. I wasn’t too worried about being neat with this step. Because I was using gloss Nuln Oil, applied over a gloss coat, the surface tension was very low, and thus pooling and tide marks were minimized. Additionally, because I planned to add a good amount of staining and streaking in the weathering stage, I wasn’t worried about being too neat.
Painting The Dude
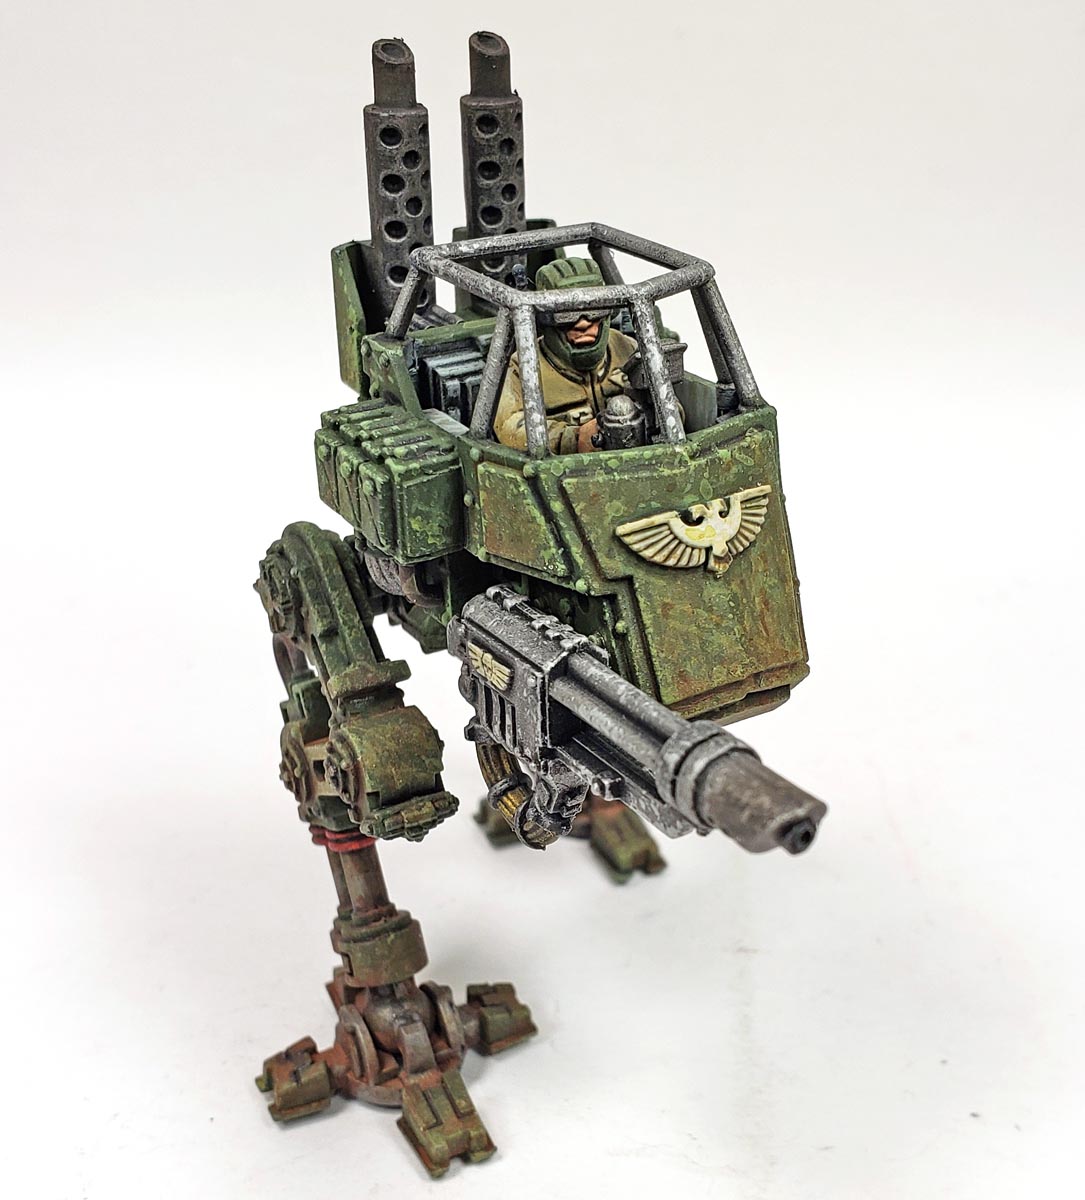
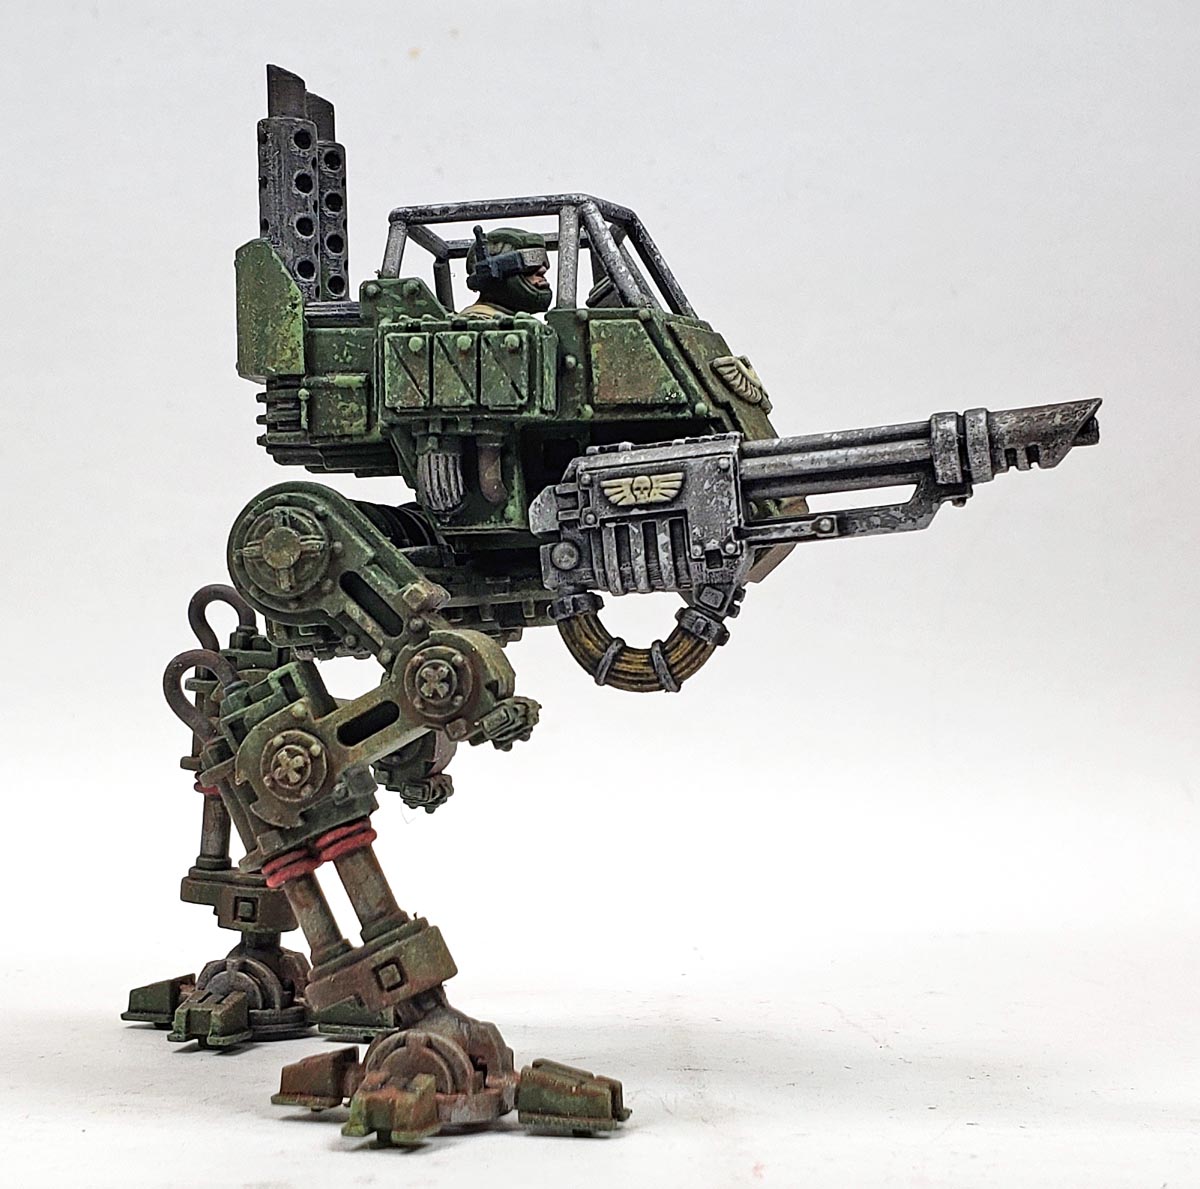
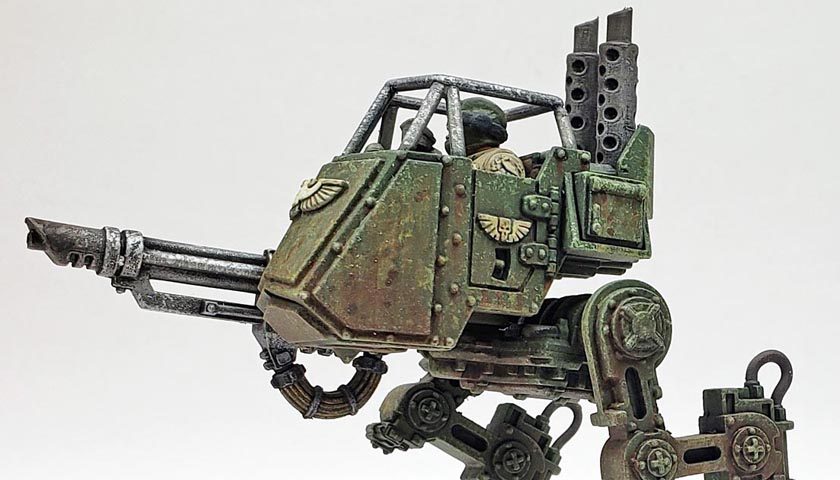
I also gave the pilot a simple paint job, using Citadel’s Zandri Dust, Castellan Green, and Vallejo Model Color Black Gray for the base colors. The face was given a coat of Cadian Fleshtone. Each color was then lightened with a touch of white and yellow, and some simple gradation was applied with a brush.
The method for this was actually fairly easy. I applied a few drops of the lighter color to my palette, and then thinned it with water – roughly 3 parts water to 1 part paint. Using a #1 round brush, I picked up some of the color, offloaded most of it on a paper towel, and lightly applied a coat, moving from the area where shadows would be towards the lighter. This does two things.
First, it starts a gradual highlight, moving towards the more upturned areas exposed to the light. Second, it takes advantage of the fact that on just about any brush stroke, the most paint comes off the tip of the brush at the end of the stroke.
I applied these gradual layers, and each successive layer was started just a bit closer to the highlight point. The end result was a nice gradient that built up to the highlight areas.
With that in place, the little angry guy was given a gloss coat, and a wash of Agrax Earthshade was applied to deepen the shadows.
I’m certainly no figure painter, but I think it looks good enough to pass as a little angry 40K guy. 😉
The entire cockpit was then assembled, and set aside to dry.
Painting And Chipping the AT-ST Sentinel
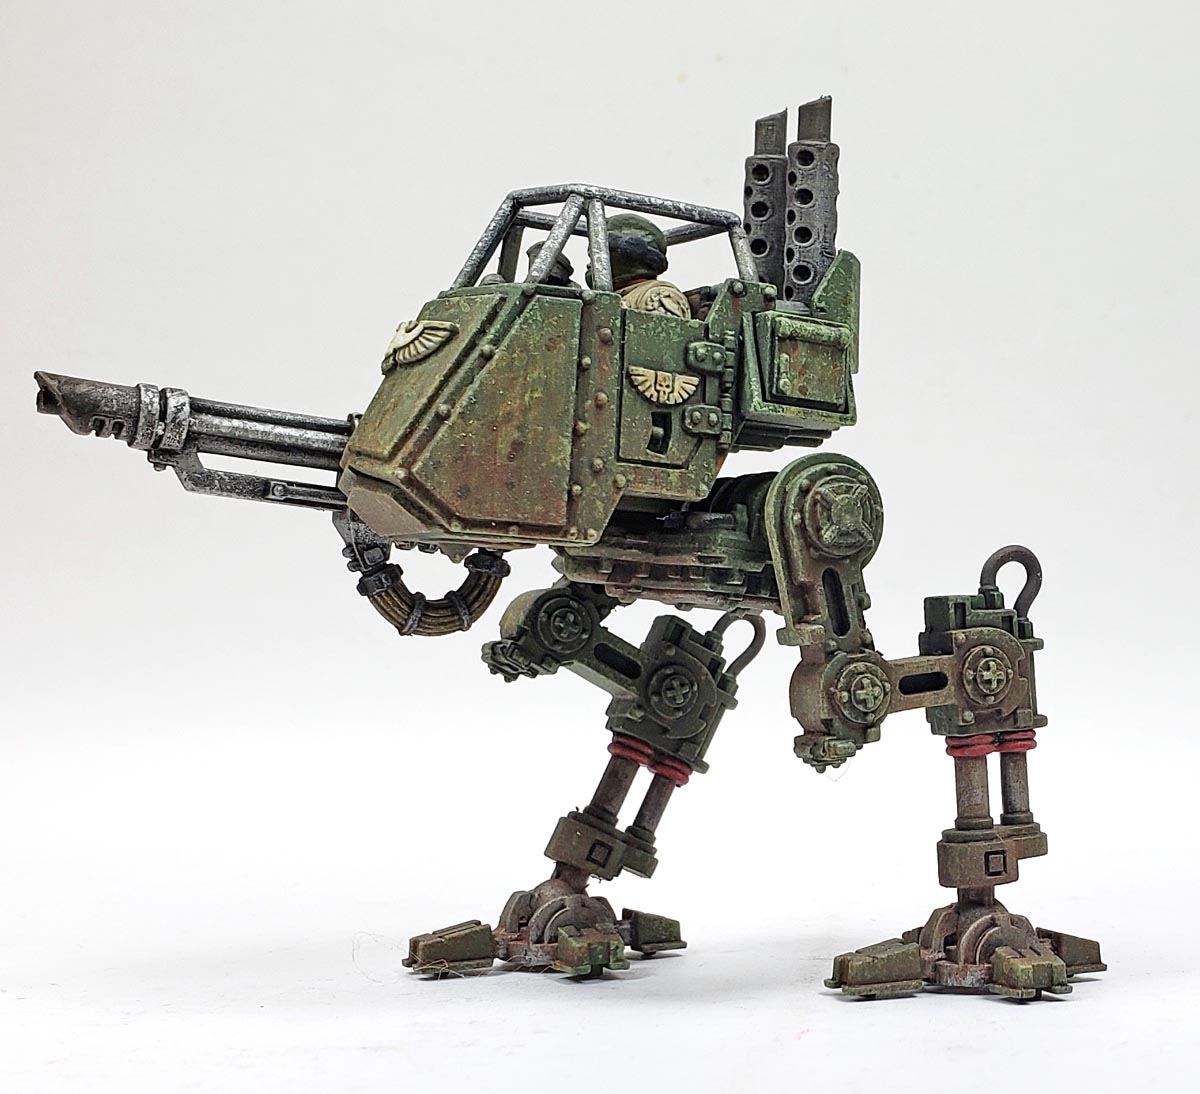
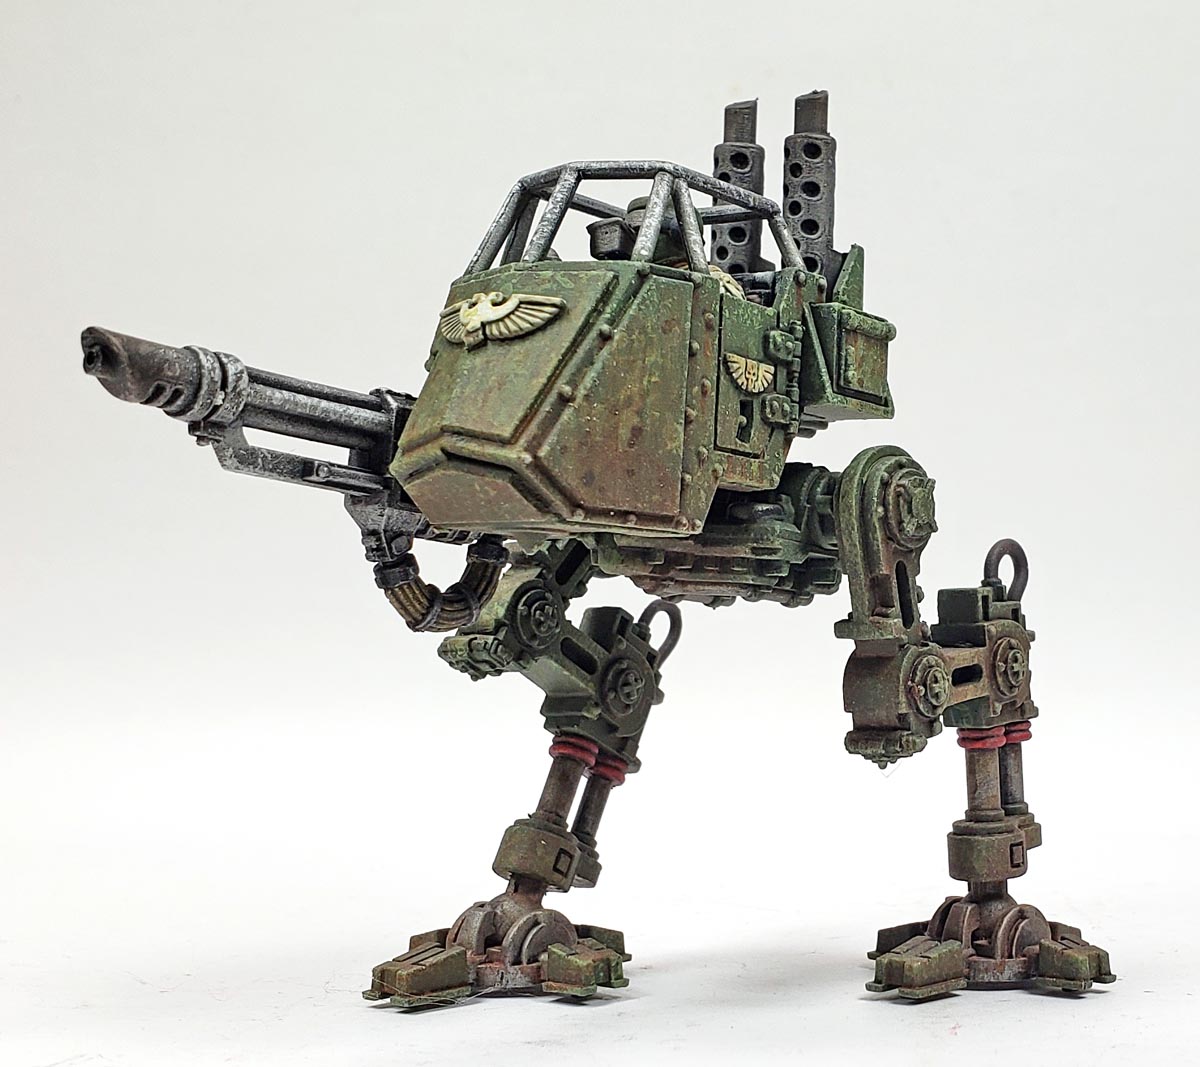
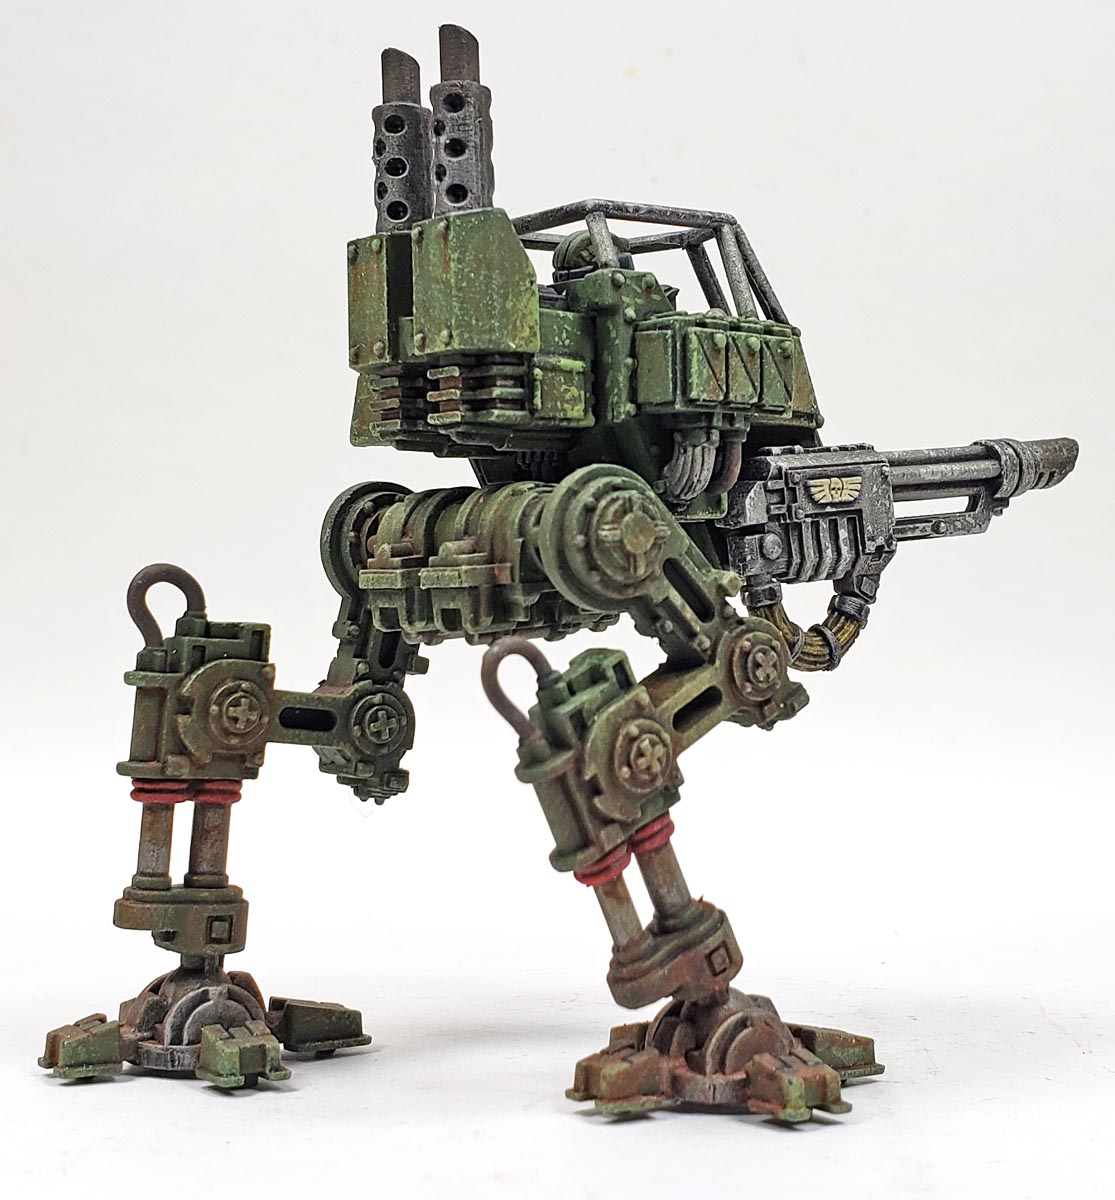
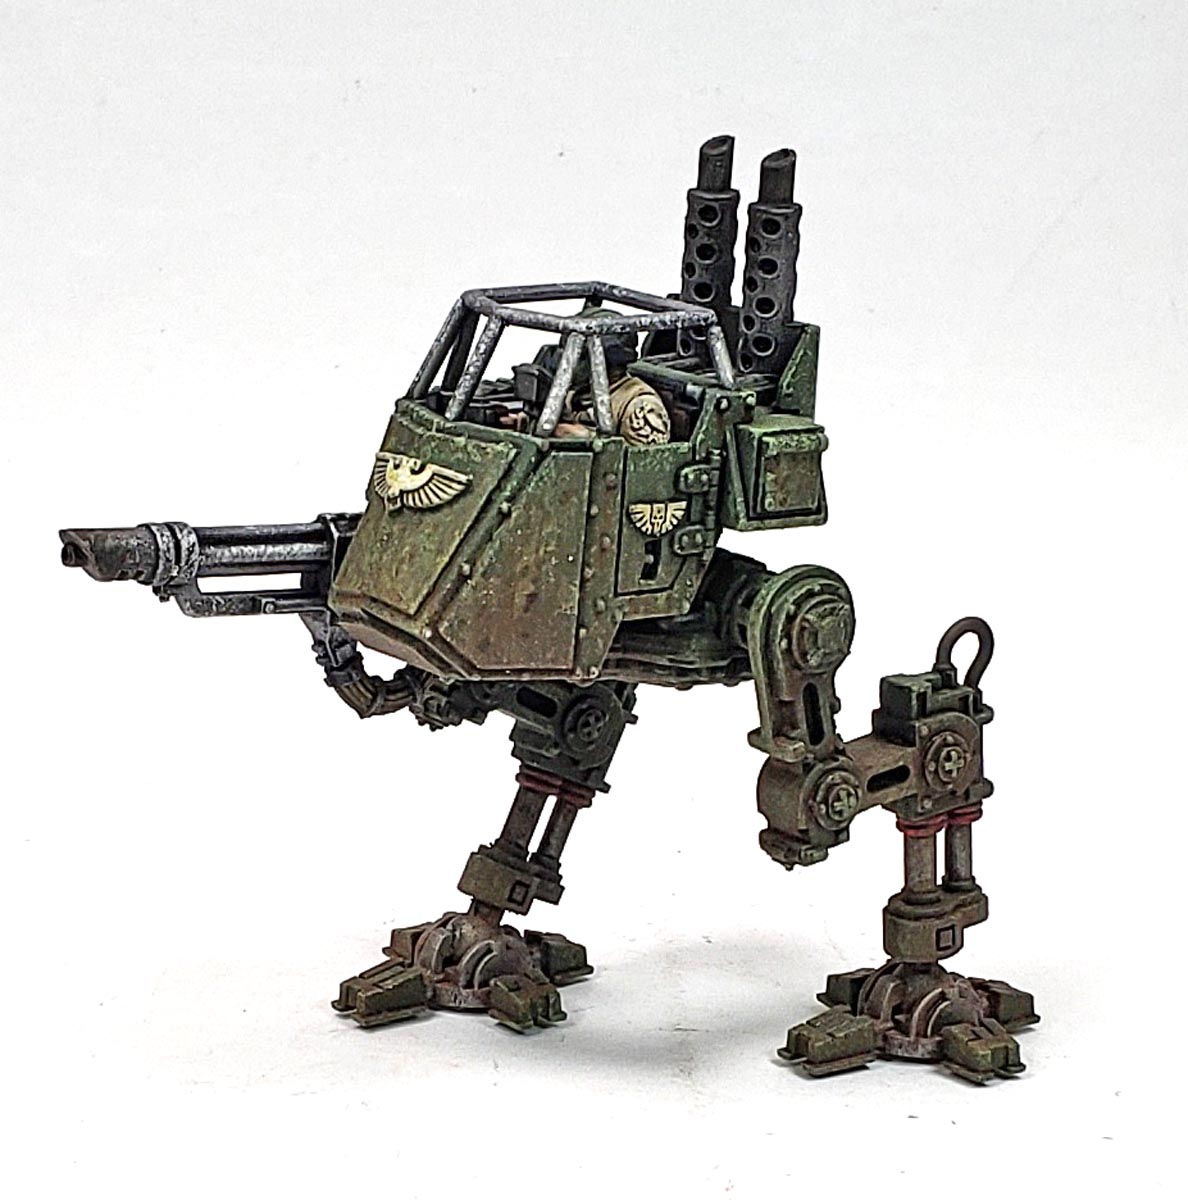
Assembly of the rest of the model is fairly simple. I left it in two sections to make the process easier, with the legs and “waist” assembled, and the upper cockpit unit kept separate. Both sections were first painted in Citadel’s Castellan Green, and then a few bits were picked out with Citadel’s Leadbelcher, Vallejo Mecha Color Dark Red, and Vallejo Model Color Black Grey.
A quick gloss coat was added using Future, and then more Nuln Oil was deployed to the zone of operation. I applied several layers, because I knew I wanted to weather this one heavily. No need for toned down shades here – bold wins the day in 40K! (Hey… that rhymes. 😉 )
The weathering process was more experimentation with acrylics, which I’ve been doing through the last few builds. I can’t say that there was any rhyme or reason to it… I just kept applying layers.
The first of course was paint chipping, using both a sponge and brush, with a few shades of light green. I was attempting to do as I’d seen Lincoln Wright explain on a video. The different shades would represent varying ages of chips. Unfortunately, I ain’t no Lincoln Wright, so it ended up looking like a middle-aged man applied an green color. 🙂
And Then The Weathering…
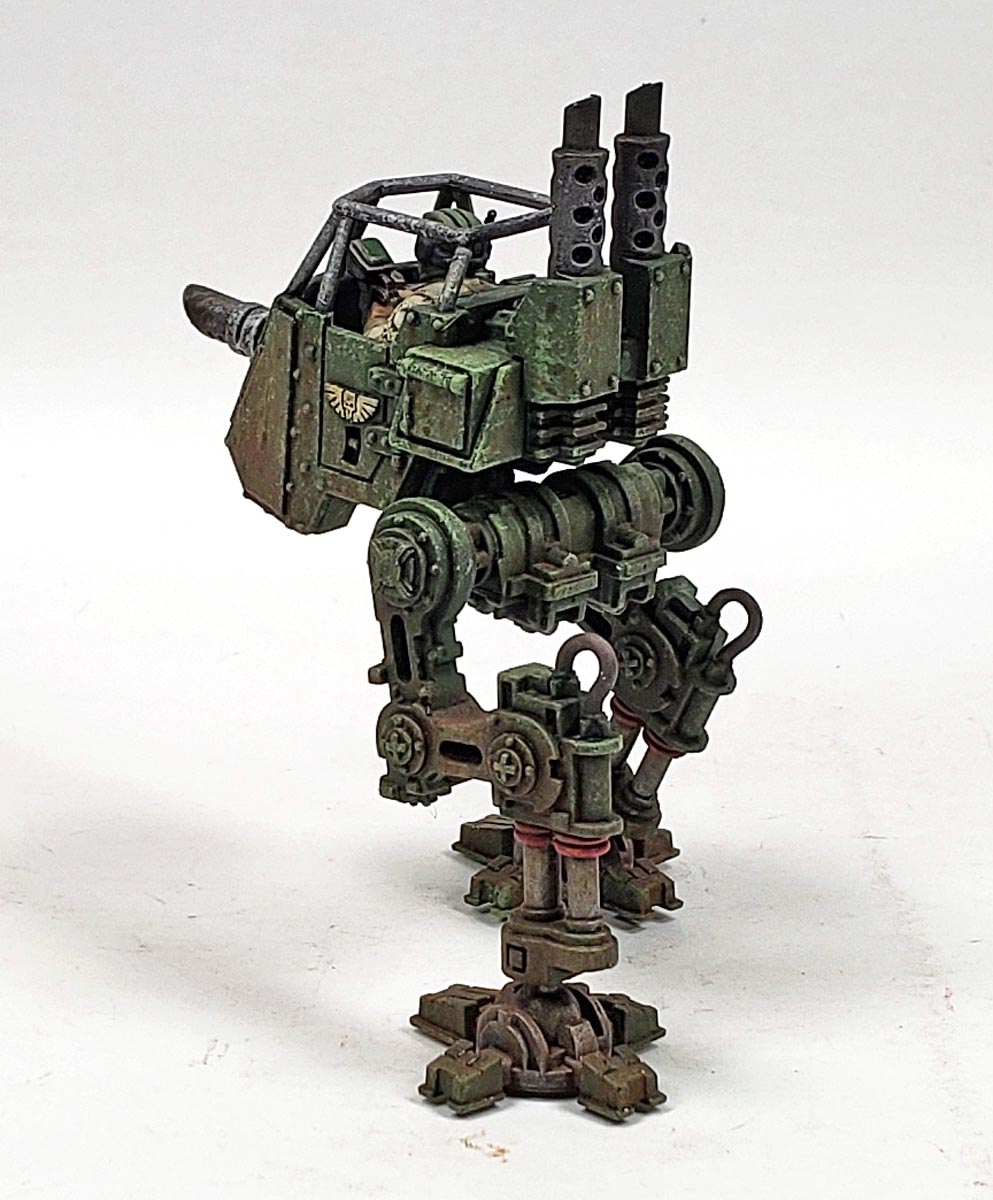
Next I applied several Vallejo washes, pigments, and streaking products. Each was heavily thinned, and then applied via brush in very thin layers. In some cases, I pre-wetted the surface with water, and in other cases, I simply went over the dry surface. Th goal through it all was to layer up color variation, knowing that in doing so, it would (hopefully) look grimy, dirty, streaked, and well used.
I did make sure to apply a bit of the reverse of what I described with the figure. Instead of applying towards the highlight point, I worked from top to bottom, to represent how surface fluids – rain, mud, oil, etc. – will run down the sides. I started with the lighter colors, drawing them from the highest point of a side to the lowest. As those dried, I added successively darker layers. This did two things for the process.
First, it made the lower parts look dirtier, which would be natural. Mud and dirt are on the ground, so the areas closer o the ground would be dirtier. But it also added in some degree of color gradation, making the lower portions also appear more shaded.
Do be careful if you employ this technique though. It can be very easy to add so much grime that the model no longer “reads” the underlying color. Unless you are going for a truly mud-caked look, having enough of the base color show through is critical to sell the notion that the stuff built up over it is layers and layers of grime. Otherwise, on a scale model, it often simply resembles what it really is – fake mud. Thus, the layering process really lets you evaluate throughout the weathering step where you’re at.
The goal I generally shoot for is to get just shy of where I think its enough – and then stop. Regardless of whether you’re wanting light, medium, or heavy weathering, stopping just short of what you initially think is “enough” will usually be the right point.
Finishing Touches
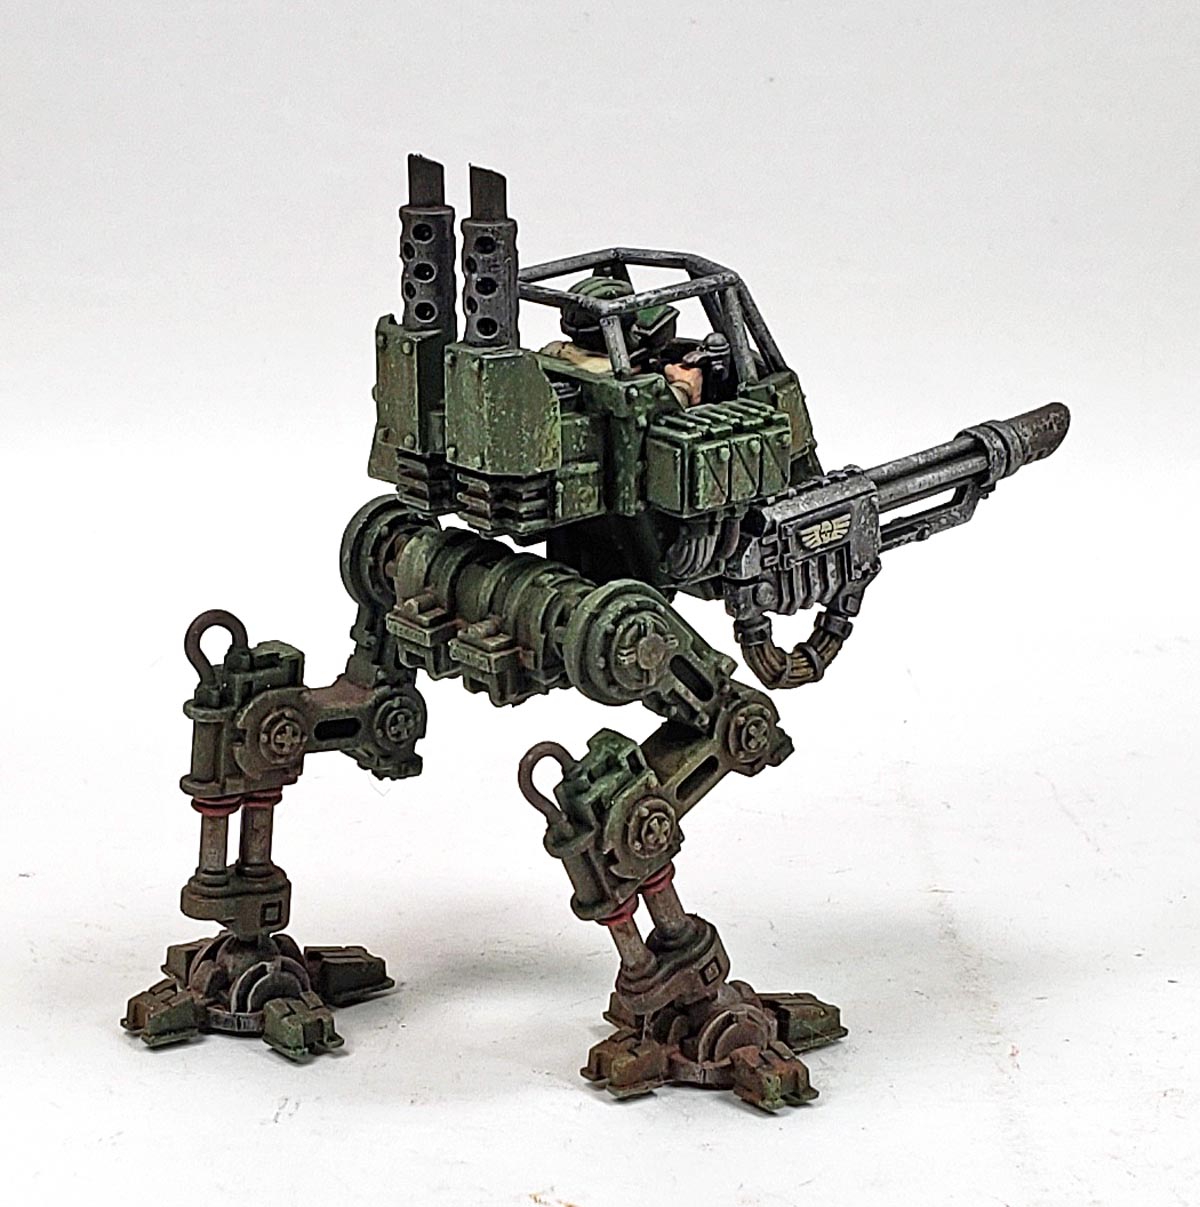
With the majority of the weathering completed, I brought the full model together, gluing everything in place. This allowed me to adjust the weathering a bit, making sure it all “flowed” together. A few final touches were added – oil and grease stains, a few more mud splatters, and a touch up of the washes where the staining and griming had obscured them a bit too much.
And of course, the beauty of using acrylics meant all of this was done within a few hours… not days of waiting for enamels and oils to dry.
The final step was applying a coat of Vallejo Mecha Color Matt Varnish.
While the resemblance to another famous walker appearing in a franchise based on War among the Stars is obvious, I think it’s a fun take on the design. The model itself is very simple, and can easily be assembled in just an hour. If you go with a GW style base-shade-layer-highlight paint job, I think the while model could be built and painted to a nice finish in 2-3 hours, most of which would be drying time.
Even if you’re not into 40K, consider building one of these kits. This Sentinel might be a prime candidate to get your foot in the door. it’s easy to build, fun to paint, and looks really cool.
Just don’t let it get near your power generators. 😉






Leave a Reply