
When I made what amounted to a tectonic shift for me in genre focus, back in the late summer of 2017, my first kit choice was not Gunpla. I’d looked at them, and did want to build some, of course. But the kit that caught my eye was from another franchise – Macross.
Or Robotech, depending on your locale. 😉
While I was vaguely familiar with the franchise under the Robotech name, it’s release had coincided with my graduation from high school, entrance into community college… and more importantly, an ’82 Firebird, a Fender Stratocaster clone, and a gorgeous girlfriend. (Now my wife… and still gorgeous. 😉 ) I didn’t have much time for watching anime. I seem to recall my brother, 7 years my junior, watching it. But with all that was going on at the time, I just saw it as another kids show.
The Hunt For A Kit
When the desire to expand my genres of scale modeling hit, Gunpla was what caught my eye.Yet as I looked for various kits, I saw a mecha model called a Destroid Tomahawk. I instantly fell in love with the kit. It reminded me of the stompy titans in the Mechwarrior game I’d played in the 90’s.
However, the price for the kit was quite steep. Far more than I had a desire to pay. So I looked for other kits in the franchise.
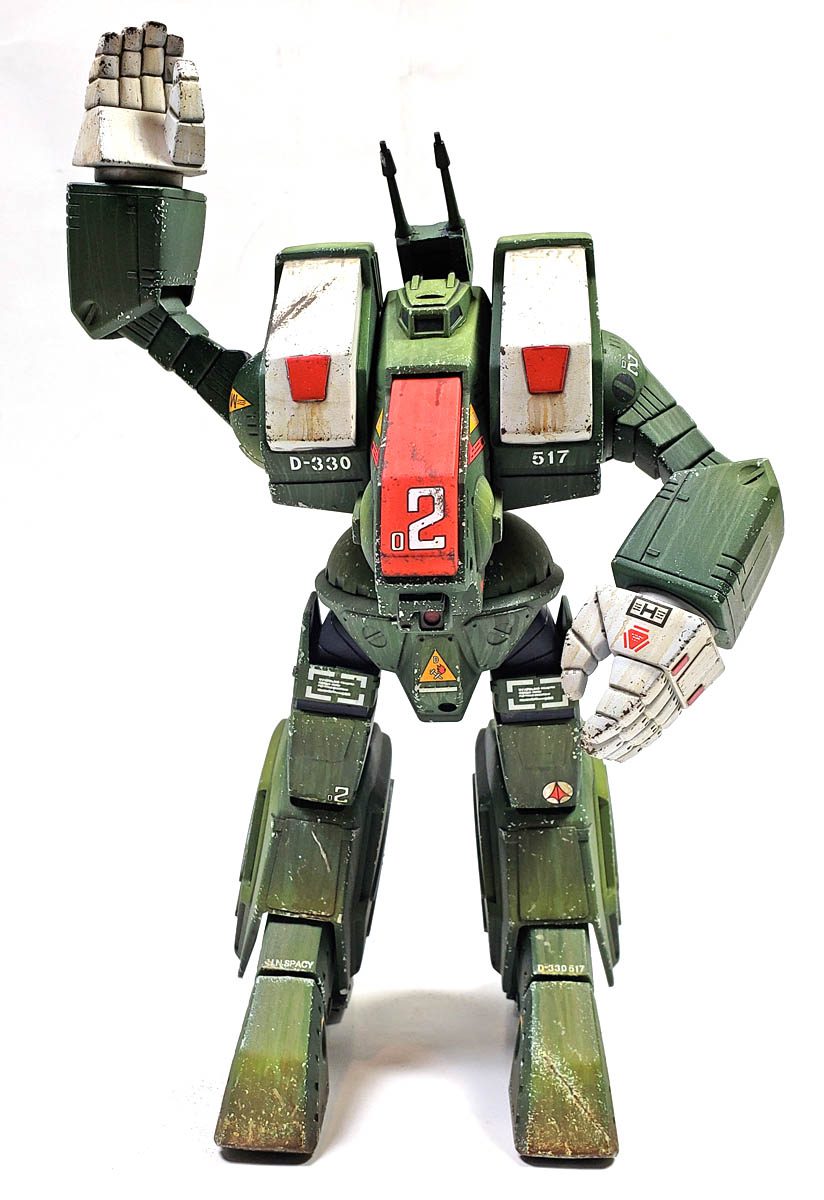
I quickly found one called a Destroid Spartan. While not as cool looking to me as the Tomahawk, it had two points that settled the matter quickly. First, it was from Bandai, and everything I’d read about their kits spoke of fun, quality, and great fit. Secondly – I could afford it. While the cheapest price was from a seller in Japan, they had good ratings, and thanks to a large South American River, my order was placed.
Weeks went by… then months. No kit. I finally contacted the seller, and after investigation, they promptly sent another. After a 4 month wait, by Spartan arrived.
Meanwhile, Back At The Mech Hanger
Of course, I’d not sat still in those intervening four months. I’d purchased the cheapest Gunpla kit I could find from a local store, a HG IBO Graze Custom. I had no idea who the angry fellow on the box art was, or how it related to the storyline of the anime, but I figured for about $15 I could take the plunge. I was hooked.
As my errant Spartan made its way across the Pacific, I built more Gunpla. By the time it actually arrived on my front door step, I’d finished three, in fact – and was working on a fourth.
Still, I was excited to see it arrive, and happily opened the box to inhale the smell of fresh styrene.
Yet What Wafts To My Nostrils?
However, I was a bit disappointed. This kit didn’t look like the other Bandai kits I’d built. The plastic was much more brittle, and looked like any ordinary model kit. Some brief test fitting proved my initial evaluation correct. I don’t know if it was simply an older kit from Bandai, or if perhaps their Junior Varsity squad had worked on it… but it was no Gunpla.
Still, I did decide to move forward with it, and so for a few months, I worked on it slowly. Every single join on the kit needed some sort of filling and sanding. The joints were ill-fitting and loose. While everything generally aligned well, nothing fit precisely.
Luckily, there was not a lot of surface detail, so not much was lost.
But all that sanding and filling did take its toll on the fun I was having with the kit. With so many other projects waiting in the wings – Gunpla, Bandai Star Wars, Warhammer 40K, and others, the beefy little Spartan moved further and further back on the shelf, until eventually it sat alone in a corner. I did pull him out on occasion to do little bits of work, but eventually he sat, glossed and decaled, waiting for weathering.
Do We Have A Video?

In the last few months, of course, I have started doing some videos, both Patreon exclusive works, and others in public release on Youtube. At the same time, I’ve started experimenting with all-acrylic weathering. While it’s nothing new to the modeling world, it is new to me. And I figured I might as well document the process through a video.
However, at the point I wanted to make the video, none of the kits I had in the works were at a point that made them an attractive target.
Except the Spartan.
Like a forgotten player, sitting on the far end of the bench near the end of the game, he stepped into the game. He ain’t the best we got, coach, but right now, he’s all we got.
Thus, in order to move the video along, the Spartan suddenly found himself at the center of the workbench.
Getting Weathered
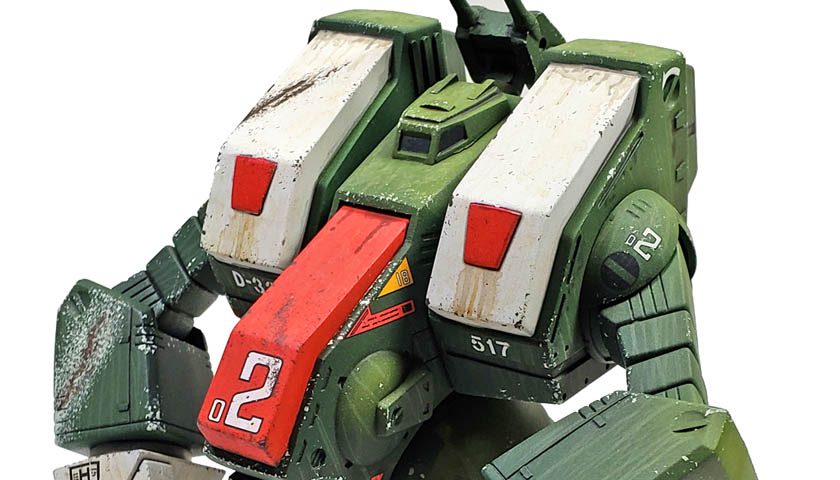
When I’d last left him sitting in the box, the little kit was glossed and decaled. The first step in getting him ready for a Youtube debut was chipping.
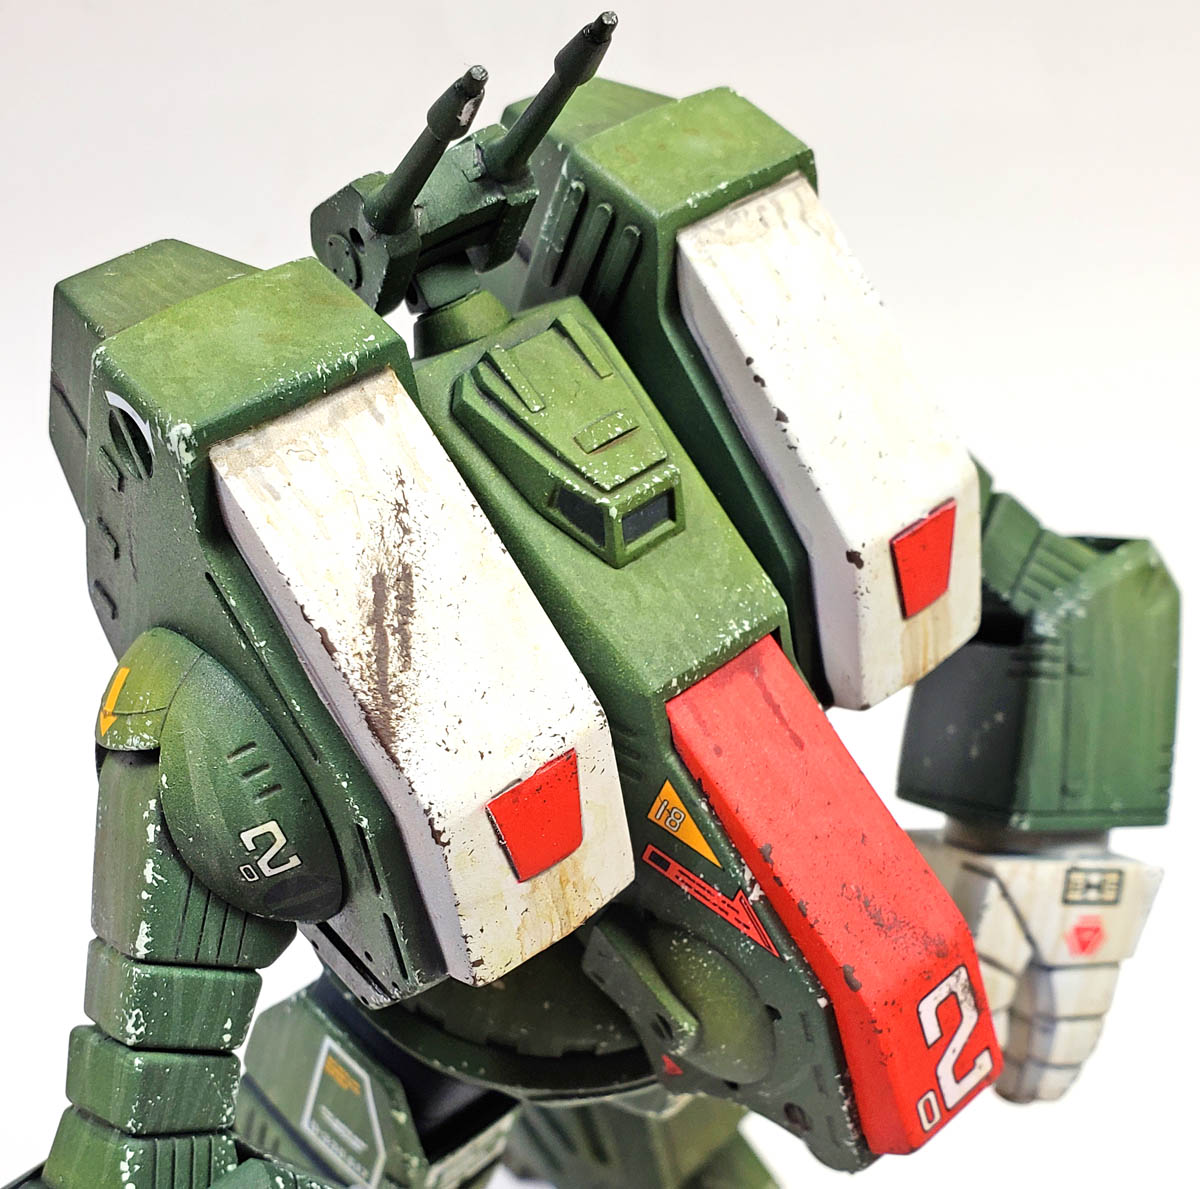
I opted for my favorite chipping technique, the sponge. Deciding to go with a high-contrast approach, a very light green color was chosen for the green areas. I wanted the model to have medium chipping overall, but in a few places, the plan was for some heavy, quite exaggerated damage. In my mind, I wanted it to convey a real world look, yet retain some cartoonish “sensibility”, if that makes sense. (It does in my mind… 😉 )
The white and red areas were treated to a brown chipping color. Additionally, the areas of heavy chipping in the green areas of the model had brown chips added, to try to simulate a deeper “gouge” that went down to the (assumed) underlying composite armor of space future technology. I’m actually not a fan of using that technique on my models often, as I don’t feel I’ve made it work well in past attempts. I was a little happier with these, though. At normal viewing distance, and given the scale, the convey the desired effect.
Chipping restraint is still something I struggle with, so I was hoping that having a few areas of BIG CHIPPY would satisfy my urge. Overall, I think it worked. I ended up with what I hoped for – a moderately chipped suit with some areas of heavy damage.
Those Stains And Streaks
With the chipping finished, the model was ready for the purpose of the whole exercise – making a video about using acrylic products for filtering, streaking, and weathering.
I stuck with the Vallejo weathering line that I’ve been using, ultimately making use of the Model Wash, Weathering Effects, and (off camera) Pigment products.
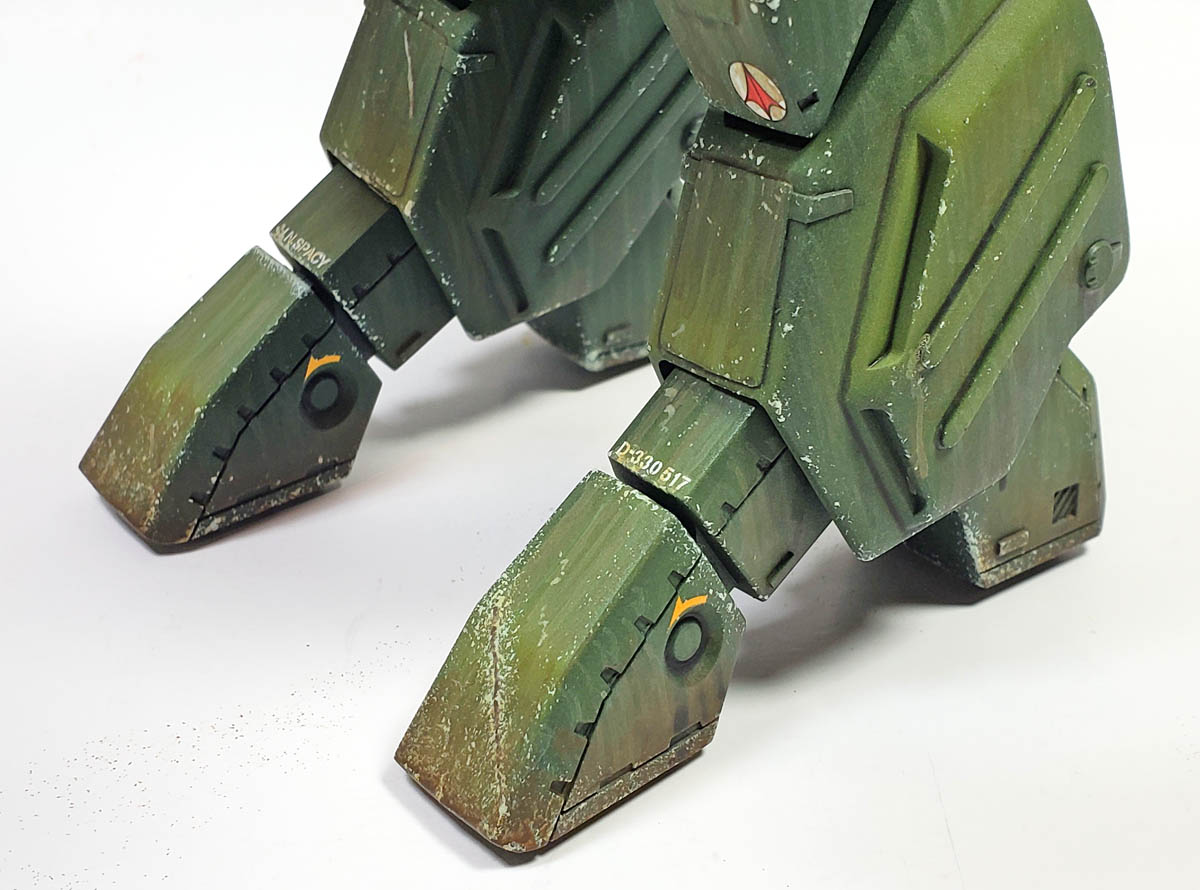
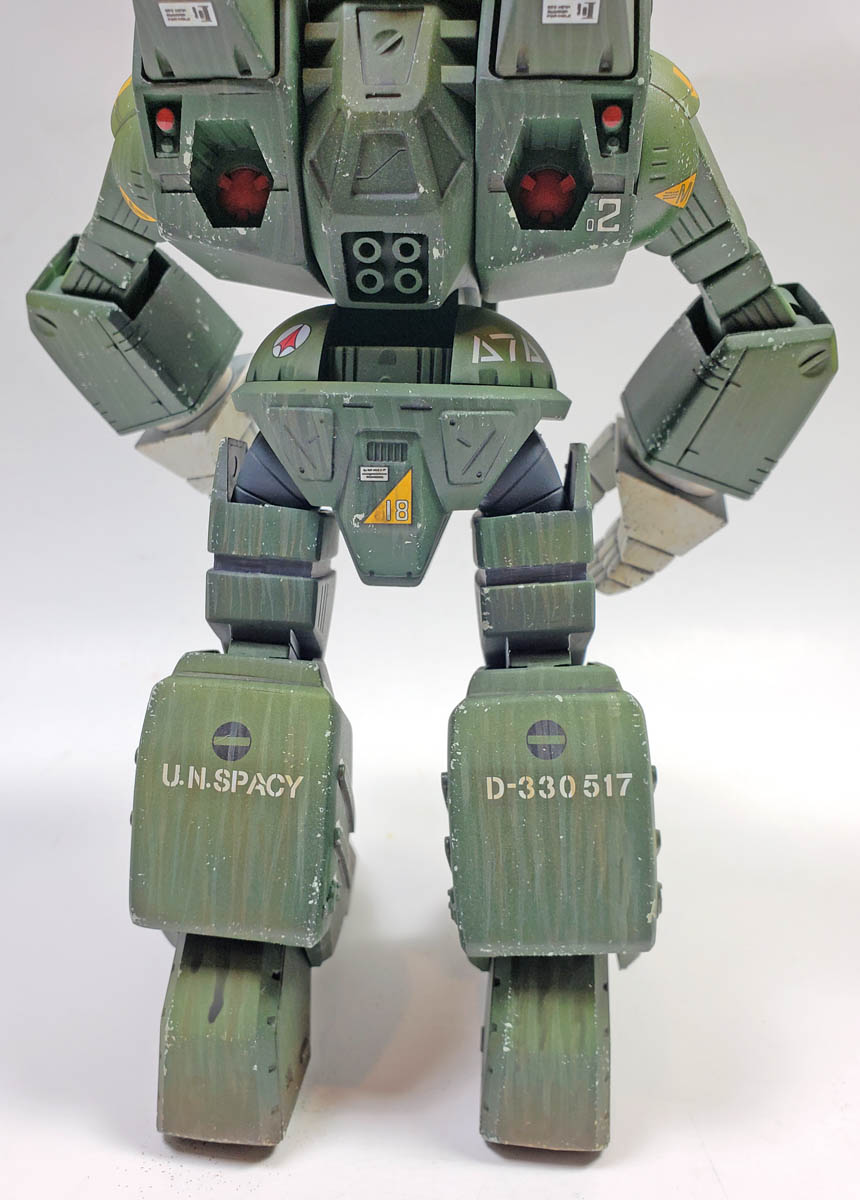
I started on the legs, using varying colors of Model Washes to apply streaks. I like to start with the legs, as I find that setting the “tone” there helps dictate the degree of application higher and lower. The method of weathering a mecha heavier on the feet, and lighter at the top, works in my mind. So by letting the legs be the “mid-point”, it helps me gauge how much to apply to the other areas, and also assists me in the overall planning on distribution.
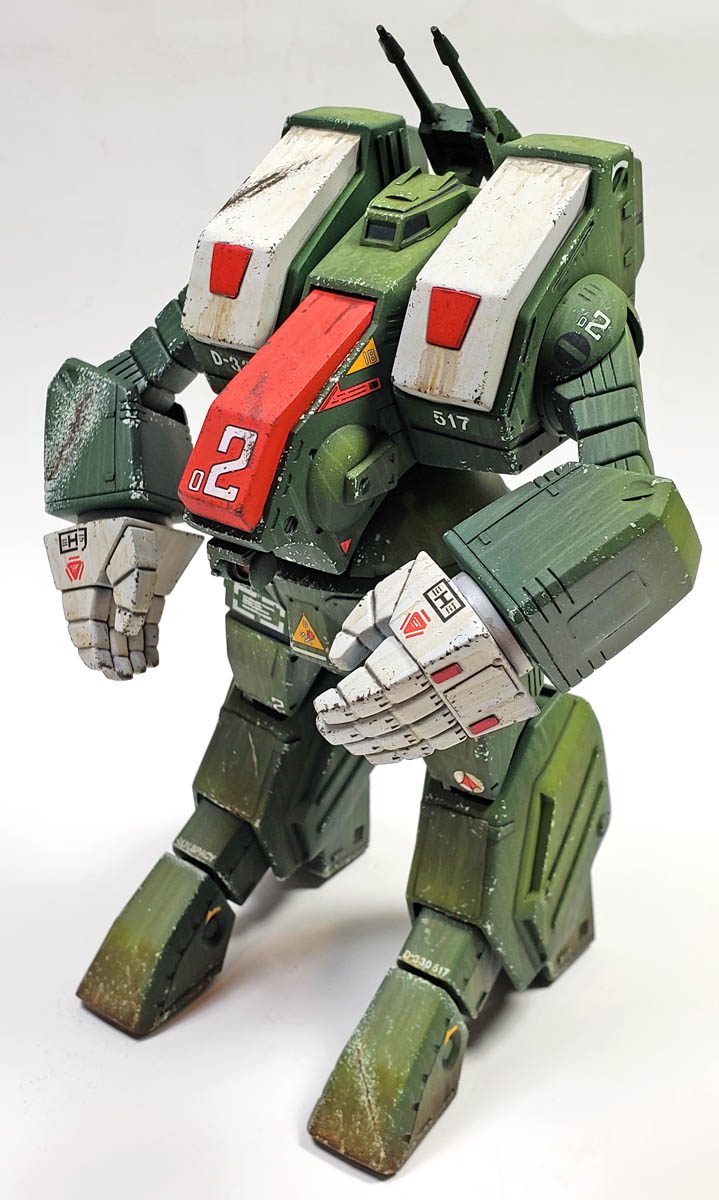
After applying varying streaks and stains on the model, oil and grime stains were adding, again using acrylic products. The approach to application is different, an additive process being employed rather than subtractive, as with oils and enamels. Layers of thinned products, applied over the top of each other, really help increase the depth of finish, and I feel it gives great weight to the model.
If a mistake is made, gentle use of a brush dampened with Vallejo Airbrush Thinner will remove it. I’ve gotten bolder in my time allowed for cleanup, finding that even an hour later, removal is possible. I plan to continue the push of those parameters, to find out how far I can stretch it.
Take A Powder
To complete the weathering, a few colors from the Vallejo Pigments line were employed. A light dusting was applied around the feet, and then worked in with a brush. This not only gave a slightly dusty effect, but blended in the colors already applied.
In other areas, I mixed pigments with waters, making a thick “slurry”. This was applied in a more precise fashion, and then lightly streaked. Allowed to dry, the excess could then be brushed away, leaving the desired amount. I’ve only employed this process a few times, but I think it bears further experimentation. It comes very close to working like “acrylic oils”, with the application technique, and subsequent brushing away, being very similar to oils. The benefit, of course, is that the drying time is minutes, not hours or days.
Calling Him Finished
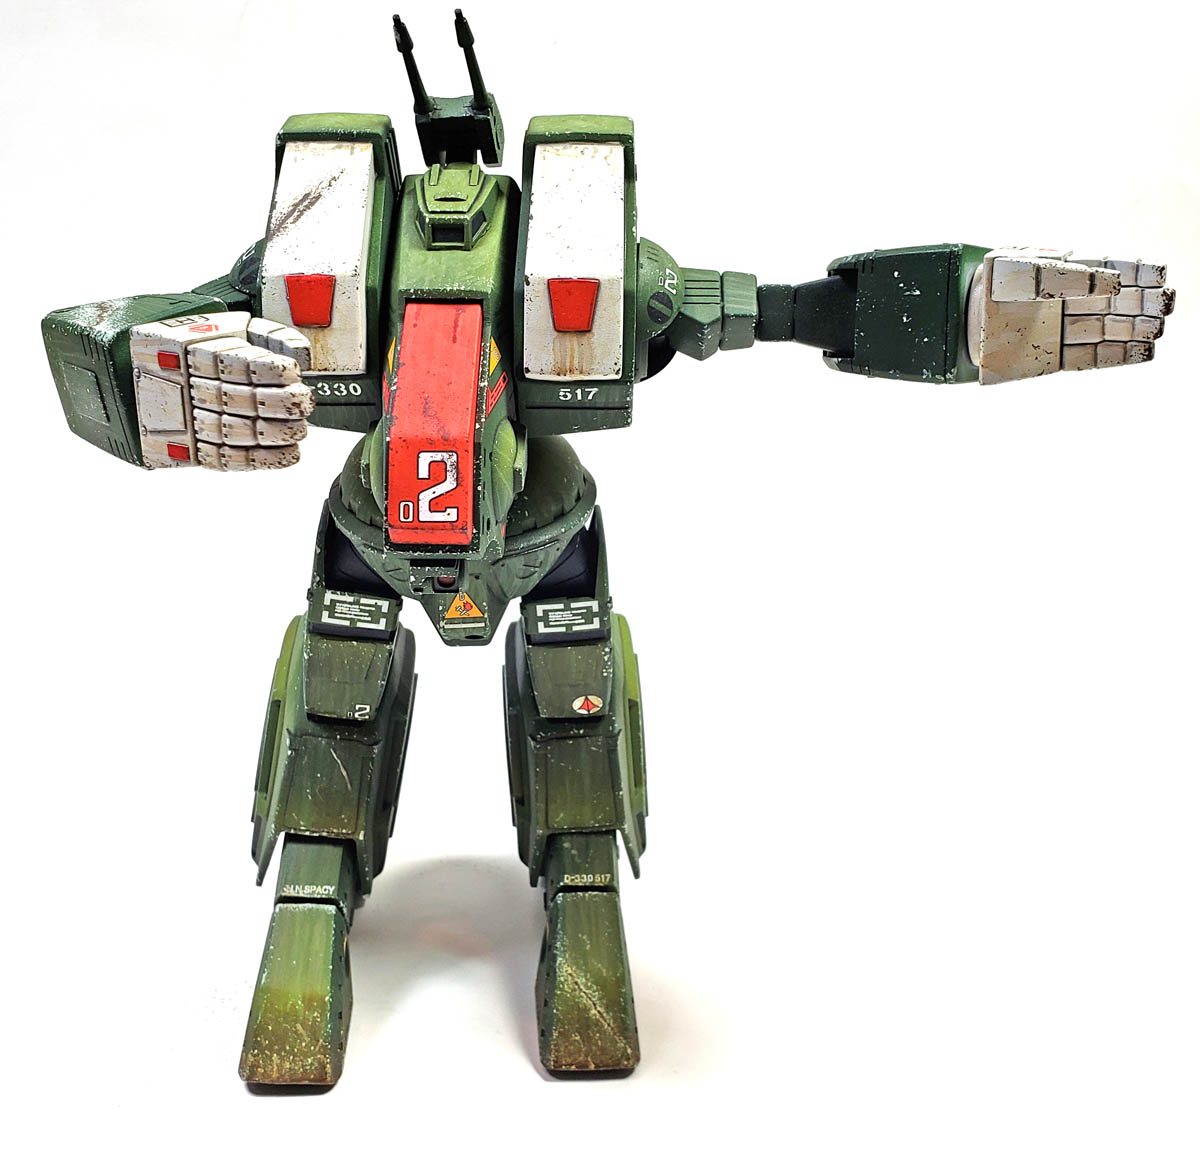
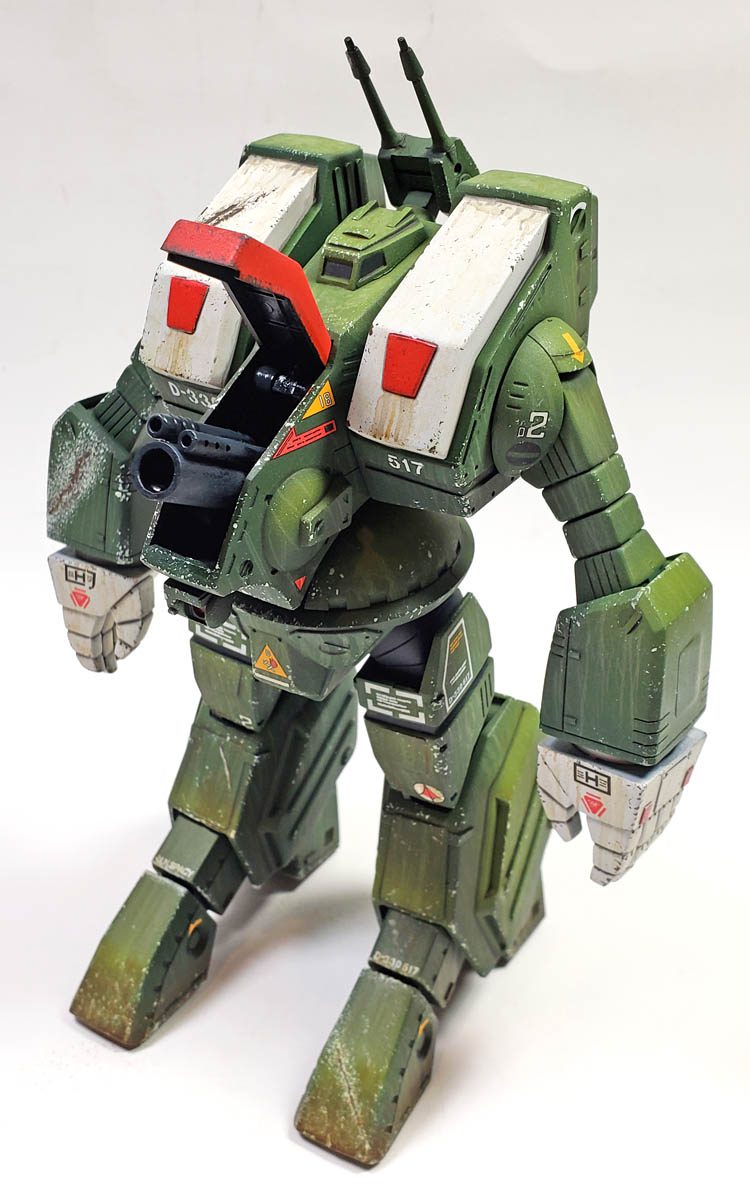
As I’ve mentioned before, finishing a model for me is rarely a set point. Rather, I get to a “zone” where I realize it is pretty much complete, and only the degree of final touches will determine where it stops in that range. If I had to characterize where I landed in that process, I suppose it would best be described as “halfway” for this model. I could have taken the weathering further – principally with additional airbrush steps. However, I wanted to retain a bit of the “anime” look, and not do so much to post-fade and shade the model.
So with the final bits of weathering in place, everything received matte coat, and the Spartan was declared finished.
Looking back over the life of this build, I’m pleased with the journey. While many mecha kits have preceded this one’s completion, it was the beefy Macross stompy robot that was the focus of my initial embarkation on this journey – so it has a special place for me. I can’t say it’s a particularly good model kit, though it’s not really bad either. If you want to build a Destroid Spartan, by all means I recommend it. If you’re just looking for a general mecha… it may not be the best choice.
But it is fun, and certainly makes for a unique addition to the collection.
That’s the key really – having fun. 😉


Leave a Reply