I’ve really come to love the Bandai RE/100 line of Gunpla kits. They feature the larger 1/100 scale size of the Master Grade kits, but the overall design more closely resembles an HG kit. There is not a full inner frame, and the parts count is a bit lower. The line also tends to cover more obscure kits that otherwise would not get a 1/100th scale treatment. So they tend to be a bit unusual.
I’d first encountered the RE/100 line when building the GP04 Gerbera, which is a really nice kit. My next foray into that line was with the oddly proportioned Guncannon Detector. While it’s a nice kit, it does look a bit… odd. The kit I enjoyed the most from the line, so far, was the Gundam Mk. III, which is just an outstanding kit all around.
So when the urge hit to build another 1/100th scale Gunpla, the RE/100 line quickly came to mind.
Decisions, Decisions
I narrowed my choices down the Efreet Kai and Dijeh. Both looked quite awesome, of course. The Efreet Kai was shown in some cool poses, wielding two beam swords, and it really just has a beefy, menacing look to it. (Though it’s head looks like a tick to me… weird.)
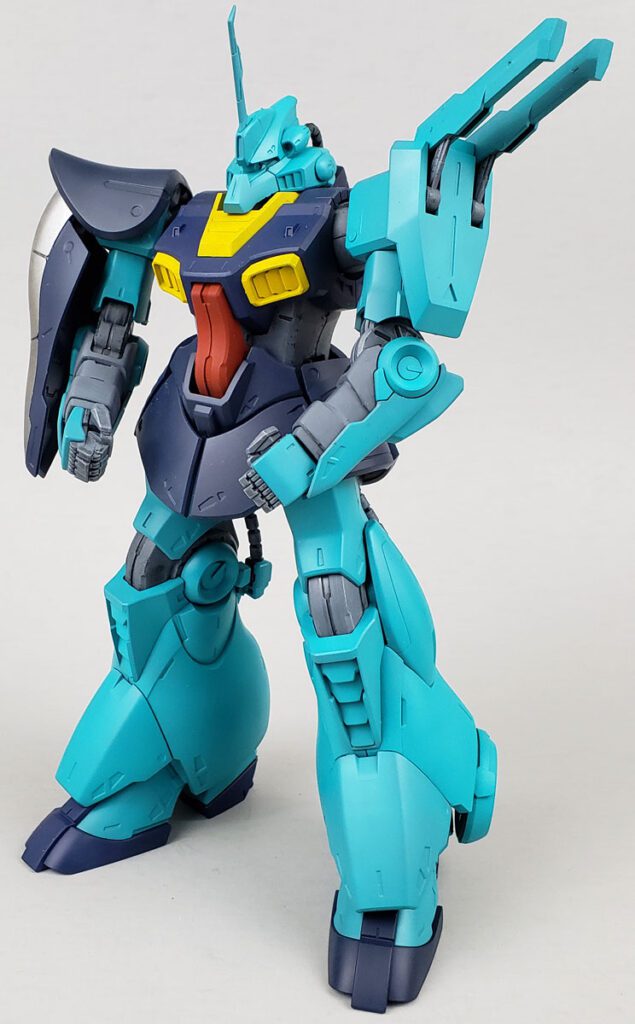
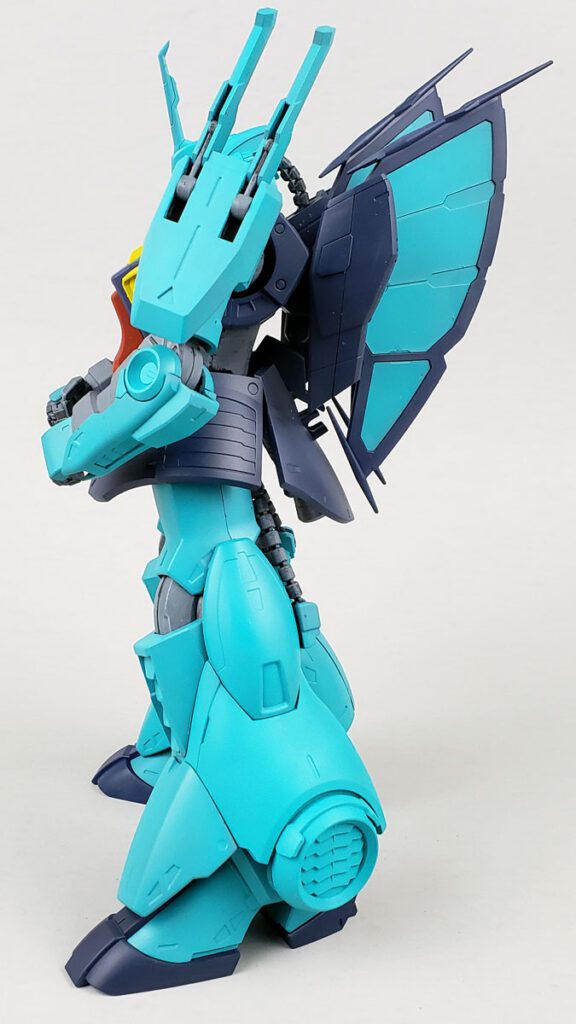
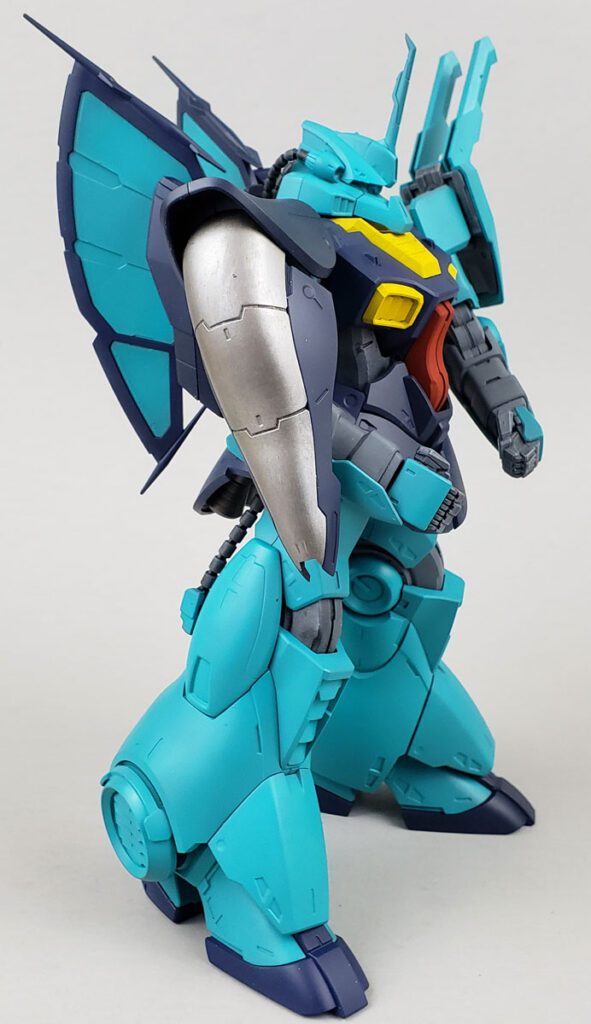
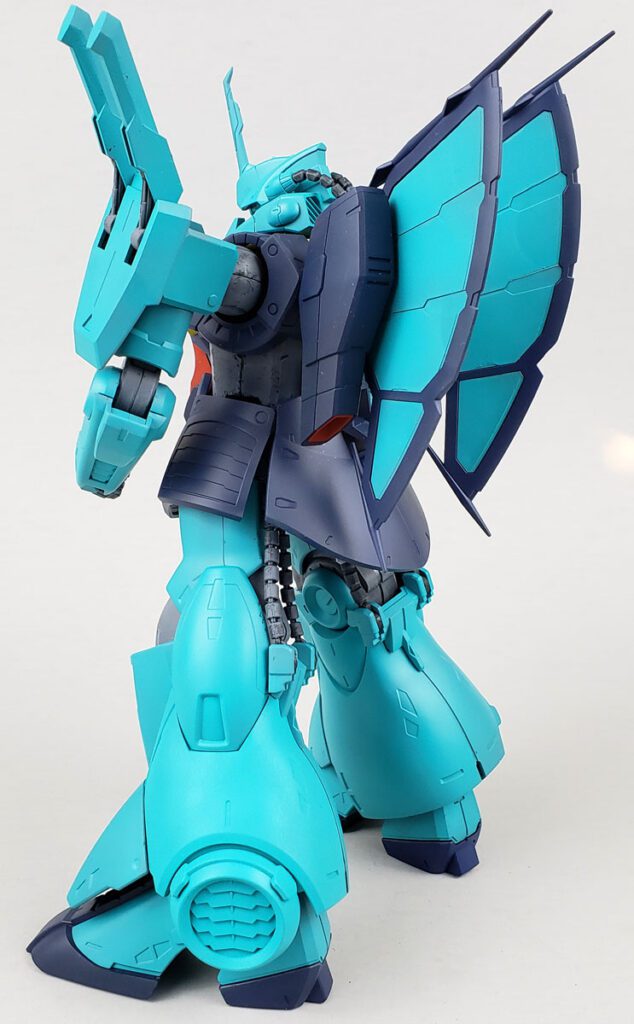
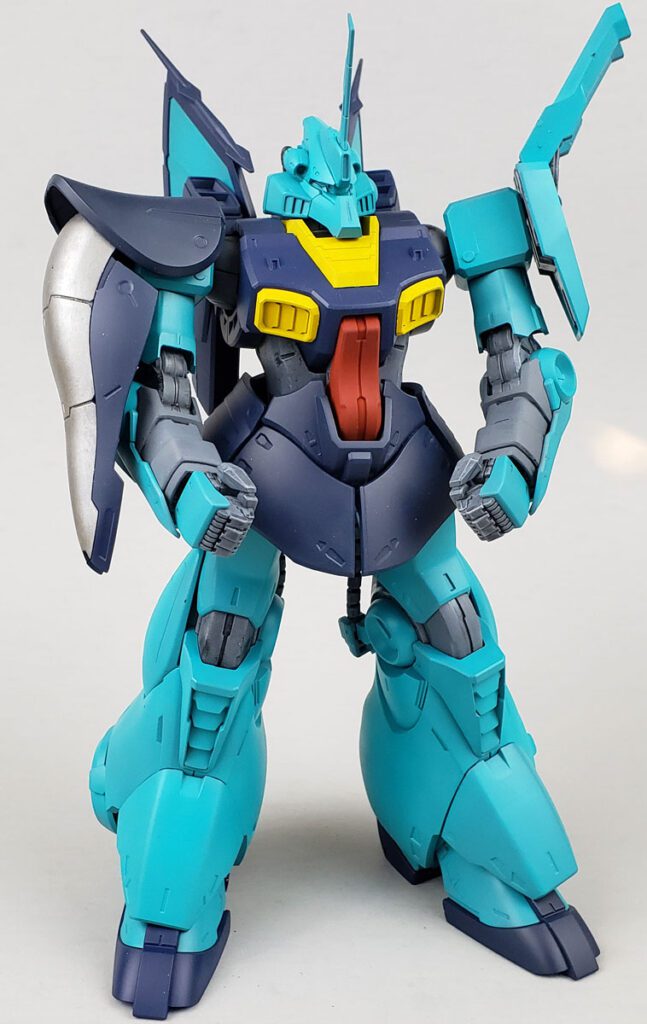
The Dijeh was a bit different. It had a less dramatic look, but possessed a certain shape that began to grow on me. It combined elements of both the classic RX-78-2 design and the Zaku mobile suits. I did find the “butterfly wings’ a bit odd. Still, in that weird way things can grow on a person, I began to like those also.
Ultimately, the Dijeh won out. To be honest, I can’t precisely say why. Yet much like a runner who spends the majority of a race in second place, and only at the end overtakes for the win, the brightly colored design won out.
My daughter unknowingly affirmed the decision when she saw the box. “Dad, that’s my favorite color!”
If Baby Girl approve it, that’s good enough for me. 🙂
Building The Dijeh
The Dijeh’s inner frame assembly is quick and simple, consisting mostly of a few joint parts that the outer armor attaches to. I went ahead and assembled those parts as far as possible. A black primer coat, heavy drybrush of neutral gray, light drybrush of light gray, and an acrylic wash had them ready in no time. Though a quick technique, it established a base foundation that I think gives it a spacey, future metal look. Or composite… who knows? 🙂
My aim was to leave the frame weathering until after the full suit had been assembled. A large portion of the joints would not even be seen, and as they aren’t greatly detailed anyway, the need for speed would benefit from only focusing on parts that were seen. It will take some careful painting to do it this way, but I think the time savings are worth it.
Painting The Armor
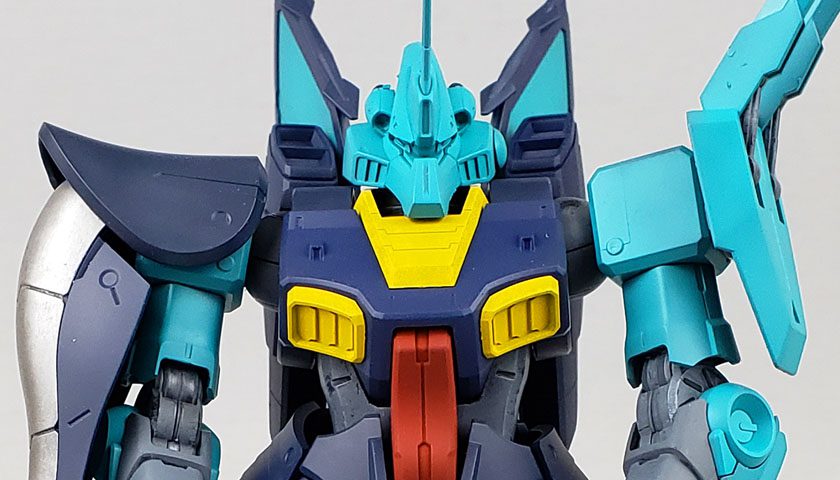
I decided to stick with canon colors for the build. Partly because canon colors tend to sell better, but also because I wasn’t particularly struck by any alternate schemes that grabbed me. Truth was… I kinda liked the look of it as it was.
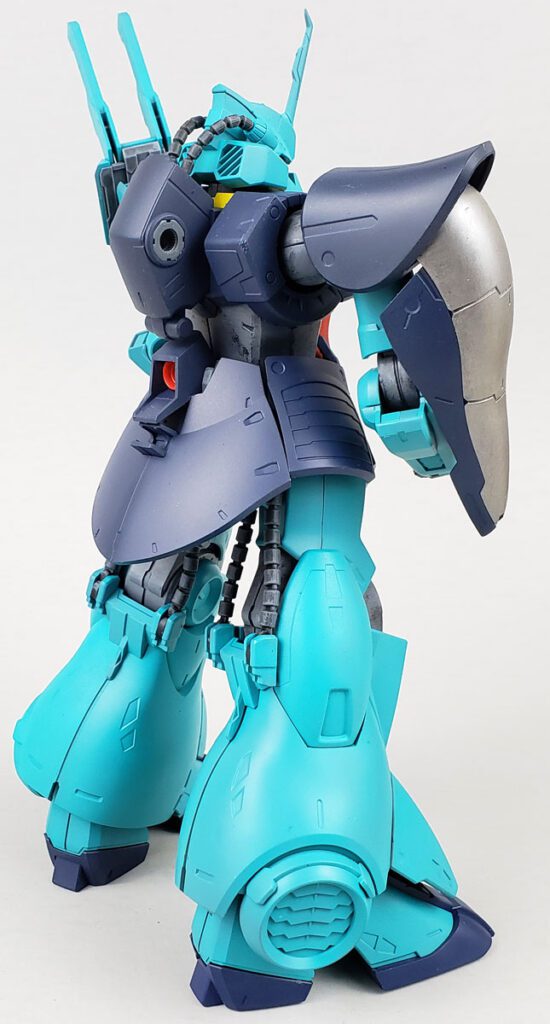
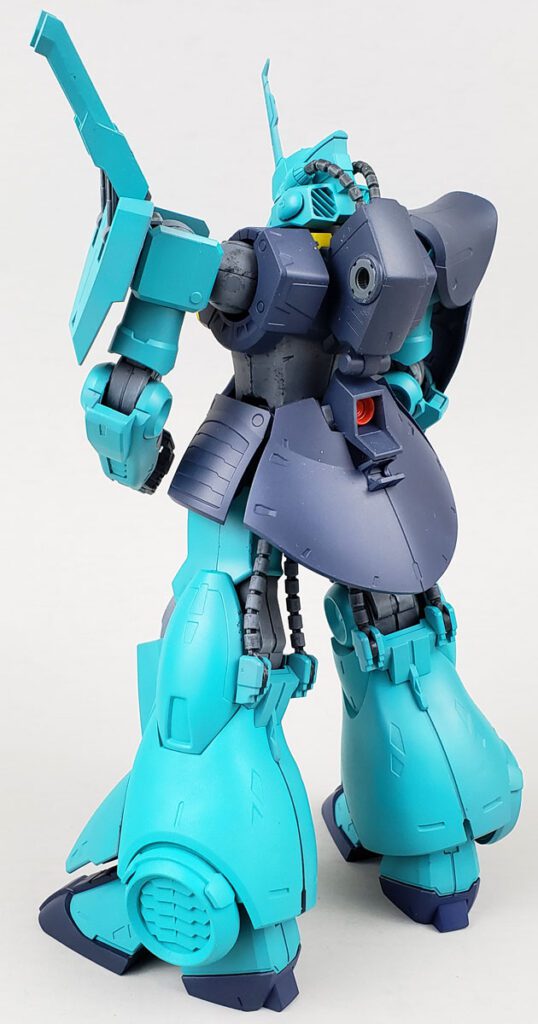
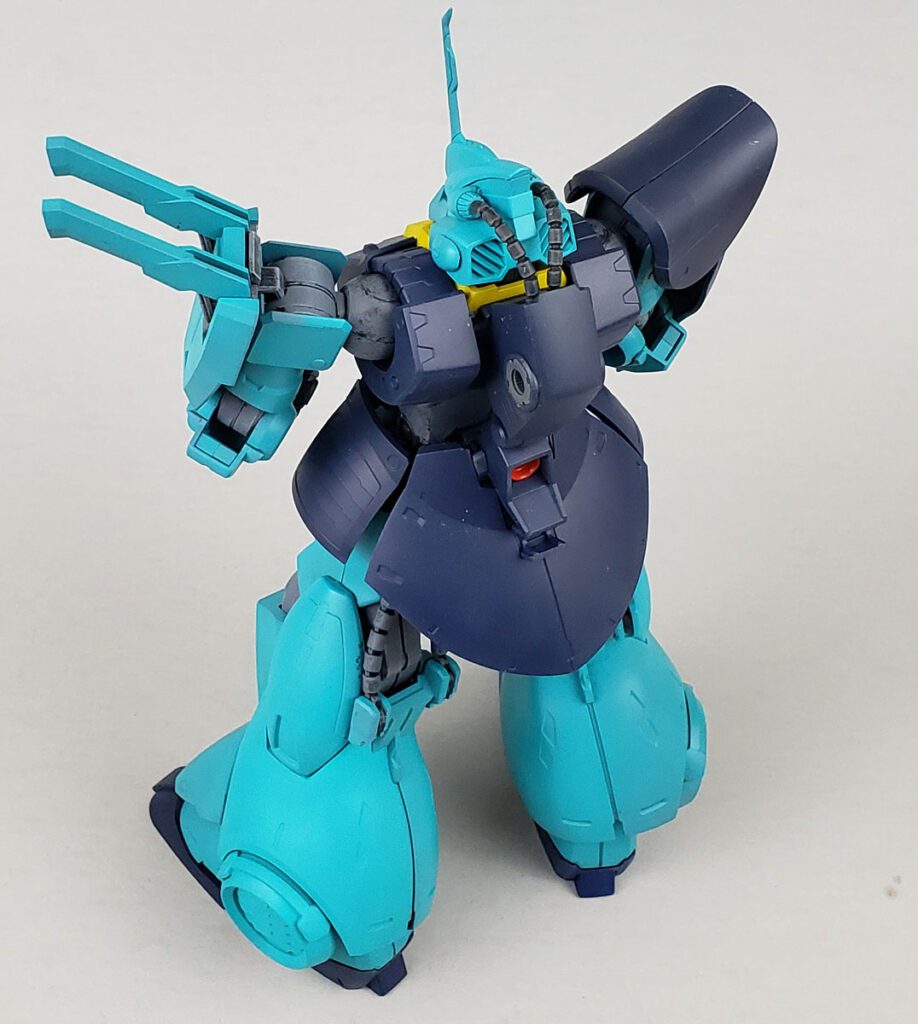
For the blue parts, I considered sea blue, but it was a bit too dark for my tastes. Vallejo Mecha Color Titan BLue was looked at too, but it was a bit light and bright. Going with the “Goldilocks Theory”, I took the two that weren’t right, mixed them up one-to-one, and arrived at a color that was just right to my eye. This was sprayed on with my Badger Patriot airbrush.
The red and yellow parts were simple enough – Tamiya’s red and yellow worked for those.
The bulk of the suit, however, was a nice turquoise color. I needed to find a good match for that.
Experiments With New Paint

I’d initially planned to use Vallejo Blue Green. However, on a trip to the local hobby shop, I found a color of paint in a range I had been meaning to try, AK Interactive’s Real Color lacquer paints.
The paint color was RC206 Russian Cockpit Torquise. (That’s how AK spells it… 😉 ) While not an exact match for the plastic, it fit by TLAR standard… That Looks About Right. And it would let me try out the paint brand – bonus.
I’ve tried a lot of paints over the years. Most perform well (though there are exceptions…), yet few really make me sit up and take notice.
This AK Interactive Real Color paint was, at least for this color, an exception.
I really, really, really liked how this stuff sprayed on. It was thinned it 50/50 with AK’s own High Compatibility Thinner. Light mist coats were applied in some areas to build up color over many passes. Other sections were treated to a few coats and a quicker build up. Yet others were given a fairly wet coat, blasted on in a single pass. Every one dried to a super satiny, smooth finish. At times, it was hard to tell the paint from bare plastic when compared to the sprues. Not only does it result in a great finish, it seems to be a very forgiving paint!
Assembly – Bandai Style
With all the parts base painted, I assembled the mobile suit. If you’ve built a Bandai kit, you know the routine… it’s like building Lego. Click, click, click. It all fits together, and does so very well.
The sequence is very familiar. The torso is built, then the head, arms, legs, and waist. While a Mater Grade kit’s armor would generally snap onto the inner frame, the Dijeh is more HG in that regard, with the armor “sandwiching” the various joint parts to form a whole. I didn’t encounter a single assembly that caused any issues. This thing is classic Bandai… do what the instructions say, and you can’t go wrong.
There is one very prominent seam line on the right shoulder’s blue armor. I have deliberately ignored it to this point, as I wanted to see how it looked after painting and assembly. It almost appears as if it were designed to be a panel line. While I could easily fill and sand it, and then just repaint it, I think I may go the route of least resistance. Scribe it a bit wider, add a few cut-outs with a chisel tool, and touch up the paint a bit.
The mobile suit is not the most articulated one I’ve ever built, but as I’m not a fan of all that movement anyway, it works for me. Too much movement tends to scrape paint, and since this guy will end up on someone else’s shelf, the less damage from movement the better.
Next Steps
The next part of the build will be weathering it, of course. I still haven’t determined what direction I’ll take it there. Lincoln Wright’s 1/100 Barbatos Lupus Rex has really intrigued me, with its “Japanese style Dengeki Magazine finish”, to quote Linc. It’s super-precise, colorful, and restrained weathering finish actually seems like quite a challenge to pull off.
Still, I do love dirtying up a mobile suit, and the urge to grind this thing into the dirt may win out.
In any case, this build has been beneficial if for no other reason that introducing me to the use of AK’s Real Color paints. While I’d never throw out my Tamiya paints, if further tests of this paint go well, I may be opting for more and more of AKs lovely lacquers as I need resupply. It’s great stuff.
And if you’ve not built a Gunpla, consider this Dijeh, or any other of the RE/100 line. It’s large size makes assembly, painting and weathering a bit easier than the smaller 1/144th HG kits. Yet its simple design makes assembly quick and easy, getting right to the fun of painting and weathering.
Stay tuned for the weathering… whatever style it may be! 😉




Leave a Reply