During most of my youth, mom would always buy sensible breakfast cereals. I can’t imagine how many boxes of Corn Flakes, Cheerios, and Wheat Chex I consumed during my childhood and early teen years.
And no matter how much sugar I tried to sneak in over the top of whatever cereal found its way into my bowl, it never was quite the same as those gloriously delicious sugar-coated cereals. The cereal ended up tasting about the same, though the milk at the bottom of the bowl did get thick with undissolved sugar… which was about all the treat I could get.
The cereal I really wanted, more than any of them, was Captain Crunch Crunch Berries. This glorious box of happiness combined the already awesome Captain Crunch cereal with berry shaped crunchy, sugary cereal things. The resulting combination was completely amazing, life changing, and worth whatever it took to get it.
Captain Bandai
I’ve built a lot of models, from a wide variety of brands. The amazing build experience of Tamiya, the detailed but oft-over-engineered Eduard, to the oh-so-close-but-no feeling of a Revell build. Airfix is a bit like Cornflakes… filing, satisfying, but still a bit bland.Trumpeter and Hobbyboss are like buying a box labeled “Raisin Bran”, and getting Shredded Wheat instead. It works, but you never know what you’ll get. Special Hobby… ummm…. generic cereal gone bad…? 🙂
But Bandai… they’re the Captain Crunch Crunch Berries in my modeling breakfast. If you’re thinking this is sound a bit too much “fan boy”, I do apologize. But there is a reason they sell so many models.
They’re simply that good.
Getting Things Right
After finishing the interior of the Star Wars AT-ST, I moved on to assembling the body of the stompy chicken. The engineering on the model is quite clever, with most of the seams either disguised as panel lines, or simply covered up by other parts.
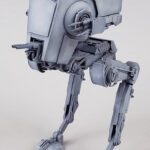
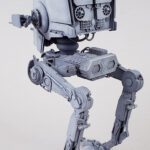
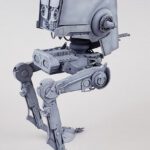
The legs assemble easily enough. The only issue I had was self-induced – I could not get a good join in the lower left leg. Keeping in mind the saying “if it doesn’t fit, it’s you – not Bandai”, I pried the parts from each other, and started over. Sure enough, I had a part aligned wrong. The instructions even made it plainly obvious – I had just sort of ignored it and thought “I’ve got this.” As soon as I actually looked at the assembly guide, and followed the recommended procedure, everything slipped into place. And by slipped, I mean slipped… it went together with no resistance, yet once in place, held firm.
Who’s The Big Headed Kid?
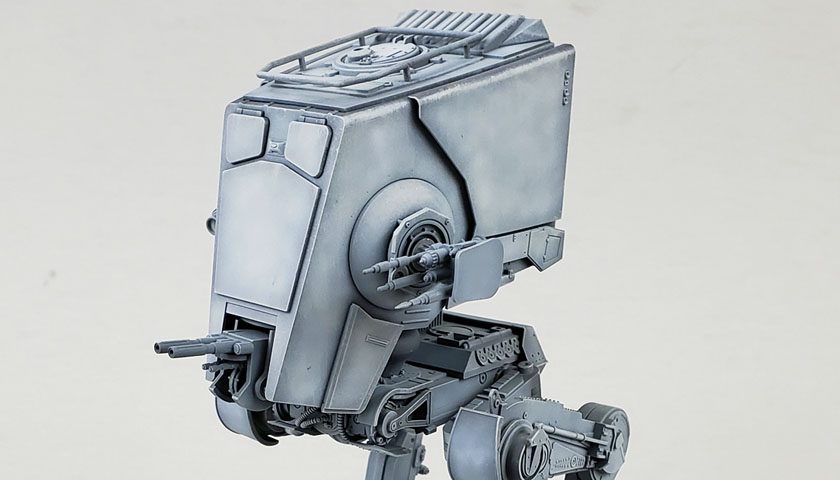
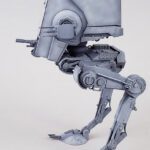
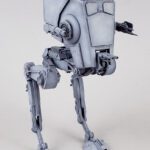
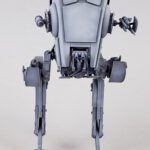
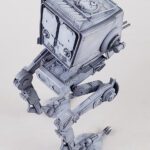
The big giant head of the AT-ST really captures the look of the movie model in my opinion. While I don’t study the films frame by frame, I do like it when the model appears like the thing in the movie. In this regard, I really believe Bandai has done it justice. If it were fully articulated, I could see it being used as a movie prop.
The assembly is straightforward, with external plates added around the internal structure in Leg-like fashion. If there is a seam line on it, I must have missed it. Options are provided for both closed and open “eyes”, as well as an open and closed top hatch.
While much of the front and side armor panels are flat, the rear of the unit is covered in greeblies. The possibilities for weathering and staining already have me salivating like a case of the aforementioned Crunch Berry cereal would. 🙂
Once assembled, I had to chuckle at it a bit. Part of the appeal of the AT-ST to me is the comical look. The “waist” and legs look properly sized. Tht head though… I get the reason for the way it looks, from a movie universe standpoint. But every time I see it, I can’t help but picture my son at about three years of age, running through the back yard with a box over his head. 😉
Have You Ever Painted A Chicken?
My ultimate plan for this model is that it will be really, really, really weathered. Streaks, grime, oil, dust, dirt… just beat up. I figure with so many wonderful nooks, crannies, greeblies, and yet a few wonderful slab sided parts, I may as well “go to town” on it.
The basis for just about any good, weathered finish is an appropriate base coat. While it is possible to nicely weather a single, monotone color as the starting point, I’ve found that adding in some tonal variety always helps sell the later weathering steps much better. (Call me Captain Obvious! 😉 )
I wanted a darker primer coat, but I did not want pure black. I mixed a few parts Badger Stynylrez Black primer into 3/4 a color cup of their gray primer. This resulted in a color that would be best described as “German Gray”. It would provide good shadow and a bit of preshade, but not be so dark as to bring a stark look.
Over the top of that I randomly airbrushed on Tamiya Neutral Gray. I did not go for full coverage, but allowed it to be a bit splotchy. The focus of the paint was away from the panel lines and recessed areas, so that the shadows would begin to develop.
A Distressed Bird
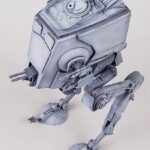
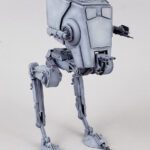
Over the neutral gray, I next added Tamiya’s Sky Gray, this time fairly heavily thinned with their X-20A thinner. A random spray approach was used, but because of the reduced opacity of the thinned paint, I was able to slowly build it up. This further established a surface with good tonal variety, suggesting a weathered and worn look even at this stage of the process.
I added a bit of white to the Sky Gray in the color cup, as well as additional thinner, and continued the process. The additional thinner helps to reduce the opacity even more, so that great control is retained over the look of the finish. A final round of white was again added to the mix, and even more thinner, and the more prominent areas on the model were given additional highlights with this mix.
All during the process, I’d stop occasionally and hold the model at arm’s length. Because so much of the paint and weathering process is done from only a few inches away, I have to remind myself to take a look at the kit from a distance so I can see it as whole. Too often I have focused so much on the parts, and not enough on the unified whole, and the end result is often out of balance. While there is benefit to randomness in weathering, any vehicle will still have a certain uniformity to it. While various spots will be unique, the entire thing is governed by whatever physics rule rain, mud splashes, sun exposure, and multiple other factors. A view at arm’s length helps keep that in focus.
One Final Step
When Stompy the Chicken was fully painted, another arm’s length look revealed that some of the detail was lost in “grayness”. Though it was splotchy and random, the very things that made for a good weathering basis also camouflaged the detail. While later steps could emphasize these, experience told me that weathering tends to tone down whatever the base coat shows. Punching up the detail now would likely work out nicely down the road.
I went to a simple technique – drybrushing. While I’ve heard many modelers “pooh-pooh” the technique as a beginner trick, drybrushing is a very powerful tool to have in the kit. And if done right, it can avoid the “grainy” look. I’ve often thought that the reason many folks look down on the technique is more due to a lack of mastery of the technique than to use of a more advanced process. But that’s just me… 😉
With a large, soft #12 flat brush, I began to gently drybrush Vallejo Sky Gray along all the edges. I even allowed it to build up in some areas that would likely have vertical streaks, as this would establish “streak vectors” that would play well with later methods. I continued the process for the golden “TLAR” moment… That Looks About Right.
You Can’t Eat Enough
When I eventually moved out on my own, one of the first things I did was pick up several boxes of Captain Crunch Crunch Berry from the local grocery store. I went back to my house, and consumed great quantities of the sugary treat… all the while running through my new rental home, scissors in hand, flipping light switches on and off, and speaking in my “outside voice”.
There’s nothing like independence… 😉
While there is great benefit to modeling variety, both in terms of subject choice and content for this blog, if it were possible, I’d only build Bandai.There’s so much to like about their kits, I have a hard time writing about without coming off as an annoying “fanboy”. Yet be that as it may, they know their stuff, understand their market, and deliver incredible engineering and buildability. it’s hard to argue with such a stellar product.
If you’ve never experienced a Bandai kit, this Star Wars AT-ST is a great place to start. Whether it’s built in canon colors, as a Star Wars Universe ‘what if”, or even going completely off script into other timelines – can you see it as Soviet vehicle in an alternate WWII timeline – the model offers something for everyone.
Next installment for Sr. Cabeza Grande – all the weathering!

Leave a Reply