Bandai’s Reborn 100, or RE/100 as it is generally referred to, is a line of kits designed to bring some of the more obscure mobile suits to the market that don’t necessarily warrant the engineering time that would be required for a Master Grade kit. While they do have some similarities to the High Grade line of 1/144 kits, I think it’s oversimplifying things to call them a “1/100 HG kit”.
I asked Zach Rensberger (ZakuAerlius) for his assessment, and he gave a nice summary: “They’re meant to LOOK the part of an MG, without the costly engineering to go the full way.”
I’ve built a few of the RE/100 kits, and while I do like the Master Grade line, it wouldn’t give me pause for one second if Bandai just started doing all the 100th scale kits like the RE/100 line. (Or for that matter, the IBO “Full Framed Mechanics” style.)
That’s Ex-Zaku-ly What I Wanted
The Zaku II design is one that has taken me a while to warm up to. It’s not that I disliked it really, but rather that it never inspired me to shell out dollars for it. I had built an HG Zaku II early on in my Gunpla adventure, mostly because I’d heard so much about the kit. While it was nice kit, I simply wasn’t sold on the mobile suit itself.
When Bandai announced an RE/100 version of the kit though, my ears perked up. I like the line so much I’ll build kits that aren’t necessarily designs that move me – like the Guncannon Detector. As with many IBO kits, the Zaku II FZ found its way to my front door not on the merits of the mobile suit itself, but rather on the strength of the line of kits from Bandai
Breaking The Ice
As I do with many of my models, the build started in the conference room at my day job as a web developer. During my lunch breaks, I’ll hang out there, doing pre-assembly work. It’s a great diversion during the day, and it makes maximum use of my time, avoiding the hours I have at home which are better spent in painting and weathering.
As I went through the process of removing parts from the sprue, cleaning up nubs, clipping pegs, and assembling the bare plastic model, I really began to appreciate the design of the Zaku II. It’s weird how quite often holding a model in your hands imparts the shape far better than any photo can. Pre-building the model really caused the Zaku II to grow on me. I won’t say it’s replaced my Gunpla favorite, which is the GM and its derivatives. But it has definitely “notched it up” quite a bit.
The Inner Frame
The inner frame on any RE/100 kit is simplified when compared to the HG cousins. In the kits I’ve built, they have tended to be reasonably well detailed in the exposed areas, and only in the unseen sections is it basically utilitarian to simply allow armor parts to be attached.
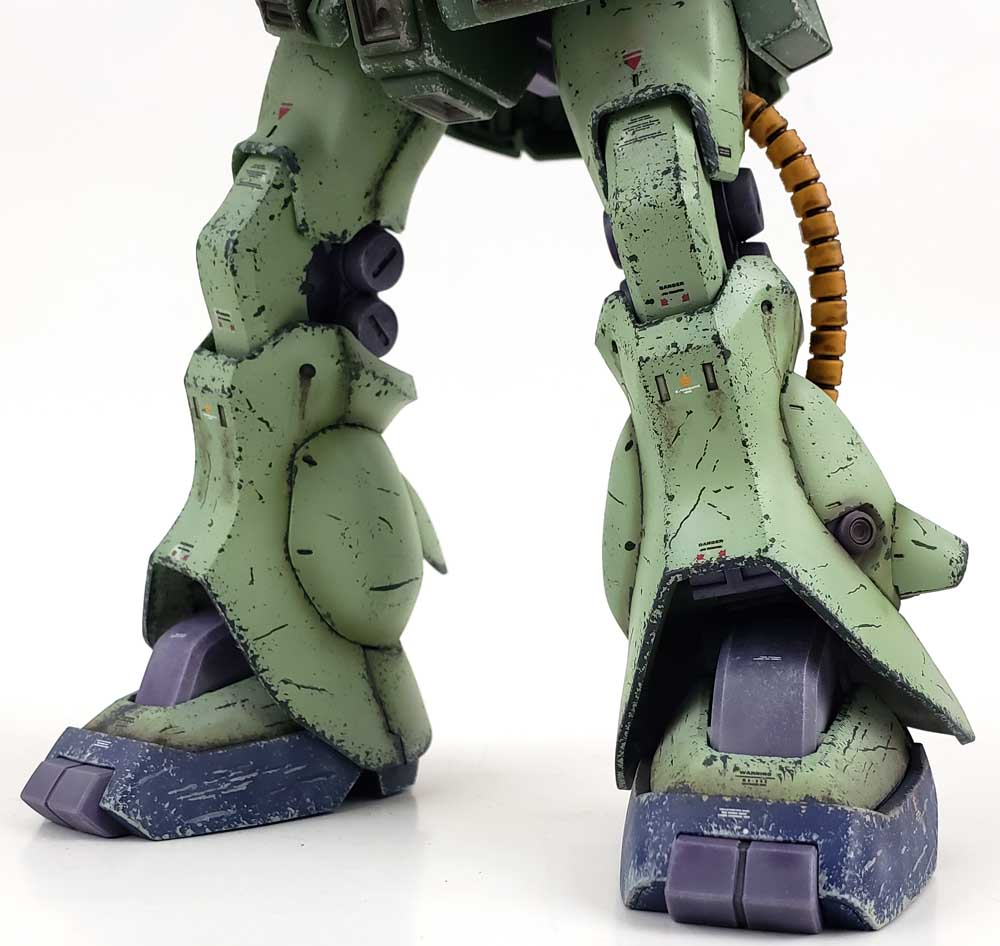
The Zaku’s frame sections were very nice for an RE/100 line kit. In both the knee and elbow joints, they had some good detail that provided excellent visual interest. The legs were actually “full frame”, giving the model a good foundation to stand on.
The kit color for the frame parts was a desaturated purple color. When I first saw it in the box, I thought “that has to go”. Yet as I pre-assembled the model, I felt it worked visually. Eventually I decided to stick with it.
Painting was simple, with all parts being airbrushed with Mr. Color Gundam Color Zeon’s MS Gray, which I felt was “universe” appropriate. This was followed by a light dry brush of Vallejo Model COlor Sky Gray. All the parts were finished off with a heavy application of Citadel Druchii Violet, a purple shade. It brought the things back close to the original plastic color, with just a bit more of a tonal variation to it.
Nothing Seam-ly, Of Course
In any Gunpla build, dealing with seams can be a mixed bag. Some older kits were covered in them. On a few newer ones, they’re virtually non-existent. And in a few cases, there are examples that make me think it could have been a bit better.
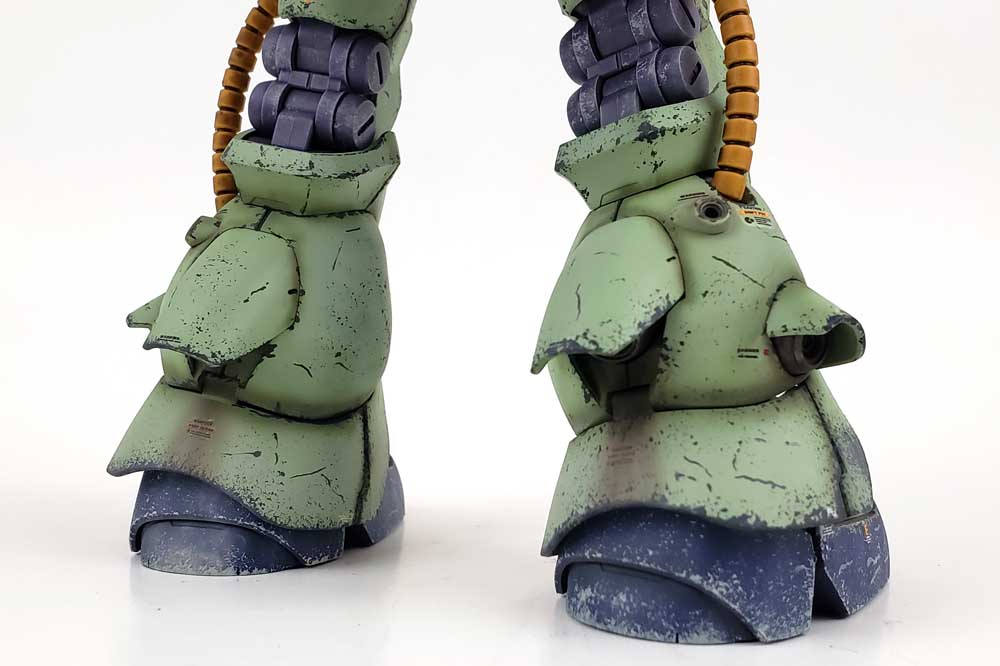
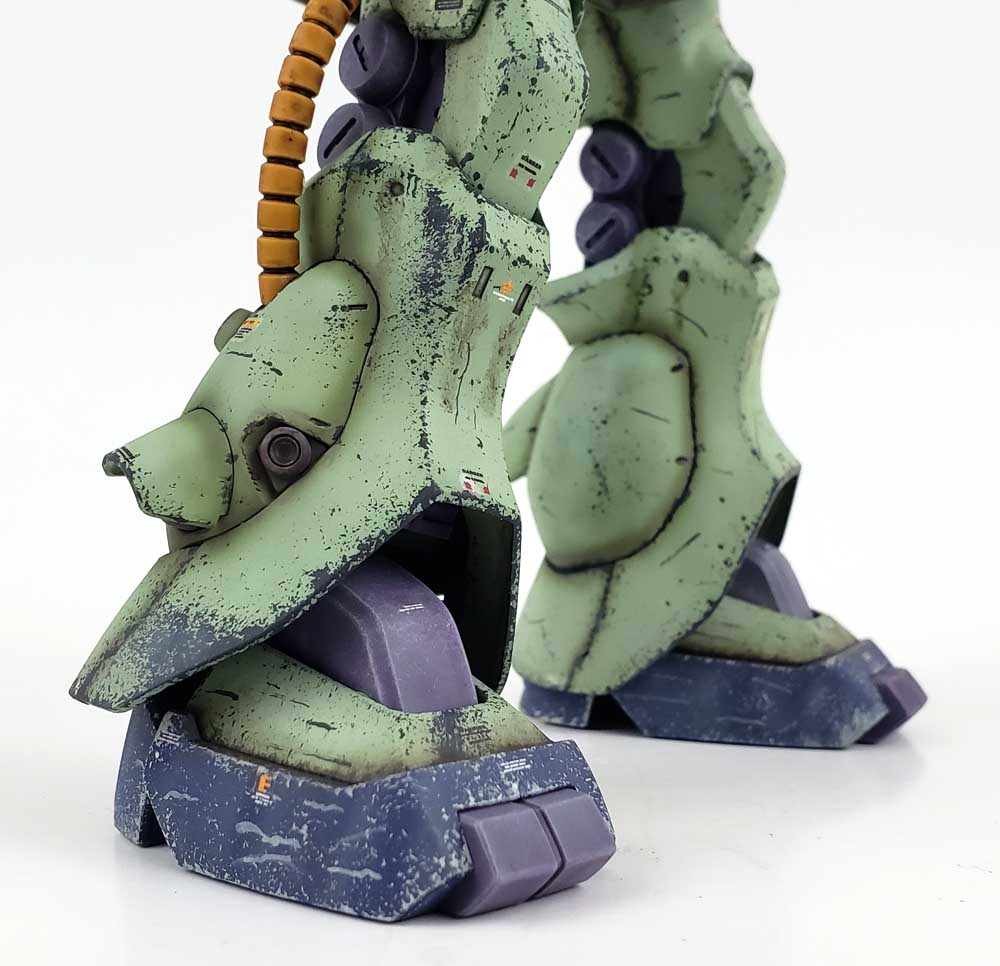
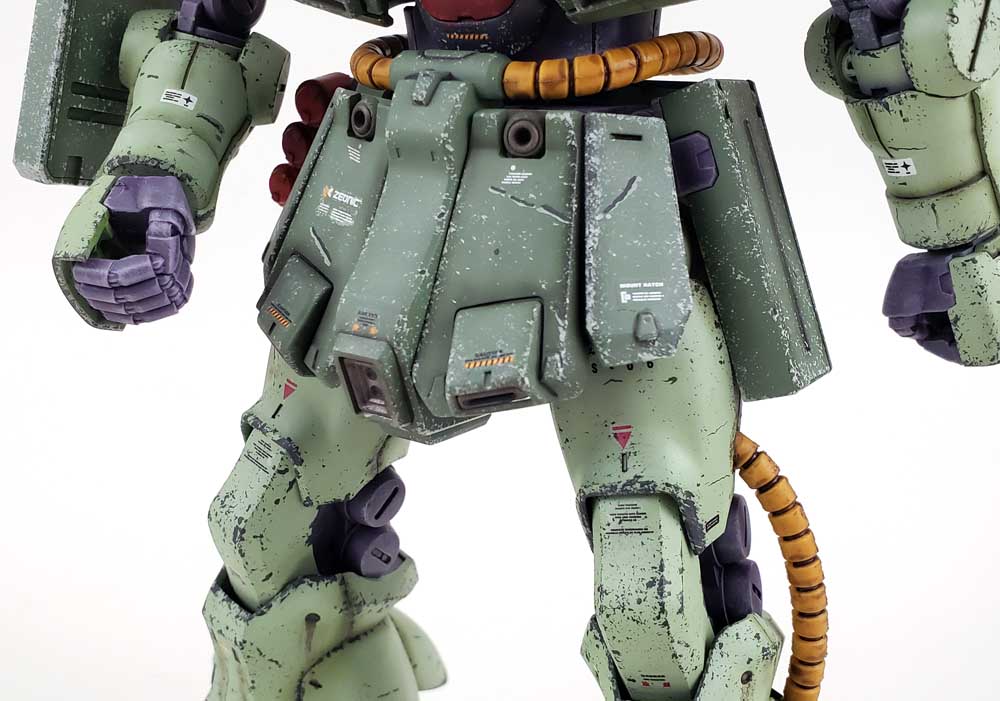
This kit has very few seam lines to deal with. On almost all the parts, there either aren’t any – such as the single-piece upper arm armor, or what is there is designed to be organic to the suit, a prime example being the lower leg sections.
Only two places really required any attention. On the upper leg armor, the part split divides the parts into a front and back section. The seam that is formed from the join is fairly obvious. Certainly it could be glued, filled, and sanded after assembly. However, I felt it looked better to turn it into a panel line, as that seemed to fit better in a “real world” sense. I simply fitted the parts together before painting, scribed the line in with a Tamiya scribing tool, and called it done. It looks like it’s supposed to be there, and doesn’t disrupt the build sequence in the least.
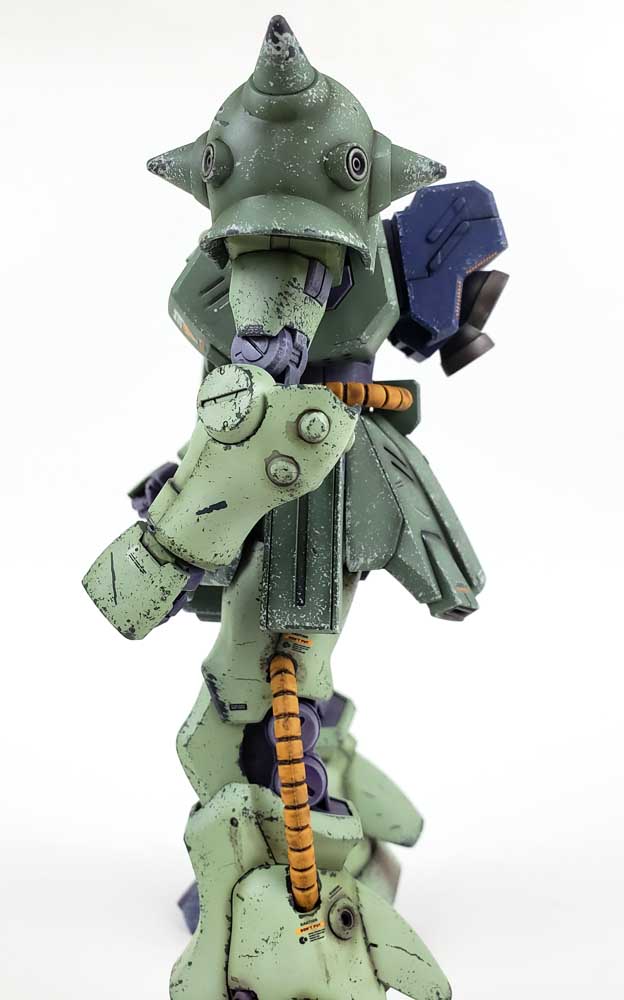
The other seam was a little more obvious. The left shoulder pauldron is split for and aft, and I felt it needed to appear as one single piece. Tamiya Extra Thin Cement was used for the initial gluing, and once dry, sanded down to a rough finish. A small bead of super glue was applied over the seam, and after drying was sanded smooth. Because the pauldron can be added to the rest of the model after this process, it was a relatively easy task.
Going Old School With The Paint
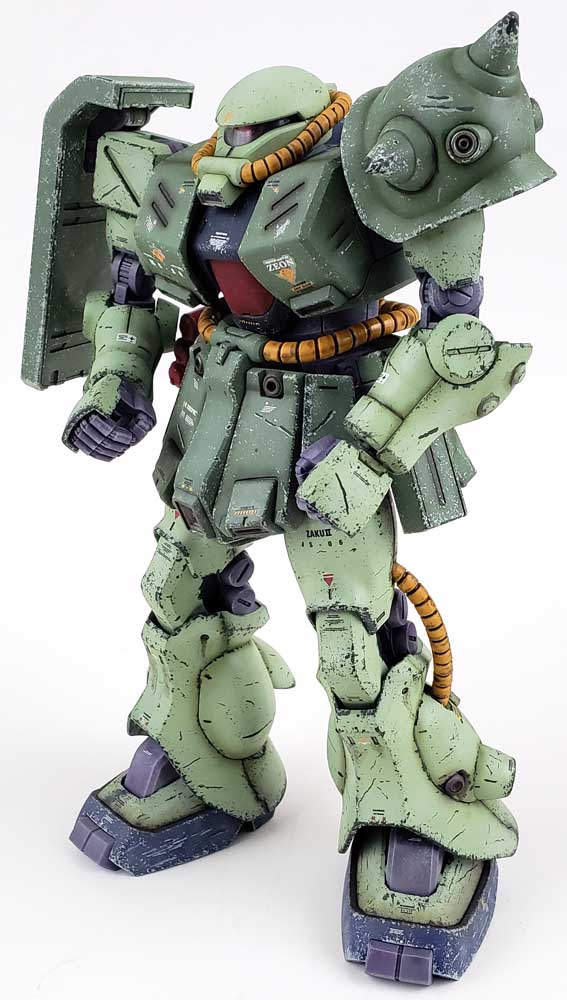
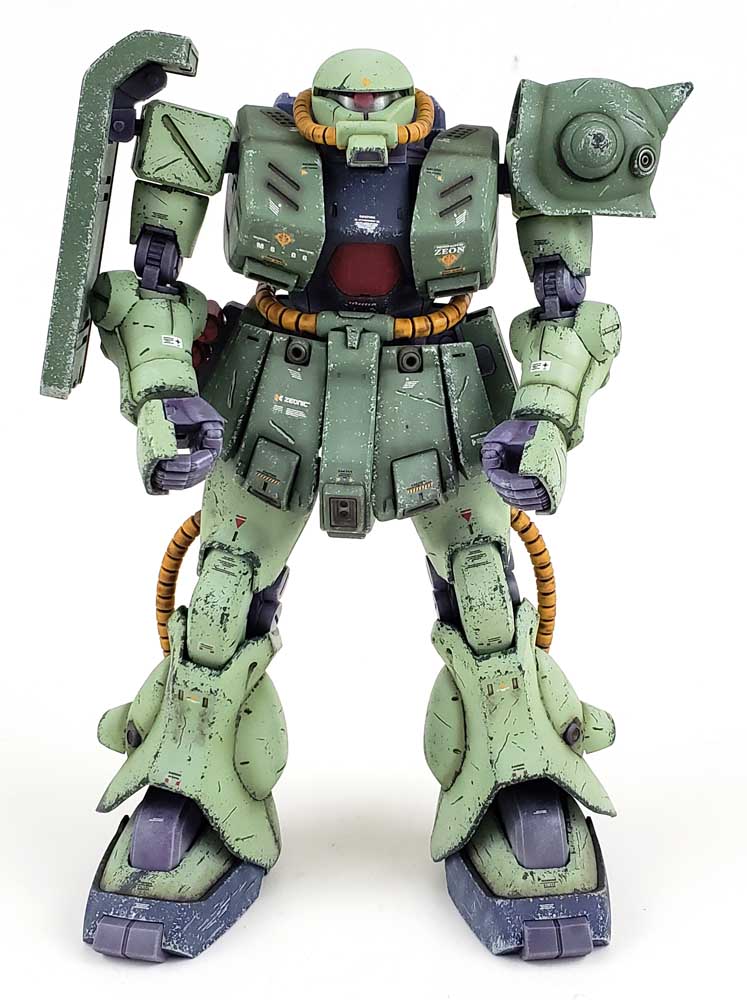
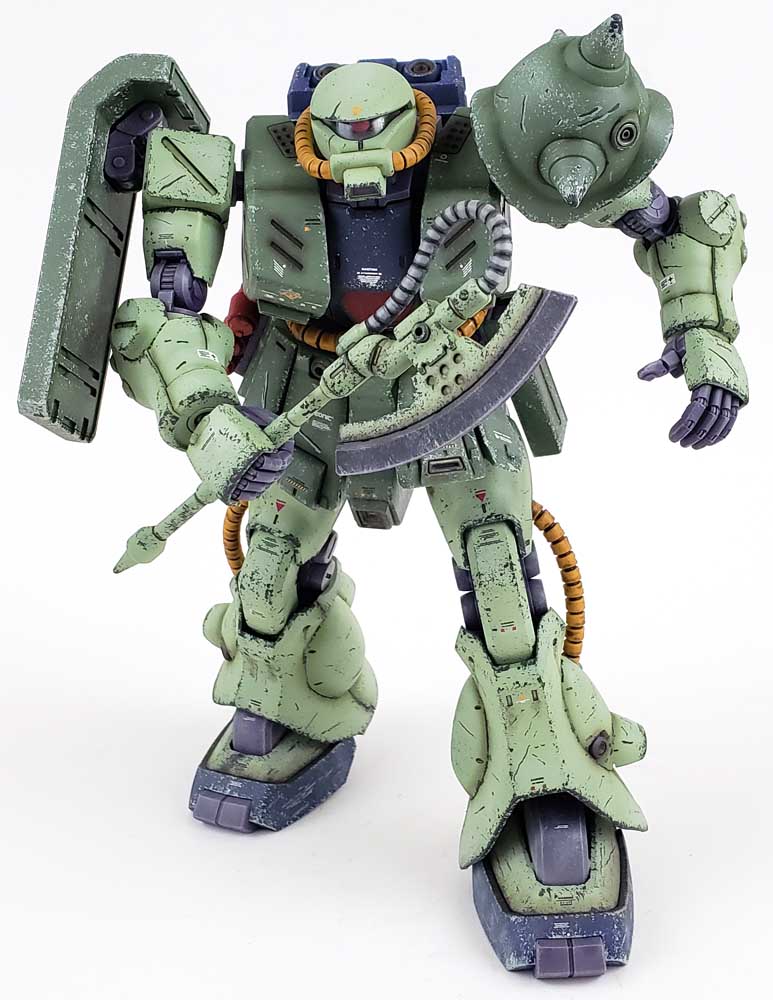
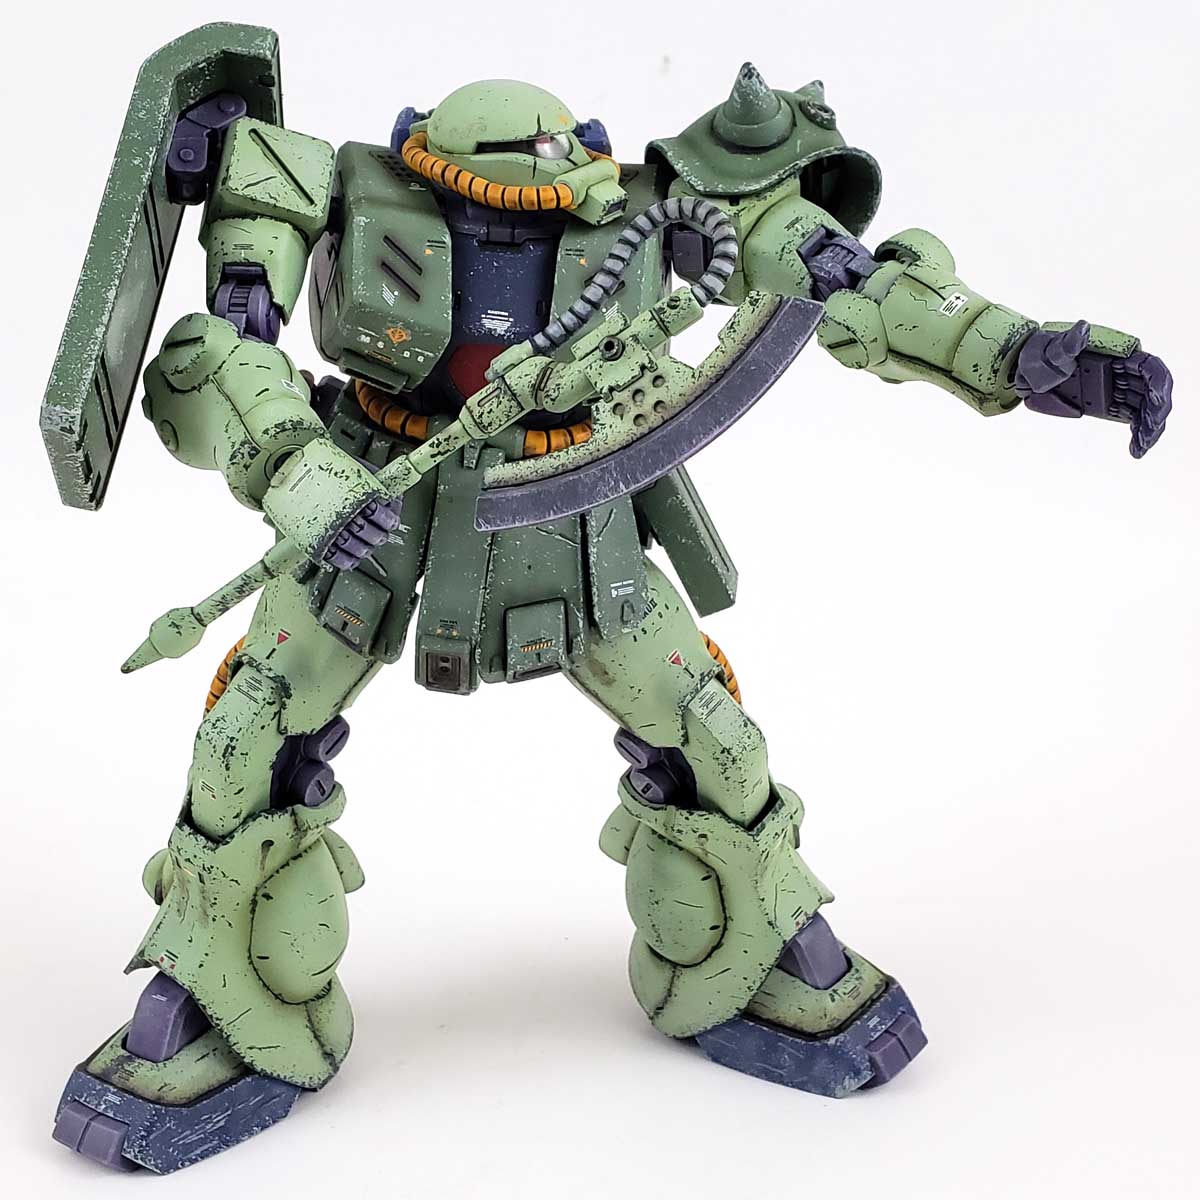
The kit is molded in some nice colors – a medium, somewhat bright green on the arms and legs, and a darker pine green for the upper torso and waist armor. The colors are definitely canon, but as I looked them over, I really wanted to paint it in the more classic Zaku scheme.
Fortunately, I had the canon colors standing by – Mr. Color Gundam Color. Their MS Green and MS Dark Green are pretty much “old school Zaku”. I’ve really enjoyed the switch to airbrushing lacquers, as they are quite durable, and don’t require a primer coat.
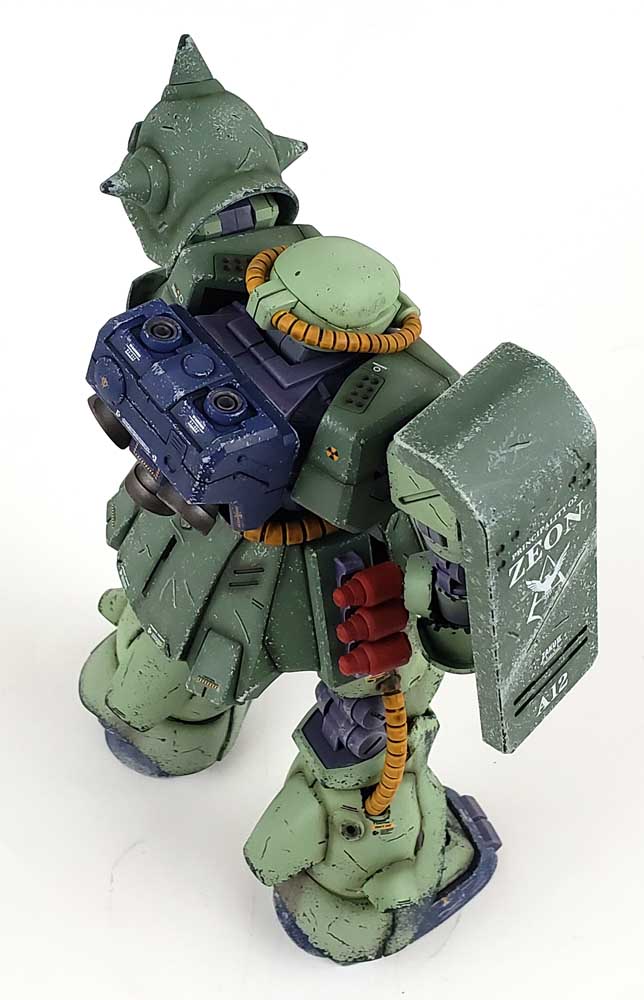
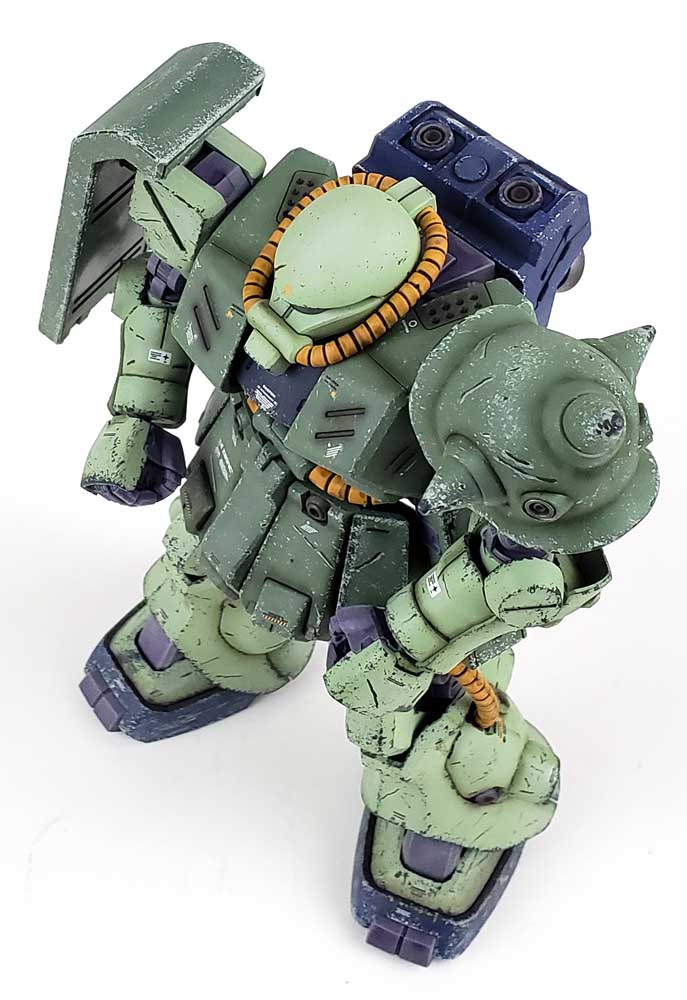
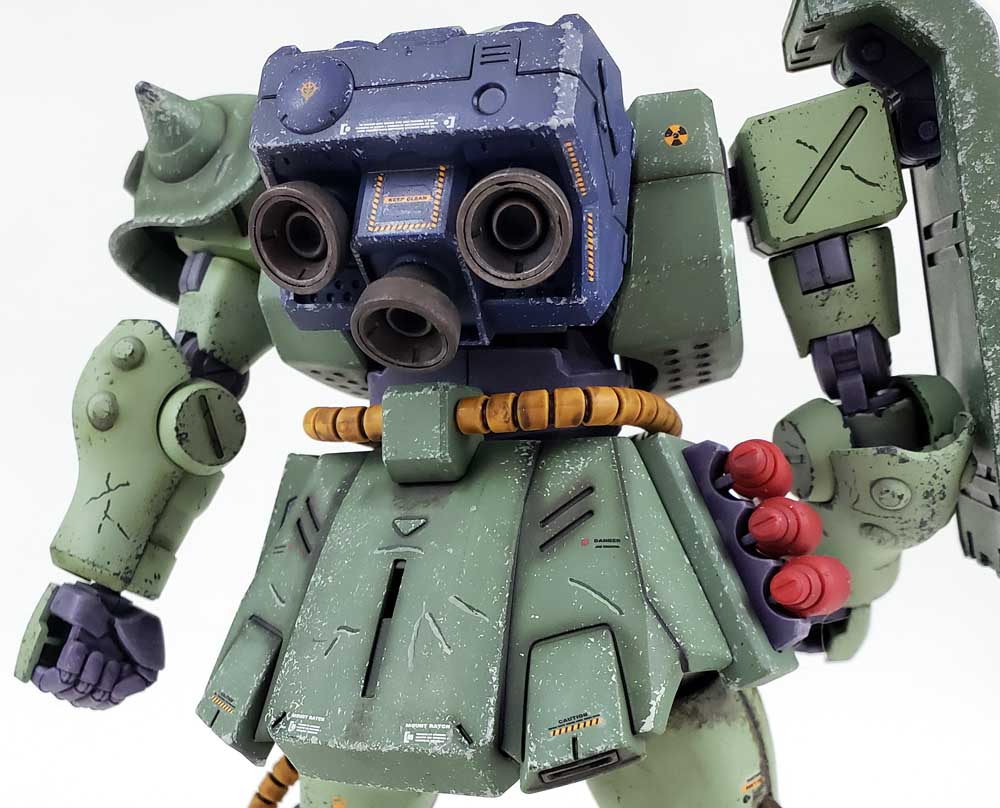
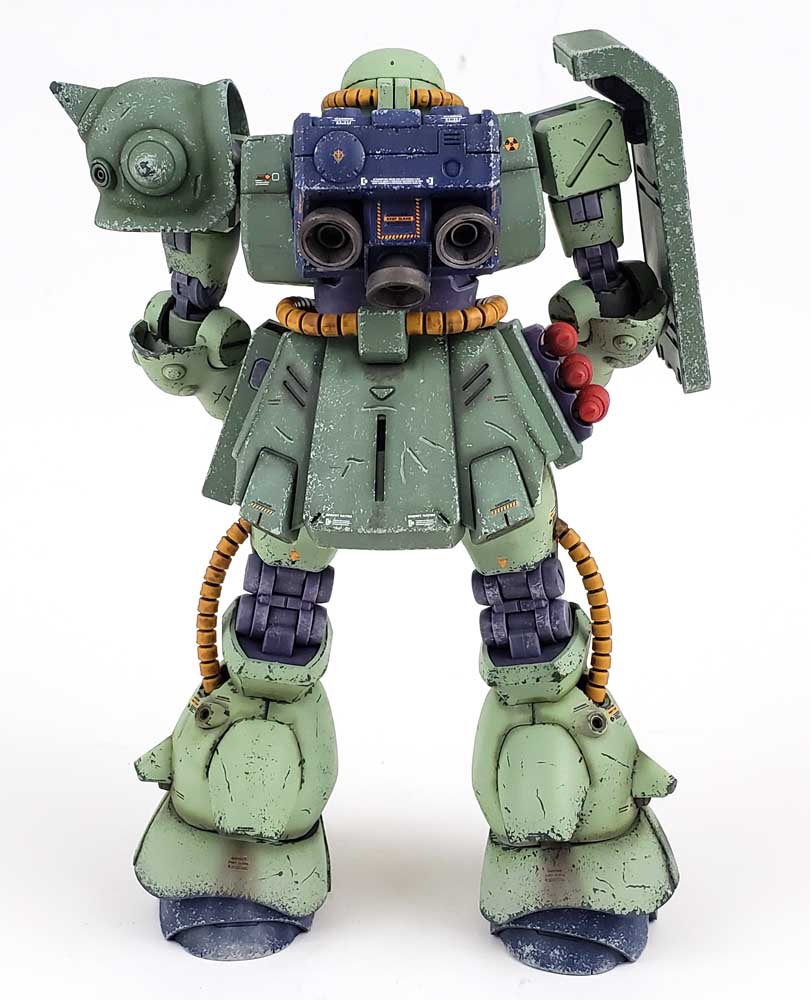
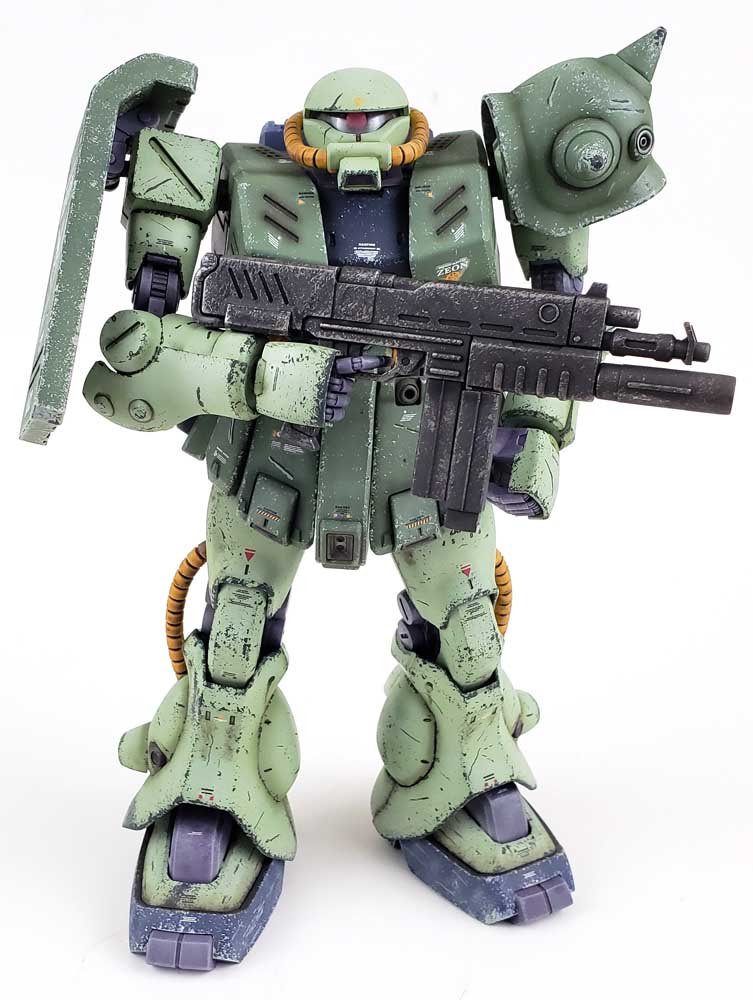
All of the extremities were painted in the MS Green Color, and the core and outer armor with the Dark Green. The chest design on the FZ model is a bit different from other Zaku designs, so in a nod to the canon, I left that section blue, using Gundam Color Titan Blue 1. The pilot’s door was brush painted with Vallejo Game Color Gory Red.
A Hose By Any Other Name…
Since starting to build Gunpla, I’ve quite often heard people talking about their frustration dealing with the “Zaku beads”… the various beaded pipes that are part of the suit’s design. Bandai has used quite a variety of methods to try and recreate them – individual pieces over various inner cores, solid plastic, snap-together sections… none of which seemed entirely satisfactory.
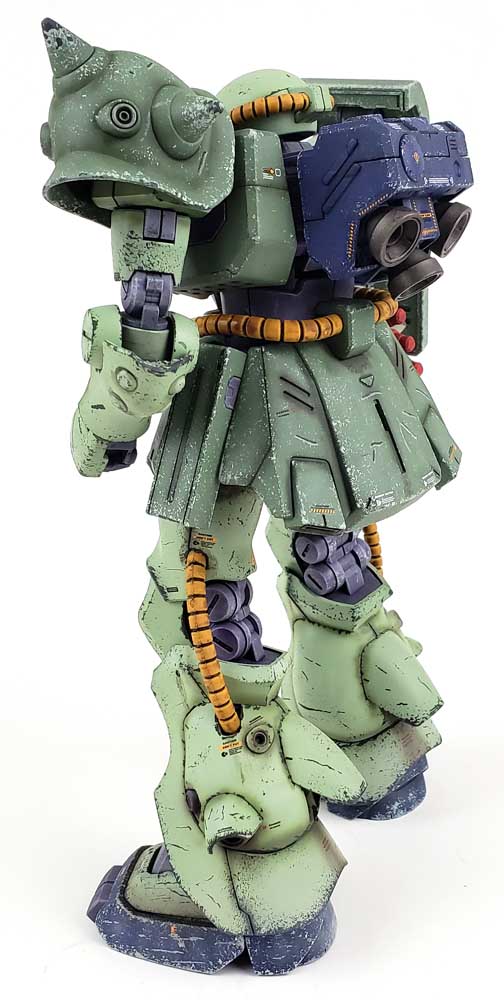
On this model, Bandai opted for soft vinyl hoses, colored in a sort of “baby poo-poo yellow” color. When I first saw them, I will admit I groaned a bit. My fear was they’d not accept any paint over them, and that the seams lines would be a devil to deal with.
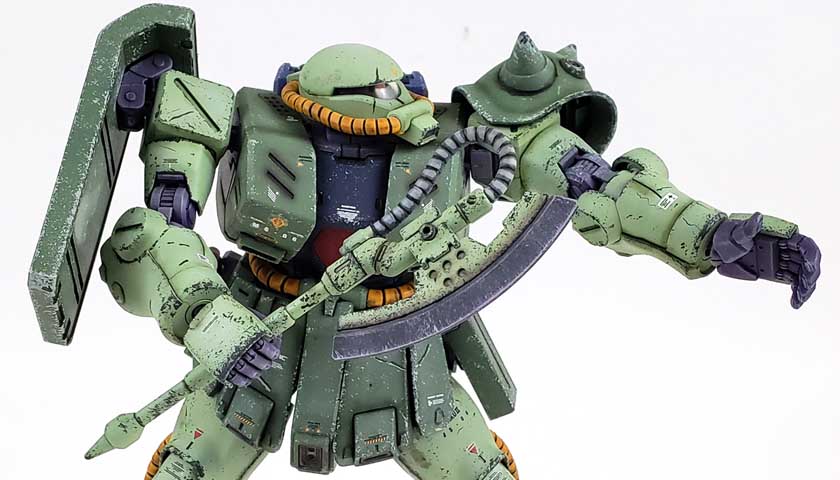
In reality, the seam lines weren’t too bad – most could be scraped away with the edge of a fresh #11 blade. And while the color seemed a bit odd to me at first, after test fitting it all together with the traditional Zaku scheme, I realized it worked.
To give them a little more life, I started with a heavy coat of Citadel’s Agrax Earthshade, which gave them a more oily look. Nuln Oil from the same manufacturer was then applied in the recesses between the “beads”, giving them some separation. I liked them as they were after that – and happily the Citadel shades have clung on just fine.
It’s Not A Zaku If It’s Clean
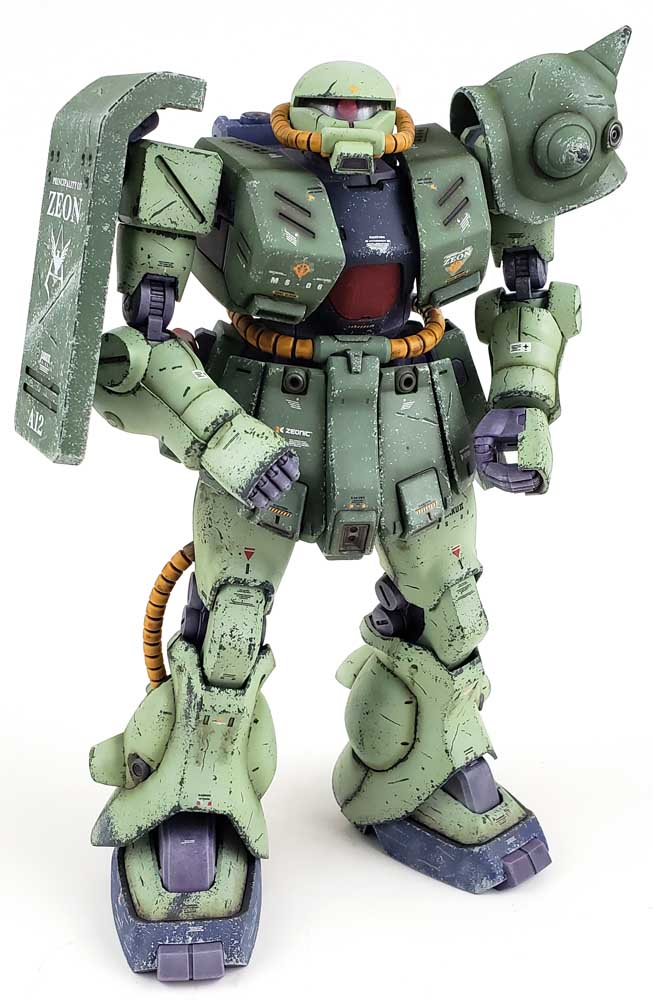
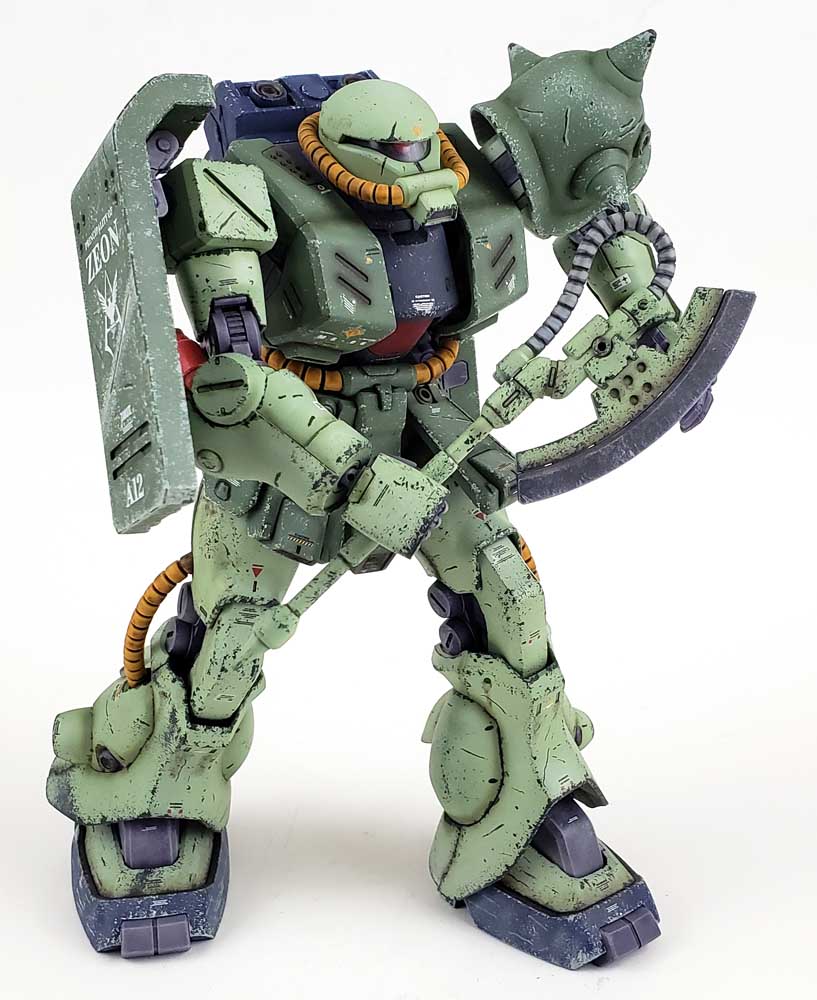
Zakus are mass production suits. In the Gundam Mobile Suit talk, they’re often referred to as “grunt suits”. So a canon-green Zaku, in my mind, is supposed to get beat up. It’s what they’re made for.
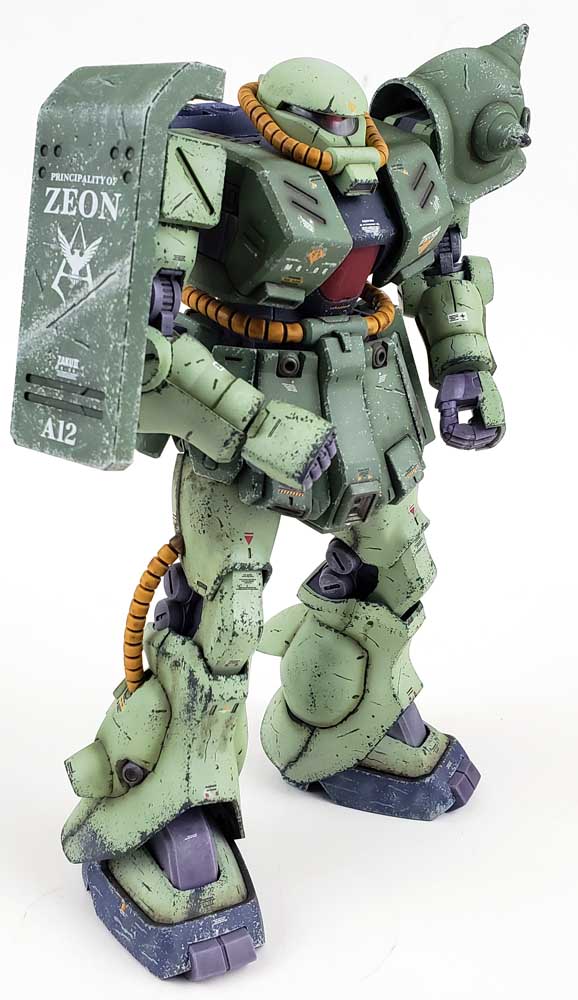
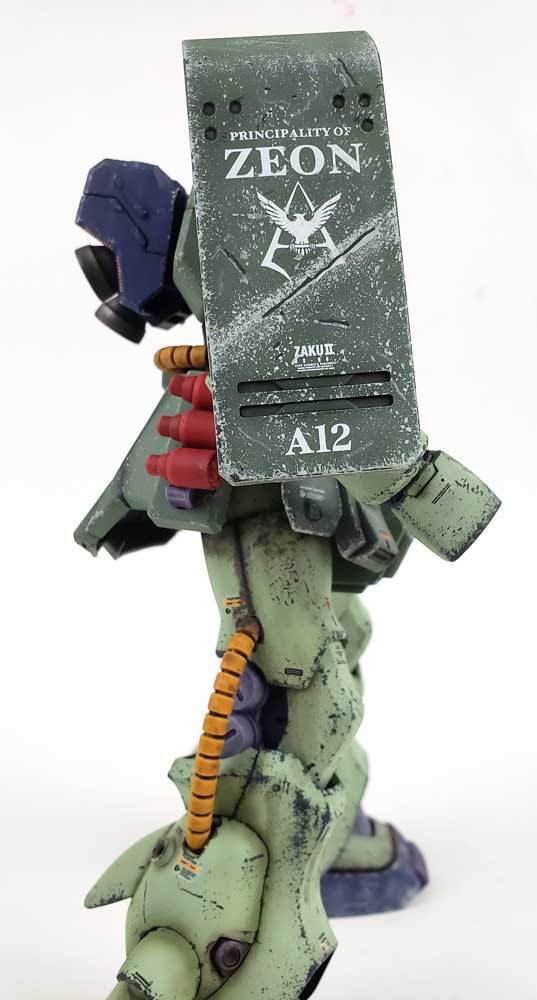
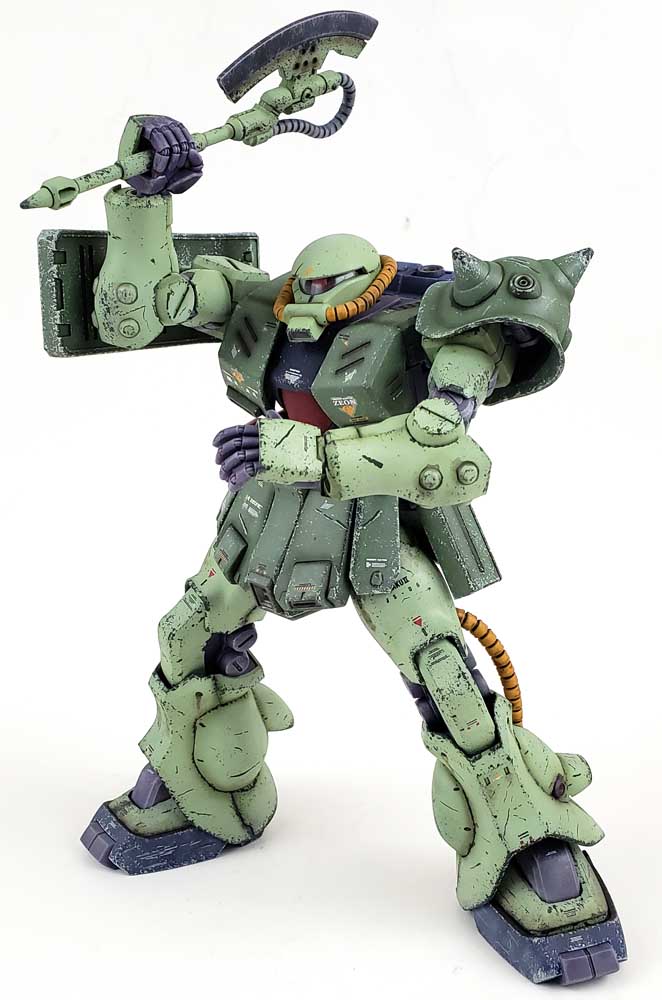
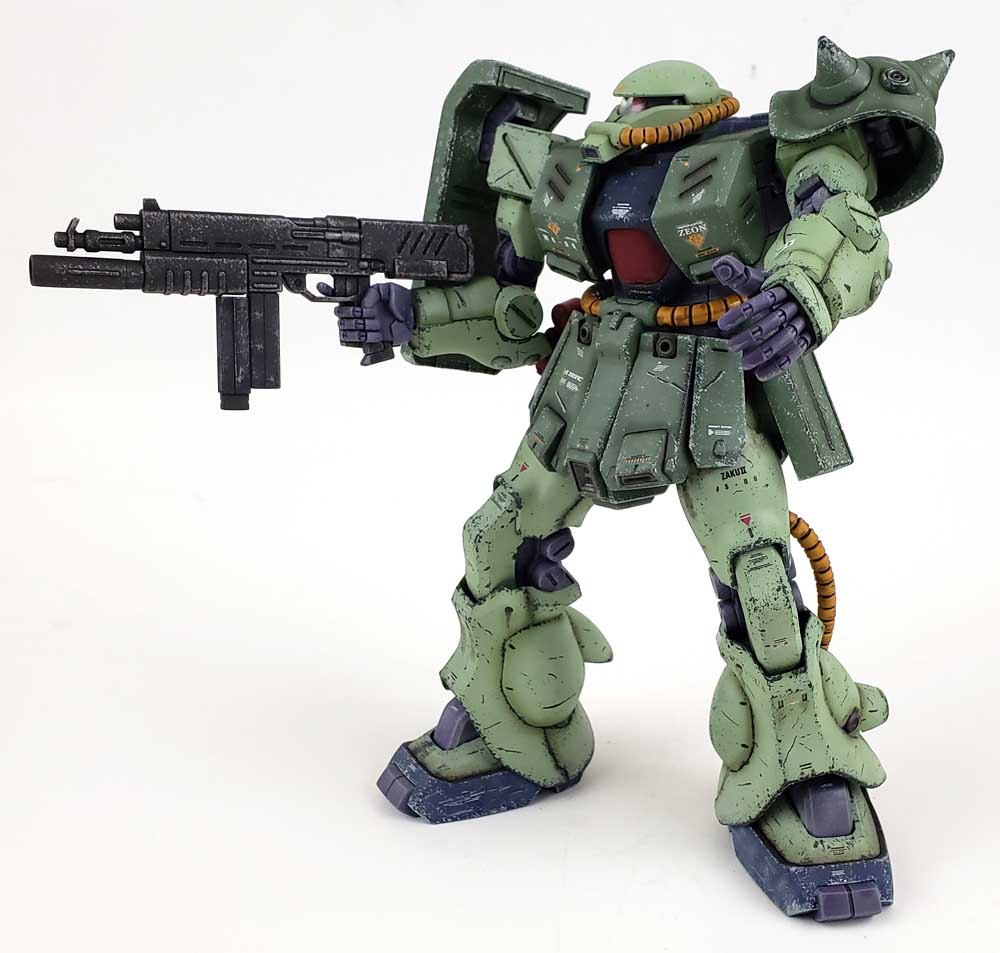
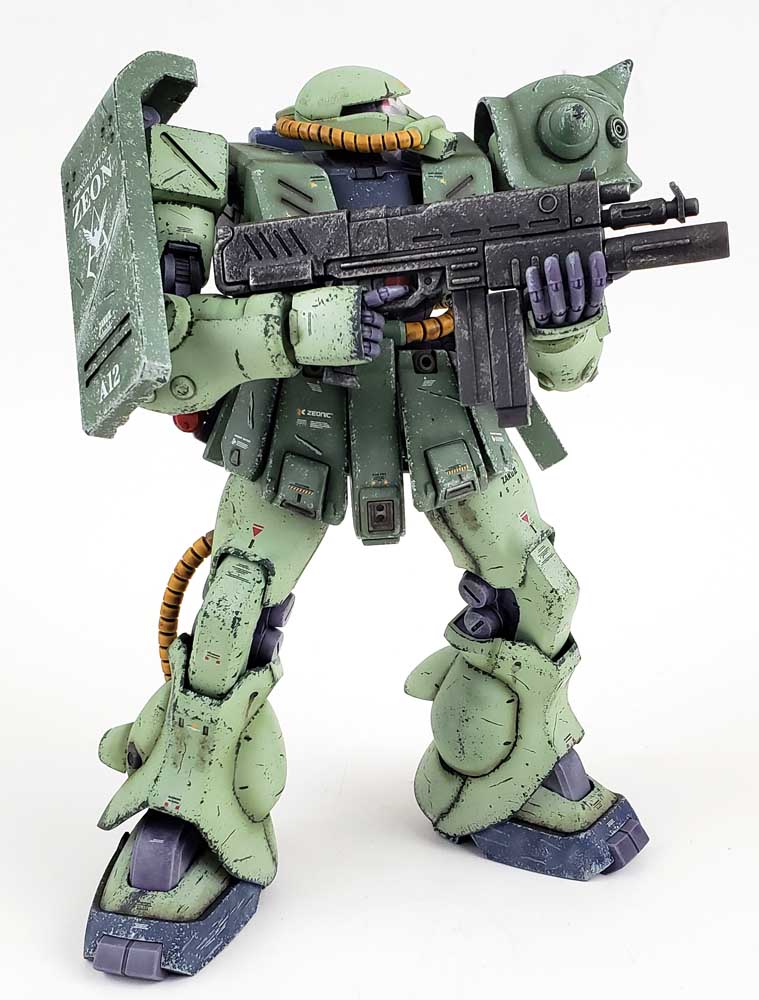
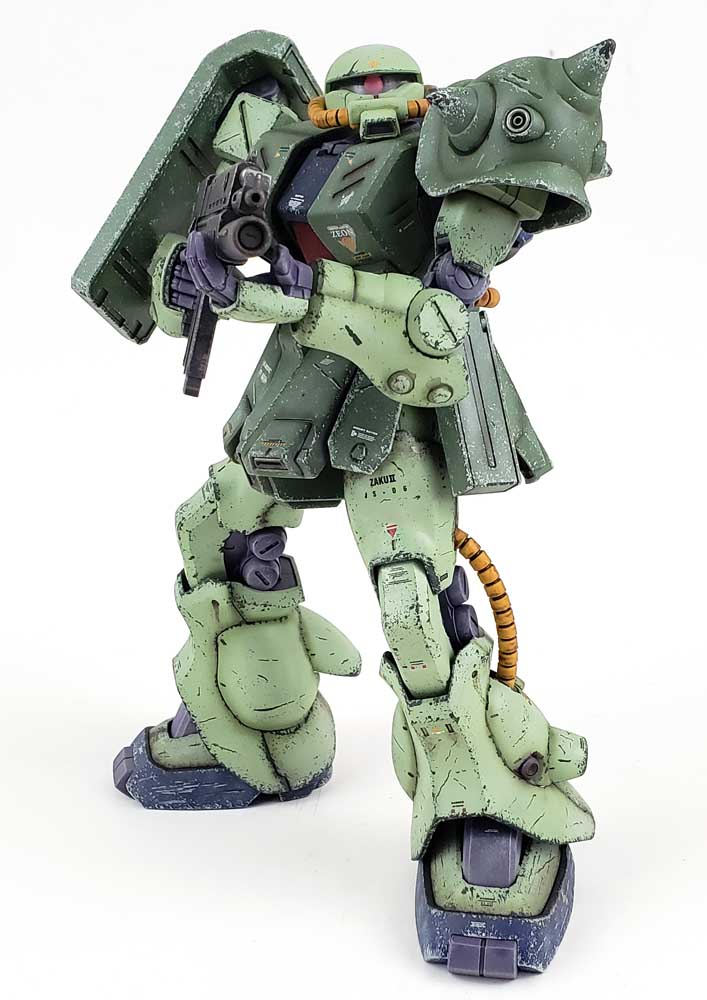
I started with just a bit of post-shading and fading to introduce some tonal variation. A gloss coat was applied, and some Bandai decals that were intended for Char’s Zaku II were re-purposed for this model. I normally don’t add decals to my Gunpla, as I’ve always felt it looks a bit out of scale. But in this case, I thought they worked, giving it a purposeful, military look.
Panel lining was added with Nuln Oil, and then chipping was applied. On the light green I used Vallejo Model Color Black Gray, applied with a sponge. My reasoning was that the underlying material was some form of composite armor that did not rust, so the dark chips reflected this.
On the darker green, I used Vallejo Model Color Gray Green, which was a close cousin to the Gundam Color MS Green. The logic there was that the darker green was painted over the lighter green. A few black gray chips were then added over those, to simulate damage that went down to the bare composite surface.
Additional weathering was applied, including various oil streaks and stains, and airbrushed effects for some light dust streaking and darker exhaust staining and shading. I opted to not add any mud or dirt effects, as I imagined this suit being more of a space combat unit, with perhaps some forays into a colony or two.
A final dull coat of Vallejo Mecha Color Matt varnish was then applied.
A Really Satisfying Build
Considering this is a design that I’ve only been recently warming up to, reflecting on the build surprises me with how much fun it was to build. Certainly the design is easily painted and weathered, which helps. But the simple joy of these RE/100 kits is really hard to overlook. While I’ve not encountered a Gunpla yet that was overly difficult, this particular series from Bandai really stands out for me as being a “best of all worlds” line. And this Zaku II is certainly the most enjoyable RE/100 kit I’ve built to date. In fact, Id have to say it is in the top three of all Gunpla I’ve built – only the Sniper II and Powered GM stand out more in my mind.
As I build these models and write about them, I’m continually saying “build this kit”. And I’m certainly not going to change that now… if you’ve never built a Gunpla, this one is highly commendable. And if you do build Gunpla – get this one was confidence. It’s a solid build that ends up looking great. The shape is a great palette for creative color schemes, and just begs to have additional detailing added – thought it is very nice right out of the box.
The best part of it all is I’ve found I quite like building the Zaku… and I forsee more in the future! (In fact, if my text alerts are correct, another should be arriving today… 😉 )


Leave a Reply