One of my favorite movies growing up was “Flying Tigers”, with John Wayne. The movie was very loosely based on the exploits of the American Volunteer Group, otherwise known to history as “The Flying Tigers” because of the shark teeth adornments they painted on the cowling of their P-40B Tomahawks.
The AVG was not the first to use that adornment on a P-40. The RAF had done so in the Western Desert campaign. But in the US, when a ray of hope was needed, seeing the photos of the aggressive shark mouths on a fighter plane – and reading of their success – really helped morale. Even today, people in the US still recognize the name FLying Tigers – even f they no longer remember the history.
While I loved anything that flew, if it had a shark mouth on it, it had to be cool. I’m not sure how many P-40s I built as a kid, but all of them had to have that snarling grin. I even tried painting it on other airplanes, though with limited success.
I was quite pleased to learn that my paternal grandmother had actually graduated high school with one of the AVG pilots, Moose Moss. After the war, he returned to South Georgia, and opened up a diving school that became quite well known.
That Grin
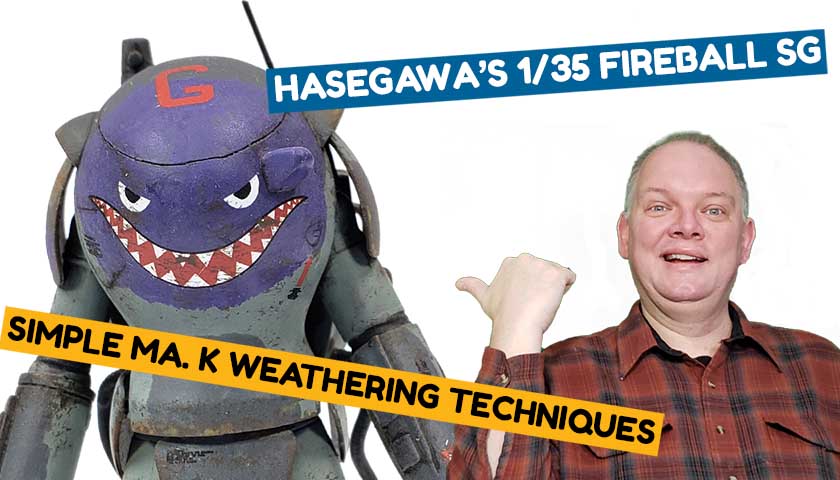
When it came time to put the markings on this Fireball SG, my plan had been to simply add a few recognition letters and stencils. But as I looked at the decal sheet, and stared at the big purple splotch on the front of the model, the idea of a toothy grin against that color made me laugh.
Thus, “Stompy The Angry Violetosaurus” was born.
This second part of the video series covering building this model details some simple methods that work well on Maschinen Krieger kits, but also any scifi or mecha model. The key to them is layering – placing various colors on the model to simulate wear. Stopping at one layer often looks like paint smears. Yet simple, thin applications of several colors – each intended to represent some form of damage – will give a look of a worn object. And while practice improves your results, no special skills are really needed. Just a willingness to try, to experiment, and to fail a few times as you go.
If you haven’t seen the first installment of this video series, be sure and check it out too. And please subscribe to my channel!


Leave a Reply