Some kits fit very nicely, others don’t. Yet no matter how well a kit fits, there will always be some seam lines that need the modeler’s attention.
In many cases, the seam line is simply there because the parts engineering requires it to be that way. These are (generally) easy to fill and sand. However, sometimes the seam is along a panel line, or in a place that could logically be a panel line.
In those cases, filling in the seam and rescribing is not really a great solution. Yet often there will be enough of a hairline gap there that leaving it untreated is not a great option either.
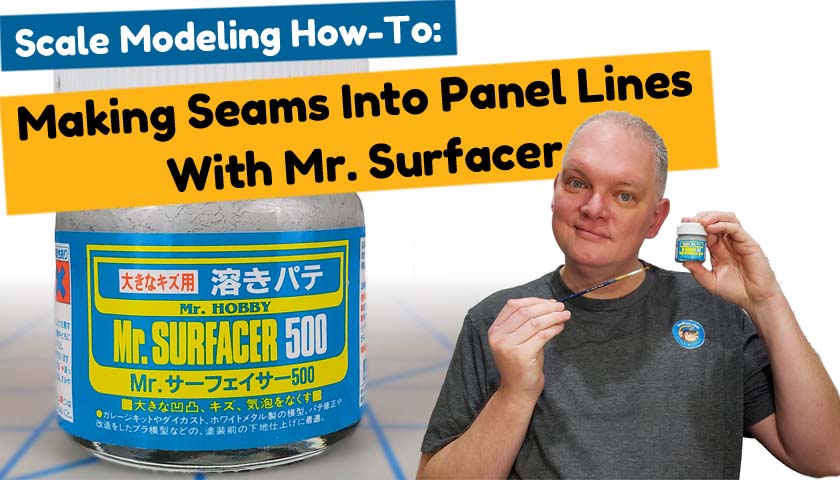
In those cases, Mr. Surfacer can be a great way to have your cake and eat it to. Seam lines can be easily and quickly filled so that the cracks are filled, but the panel line remains.


Leave a Reply