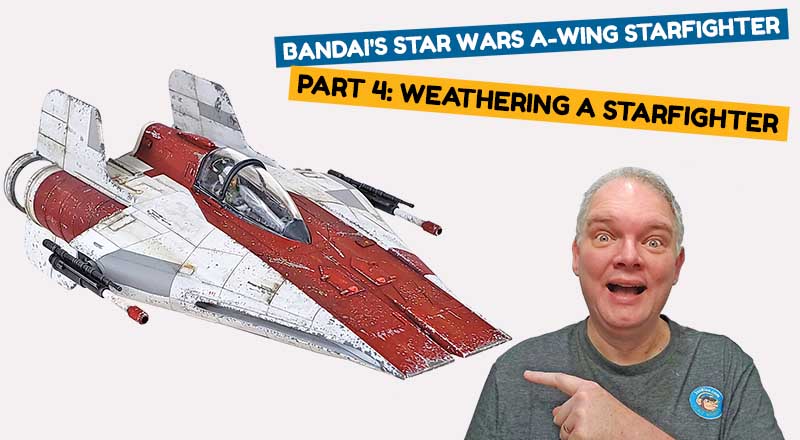
In many ways, Star Wars weathering is like any other plastic scale model weathering. You add stuff to make it look dirty.
But for me there just seems to be something special about weathering a Star Wars starfighter. And Bandai’s A-Wing fighter from Star Wars Episode VI: The Return of the Jedi is no exception.
Star Wars Weathering – Choosing A Style
There are different ways of weathering your model, depending on the style you’re trying to achieve.
Certainly building an un-weathered model is a very good option. While the on-screen appearance is usually fairly battered and worn, especially for the Rebel craft, a clean look really lets the designs shine. I think it can be easy to overlook how unique and stunning the designs from the franchise really are. I know I can easily get so caught up in the process that I have to remind myself to step back and admire the ships simply for their design.
Certainly there is also the “canon” method of weathering. This seeks to emulate the on-screen look of the studio models. It’s a simpler method, emphasizing chipping on the colored areas of the skin’s surface only. Additionally, there are numbers streaks and stains of color over a large portion of the surface. I’ve read that much of this was done simply because of the realities of filming. A ship might only appear for less than a second, so obvious, punchy elements were emphasized, and subtlety was not factored in. (And this method is faster to do also – another critical factor.
The method I have chosen for this video is more of a freeform approach, which is basically “weathering as you would any model”. 😀
But no matter which method you choose to weather your Bandai Star Wars model, it will definitely be fun!


Leave a Reply