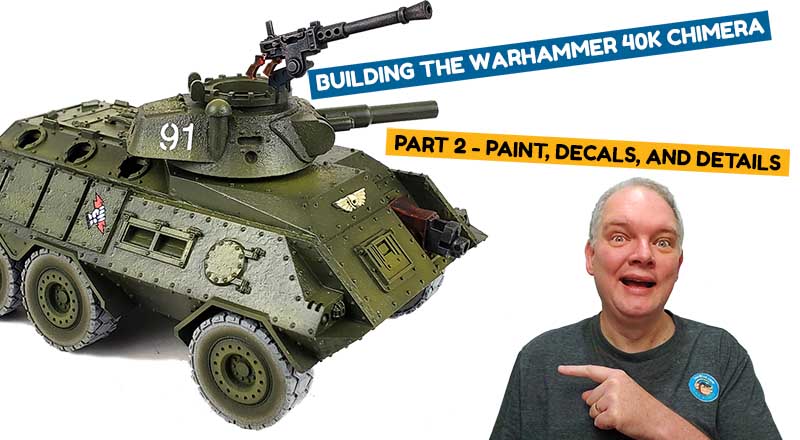
After a model is built, it’s time for paint, decals, and details!
Part 1 of this build looked at using resin conversion parts. With everything assembled, I move on to the base painting for the model.
Paint, Decals, And Details – The Basis For Weathering
Base painting a model is really just part of the overall process. If the goal is a clean build, then care must be taken in that regard. But if later weathering is to be added, then it helps to consider how the base paint will interact with the weathering.
For this model, I chose to do a semi-modulation style, using lighter and darker variants of the base color to help define the shape and volumes around the model. This helps later weathering steps avoid a “flat” appearance. This avoids a shape that is difficult for the eye to discern the outlines.
While I used an airbrush in this video, a similar result can be achieved through a variety of brush painting methods. Edge highlighting, glazes, and drybrushing techniques will all work nicely. It’s a style that is within reach of any modeler at any skill level.
I also go over the application of decals over a gloss coat, and look at some simple ways to detail the various parts of the model. Using a few simple techniques, a modeler can make the small details have a big visual impact when everything is completed.
Be sure and check out the Blood and Skull Industry online store. They were my source for not only the wheeled conversion parts, but also the great looking replacement turret.
Build your Warhammer 40K Chimera out of the box, or using a resin conversion set – it’s a great value. The model offers hours of painting and weathering fun. And that is the goal!


Leave a Reply