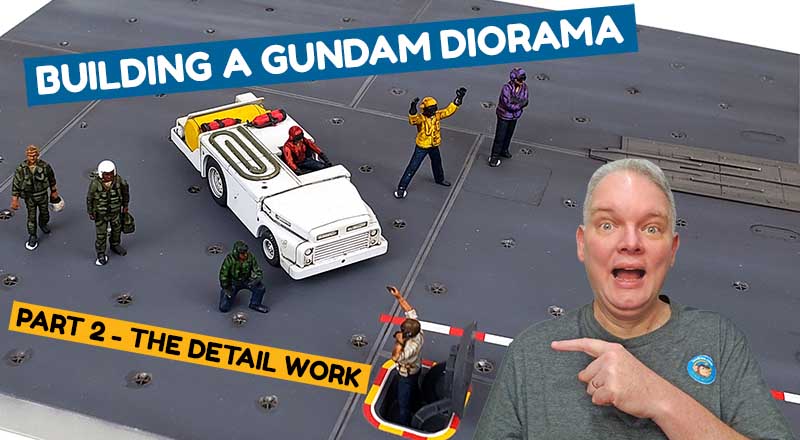
Building a Gundam diorama can have loads of little details involved, depending on what you’ve decided to build. After the planning and priming, I needed to get to work on all the things that would make my little scene (hopefully) come to life.
Building A Gundam Diorama – Lots Of Little Things
While the non-Gundam part of the diorama consisted of just two parts – the figures/vehicle and the carrier deck, it took me a lot longer than I anticipated it would.
The figures turned out to be a bit of an ordeal. Despite using a priming process I had many times before, the paint kept rubbing off. I was using the same paints I always do – Vallejo. but for reasons I never did figure out, they were quite fragile.
I finally resolved it by getting the base coats on, and locking it all in with Pledge gloss coat. After that, additional detail painting stayed in place fine.
That behind me, I found I was still not out of the woods with the figures. I have fairly poor eyesight up close, and even with glasses and an optivisor, I had a very difficult time seeing what I was doing when it came to highlights. And trying to film it compounded the issue.
Still, I managed to slog through it. The figures won’t win any awards, but they’ll do in the setting I chose.
The carrier deck was a bit easier, as it’s simply a giant slab of plastic. Most of the work was simply airbrush applied, speeding things up quite a bit for that part. There were a few details to brush paint, some washes to add, and decals to apply. But the carrier deck section only took a few hours to come together. It was a welcome change from the figures!
All that is left now is the star of the show – the Grimoire Red Beret!


Leave a Reply