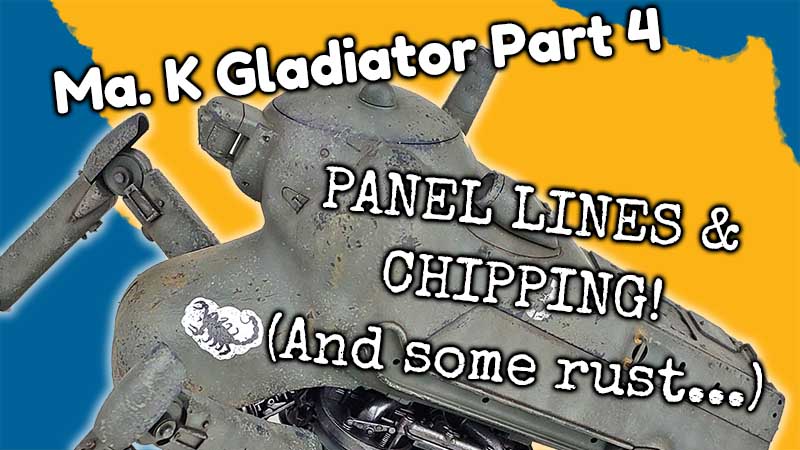
Panel lines and chipping are two of the most foundation effects that can be added to any scale model. Though the process is simple, these two steps can transform a kit from flat and lifeless to weighty and realistic.
There are a variety of ways to apply these effects. Oils, enamels, and acrylics can be used to make the panel lines stand out. Each can be equally useful for the chipping. The primary difference for each medium would simply be the method of application. The goal for the end result would be the same.
Panel Lines and Chipping
Oils have provided the most flexibility when panel lining in my experience. When properly thinned they flow nicely, and cleanup is made simple with odorless thinner. A quite neat look can be achieved, or excess oil can be blended and blurred for a dirtier look.
For chipping the model, acrylics are my choice. The look can be fine tuned based on thinning and method of application. In most cases, I like to use both a sponge and a brush. This allows for a variety of chip shapes and sizes, as well as streaks and scuffs. When multiple colors are used, the effect can produce deeper looking abrasions. This contributes to a greater depth of finish.
A key factor in acheiving a good result with chipping is research. Examining photos and real world objects is a great way to get a visual grasp on what looks realistic. While colors may vary, the “physics” of chipping will remain the same across any object. Taking cues from the real world will really help!
This is certainly turning out to be a fun project, and I would highly recommend this kit to any modeler. It hit on all the right points, and provides many hours of fun.
Be sure and check out the full build series for this Gladiator, as well as my other Maschinen Krieger videos.


Leave a Reply