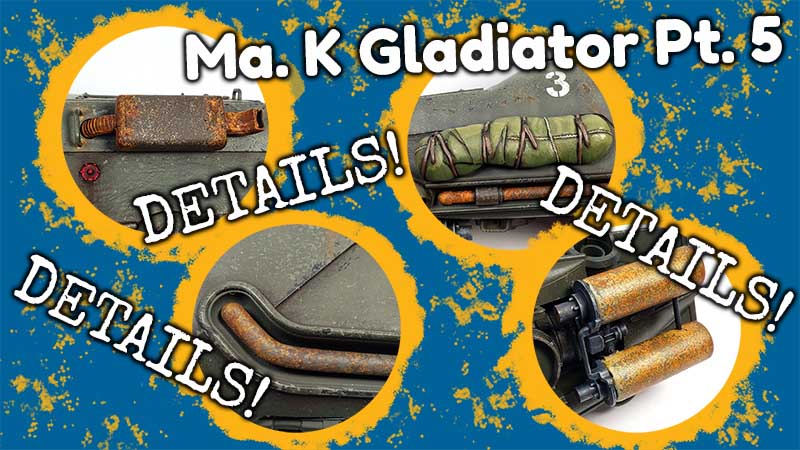
Detailing Maschinen Krieger models is quite fun. There are so many little details that can be painted and weathered. On this Wave Gladiator, there are so many surface features that it can be easy to forget a few!
On most builds, I often wait to paint many of the smaller, external details until after the initial “big event” weathering takes place. Adding chipping, dot filters, paint distressing and streaking, and other applications that require a “wide brush” approach fall into this category.
Early on I painted the details before applying all of that, but it quickly dawned on me that I was almost always needing to touch up the very same details afterwards. Switching the order of operations a bit helped save a bit of time.
Of course, it doesn’t work in every situation. Sometimes it makes more sense to to all the little details as part of the base coats of paint. However, for most models it will be fairly apparent which method works best. And if all else fails, you can always repaint the details later in the process!
Detailing Maschinen Krieger
This Gladiator kit provides a rich palette of things to paint. Adding the stowage to to the side gave even more. I really think a variety of textures, materials, and colors help sell the believability of a scale model. It’s what our eyes see in the real world, so replicating that just registers with our brains.
I think my favorite part of this process was the rust. There’s something quite fun about painting rust effects. While “rust” is just a single word, it covers a wide range of visual presentation. It can be dark or light, streaked and chipped, large and small. And different parts on the same model can have varied looks, which provides even more visual interest.
However you paint and weather your Gladiator, it is a fun kit!
Be sure and check out the full build series for this Gladiator, as well as my other Maschinen Krieger videos.


Leave a Reply