If you’re not having fun, you’re doing it wrong.

Thinning Tamiya Paints – A Mostly Thorough Guide (Mostly)

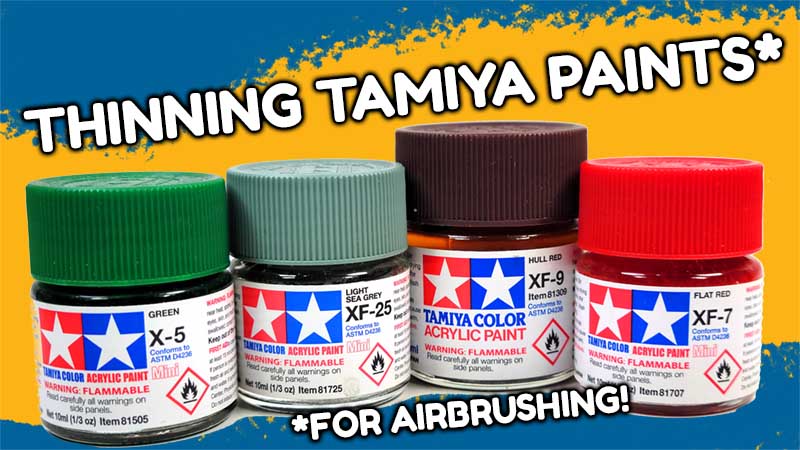
Thinning Tamiya paints for airbrushing is actually very simple. It’s a very forgiving paint, and happily works with a wide range of thinners, ratios, and air pressures.

I’ve always appreciated that about Tamiya’s range of “acrylic” paints. I place quotes there because they are acrylic paints in the a stricter definition of what makes a paint acrylic. However, many modelers think of acrylics as meaning “water-based”, which is not entirely true. Mr. Color lacquer paints are an acrylic also, they’re simply solvent based acrylics.

Tamiya falls into the middle, really. They have both water and compounds that are more lacquer-like in their makeup. I’ve heard Lincoln Wright refer to these paints as “hybrid acrylics”, which reflects their nature better I think.

Thinning Tamiya Paints – Easy Peasy

Many paints require very precise ratios of thinner to paint, with little wiggle room for anything else. Others may be more forgiving of thinner ratios, but often have problems with smooth flow, clean application, and tip dry.

For the most part, Tamiya seems to avoid all of these things. As long as you’re using a thinner that comes reasonably close to being compatible, and thin the paint to something less than potato soup, it will happily spray all day.

This video examines the wide varieties of thinners that I’ve found work well with Tamiya paints, as well as a few that aren’t recommended. Thinning ratios are also examined. I conclude with a few recommendations that should help most any modeler get to airbrushing in no time!

I also have a video that talks about hand brushing Tamiya paints. Your local hobby shop will likely carry Tamiya paints, so be sure and check there first. If you’re looking for an online source, there are many to choose from. One of my favorites is ScaleHobbyist.com.

Comments

6 responses to “Thinning Tamiya Paints – A Mostly Thorough Guide (Mostly)”

  1. really good information
    Thanks

  2. Alastair Green

    Thanks for that.
    Now then cleaning up afterwards?
    Use the cleaner that matches the thinner, or some other thing?
    Thanks
    Alastair

    1. In my cleanup process, I first pour some isopropyl alcohol in the color cup, and swirl it around with an old paint brush, getting into all the places I can. I then pour that out into a waste jar. I do this as many times as is needed so their is only a trace of color left in the alcohol… usually 2-3 times. Then I pour the color cup fill with the alcohol, and blow that through the airbrush until it is empty, rocking the trigger back and forth a few times. Once I’ve done that, I will put whatever thinner I have that is the strongest into the airbrush, about half the cup, and blow that through. Normally that is Mr. Color Leveling Thinner, but Tamiya Lacquer thinner or the X-20A works too. The point being that the last thinner through the color cup should be the strongest.

      Doing it this way saves money, as most of the first steps are just going in the waste jar anyway. You could use the specific brand thinner, of course. But I’ve found using the alcohol for the initial steps works fine.

      I hope that helps! Thanks for watching. 🙂

  3. TomCat

    Great video 🙂 One interesting thing that I’ve found is that Tamiya Lacquer Thinner comes in two variants, the bottle label looks a little different. At first I was thinking ok this bottle is a little older batch and this one is newer but actually the one with a little droplet icon on the label has some retarder in it and the other one apparently doesn’t. I am not sure how exactly the Retarder Type matches up against Mr. Leveling Thinner, they should be pretty close, but because I like Tamiya so much 🙂 my “weapon of choice” for Lacquers and Acrylics is the Lacquer Thinner Retarder Type (y)

    1. Thanks!

      You can go wrong buying Tamiya, that’s for sure. 🙂

Leave a Reply

Your email address will not be published. Required fields are marked *

More posts