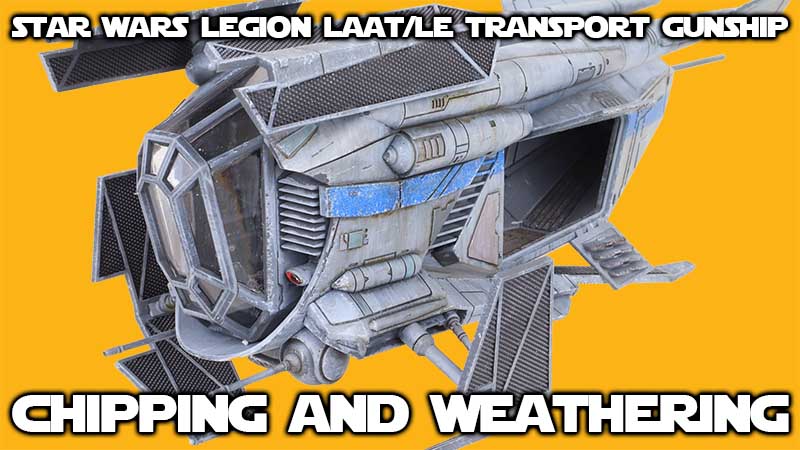
The final weathering stages of any model are a bit of a nerve wracking time for me. The model is at a point that it looks mostly finished, with just a few touches needed. The trick is finding the point in the continuum between “not quite enough” and “whoa, you completely overdid that!”
I’m getting better at staying more towards the middle of that zone. In fact, I’ve found I like to stay closer to the “not quite enough” rather than run up to the edge of the overdone cliff. Sometimes those rocks on the edge give way… and there we go. Disciplining myself to use a lighter touch has helped immensely.
The Final Weathering
For the chipping, I used a lower contrast/lower opacity approach for the lighter chips. This involves making sure the paint is thinned down fairly well. Combined with a color that is low contrast, it allows for a more natural look for the first layer of chips. The lower visibility means that adding a bit much is forgivable. Even heavily chipped it still looks “right” to my eye.
The darker chips can then be used to determine how much of the chipping jumps out at the viewer. Add in a lot, and it looks heavily chipped. Add in a few, and it’s not so stark, yet still conveys a logical appearance.
The same applies to stains, streaks, and leaks. Lowering the opacity allows for more to be placed without being overly jarring, yet rewards the viewer who gives close examination with lots of little details.
But however you weather your models, make sure to focus on having fun and enjoying the ride!
Be sure and check out all of the episodes in this build series, as well as all the Tabletop Gaming videos that are available.


Leave a Reply