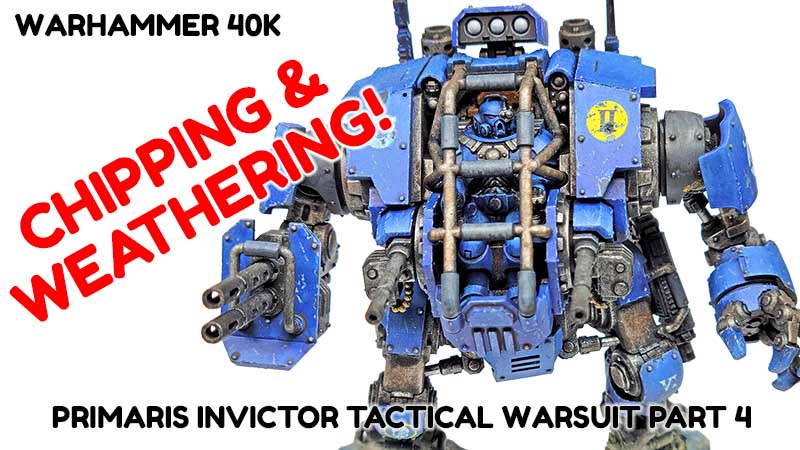
Chipping and weathering is such a fun part of any model build. It’s hard to say if it’s my favorite part, because on some models other aspects may come to the front. But generally, the chipping and weathering process is one of my main reasons for even building models.
I guess not a lot has changed since I was a kid. Getting into the dirt and mud was always a fun part of just about anything I did. And if no dirt or mud was involved, I would find a way to bring it in.
So all along throughout this build, I was looking forward to this part.
Chipping and weathering
One of the best things about building Warhammer 40K kits is how well they take to weathering. The number of greeblies, details, lumps, bumps, and angles screams “weather me!” And given that they are so unique and cool looking, I love working on them. If someone told me “you can only build Warhammer 40K from now on”, I’d be OK with it.
For this model, I decided (as I often to) to keep the techniques simple. While I am comfortable applying quite detailed and intricate weathering, I like the simplicity of a few simple steps. Chipping and weathering don’t have to be giant swaths of color and product application. A little here of this, a dab there of that. Before long the total effect takes on a look greater than the sum of its parts.
It’s not really an attempt to avoid overweathering though. It’s really about having fun. There is a satisfaction, I think, derived from simplicity. Keeping it fun and fast – yet acheiving a pleasing result that looks good – always wins in my book!
You might also be interested in other tabletop gaming subjects I’ve covered.


Leave a Reply