My daughter was so excited to be at the amusement park. We’d been there several times before, but she’d always come away disappointed to a certain extent. She wanted to ride the “grown-up” rides so badly… but she always failed the “you must be this tall” test. Each ride had a sign, usually with some themed character holding out their hand. If you could pass under their hand without whacking your forehead, no ride joy for you. Come back next year.
This year, however, was different. She’d grown taller, standing a good head above her peers. The previous time we’d been, she had just missed the cut. But she knew this would be different. No more “you must be this tall” to worry about. She was now tall enough.
Getting To The Ride
She picked one of the biggest, baddest roller coasters in the park. It climbed up high, then dropped at an impossible angle, almost straight down. The riders sat in seats, legs dangling free. After it dropped, there were corkscrews and sharp turns, twists and dives, and even a spiral through an enclosed tunnel.
As a veteran roller coaster rider, I was of course looking forward to it. However, now that she was tall enough… I wondered what she’d actually think. Sometimes things look fun from the outside, but once you get in, the story may be a bit different.
As we got to the ride’s entrance, she excitedly stood next to the sign. Sure enough, she had grown… well past the grinning characters hand. “Look daddy! I’m tall enough!”
“Yes you are sweetie! Yes you are! Let’s get in line.” I smiled to myself. Seeing her excitement was far better than any ride.
So for the next 45 minutes, we stood in line.
Facing Reality
Once we finally made it to the front of the line, I guided us to the line that would be a few seats back from the very front. While I loved being the lead screamer, given that this was her first roller coaster ride, I decided to play it a bit safe. A few rows back would be good enough.
The entire time we’d been standing in line, she’d been talking about how fun the ride would be. I actually began to fear she might build it up so large in her mind that the reality would not be quite so impressive. While the ride was amazing looking, her expectations seemed to have launched it into the realms of a journey to the moon.
However, as we got near the front of the line, she got quieter. By the time we stood on the deck, waiting for the car to pull in place so we could load on, she was silent. I could see her eyes were a bit wide.
“You OK sweetie?”
“Yeah daddy. I’m fine.”
Here We Go
We sat down in the seats, and the attendant’s pushed down the heavy, padded shoulder harnesses that eld us in. Though she’d passed the “you must be this tall” test, as she sat next to me, I began to wonder if a few more inches of growth might not have been warranted. With visions of her flying through the air over my wife’s head (she was and is not a roller coaster rider), I reached over and made sure the lock was tight. If nothing else, I thought, I’d wedge my arm through the thing. If it went, it would have to take my arm with it. “Look honey… I tried to hold it down. I have no arm left.” 🙂
With everyone (hopefully_ locked in place, the ride lurched forward. At first we rolled along on level track, through some trees. Then things angled up, and we began to climb. As we rose up above the tops of the trees, I looked over at her. She was gripping the shoulder pads tight. Her mouth was drawn tight enough to almost invert on itself. I’m wasn’t entirely sure she was even breathing.
“You OK over there, Baby Girl?” This time I got only a nod.
We reached the top, and the first riders began to slowly go over. It seemed as though there were a brief pause… arms went up in a few places… and then the plunge started.
Here we go.
Another Day, Another Knight
I’d built Citadel’s Imperial Knight towards the end of 2018, and I really, really enjoyed the kit. It was not only impressive for its size when compared to other miniatures from the Warhammer 40K game, but also for the sheer level of detail engineered into the kit. George Lucas and ILM would have trouble keeping up with the greebly count on this thing.
That kit had come in a double boxing, loaded with enough plastic to build two of the behemoths. The first one was done in a canon color scheme. However, this second one would be in a special scheme, built for a brother paratrooper.
An Intersting Proposal
My friend had served in the 1/505th Parachute Infantry Regiment, part of the 82nd Airborne Division. At the time, he was stationed at Fort Bragg, just as I was. However, I was in a Psyop unit, part of Army Special Operations Command. So we never met during our time of service – though we did later discover we’d “chewed the same dirt” so to speak.
Happily, 25 years later, the hobby of plastic modeling brought us together. He let it be known that he’d love to see what I could do with an Imperial Knight. I’d always wanted to do a Knight, too… but the kit’s were quite expensive. Then a wonderful thing happened.
He had two kits. maybe we could work something out? Without waiting for him to change his mind, I said “GO!” 😉
Planning A Scheme

For his Knight, I suggested a special color scheme. Rather than going for the cannon colors, how about a special 82nd Airborne version?
I found a line drawing of a Knight online, and brought it into Photoshop. I played with various colors and layouts, looking for a scheme that would seem right in the 40K universe, yet also pay homage to the “All American” Division, as they are called.
Google helped supply various graphical elements that could be incorporated into the sign. Airborne wings would have to be part of it, of course. The Regiment’s heraldry needed to be present also. Throughout the variations I worked on, a design that I thought looked pretty good began to emerge.
narrowing it down to a couple of schemes, I let him pick. Happily, he chose the one I liked the best. I knew some of the elements would be a little tricky to pull off, requiring either custom decals or careful hand painting.
But the Airborne community is a strong one. For a brother paratrooper, I’d make it happen.
Building The Frame
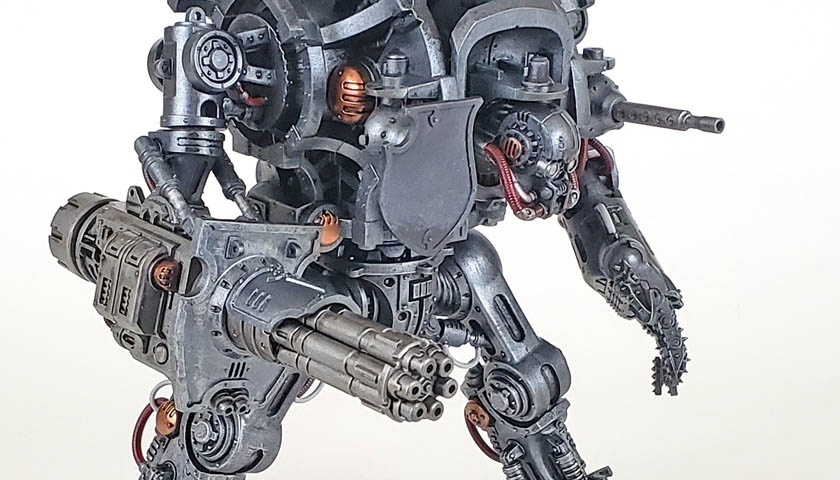
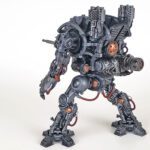
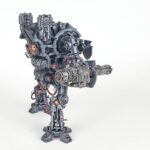
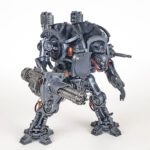
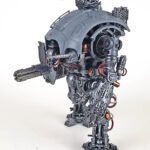
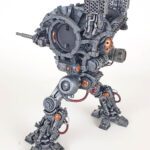
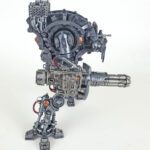
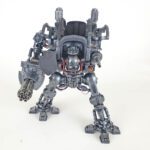
In my previous build of the Knight, I’d gone with a fairly canon frame color, using the tried-and-true Leadbelcher-Nuln Oil-Runefang Steel method of finish. It did look good, no doubt. That combination works well together.
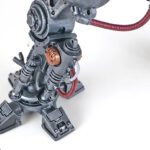
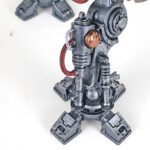
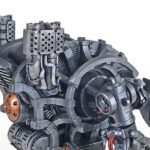
However, for this one, I chose Vallejo Model Color Oily Steel for the frame. I felt it looked somewhat close in appearance to the M-16 rifles we both used in our Army days. A bit shinier, of course, but i felt the association worked.
I first primed the model in black, using Badger Stynylrez primer. Over this, I did a “wet brush” of the Oily Steel. The motion of application works much like drybrushing, but because the brush itself has more paint loaded in, it more fully covers the model. This technique works really well with acrylic metal colors. Though not quite as smooth as airbrushing, it gives a very smooth yet steely look.
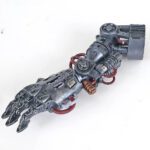
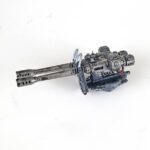
I decided to do the weapons in the traditional Leadbelcher, however. I felt that using two different metallic colors would impart some additional visual interest – as if the frame was a special one, and not just run of the mill.
Additional parts were picked out in various metallic colors, as well as some red and off white.
Start The Weathering
I decided to do minimal weathering at this stage, focusing mostly on application of shades and a few streaks here and there in harder to reach places. I’d learned this from the first Knight I built. Much of the inner frame will be covered by armor, so most of the weathering can be held off until after the armor is applied. This saves a bit of time, and let’s it all be grimied up in a more natural way.
I used a watered down application of Nuln Oil Gloss all over the frame, giving it an oily, grimy appearance. A second heavy coat was more carefully applied, this application being designed to deepen shadows, and make the raised detail stand out a bit. Additional drybrushing helped pop edges out a bit.
I glued the legs and waist unit together, and then the upper torso to that. The Gatling gun on the right arm was set in place temporarily for photos, so it will be easier to paint later. Both arms are just loose fitted, no glue being used. This will help with later painting and weathering also.
Sheer Terror And The Moment Of Truth
As our section of the ride nosed over and headed down, my daughter began to scream… and unearthly shriek that I was quite sure was sending whales in the North Atlantic into panic mode. One of the riders in front of us actually turned around and looked back, wondering what was making such noise.
Each time I looked over, her eyes were closed tight, her knuckles white from gripping the shoulder brace, and the continual scream… it just went on. Almost as if she never even inhaled. As the ride would hit a “gentler” section, she’d briefly open her eyes just a bit, only to shut them tightly again and the shriek would increase in intensity.
By this time I was quite convinced that I’d done some form of damage to her. I was already rehearsing in my head what I’d tell my wife.
Finally, the ride slowed down. We cruised into the “station”, and the shoulder harness popped up. Without a word, she filed out, and headed very purposefully towards the exit. Catching up with her, I grabbed hold of her to slow her own. “Sweetie, are you OK?”
She turned to me – eyes bright and wide, a huge smile on her face. In a determined, excited voice, she said loudly “AGAIN! LET’S DO IT AGAIN!”
Worth Repeating
I’ve built a lot of repeat kits. Spitfires, P-40s, P-39s, you name it. But the reason I am OK with doing them over and over is for a simple reason – it’s fun. For several reasons.
One, the more you build a kit, the less brain power is needed for the actual build process. You have that down. The focus is on the fun part – painting and weathering. Second, it allows for a variety of schemes to be applied to the same “palette”.
The final reason is the one that really appeals to me though. While I was happy with the first build, as I work through this one, I have a sense of “do it better”. All of the things I learned only after execution in that first effort are now factored in beforehand in this one. The few things that did frustrate me before have now been sorted out.
We ended up riding that roller coaster 2 or 3 more times. Each time she’d do the same thing – scream bloody murder, keeping her eyes tightly shut. Yet with the completion of each ride, she’d bound off and head for the line again. I’m completely convinced that if they’d have allowed it, she’d have been on that thing repeatedly… to this day. 🙂
Some kits are fun… once. But when one comes along that is so good, you can’t stop at the single experience, I say to as my daughter advised on the roller coaster ride.
Again! Again!
Next up will be the very special paint scheme, and then all the weatherings!

Leave a Reply