Like most towns in the South, and I suppose much of the US, the annual county fair was a pretty big deal. Various livestock would be on display, fresh fruits and vegetables were for sale, and there were stacks of baked goodies everywhere. Sometimes people would put on demonstrations for everything under the sun – making homemade cider, baking an apple pie, training your pig to roll over… you name it, they had it.
Of course, the real reason I went was for the rides. And the carnival food. But mostly the rides.
They were your standard, small town fair rides. The Tilt-A-Whirl – my mom called it the “Vomit Comet”, was one of my favorites. There was usually a rickety roller coaster, and part of the thrill of riding it was hoping all the bolts held together as it rumbled around. Considering some of the folks who worked at the show, it was a wonder that those things didn’t fall apart more than they did.
The food in the “midway” area was amazing. Corn dogs, nachos, cotton candy, caramel apples, and all manner of things deep fried. Thankfully, I had an iron stomach. But I always considered it a personal challenge to see how much I could persuade my friends to eat, and then laugh hysterically when they had a “reversal of fortune” on the Vomit Comet.
Get Your Tickets
In the weeks leading up to the fair, I’d do everything I could to save up my money. I found that I could offer to mow yards dirt cheap – $5 was the going rate – and people took me up on it quickly. Because it was early fall, the grass had pretty much quit growing, but still needed that final “trim” heading into the winter. I could make a few dollars easily, and thus fund my fair trip.
While I always set aside some money for food – minimum mandatory was at least 4 corn dogs – most of my earnings were earmarked for the rides. I don’t recall the per-ticket cost, but each ride called for so many tickets. The little spinning teacups would only set you back one ticket, and while they were kinda cool, regurgitation inducing entertainment took five or more tickets in some cases. So it was fairly standard practice to hit the ticket booth multiple times during the day, until all the money in my pocket was gone.
Perceived Value
One year, a friend and I headed into the ride area of the county fair. After standing in the ticket line for a few minutes, I stepped up to little booth, and started with my “standard” buy, 20 tickets. The lady inside the little red structure asked me a question before giving me my tickets. “Do you want an all day pass? It’s $20.” At first, I thought this sounded crazy. That was an entire large bill… anything above a $5 was “large bill territory” in my mind. I hesitated, not sure what to do.
My friend, who was a few years older, stepped up. “Yeah, he’ll take that. I will too.” Looking over at him with some apprehension, but trusting his maturity (he was 2 years older…), I reluctantly handed over the cash. They strapped a little paper bracelet around me wrist, stamped my hand, and we headed out.
I looked at him with raised eyebrow. “Are you sure that was the ….” He cut me off.
“Trust me dude, this will be way more fun.”
Evaluating A Kit
In talking with other modelers, and evaluating my own buying, it’s not unusual for a kit’s value to be decided based on price or subject. The final determination is generally a balance of those two things. If the subject is desirable, the price tolerance is usually higher. Conversely, when the subject is less favored, the willingness to pay out more dollars goes down. Of course, the sweet spot is to find a subject you like at a price that is low. (Obviously… 😉 )
However, as I’ve gotten older, and have more kits under my belt (or on my spreadsheet to be truthful), I’ve come to the conclusion that a third factor is worth considering, and may in fact be the one that is more important – but oft less considered.
Fun.
Focusing Differently
A few years ago, some very kind friends gave me a very nice, very expensive model kit as a gift. It was one I’d decided I did not want to afford. I could have afforded it by saving up my money. but despite it being a favorite subject, I felt the price point was just too high. Thankfully, I was able to build it anyway due to the kind graciousness of those friends.
The kit took a while to build, having quite a large number of parts. As I built it, the thought began to rummage about my brain that if it weren’t for those friends, I’d have totally missed out on the fun of that model. Yes, I could have had fun with a “lesser” model. I’d have spent less money, yet also invested less time.
But as I built this particular model, the notion of really considering the fun factor began to take shape. Yes, the model was more expensive – far more than I’d ever paid for any other kit. But as I worked on it, hour after hour, I realized that the math of “cost per hour of fun” began to take shape. If I could get a large quantity of enjoyable hours out of a kit, it’s overall value to me went up – and it’s “price per hour” went down.
Building The Big Guy
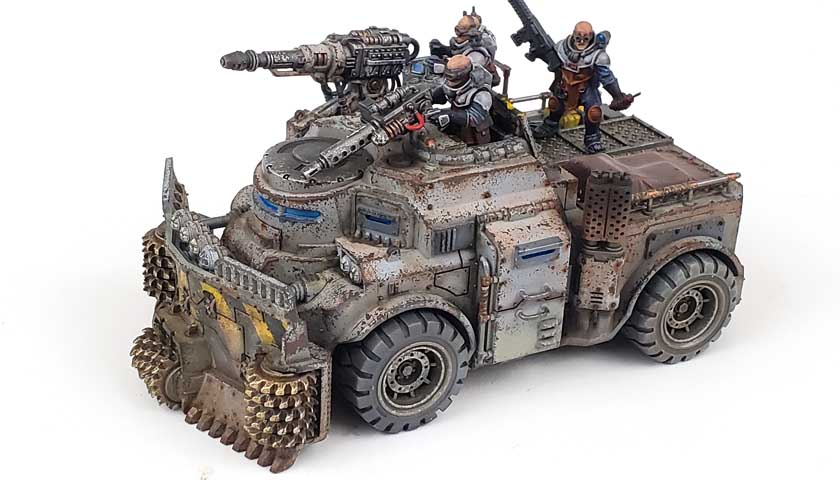
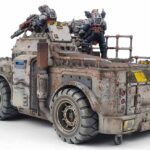
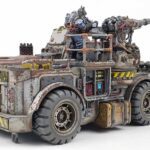
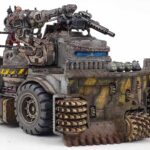
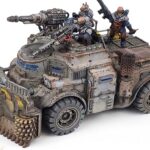
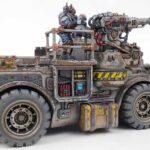
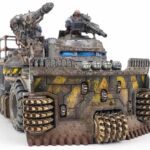
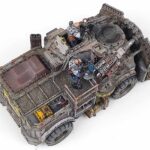
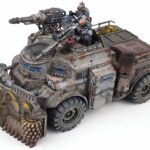
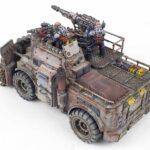
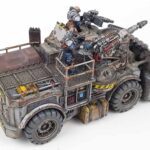
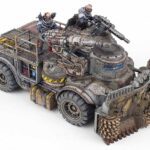
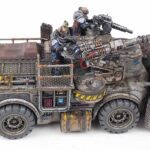
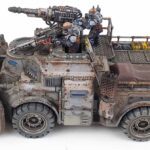
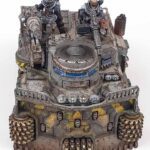
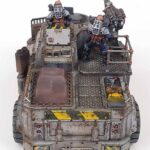
Citadel’s Goliath Rockgrinder is not a large kit, really. While there are a fair number of parts, if you factor out the dozer blade on the front – and its associated “grinders” – there really isn’t a great deal of plastic in the box. So even when purchased at Amazon’s lower than retail price of $51, from a pure dollars and sense (and that spelling is deliberate) standpoint, it might seem a bit pricey to build.
However…
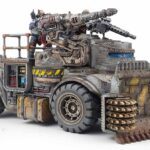
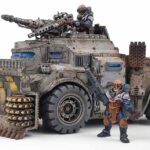
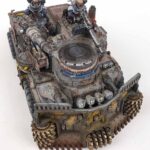
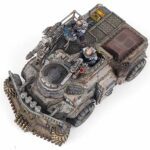
Having now built this kit, I am firmly convinced it represents one of the best “dollar per hour of fun” models I’ve ever built. It has large sections of armor, slabs of steel plate, cloth texture, cast in greeblies, pipes and knobs, knobby tires, big honking guns, and a giant dozer blade with whirling rock crushers hanging off the front. Top all that off with several well sculpted figures, and the whole kit can be built into two different variants.
I think on a per-square-inch basis, this model has more variety across its surface than anything else you can find, scifi or not. And because in the lore its main purpose is as a mining vehicle, it just screams “weather me”!
The Build
As with most Citadel Warhammer kits, the actual build process is fairly straightforward. While the sprue gates are a bit large, thus requiring good cleanup, once those and any mold lines are removed, the fit is excellent. Test fit of course if you build it, but I only needed to do some minor sanding here and there to assure a good fit.
To make later painting and initial weathering easier, I broke the model into these subassemblies:
- Main truck frame
- Forward dozer blade and attachment arms
- Grinder blades
- Main laser mounting
- Laser gun
- Fuel tank
- Tires
- Main gun deck rail
- Commander’s hatch
For the figures, I took different approaches to make painting easier. The figure standing with rifle in hand was assembled fully, though I kept the head separate. (I did this for all the figures in fact.) The figure that controls the main laser was also fully assembled, though I left his control console loose to make later placement easier. (Good call there, too…) For the commander figure, test fitting showed that I could mount his arms to the gun, allowing easy access to paint the torso and arms. I did several dry fits to make sure that once the arms were glued into place on the gun, they could be joined up seamlessly at the end of the build with the torso.
Base Paint
Normally I try to move through base painting quickly. Time spent in this phase of a build eats away at the total time I normally allot to each model to meet my own self-imposed publishing deadlines. But this model has so many sections – large gray areas, stripes on several parts, pipes, dials, gauges, figures… just the base paint requires quite a bit of work, Quite often, in evaluating whether I’ll build a kit for the blog, this will chase me away.
But this kit was quite different. I looked at all those parts much like a bull eyeballs an open door on a fine china shop. This is where the fun is. To heck with the time.
The kit was primed with Tamiya rattle can primer, and then given a coat of Tamiya XF-19 Sky Gray. (Which turned out to be redundant as the colors are so similar…) Vallejo Game Color Yellow Gold was used for the striped areas, and then Vallejo Model Color Black Gray completed the hand painted stripes. I wasn’t too worried about them being absolutely neat, as I knew later weathering and chipping would blur them.
Mechanical parts, guns, and tire rims were treated to Citadel’s Leadbelcher. The tires themselves also were painted in VMC Black Gray, and then the treads coated with VMC German Gray. The VGC Yellow Gold was employed on the fuel tanks parts, and Citadel’s Rhinox Hide was applied to the cloth tarp section.
The various tubes and inset mechanical parts were painted with the Black Gray, and then assorted colors used to make them appear to be hoses of various sorts. All sections were then drybrushed with a lighter color appropriate for the base color.
In all, I spent about 18 to 20 hours on just the base paint – but it was thoroughly enjoyable.
Starting The Weathering
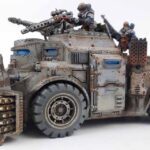
Because this vehicle is first a mining implement, I wanted to make sure it was heavily weathered to reflect that. I started with the basic panel lining, using Ammo’s Starship Filth Oilbrusher. Some was applied straight from the tube, primarily along major sections where two surfaces intersected. Along more minor points, and in the recesses, I placed some of the oil on a palette and used a smaller brush for application. This was then blended back a bit with a brush damped with odorless thinner. I didn’t want a straight line appearance, but rather a more feathered, grimy look.
Chipping the model followed once the oils were dry. For the gray parts, I started with a mix of VMC German Gray and Neutral Gray, but quickly shifted to pure German Gray. Because I wanted a high contrast look, the mixed color lacked “punch”. The German Gray seemed just right.
This was applied with a sponge, and I didn’t really try to restrain myself. At the same time, I didn’t try to chip all over equally, which I feel tells a deeper story. Perhaps some components have been changed out, or a particular event affected an area more severely than others. While I believe there has to be a certain amount of uniformity for overall consistency, I think it’s more interesting to leave a few elements inconsistent.
Bleeding Rust
I’ve always liked to see rust on models. Sometimes it’s just light touches here and there, while others are literally covered in rust. In observing real vehicles, it’s possible to see many variations of rust’s effects. One of the most interesting to me is what I call “rust bloom”.
You may have seen this too, on tractors and other heavy equipment. A section of paint will chip, and the immediate area will become rusty. As more water gets on the area, it rusts more, and often that orange tint “migrates” to surrounding surfaces that may not actually be rusting. It leaves a sort of “splotched” effect.
To try and replicate this, I used a rust colored Oilbrusher, applied with a small brush. I dabbed it on all over the model, focusing on the areas of chipping. Areas with heavier chipping had more oil applied, and smaller chips had less.
As with the previous oil application, I proceeded to blend the rust color in, allowing it to spread and flow. I used a bit more thinner in this, as I wanted some “capillary flow” to happen that would appear more natural. In a few places, I added more oil to increase the rust effect, while others had it blended almost entirely away.
More Rust
I’ve found I really like using a combination of oils, enamels, and acrylic weathering products across a model. Each brings their own strengths to the table.
I used Vallejo Model Wash in the dark rust color to enhance the rust effect around all the bolts on the model. I thought this not only helped convey the worn nature of the vehicle, but it helped those details really pop.
In some areas I also allowed the wash to flow around the nooks and crannies, which helped the overall look. The dozer blade received a heavier application, as I wanted that to look especially beat up.
Make It Dirty
More Vallejo Model Wash was applied around the model, using the European Dust color. It was applied neat in most of the lower areas of the vehicle, and in some places, two or even three applications were used to build up the color. The same wash was thinned with water, and used as a filter in many areas, and even for some light streaking.
The lowest portions of the dozer blade was given a light application of dark brown pigments, with Vallejo Matte Varnish being applied first to act as a fixer. This allows the pigments to retain some texture, dry flat, and be permanently attached to the model. Before the Matte Varnish set, I blended it in a bit with water, to decrease the opacity.
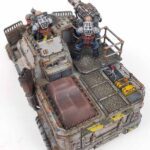
As a final “dirty step”, a heavily thinned solution of Tamiya XF=55 Deck Tan was airbrushed on, the paint being heavily thinned with alcohol. This method allows for the color to be slowly built up, so any level of effect can be achieved. I thought this turned out especially well, and it can be best seen along the lower edges of the yellow fuel tank on the vehicle’s lower right side.
Final Touches
The vision ports were based in silver paint, and then some Ammo Warhead Blue was painted over that. All parts were brought together and glued on to the model, including the crew. I found it necessary to glue the laser’s “control console” on to the railing separately, then position the crewman so the grips in his hands were connected to it. The gun could then be glued on, but it needed to be offset a bit to port so the two would not conflict with each other.
The vehicle commander fit nicely into the open hatch. I dry fitted the gun and arms to the rail, slid him in place, and then added touches of glue, adjusting things as needed to get a good fit. The third figure was left loose so it could be positioned as desired.
With everything together, additional spot applications of all preceding weathering was added to make sure everything seemed all together and “of one piece”.
The Value Proposition
It turned out my friend was right. While most folks were still buying single tickets, trying to budget their fun, we stayed all day and did our best to wear out the rides. If we saw a cool ride with a short line, we just walked onto it, arms held high to show our wristbands. I can’t tell you how many times I rode the Tilt-A-Whirl. Which meant I had way more opportunities to laugh at “reversals of fortune”, all the while trying to remain out of the splash zone.
At the end of the day, some brief mental calculations showed that while I spent more total money than I normally did for the rides, the fact that I had far more hours of fun made it all worthwhile.
More and more I try to approach modeling that way. Yes, it’s important to like a subject, and cost is truly a factor. But when you stop and consider how much enjoyment you’re getting out if it, the picture changes. We’ll easily spend 30+ dollars for a movie and a few snacks – all for two hours of entertainment. How much more valuable is it spend twenty to thirty times more hours on something that only costs a little bit more?
This Warhammer 40K Goliath Rockgrinder is money well spent. The number of hours in hobby enjoyment it delivers more than justifies its price tag in my mind.
And it won’t even upset your stomach. 😉

Leave a Reply