A friend recently asked me to outline the weathering techniques I use. I don’t know that any of these are unique, really. All are either direct copies or adaptations of what I have seen others do. I try to take these various methods and boil them down to the minimum, and then use them as layers to build up weathering on any particular model. I don’t present these as perfect, complete, or without areas for improvement. In fact, three years ago this list was a bit shorter. So I’m always adding to it. But I like this method and this order of application because to me it’s logical, and most important, reproducible.
So here is my “playlist” for weathering an aircraft. I may not use every step on every model though. It depends on how heavily weathered I want it. Or, I may use heavier or lighter applications of any step to enhance a particular effect. I don’t so much look at these as a rote list of steps to be zealously adhered to, but rather as tools in my tool kit to be applied as needed.
These steps assume the airframe is built, seams filled, sanded, and if you prefer to use primer, it is primed and sanded.
*Asterisk indicates the steps I use on every build, even if only in a light application.
- *Put down the basic paint colors. For example, if this were an ETO Spitfire, I’d put the medium sea gray underneath, ocean gray and dark green on top, and add the sky fuselage stripe and yellow leading edge wing markings.
- Apply the dot filter method (if you’re going to use that) to all aircraft surfaces. (Don’t forget gear doors and other elements not yet on the airframe.) My preferred colors are black, burnt umber, raw umber, yellow ochre and white. Be careful with the yellow ochre on lighter surfaces, as it can over-stain things. If you’re weathering an aircraft that is a solid color, you may adjust your palette a bit. For example, using lighter and darker blues works better on an all blue US Navy aircraft, but avoid greens and yellows. On a OD aircraft, adding in some greens helps, but blue may be too obvious.
- *Apply paint chipping. My preferred method is using a Prismacolor Silver pencil.
- *Apply a coat of Future/gloss coat so the surface is glossy and smooth
- *Apply decals. After application of a decal, I use a cotton bud and small piece of paper towel to work out all moisture. I then apply a heavy coat of Solvaset to the decal. After drying for 15-30 minutes, I drag a new #11 blade through any panel lines and apply more Solvaset. I check it again later and give a second pass with the #11 blade and more Solvaset if needed.
- *Apply more Future, mainly to seal the decals.
- *Apply a panel wash of artist oils thinned with turpenoid. I generally use burnt umber for the color, though on darker aircraft, I may use a lighter gray color. I’ll also use the thinned oils to create larger areas of oil stains, often applying drops and blowing on it to simulate how it runs.
- *Using Tamiya Deck Tan heavily thinned with alcohol (roughly 90/10), I apply post-fading. I don’t do the traditional method of lightening the center of every panel, but instead “scribble” random lines all over the airframe. I also mist a light coat on the decals to dull them up. I use this color to apply some exhaust staining too. This color is also good for lightening the contact surface of tires.
- *Using 2 parts Tamiya NATO Black and 1 part Tamiya Hull Red, heavily thinned with alcohol, I apply a post shade to the panel lines. Depending on the look you are going for, this can be heavy or light. I also use this to apply some oil streaking effects, gun smoke effect from shell ejection chutes, and add to the exhaust staining.
- Using burnt umber artist oil, I will apply tiny dots of oil paint for stains and oil streaks, using a stiff brush in short, flicking motions to create stain streaks. I don’t use any thinner for this.
- Apply any weathering powders or chalks. I normally use pastel chalks- mostly browns- to add dirt effects. This is especially useful for where dirt kicks up on the underside.
- Bonus technique- If you really want to dirty up a plane, make a very thin wash of burnt umber and use a thick brush and plastic ruler or other hard, flat surface and “flick” the brush slowly across that surface, aiming at the model. This will produce a very nice, random pattern of splotches to simulate oil, dirt, stains, etc. It can be concentrated in areas to make it heavier.
- *Go back and touch up the paint chipping if it was “toned down” too much in previous steps. This can also give a nice effect that shows older and newer chipping areas.
- *Once it’s all dry, I seal it with Vallejo Matt Varnish.
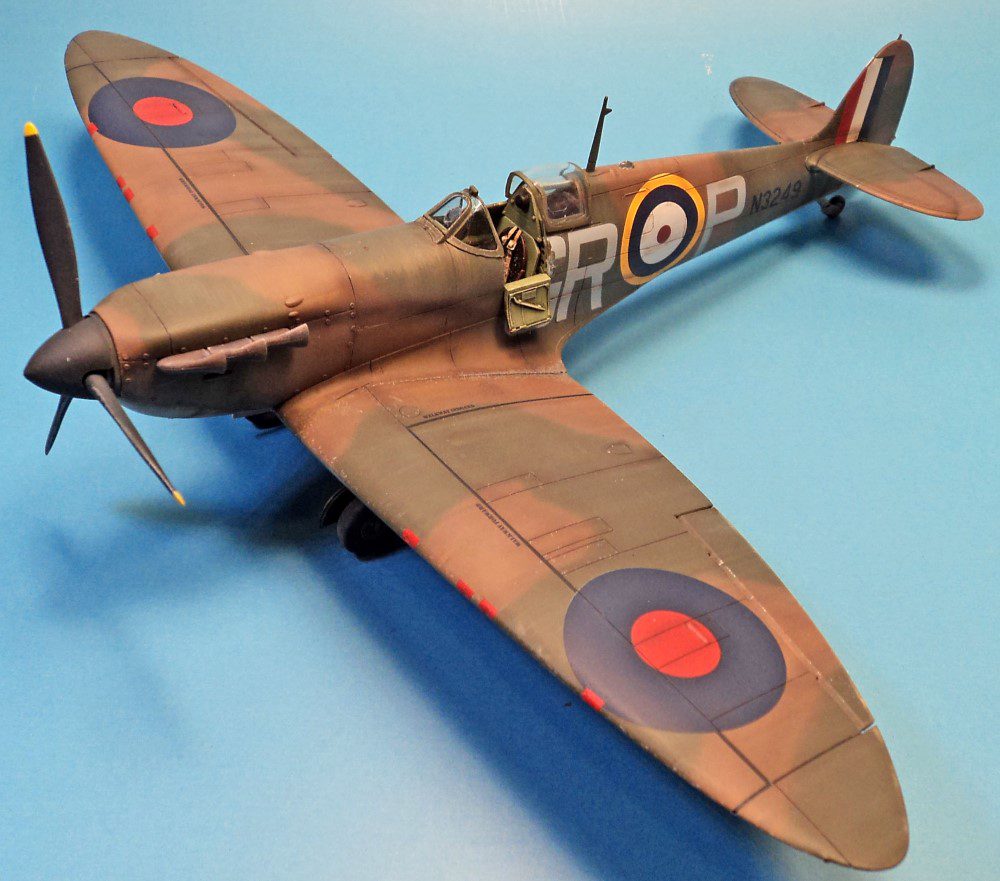
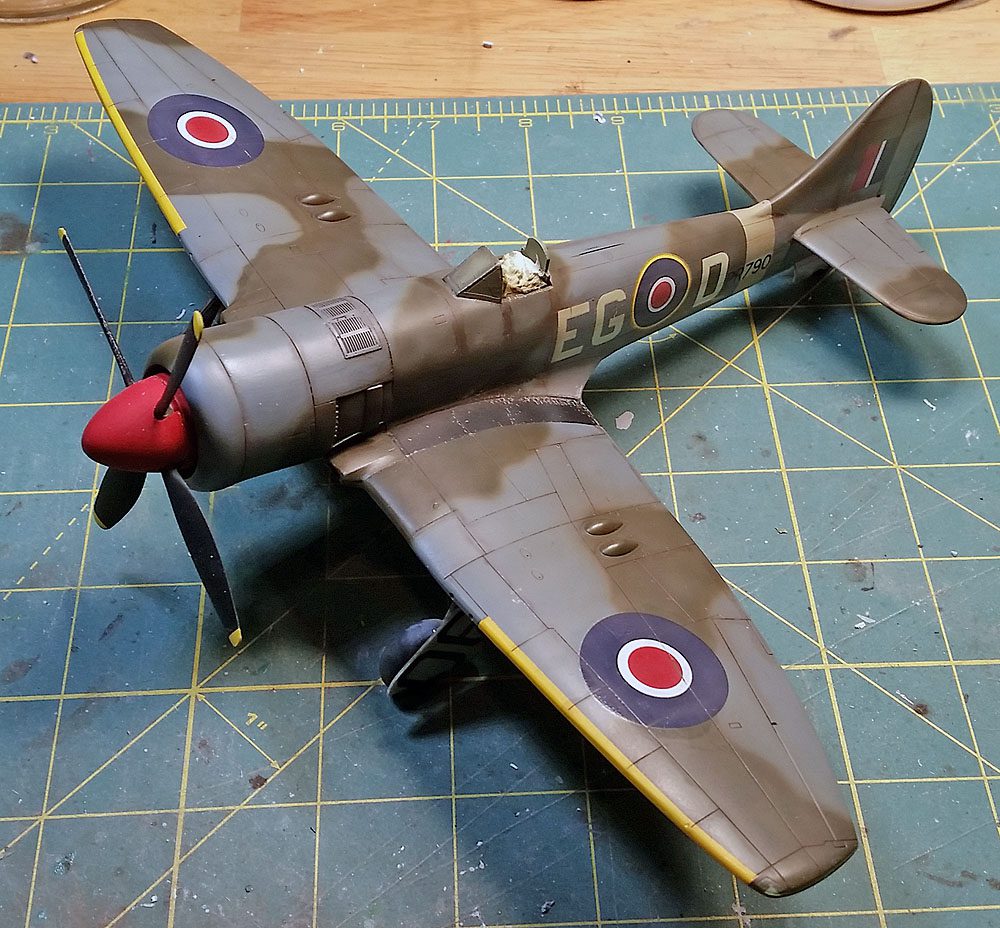
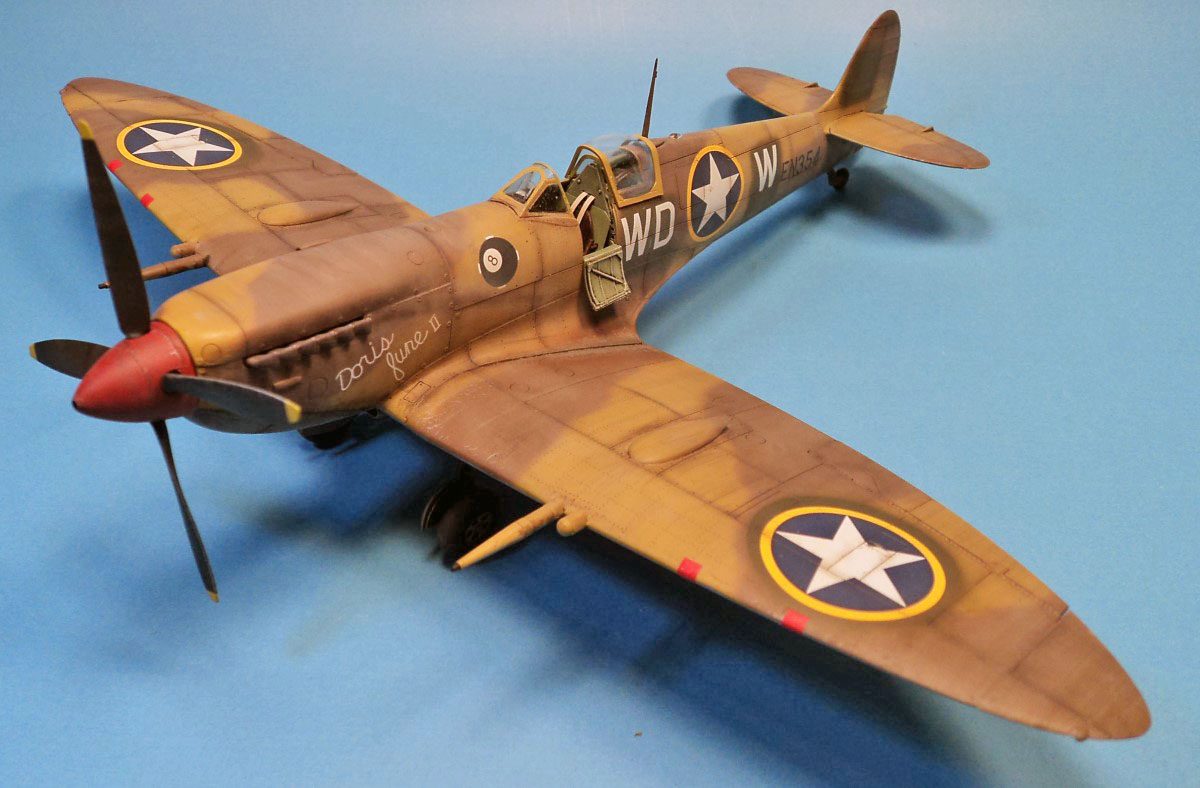
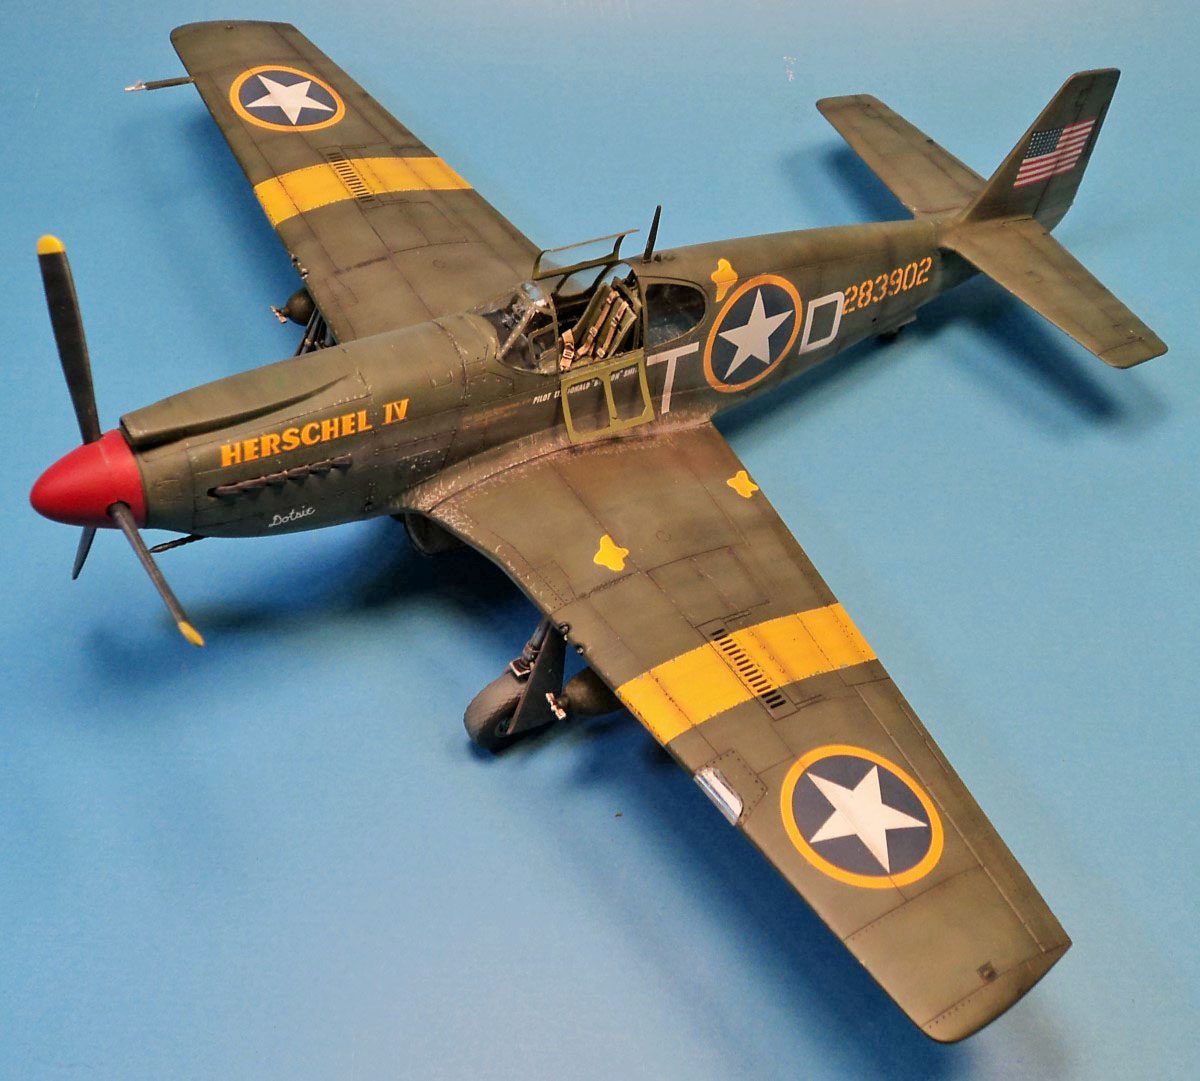
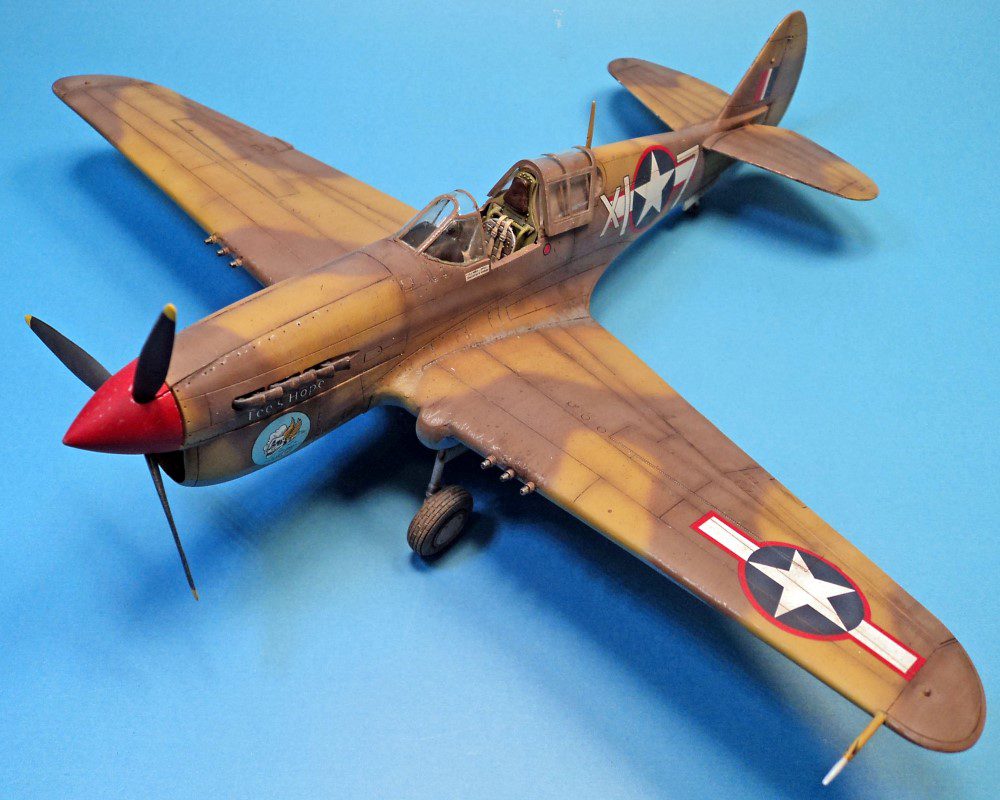
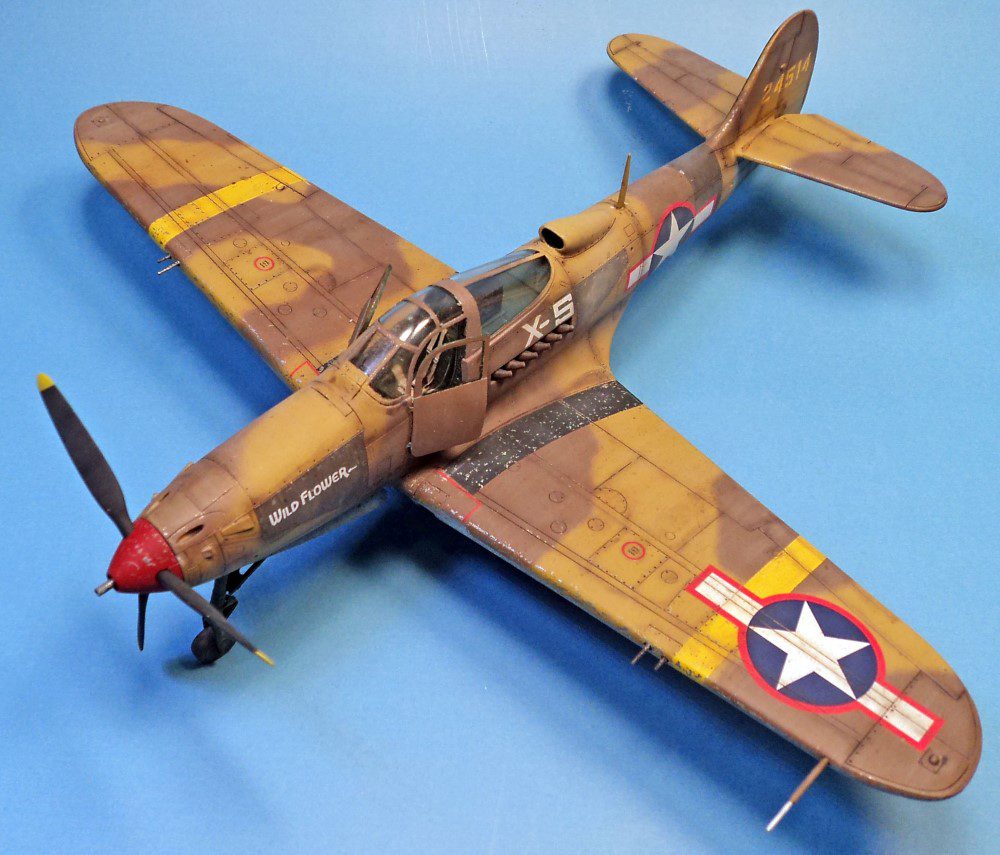
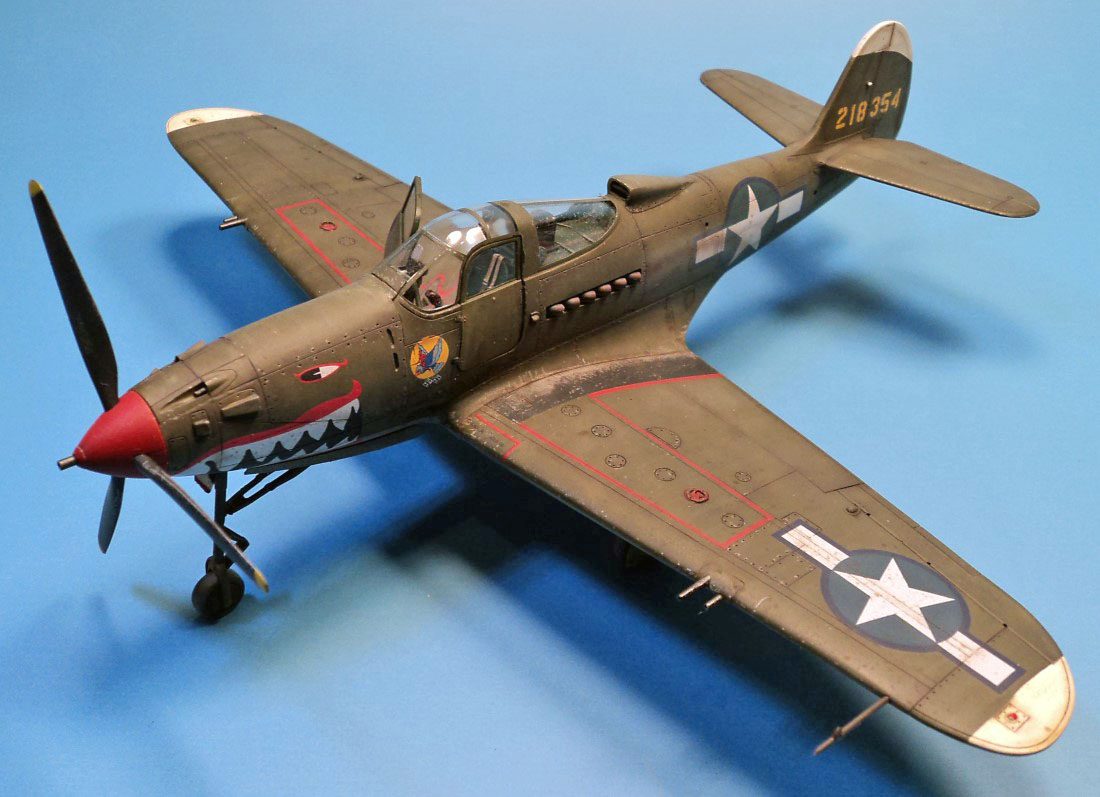
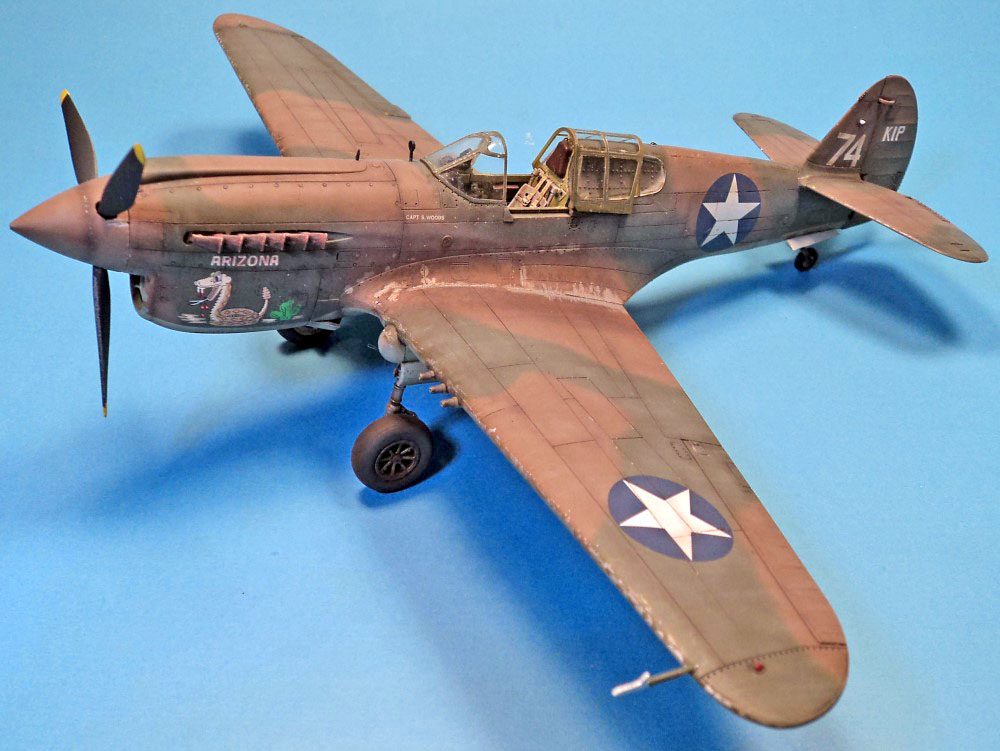
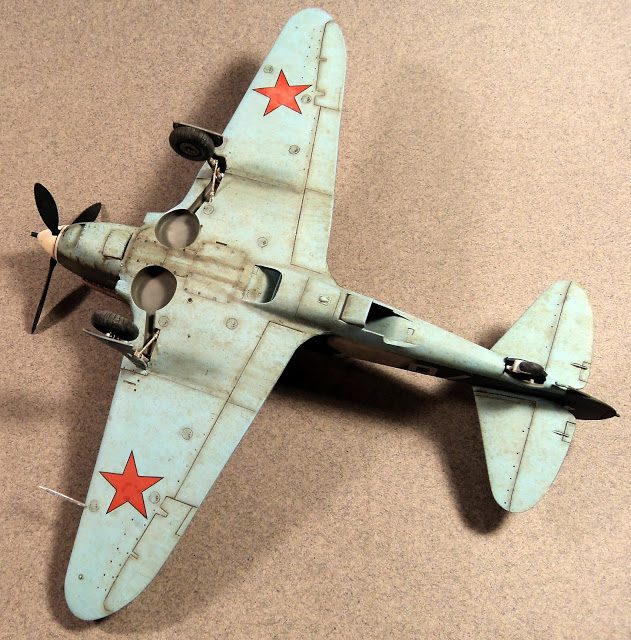
Here are some examples of models that have various levels of weathering using the above techniques.

Leave a Reply