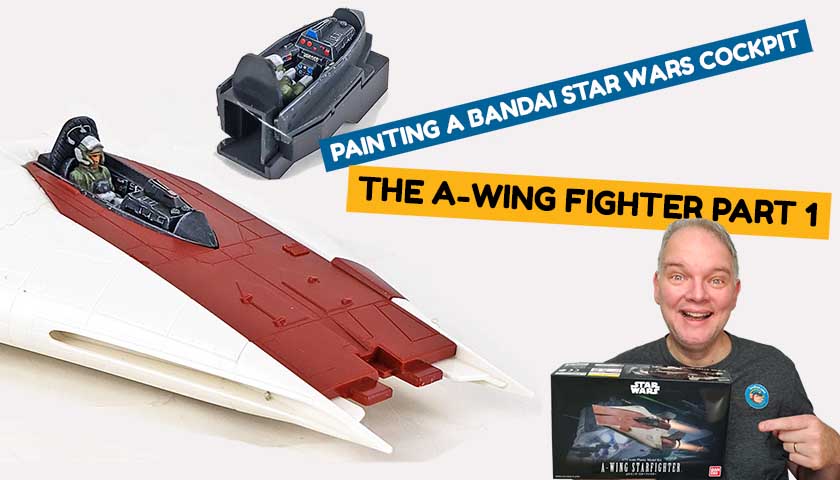
I really enjoy painting a Star Wars cockpit. Especially when it’s a Bandai Star Wars kit. In many ways, it takes me back to my childhood, when I first sat mesmerized as a 10-year-old watching Luke piloting his X-Wing Fighter in his quest to destroy the Death Star. (Spoiler alert: He succeeded. 😉 )
So when I work on any Star Wars cockpit, the kid in me is still imagining sitting in it, zipping through space, blasting the bad guys from the cosmos. (The 10-year-old version of Jon never imagined being part of the Empire… even when he was being bad by not eating his peas or cleaning his room.)
Painting A Star Wars Cockpit – Keep It Simple
The great thing about the Bandai kits is how simple yet detailed they are. While only consisting of a few pieces, each has enough detail that a good looking representation of the movie vehicle can be built up. And regardless of where some basic paint and drybrush techniques are employed, or if you decide to go all out and add detail and apply in-depth finishing to them, they simply end up looking great.
For this one, I stuck with the simpler approach, as I’d done on a previous build of the A-Wing Fighter. Some high contrast dry-brushing, a few dots of color for the dials, and a simple paint job on the figure will yield a starfighter office that looks pretty good once the canopy is in place.
These Bandai Star Wars kits are loads of fun. I think the A-Wing kit is my favorite of the “alphabet soup” fighters, and it is an excellent choice for a first model, or for a very experienced builder. They can be hard to find, though, so you may want to keep your eye on Ebay, or other sources for models.
But no matter what universe you are in, you’ll have fun with it!


Leave a Reply