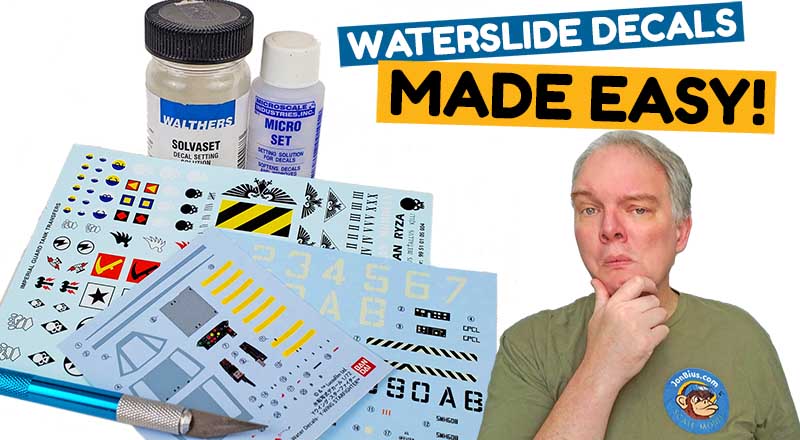
Applying waterslide decals is something that many models are a bit intimidated by. But as with anything in our hobby, knowing the tools, a few best-practice tips, and a quick demonstration, will help you start slapping those decals on in no time.
Adding decals to your models really does help bring out the most in the final look. They can be applied to virtually any kit from any genre. It might be national marking, squadron markings, stencils, decorative elements, or anything else.
In some cases, it can be easy enough to make (or purchase) masks that allow markings to be painted on. Yet in many cases, very intricate or small designs make that option impossible.
Applying Waterslide Decals – Anytime!
Sometimes models don’t come with waterslide decals. To prepare for times like that, it can be a good practice to hang on to decals from your old builds. You never know when something from one model may work nicely on another. Even if it’s a completely different style or genre.
And of course there are thousands of aftermarket decals available, suitable for just about any project. When I was building aircraft, I amassed quite a collection of waterslide decals. I have them arranged in notebooks, filed by nationality and aircraft type.
Even though I am no longer building aircraft, I can still draw on all of these decals. They provide lots of really cool visuals to my scifi models. Whether it’s nose art, unit ID letters or numbers, or simply lots of little stencils and warning markings, they come in very handy.
This video also takes a look at some common problems that you may encounter. With a few simple steps, most problems can be resolved very easily. And if not – there’s always weathering to add, right? 😉
I hope this video will help you with applying your decals to your models. Whether you are a beginner, or advanced, I think there will something her for everyone.


Leave a Reply