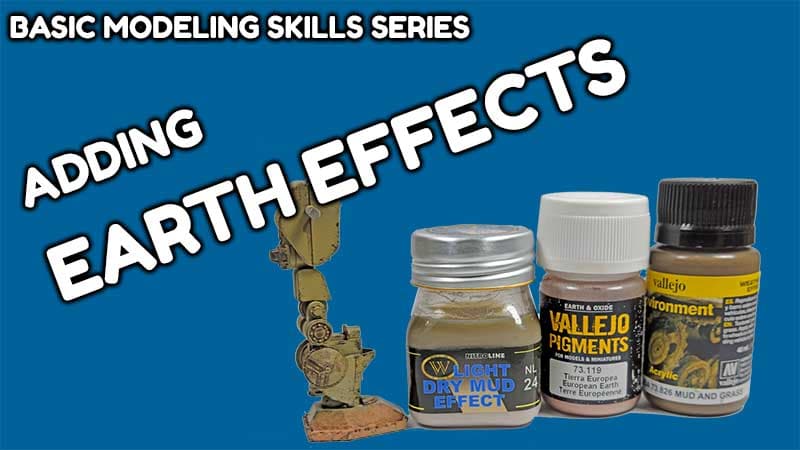
Adding earth effects to your models is in many ways the “bow” that ties the package altogether. Perhaps a dirty, dusty one, but a final wrapping nonetheless.
What’s so great about the process is there are examples everywhere. We can simply go outside to a park, or in our yard. Looking at building, cars, and other objects will show the effects of dust. The same things give us mud and dirt to examine, and we can see it on the ground. We can even pick it up, examine it closely – and in some cases use it right on our models!
Adding Earth Effects To Your Models
For the scale modeler, there are dozens if not hundreds of available products. We can find them in a wide variety of mediums too – oils, enamels, acrylics, pigments, and more. In each type of medium there are different textures too. Some are smooth, others have a slightly grainy effect, while some provide large grained mud effects that can give plenty of texture to the model.
Additionally, pigments can be used to create texture with any type of medium – oil, enamel, or acrylic. I often use dirt from my backyard too. After sifting it, baking it in the oven on low heat, and then sifting again, it’s a great, low budget way to add real dirt effects.
As with any modeling technique, the key to proficiency is to get started adding earth effects to a model. While at first it may not look exactly as you’d hope, repeating the process on additional models, and learning from each iteration, will help refine your process in no time.
In the end, you’ll be rewarded with realistically dusty, dirty, and muddy models that showcases the environment that your model operates in.
For more videos in the Basic Skills Series, check out this section of the website.


Leave a Reply