I was really excited to see news a few months back of Italeri’s release of a new-tool Hurricane Mk. I. I’ve always liked Hurricanes, stemming from seeing the movie “Battle of Britain” when I was a kid. They have a chunky, brutish look to them, yet with an elegant profile. Though I will certainly always give the nod to the Spitfire in terms of beauty, the Hurricane certainly has a classic profile. And what’s more important, its role in WWII was tremendous, though it has never received the credit it deserved as an airframe for the role it played early in the war, especially during the Battle of Britain.
I’d seen photos of the sprues online, so I felt fairly comfortable with what I was getting. I did think it’s price was a bit high, even for a new tool, at US$42. And though I rarely pay more than $25 for a kit, I decided to splurge a bit and get it when I saw it at my favorite hobby shop in the world, Hayes Hobby House in Fayetteville, NC.
Once I had the box open and examined the pieces, I was impressed by how nice it all looked. I did feel like the cockpit was a bit too sparse on the detailing, given the price point, but I’m not one to worry too much about that. Overall, I was very impressed with the plastic. The parts engineering on the lower fuselage made it clear that a Sea Hurricane version was coming, and since I completed the build, such a release has been announced. All control surfaces are separate, and the canopy is engineered to sit nicely when opened up.
The decals are gorgeous. Six options are provided, all printed by Cartograph. A small photoetch fret is included. The kit also comes with a mini-book that has some photos and history of the aircraft. It’s a nice touch- but more on that later.
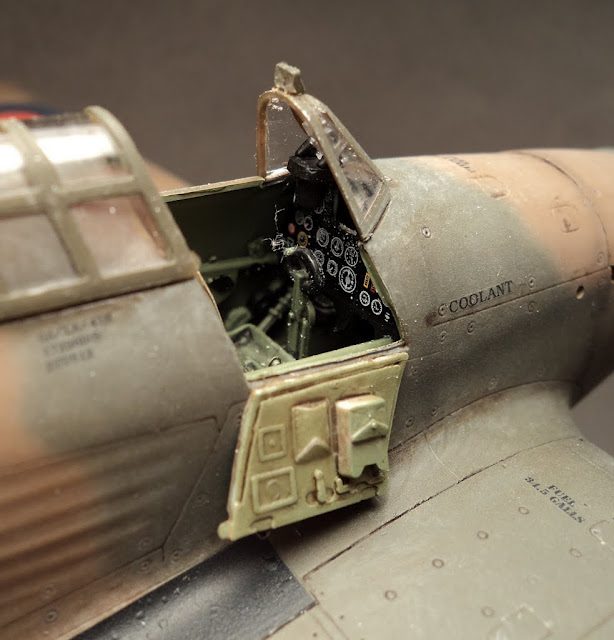
Assembly of the cockpit is very straight forward. One glitch I ran into was that the IP decal did not line up correctly with the photoetch face of the instrument panel. As the photoetch part did not have a lot of detail, I simply left it off and just applied the decal to the plastic IP face itself, which worked out fine.
Another photoetch issue was the shoulder belts. They are the Sutton-type harness, and have a bit of a “horseshoe” shape to them. Off the fret, they are simply to wide to fit the seat. Even with annealing, it took quite a bit of scrunching and folding to get them to work right. In the end, they looked good, but were a bit of a pain. If I’d have had a spare set of Eduard belts, I would have used those in a heartbeat.
The kit comes with an engine, but I decided to close the cowl up. The engine is very basic, and if you really wanted to show it off, it would need quite a bit of additional work. Out of the box I don’t know that it would be very impressive to show it off, even if well painted.
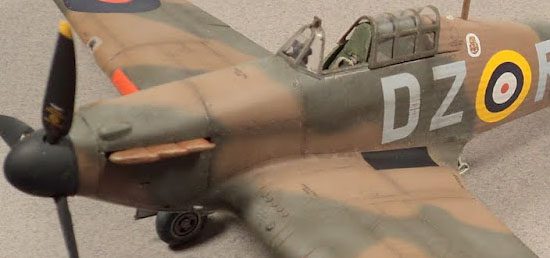
Having decided to close the cowl, I was sorely disappointed to find that the upper cowl piece did not fit quite right. The forward edges, where it meet the fuselage, did not line up correctly. It was a bit too wide, basically. With a little sanding it was made workable, but because of the placement of two bulges on the forward part of the cowl, it made getting a perfect fit beyond the amount of work I thought was worth doing. It looks OK on the completed model, but close examination will show the issue.
The fit of the fuselage itself was just fine, so with all closed up, I went to work on the wings.
Ah, the wings.
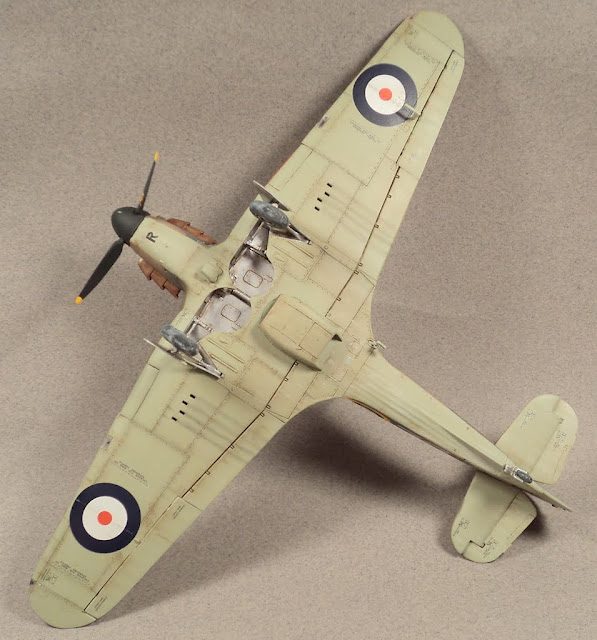
My typical procedure for putting wings on is to test which method will give the best fit at the wing root. The “normal” method of gluing the upper wing portions to the lower wings showed that doing so would leave a fairly significant gap at the root. Test fitting the upper wing half to the fuselage showed it could be done with no gap at all. Doing this method usually results in the gap being shifted to the wing tips, which is much easier to deal with.
What I did not find until it was too late was that once the upper wing parts were glued to the fuselage and the lower wing was applied, a gap of almost 1/8th of an inch was staring at me right at the forward edge of the wing, right near the fuselage join. No amount of clamping, sanding, or any other method seemed to take care of the problem. In the end, I stuffed it full of CA and sanded it down.
Next up were the gun inserts. I don’t know why they used inserts for the guns on this Mk. I kit, unless there are plans to use the same wing for a Mk. IIc with cannons. In any event, they were a bit undersized. I lined them up on the upper part of the wing, and did some gap filling on the lower part. At this point of the build, I decided not to sweat it and simply got it to the “good enough- who looks at the underside of a kit anyway” stage.
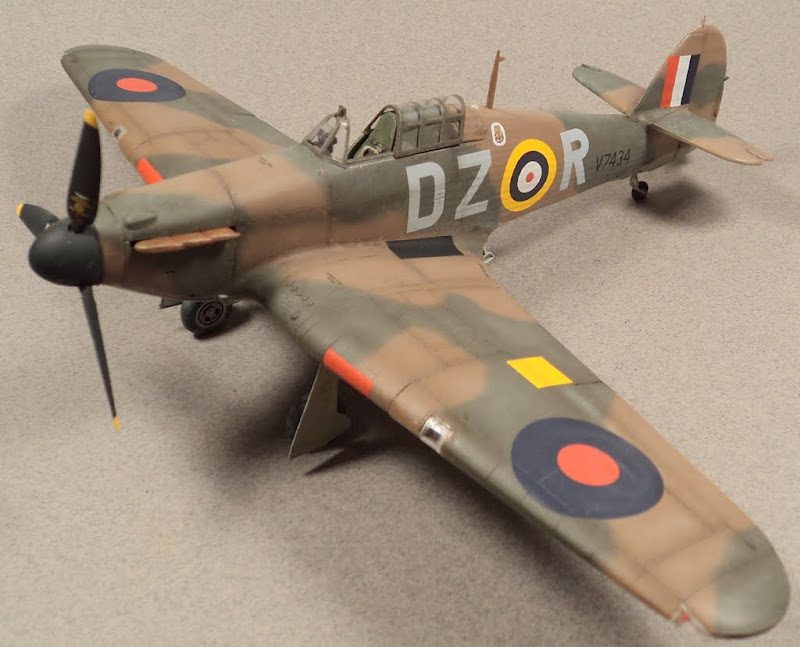
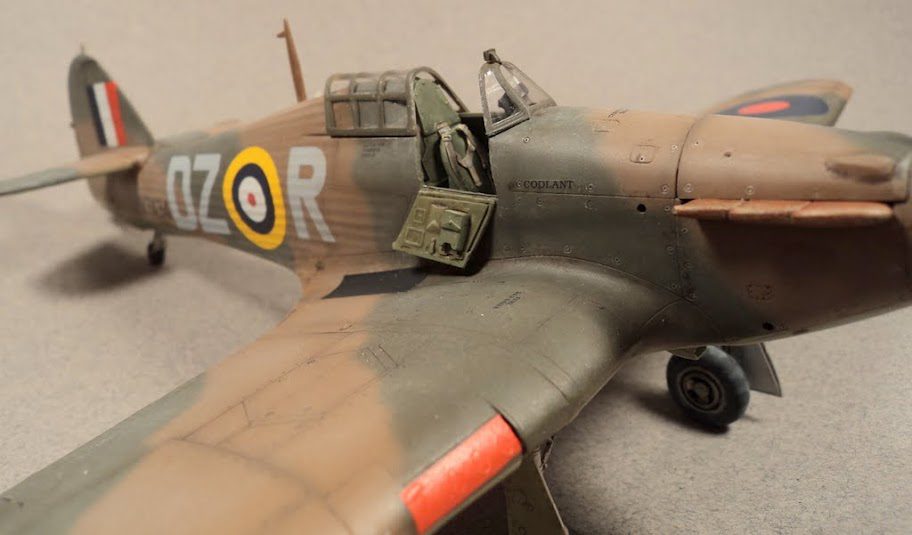
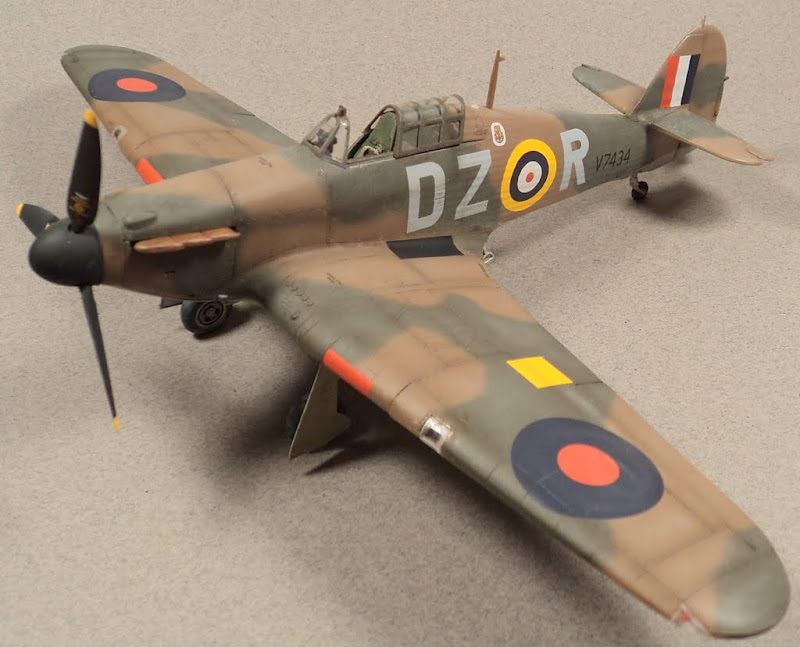
The rest of the build was uneventful. The gear bays are reasonably detailed, and get most of the major parts in to look right. For painting, I used Tamiya Sky on the undersurface, Gunze acrylic for the dark earth, and Tamiya RAF dark green. I did some fading/shading with Tamiya Buff and some various oils, and then gave it a coat of Future, decals, and an oil wash for the panel lines. A coat of Vallejo Air Matte coat dulled things down.
In the end, it’s a good looking Hurricane that’s not too difficult to build. My biggest complaint is simply the fact that it is an expensive kit to have the problems it did. Airfix has shown quite clearly with it’s Spitfire Mk. XII and especially it’s Seafire Mk. XVII that a high-quality, good fitting kit can be released for under $30. I think in terms of quality and value, Italeri’s Hurricane is at most a $25 kit. I’d have gladly done with three or four less decal options, and drop the little booklet, if it would have made the boxing cheaper.
One thing to note- Tamiya has re-boxed this same plastic, and added some additional; decal options and three figures, for about $10 more.
My take on Italeri’s new tool 1/48 Hurricane Mk. I is that it’s a decent kit, looks good on the shelf, is not too difficult of a build if you are armed up front with knowledge of its minor issues, and can provide a few good hours of modeling enjoyment.
If you can find it on sale.
Unless you are just really a Hurricane fan, I’d recommend giving this one some time for the price to drop, or to find it on sale. If you see it in the $25-$30 range, then I’d recommend giving it a go.
(Now, having said that, I can also state with certainty that because I am a sucker for Fleet Air Arm kits, I will buy the Sea Hurricane version when it comes out, even at the high price, knowing the warts. Yes, it’s a terrible disease I have…. 🙂 )


Leave a Reply