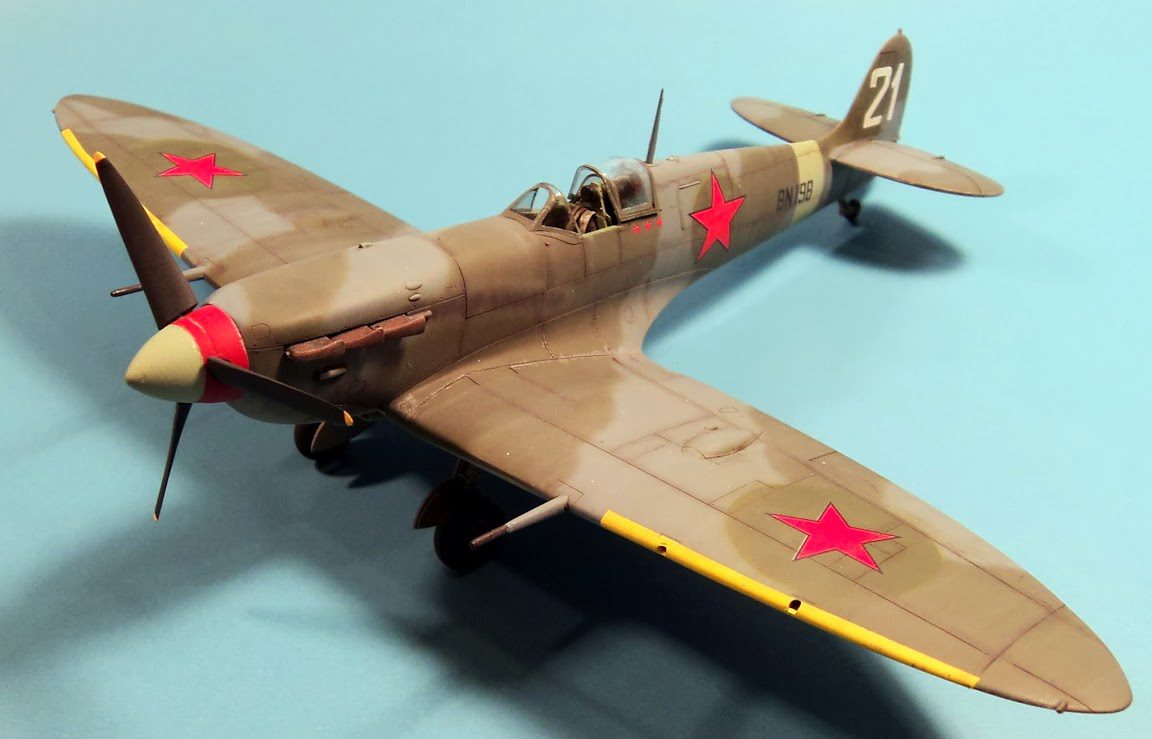
I’ve had a sort of informal Russian theme going on this year in my building, spurred by reading several books about Soviet aviation in World War II. It’s a part of WWII history I did not have much knowledge of, and it has been very interesting to study. One of the areas I’ve done some reading in is the great amount of support given to the Soviet Union by the US and Britain through the Lend Lease program. Among other things supplied were Spitfires.
And I love Spitfires.
Enter a set of AML decals for Lend Lease Spitfires, a spare Hasegawa Spitfire, and I had a build made to order!
The kit itself is actually from Hasegawa’s Seafire Mk. Ib boxing of their older Spitfire Mk. Vb kit. The box comes with a few additional resin bits for the arrestor hook, and appropriate markings. Not being a big fan of conversions requiring cutting plastic, I decided to use the kit as a stock Mk. Vb.
The kit itself is very nice, with a good level of detail, great surface engraving, and overall the fit is good. Of course, the question I’m often asked is “which is better, Tamiya or Hasegawa”? Both companies make the Mk. Vb in this scale, and I have built several of both kits. Though I can recommend either kit without reservation, I’d give the nod to the Tamiya kit, simply because it’s fit is stellar. The Hasegawa kit did need some attention to some gaps at the wing root. But I am getting ahead of myself.
The cockpit is very good out of the box. It gets all the basic Spitfire details right, and looks good. I did replace the seat with Quickboost’s Spitfire seat with belts. I prefer a resin seat with belts cast in, as it doesn’t require fumbling with those photoetch seatbelts, which I am not fond of.
The interior was painted with Tamiya’s XF-71 Cockpit Green. I think it’s a closer match for Japanese aircraft, but it’s close enough for RAF interior green for my purposes. I picked out various parts with black and white, and gave it a drybrush of light gull gray. An oil wash and flat coat finished it off.
The fuselage went together well, with only a bit of sanding needed, and a little Mr. Surfacer to hide the seams. Test fitting the wings showed that there would be a pretty significant gap, especially on the left wing root. I tested gluing the upper wing halves directly to the fuselage, and then the lower half, but this introduced some problems of its own. Knowing that I could manage the gape with Tamiya Basic Putty, I glued the upper wing halves to the lower, and after addressing the seams, glued it to the fuselage.
I really, really like Tamiya Basic Putty. I’d given up on other putty-type products, whether it be in a tube or some two-part stuff you had to mix, or whatever. Most everything I used in the past either shrank after a few days, chipped easily when rescribing, or simply was too much of a pain to work with. Tamiya Basic Putty has worked flawlessly for me, however. And the fact that my local Hobby Lobby carries it- meaning I can use their handy-dandy 40% off phone coupon in it- makes it an extra plus.
To fix the gaps at the wing root, I added in a few plastic shims in the wider areas to give the putty something to “rest” on, and then I packed the gaps with putty. After allowing it to dry thoroughly, I sanded it all smooth, rescribed, and moved right along. One great trick to using Tamiya Basic- it can be smoothed out with a q-tip and rubbing alcohol quite nicely. So I packed it on in a most untidy manner, and simply smoothed it down with the q-tip. This saved a lot of sanding later, and minimized the damage to the surround plastic.
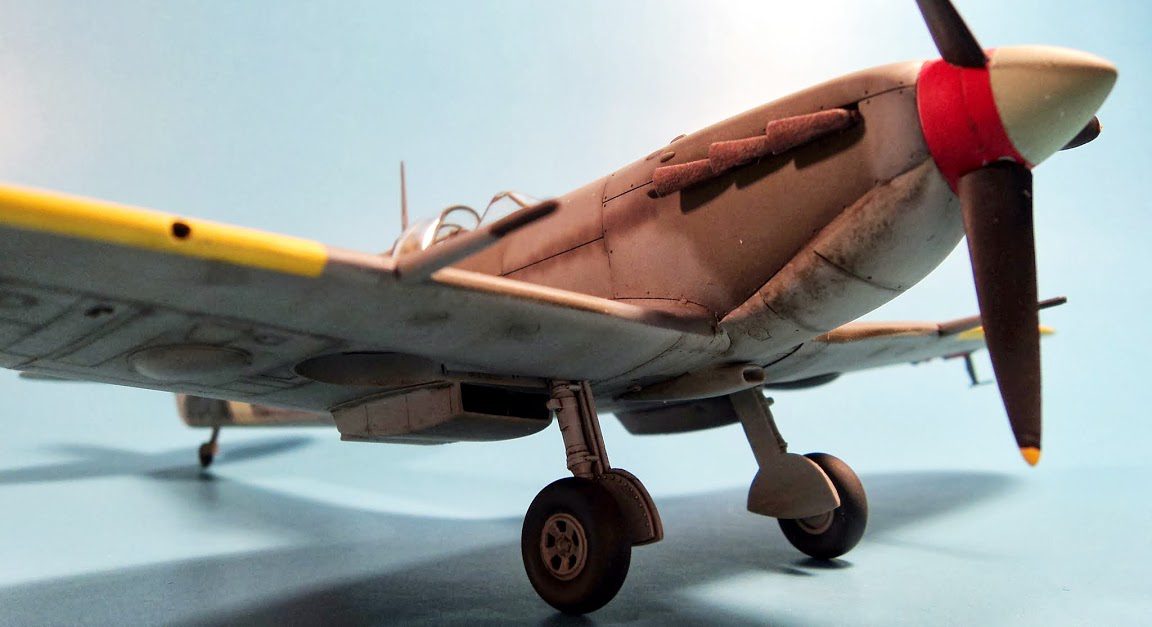
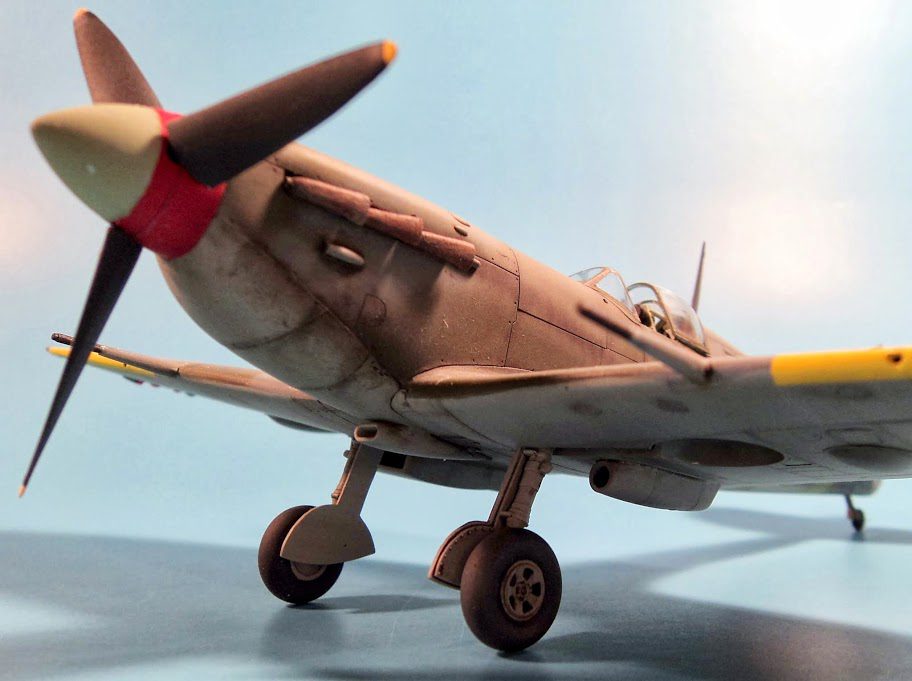
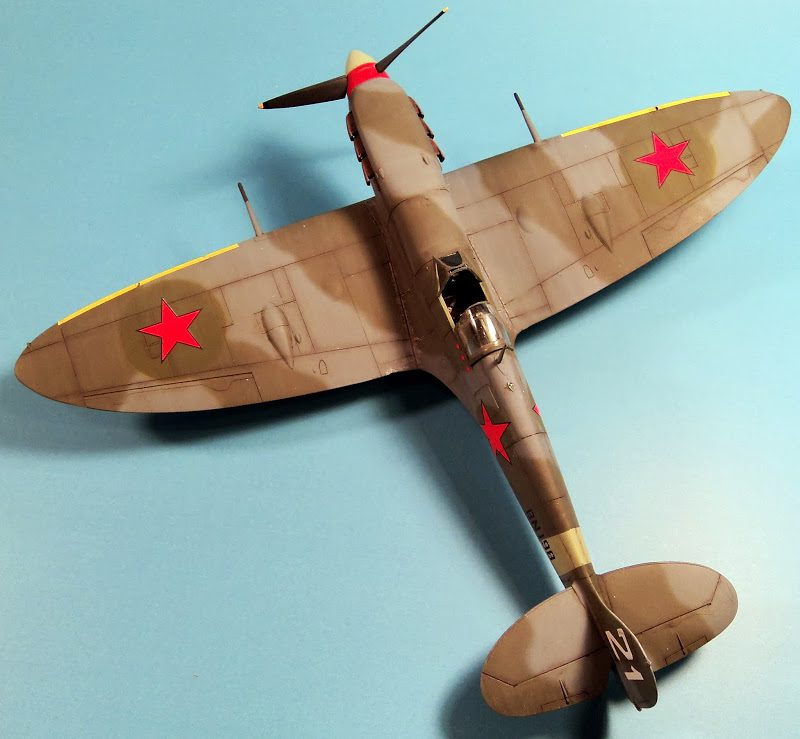
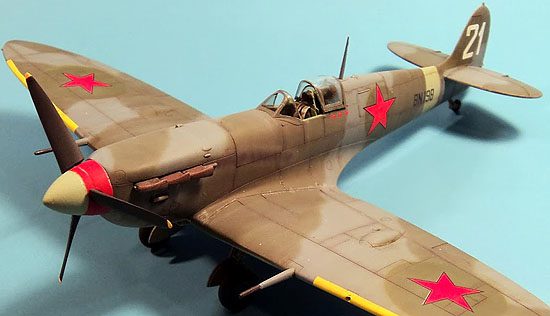
Once the wing root gaps were dealt with, the rest was simple. Paints were the Tamiya “Spitfire Trio”- XF-81,82 and 83. I used Akan AMT-4, an olive green color, to “overpaint” the RAF markings. I’m not sure if this is the exact color that the Russians would have used, but it was a color in their inventory, and the primary green color used on aircraft at the time, so I thought it was a reasonable guess.
I followed this up with some oil paint streaks, silver pencil chipping, and a few other stains and so forth. A coat of Future was applied over the top, and then the AML Decals. They went on very well, and with the exception of one red star, they were in register. I’m not sure how I missed that star… I probably could have found a replacement in the spares box. But it is what it is, I suppose.
I finished off with some post-shading and fading with my airbrush, and added on the landing gear, antennas, and other fiddly bits. It was all topped off with a coat of Vallejo Matt Varnish.
Overall I was very happy with the results. I think in the future I’ll stick with the Tamiya kit for a Spitfire Mk. V, but if a Hasegawa kit finds its way into the stash, I certainly won’t complain!


Leave a Reply