There are a few kits that modelers have been looking for the “definitive” version of for years. The Spitfire Mk. IX is one… thankfully Eduard has taken care of that. (Unless Tamiya decides to do one… I’d love to see that.) But there is another kit that modelers get excited about, hoping someone will come out with a kit that meets the very high expectations most of us have for it.
That would be the early P-40, the long nosed model. The shark nosed one. No matter what you call it, the early P-40s had a distinctive shape that was both sleek and menacing. It was used in the desert by the RAF, and in the skies over the Eastern Front. It got in some shots at pearl Harbor, and served as an advanced trainer for thousands of US pilots. Of course, it’s greatest claim to fame was being the mount of the American Volunteer Group in China, the Flying Tigers.
Yet despite it’s popularity among modelers, no one has come out with a version that was quite “right”.
Every attempt at producing this iconic airplane in 1/48 scale leaves some question about shape and accuracy to some degree. While the opinions you get will vary, suffice to say that if anyone does produce an accurate kit to modern standards, they’ll probably not be able to keep them on the shelves.
Monogram released it’s version in the mid 60s. Despite it’s age, it still holds up well. It does get some criticism for the shape on it’s underside, and of course the raised panel lines and rivets will put many folks off. And the cockpit is not really grounded in reality. But it’s still a fun build.
The Hobbycraft/Academy/Italeri take on the long-nosed P-40 is a more modern tooling, with recessed panel lines. It too has some shape issues, and while the cockpit is an improvement over the Monogram kit, there are still some key details missing. It does give a nice, trouble free build though.
The kit everyone hoped would get it right was from Trumpeter, but it too fell short of expectations. The biggest knock against it was a too shallow cockpit. Sometimes modelers tend to overemphasize some criticism, but when you see the cockpit on this kit, you can’t help but notice. The Mayor of Munchkin City would have trouble getting into that one. Many criticize it for the heavy recessed rivets. Other knocks against it include some rather prominent raised hatches on the fuselage that were flush on the real aircraft. And it too did not seem to capture the shape of the real airplane right.
Yet until someone like an Eduard or Tamiya decides to produce their own version of the early P-40, those three are what we have to work with.
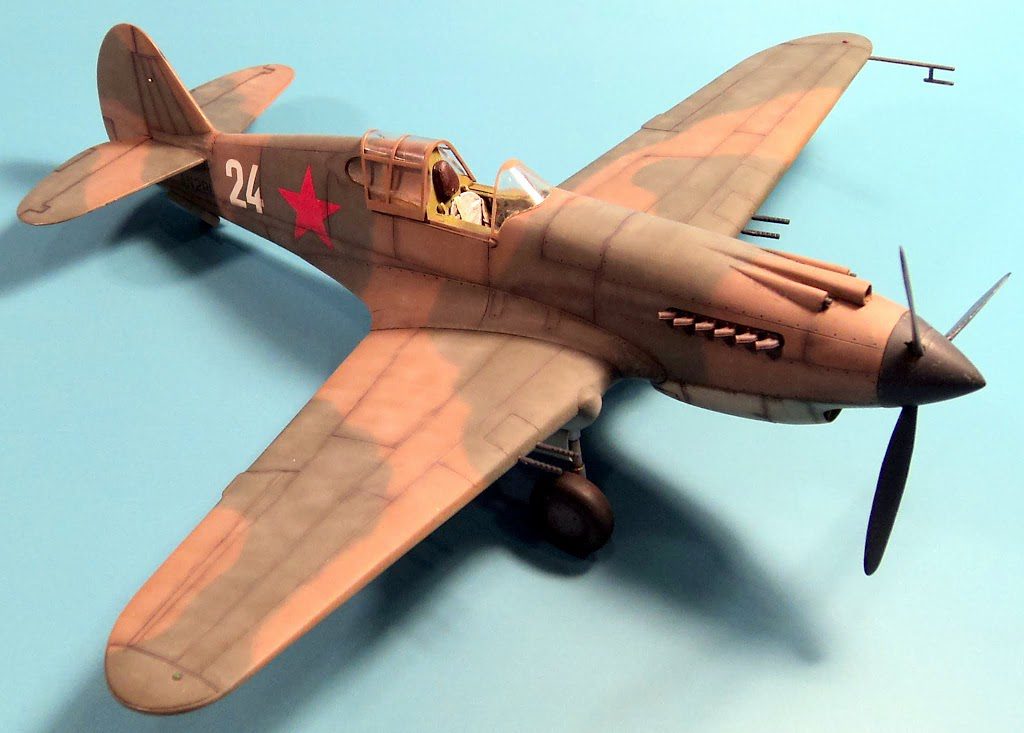
I have built all three, and while I enjoyed each of them, I have come to the conclusion that my favorite is the Hobbycraft/Academy/Italeri. Out of the box, its cockpit is less egregious than the Trumpeter kit, and far better than the Monogram kit. It is a less fiddly build than the Trumpeter kit, and fits much better than the Monogram kit. Best of all, you can usually find it for less than $20, and often less than $15 if you keep your eye open. (I once found them at Squadron on sale for $8.99 each!)
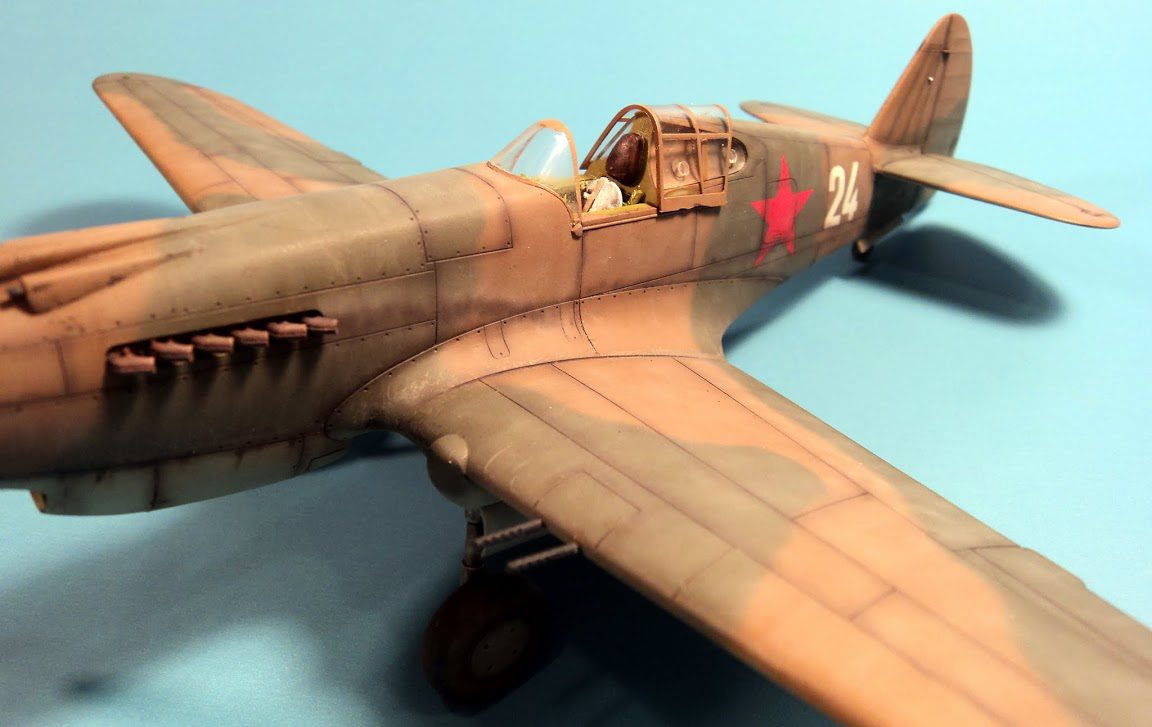
The kit cockpit is simple but adequate. However, I decided to give a resin replacement a try, opting for Legends resin cockpit. The set is a full cockpit- sidewalls, instrument panel, rear bulkhead, floor… the works. In photos it looked very good. However, when I opened the box, I was a bit disappointed. Some of the casting was blobby, almost as if the master had just left some areas incomplete. (I had two copies, and checked the other copy, and it had identical flaws…) When painted up it looked good, however, and the flaws aren’t really visible when it is installed in the fuselage.
The fit of the set was a bit of a problem, however. With the sidewalls in place, everything just seemed to narrow. Fitting the seat in was difficult, and the instrument panel was a problem too. When it was all said and done, I came to the conclusion that it would have been better to use the kit parts and just dress them up a bit.
Assembly after that was no problem, however. The fuselage halves fit nicely, and with just a little cleanup looked great. The wings attached without fuss and with little in the way of gaps. An application of Mr. Surfacer and a wipe down with an alcohol soaked cotton bud to remove the excess Mr. Surfacer took care of that.
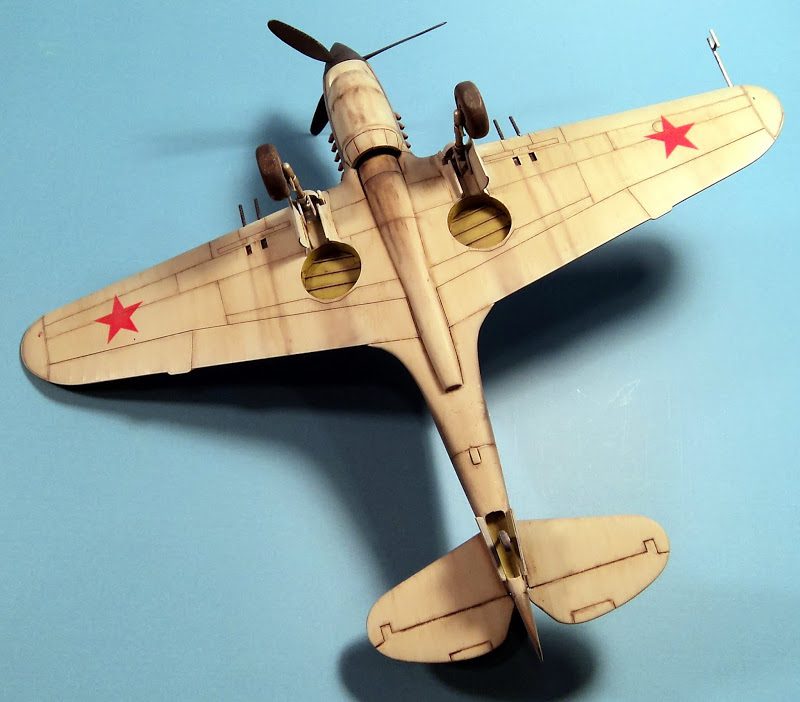
I learned from previous builds that it is easier to glue the gear doors and gear struts in place before painting, so I did that, and found it to be much better than waiting until the end. (Though you do have to use a bit more care in handling.)
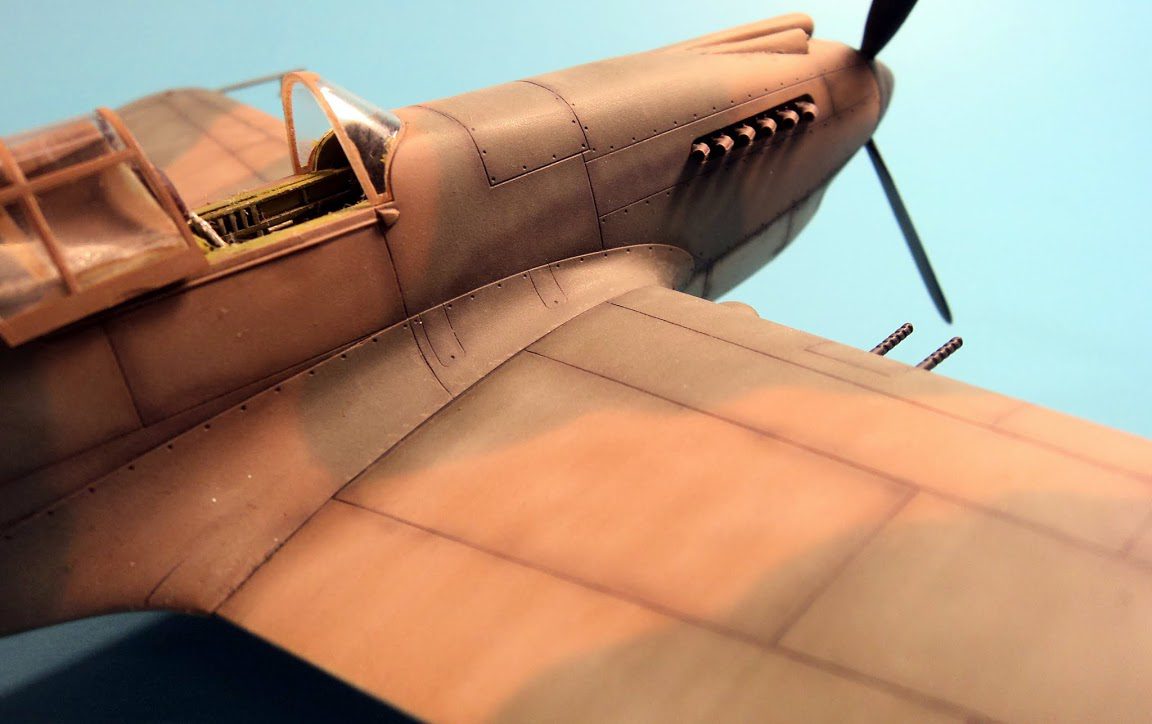
One feature of the early P-40 model that has caused much discussion was the windscreen. Many illustrations- and all of the model kits- show two prominent frames running vertically through the front of the windscreen. Careful examination of photos shows that what appears to be framing is actually the framing around an internal piece of bullet-resistant glass. Opinions differed on whether the resulting frameless windscreen was a single piece, or several.
Well, we finally have documentation and photos to clear it up. Dana Bell’s new book, Aircraft Pictorial #5- the P-40 Warhawk, clearly shows that it was a 3 piece arrangement of plexiglass, with only the slightest seam between pieces. His work also shows that the armored glass behind the windscreen was positioned at a slight angle, to prevent glare on it from distracting the pilot.
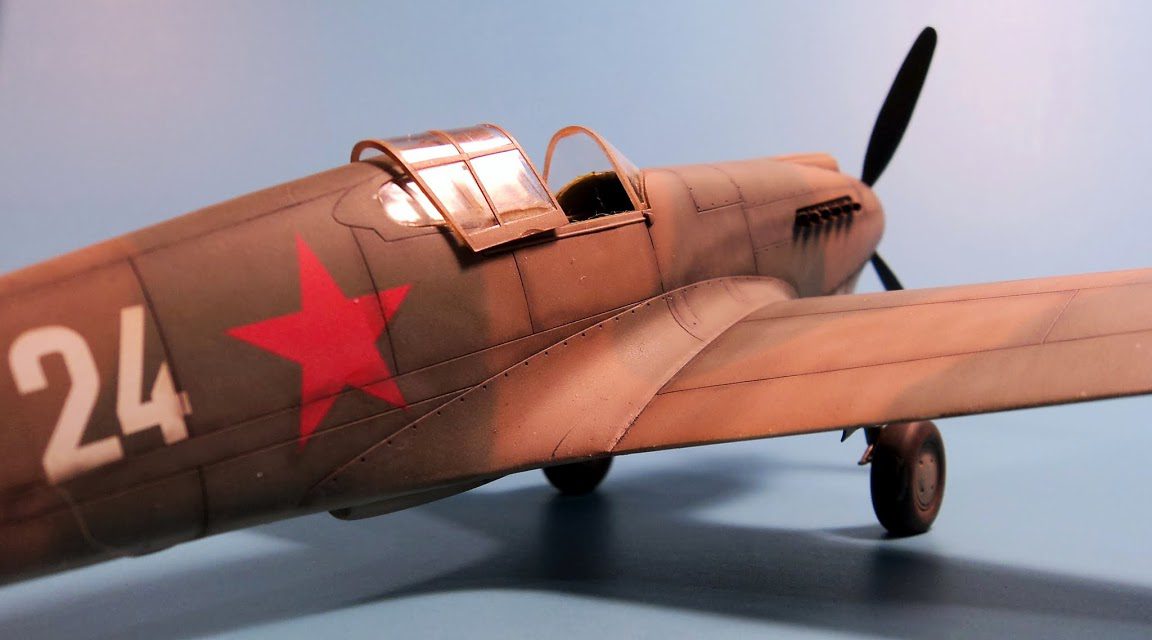
So armed with this information, I carefully sanded down the frames on the windscreen, and after polishing it and dipping it in Future, I attached it to the airframe. I also drilled holes in the left rear plexiglass piece that allowed access to the oil and fuel filler caps.
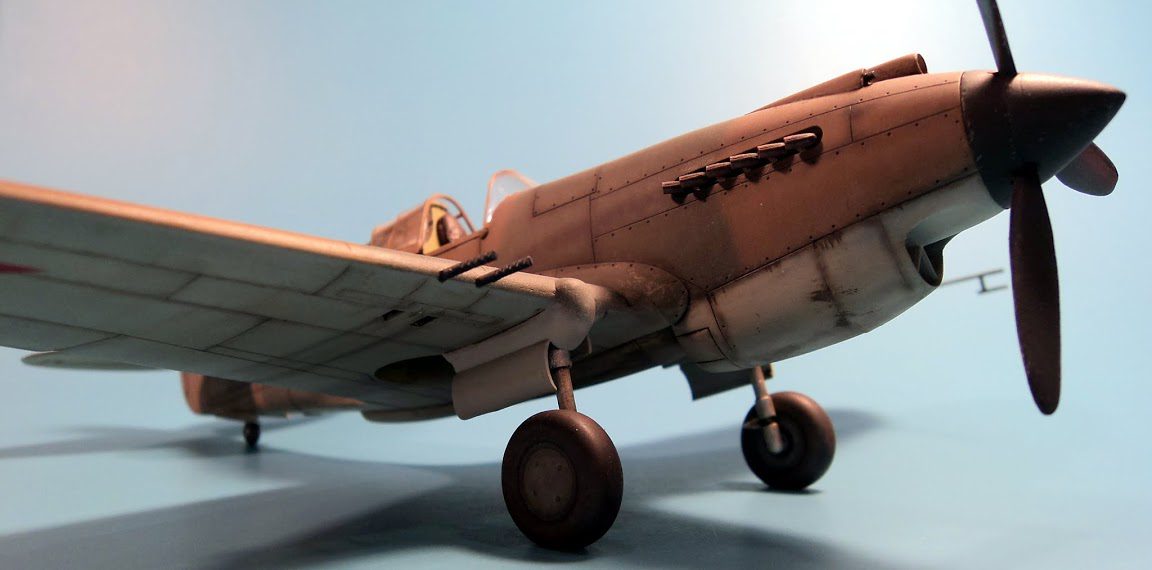
I purchased some True Detail resin wheels to replace the kit wheels, which look far too large and bulbous. However, after painting the resin wheels, I thought they looked far too small and flat… like they were too low on air. So I opted for the kit wheels after all. I think next time I’ll opt for Ultracast’s wheels in the smooth, diamond or block tread variety. Ultracast’s versions look far better, in my opinion.
I did use resin exhausts from Ultracast, and they were a much needed improvement over the kit parts. Be careful handling them, as they are very fragile. But when you get them painted and weathered and stained, they look awesome.
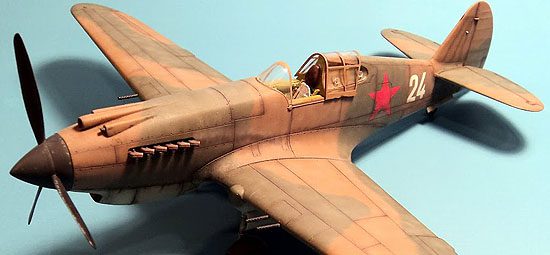
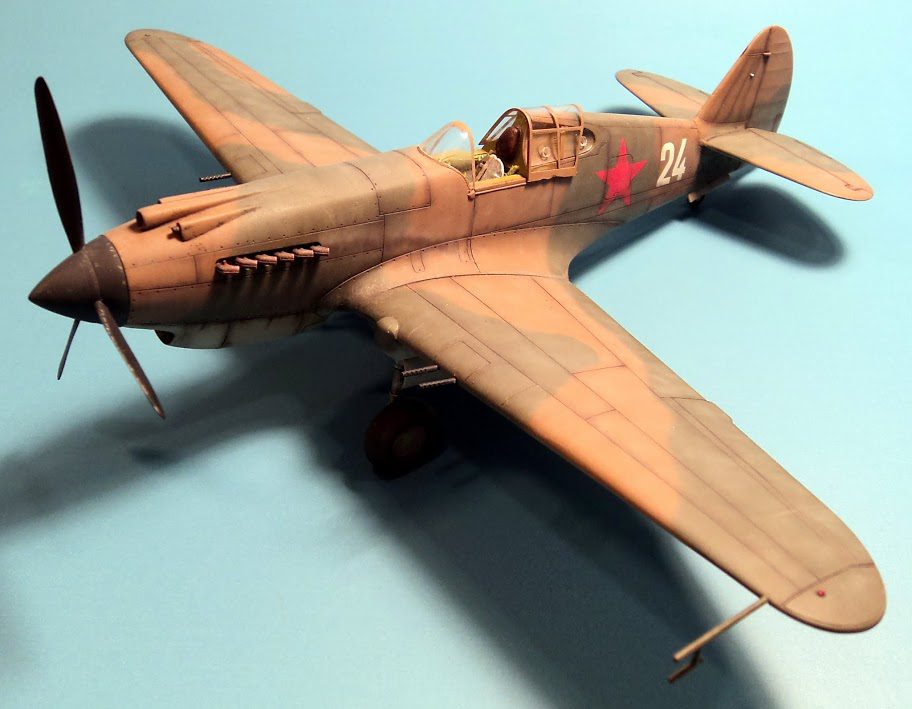
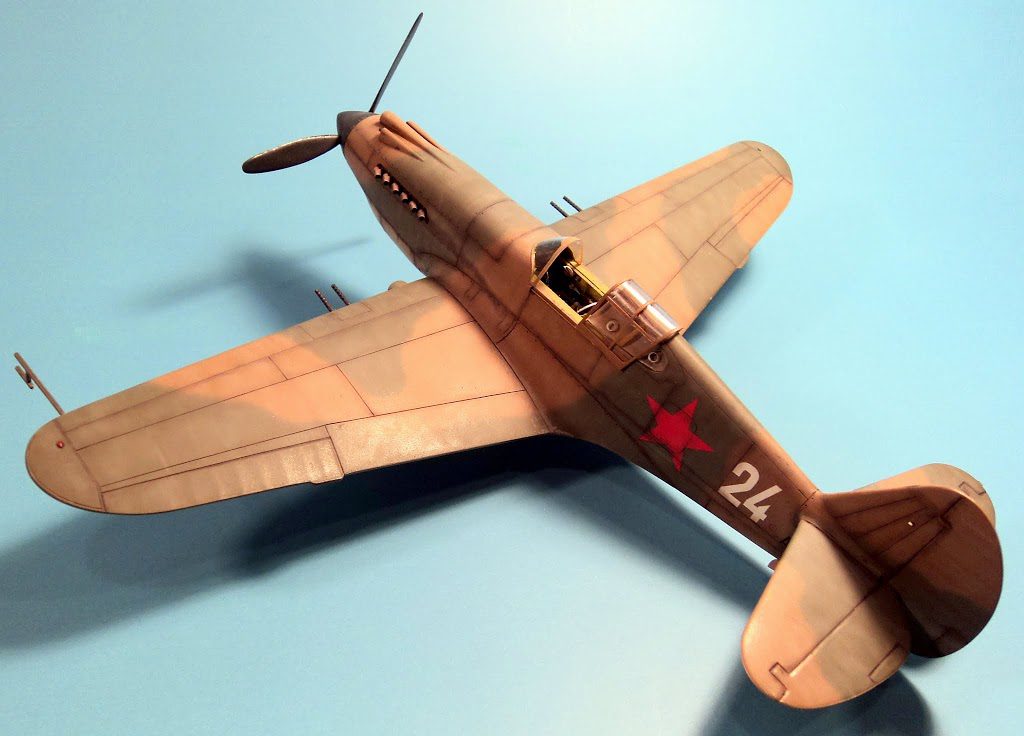
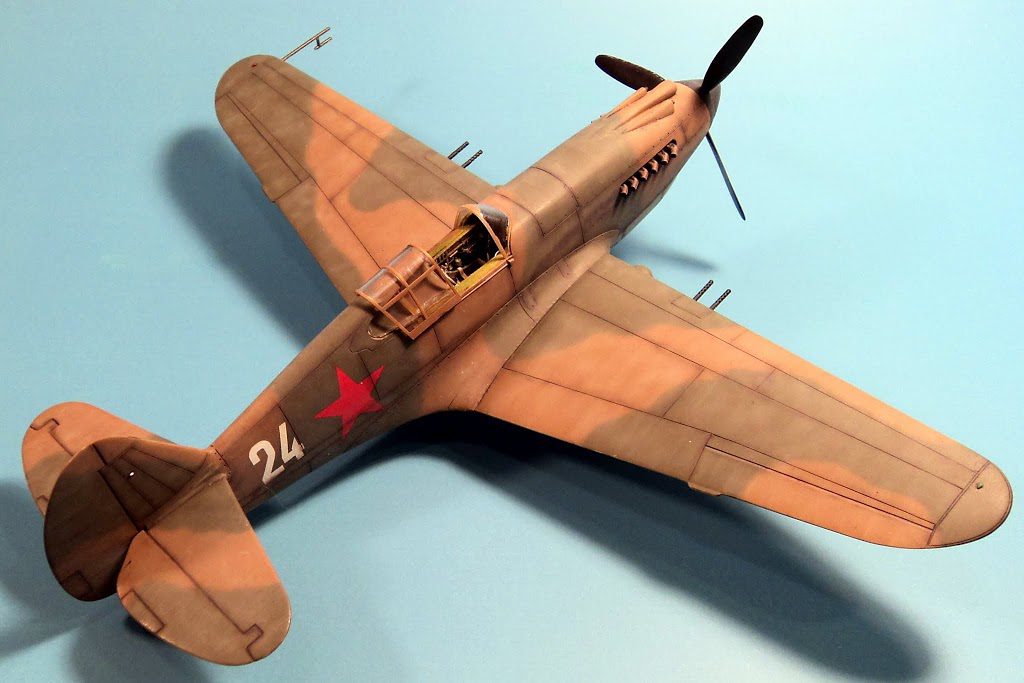
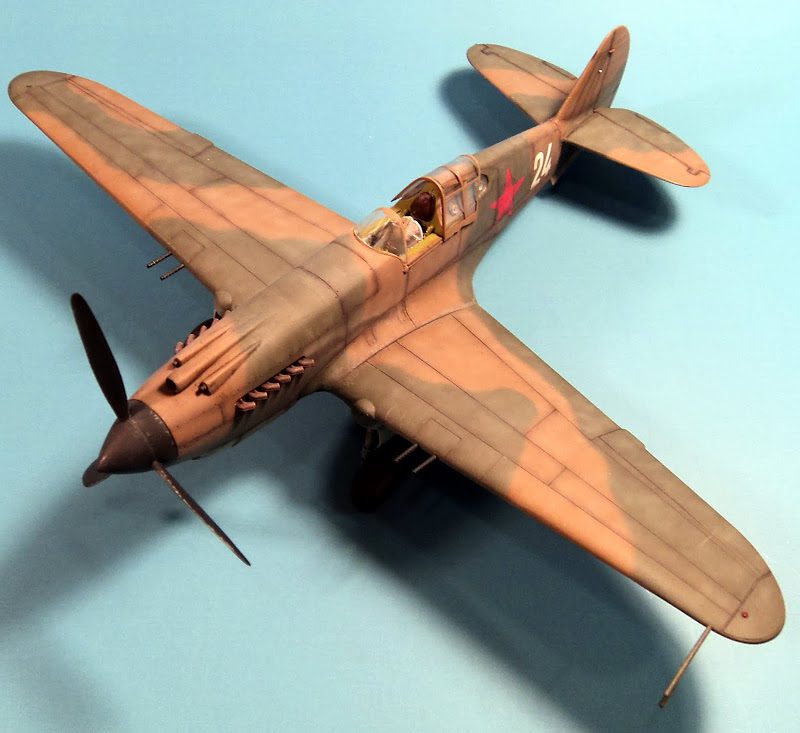
The undersides were painted with Model Master Acryl Light Ghost Gray. The uppers were painted with Gunze ‘s acrylic Dark Earth, and Tamiya’s RAF Dark Green. Weathering was a combination of artists oils, silver pencil for chipping, post fading with Tamiya Deck Tan, and post shading with a mix of Tamiya Hull Red and NATO Black. Decals were a mixture of a very old Aeromaster sets for the numbers, and red stars from the decal spares box. The whole thing was finished off with a coat of Vallejo Matt Varnish.
While the various P-40B/C/Tomahawk offerings on the market aren’t perfect, all build into a model that is unmistakably an early P-40. Of the lot, I recommend the Hobbycraft/Academy/Italeri version. It’s a low cost, satisfying build that doesn’t present and real problems, and results in a fine looking kit.
Of course, it doesn’t mean there isn’t room for another 1/48 kit on the shelves….



Leave a Reply