Eduard’s P-39 kit has been well documented in many places. It’s my favorite 1/48 P-39, not only because it builds nicely and has great detail, but because it’s just such a great bargain every time Eduard packages the plastic.
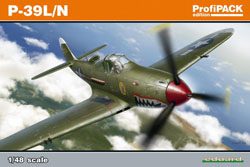
This example is no exception. The kit, Eduard catalog no. 8066, is probably one of the best examples of value I’ve ever seen. Included is the kit itself, a fret of colored photoetch, canopy masks, and marking for five very colorful and interesting Airacobras.
And you can find it for less than $22 at ScaleHobbyist.com. (At least as of this writing.)
Because this build has been covered here and on other sites so thoroughly, I won’t go into great detail about the general build. Basically- there is no drama. The wing trailing edges are a bit thick, and a little filler may be needed to fair on the wing to fuselage join on the underside. Aside from that, the kit is wonderful. (And those areas are minor complaints.)
I did use an Ultracast seat. It required removing the seat frame from the resin part in order to fit. The Eduard kit does not include this part, so it’s not losing anything the box would have.
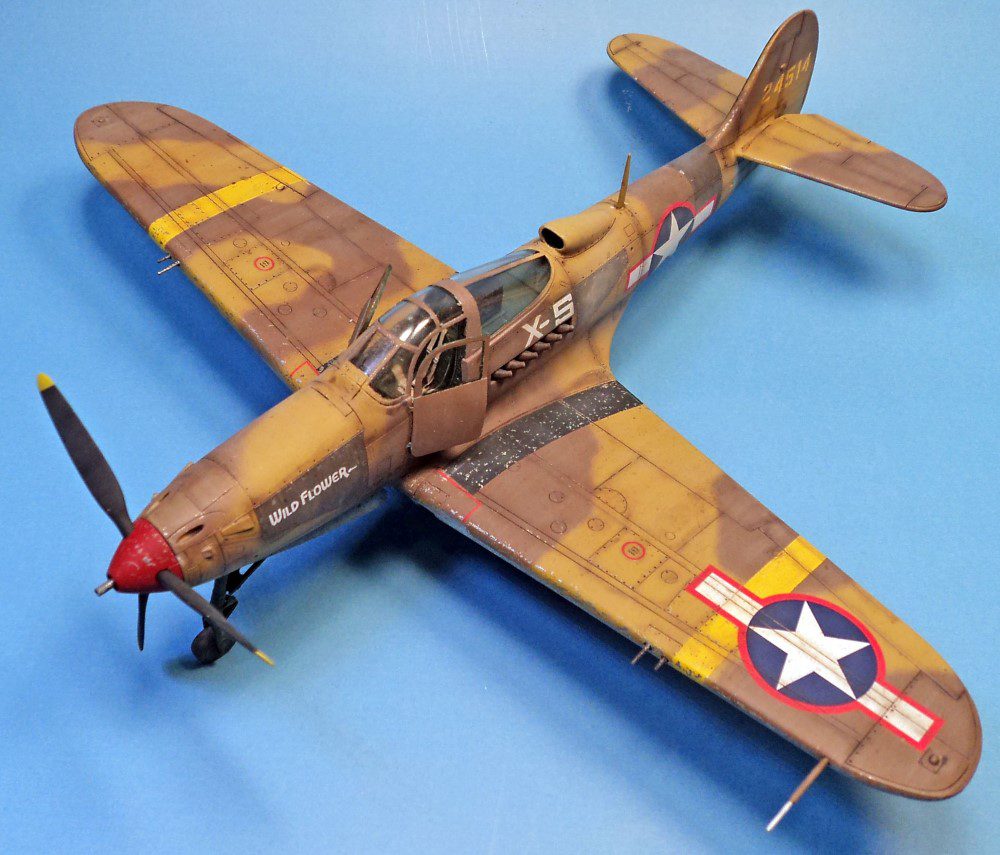
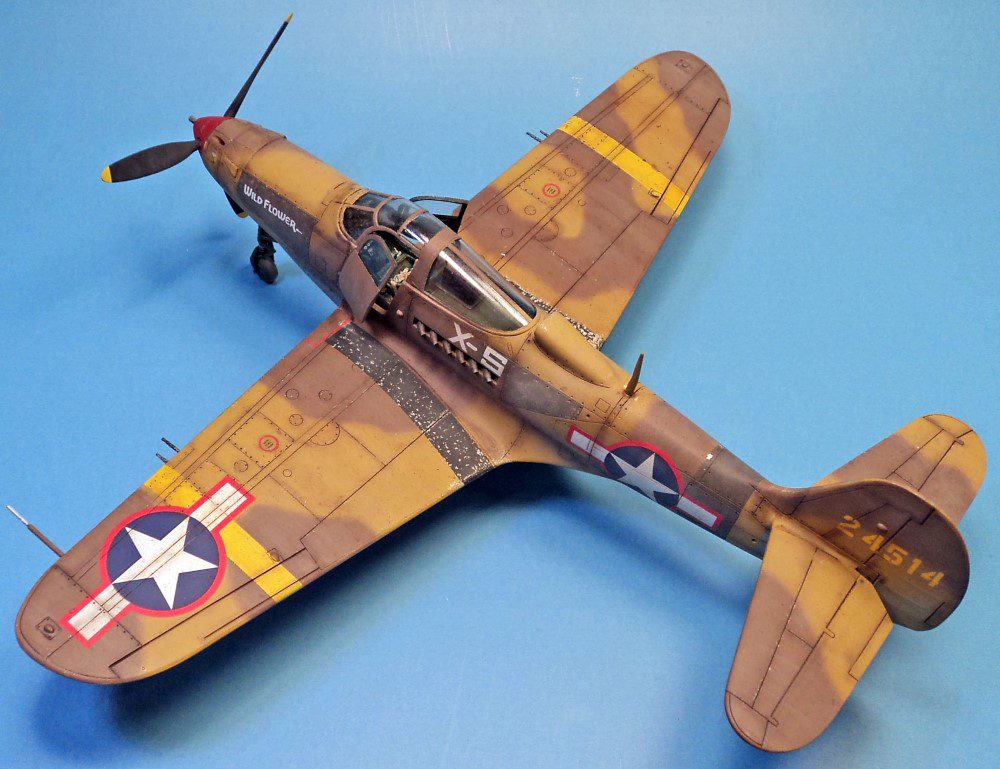
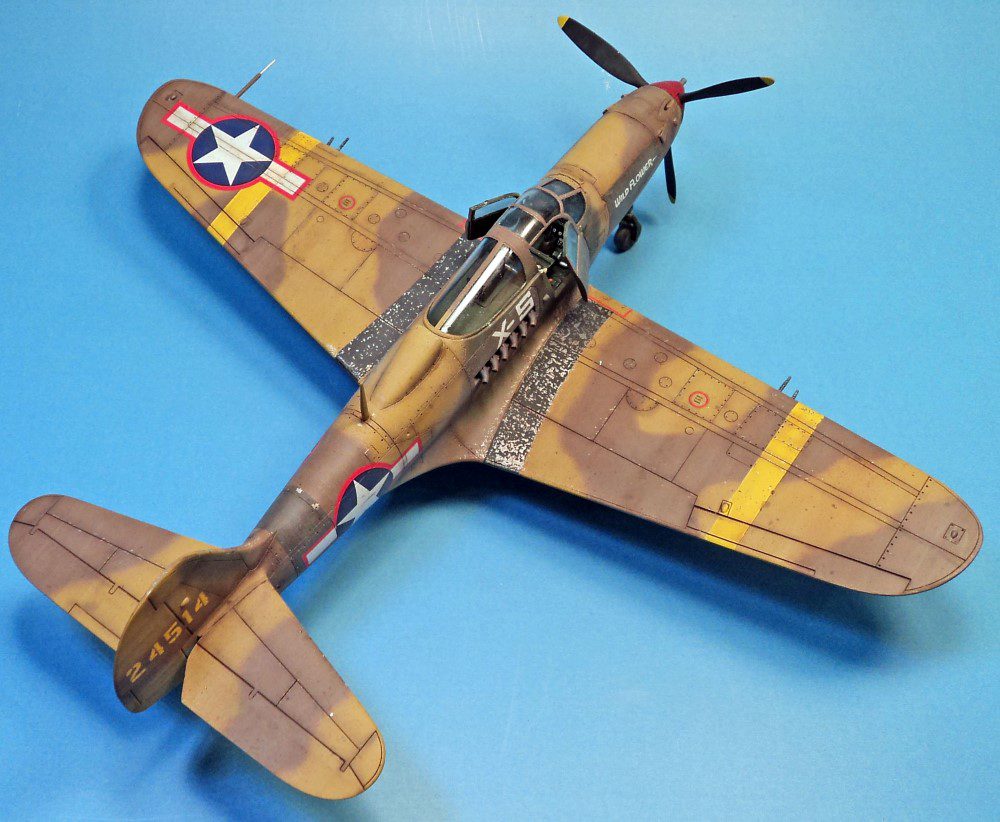
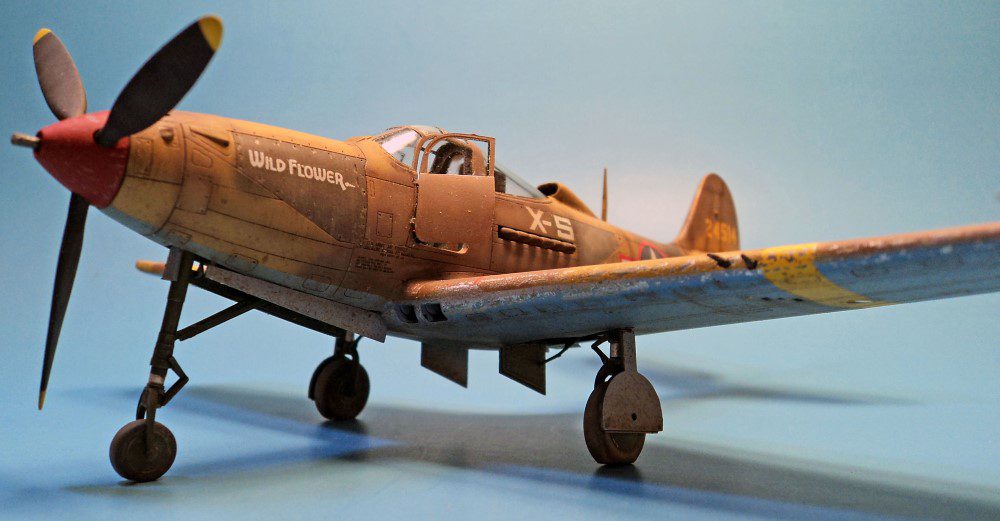
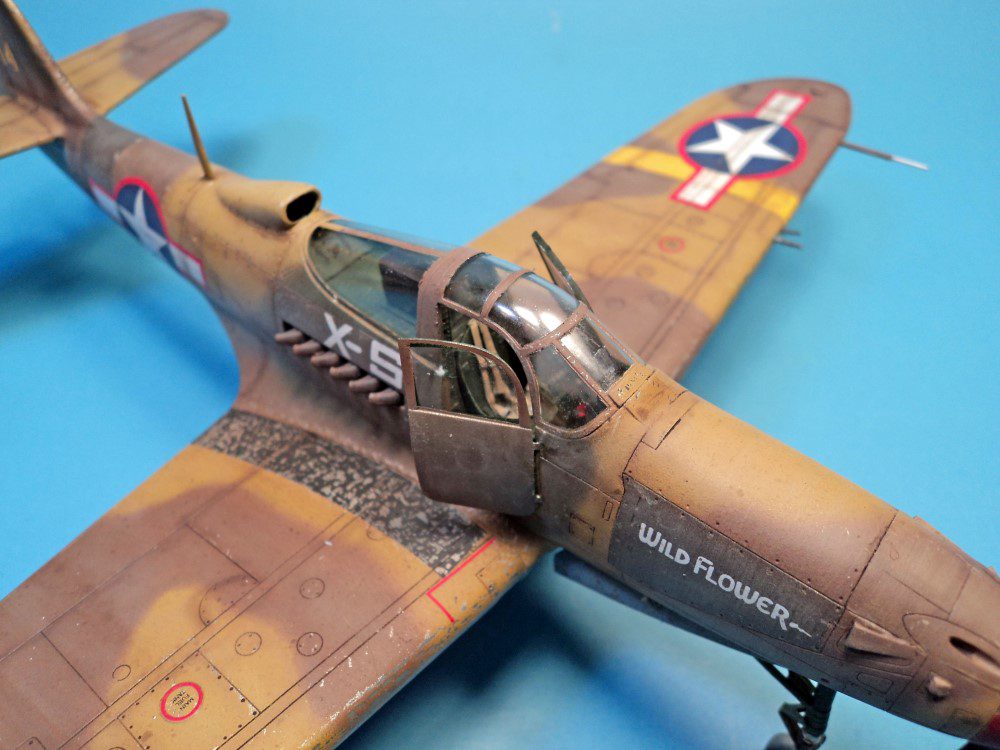
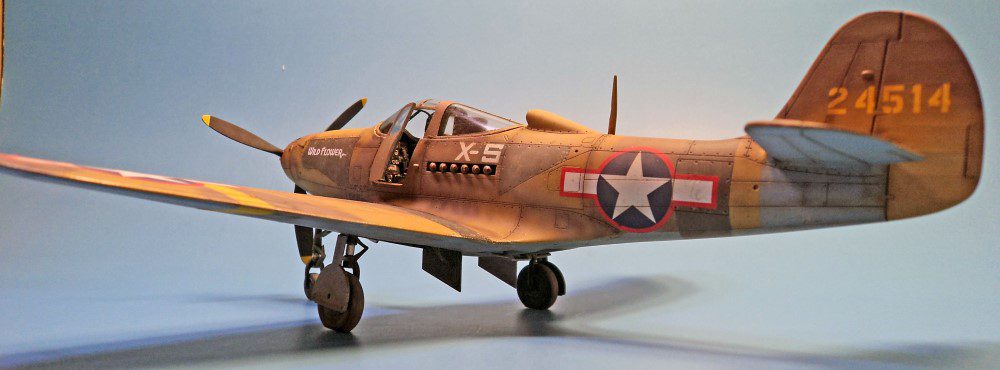
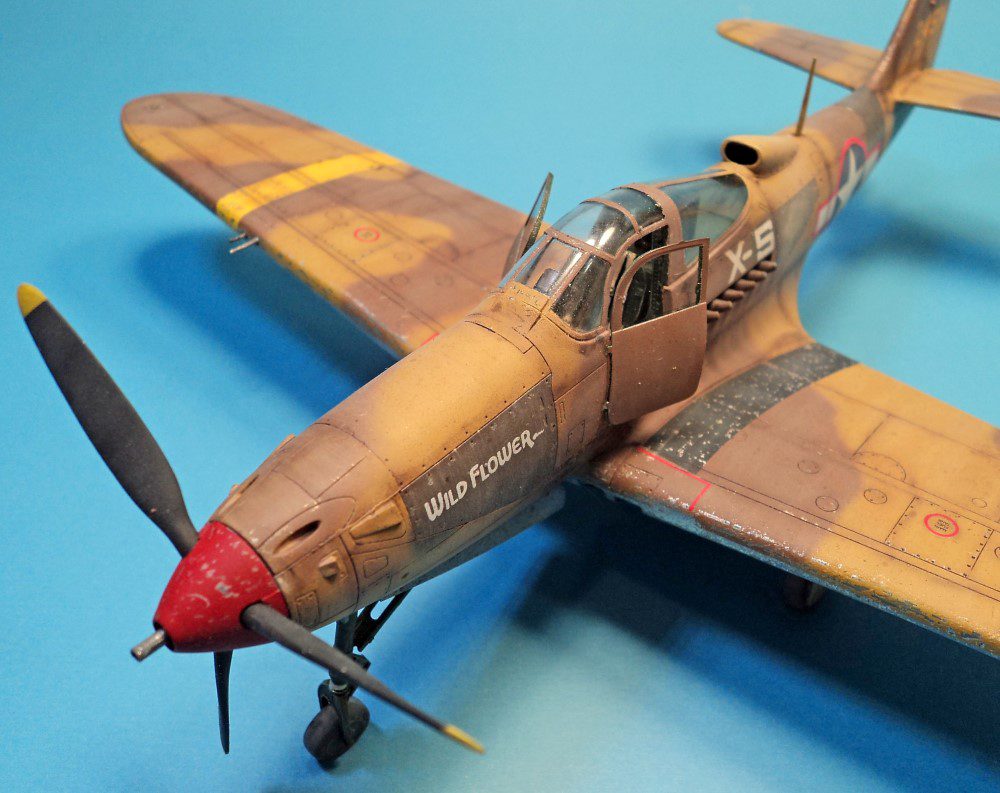
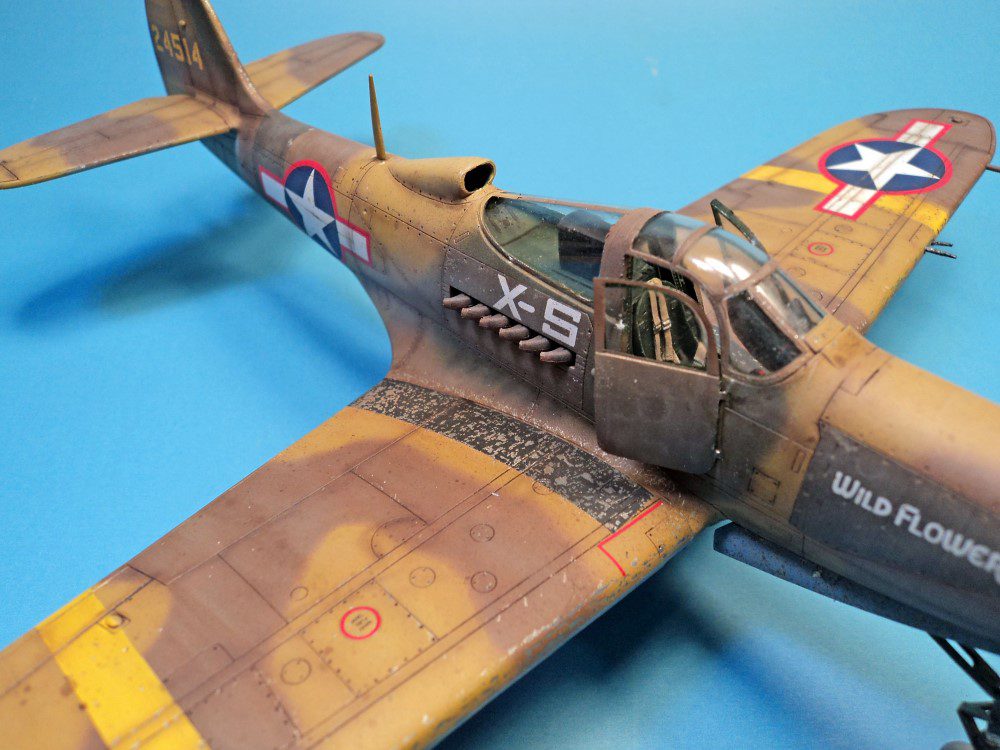
For this kit, I decided to use the very unusual MTO camouflage pattern of dark earth/middlestone over azure blue. Eduard admits in the instructions that some of the scheme is a bit of speculation. However, I found enough photos to convince me that even if this scheme is not spot on, it’s close enough- and cool enough- to risk the ire of the critics. (Not that I’ve ever worried too much about that! 🙂 )
I decided to really weather this model. I’ve read about the hairspray technique, but to be honest, I’m a bit lazy. I thought that added an extra layer of complexity. So I decided to simplify it a bit. Mainly by leaving out the hairspray.
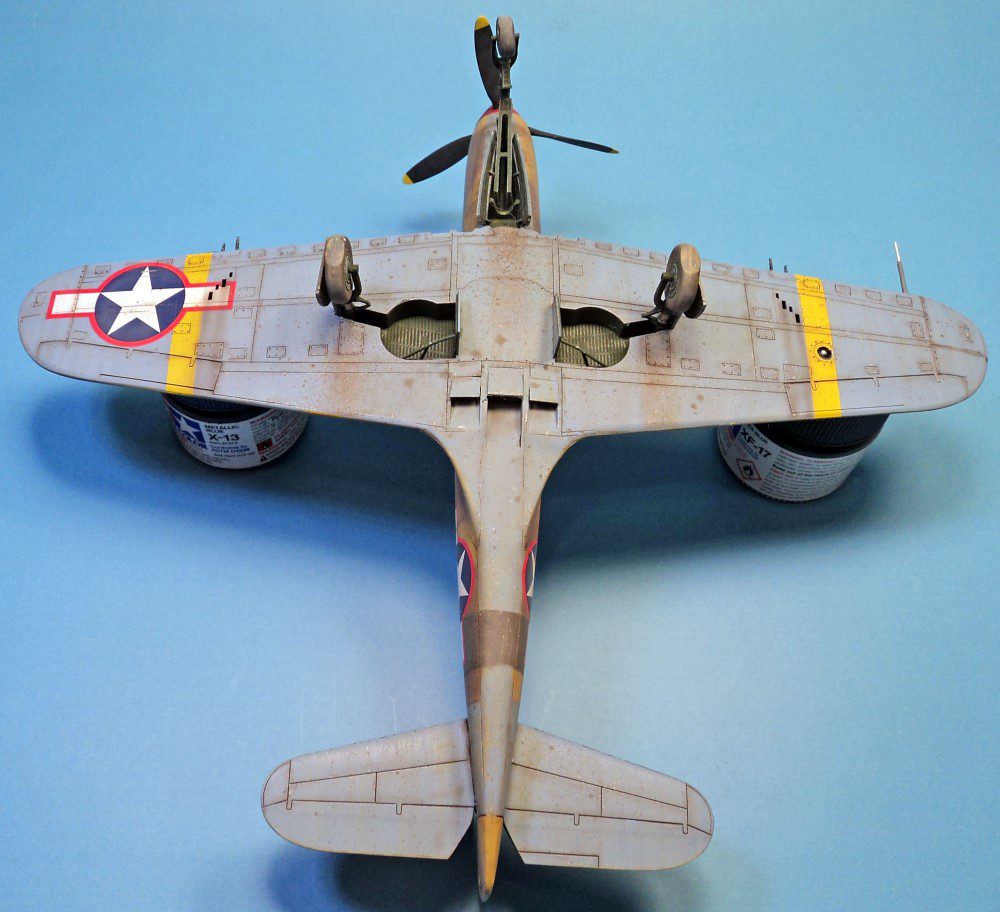
I gave the whole model a coat of Tamiya Flat Aluminum, and then started painting the rest. For the undersides, I used Vallejo Model Air Azure Blue. Once it was on, I used the edge of a #11 xacto blade and chipped away the azure blue, creating a nice paint chip effect. It actually went very quick, as I did it right after applying the paint, so it came off very easily. I then gave it a little time to dry, and smoothed it all out with a coffee filter as a light sandpaper.
I then masked off the undersides, and re-applied the flat aluminum where there was azure blue overspray on the topside of the aircraft. I repeated the process with Gunze middlestone and Tamiya dark earth. (Actually XF-72, JGSDF Brown, which I find to be a passable substitute.)
Once that was finished, I completed the weathering with a dot filter coat, gloss coat, decals, oil wash, and airbrush fading and shading.
In the end, I thought the paint chips looked pretty good. However, I felt the amount of work that went into it did not justify the results. It looks cool, but not enough in my mind to do it regularly. The Prismacolor silver pencil is still the most efficient method. I was happy to see that the method could be done without the hairspray though. I like to find ways to reduce techniques to their bare minimums.
When all was said and done, I was very happy with the results. It looked like an unusually camouflaged, very weathered P-39. (Or at least a model of a P-39…) The kit is a great one, and this particular boxing is a super value. The markings are exceptional- almost worth the price of the kit alone. (I’ve already made use of another set of markings from this kit on a Hasegawa Airacobra.)
More like this please Eduard!





Leave a Reply