I normally don’t tackle resin conversion sets unless they are simple drop-in parts that don’t require cutting of the “donor” kit. However, a commission build opportunity came along, and after reading some reviews of the conversion, I decided to tackle. And I’m glad I did.
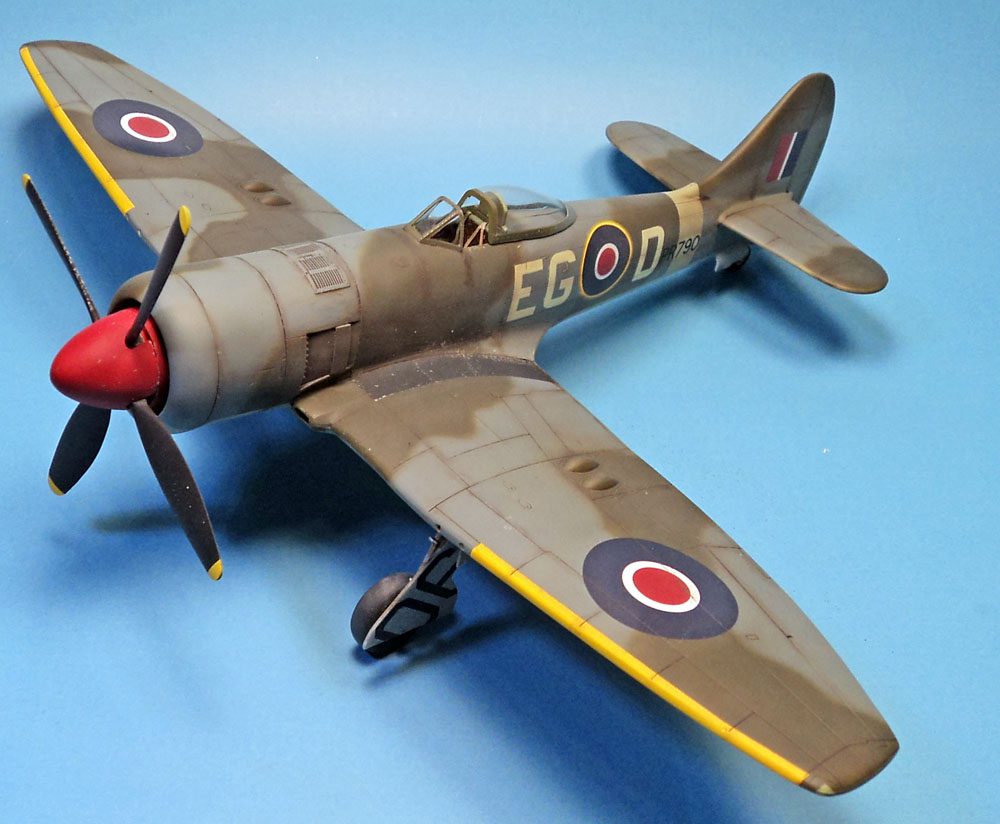
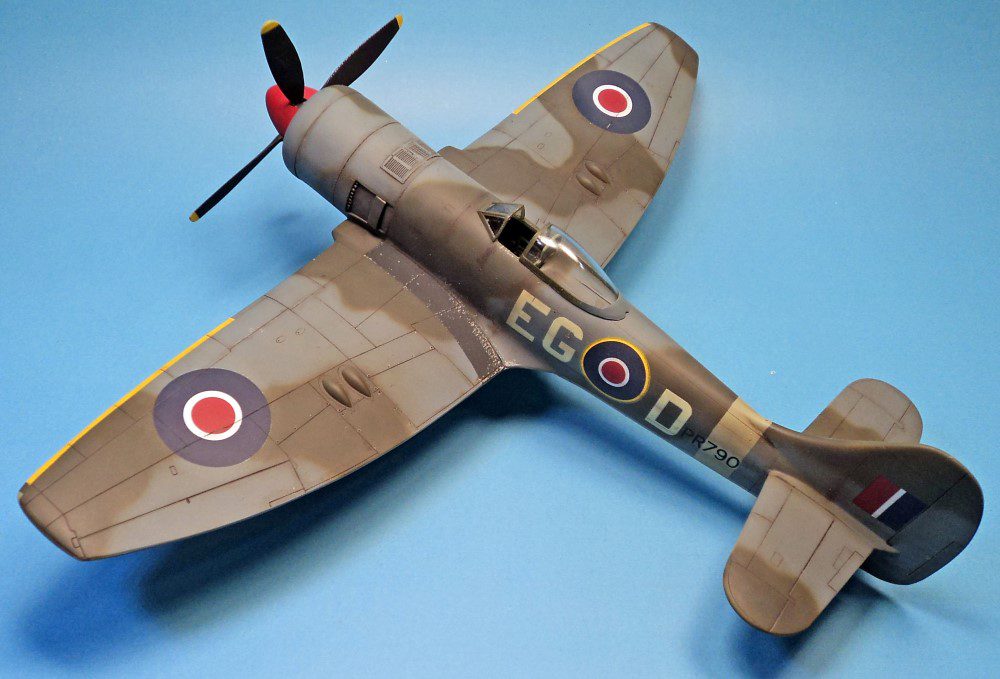
The Tempest was the follow up to the Typhoon, the most noticeable feature being a laminar flow wing and a much larger vertical tailplane. One of the versions departed from the typical inline engine and utilized a Centaur radial engine. This was the Tempest Mk. II.
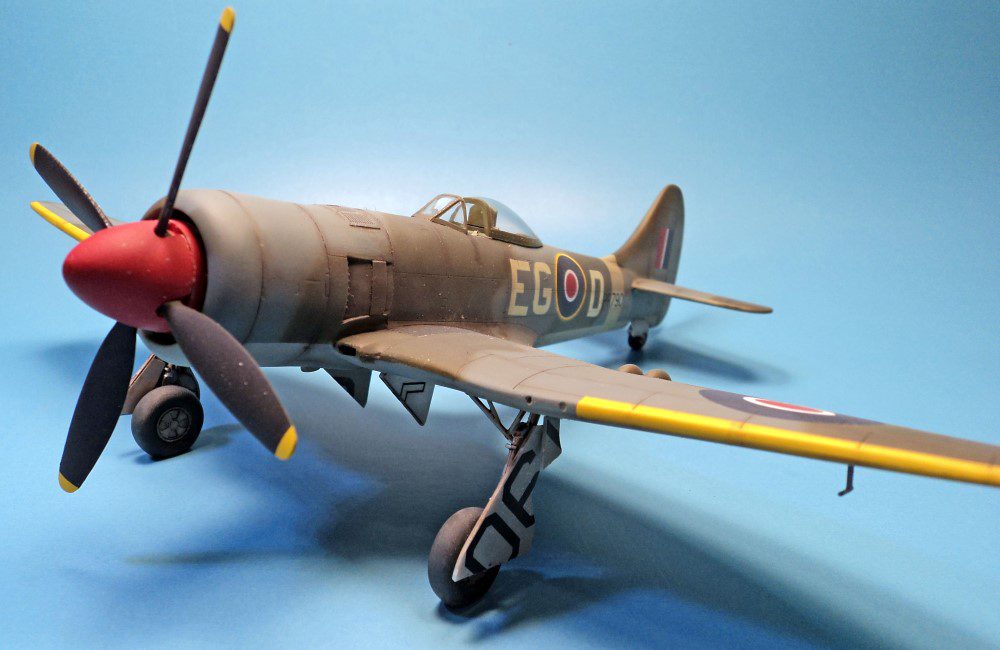
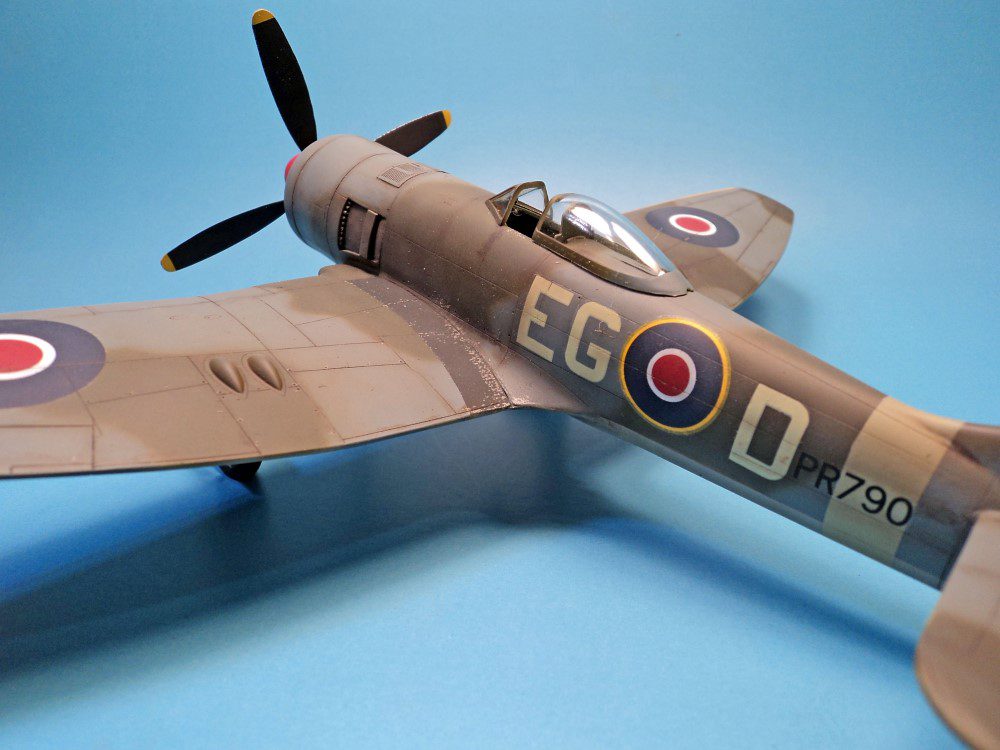
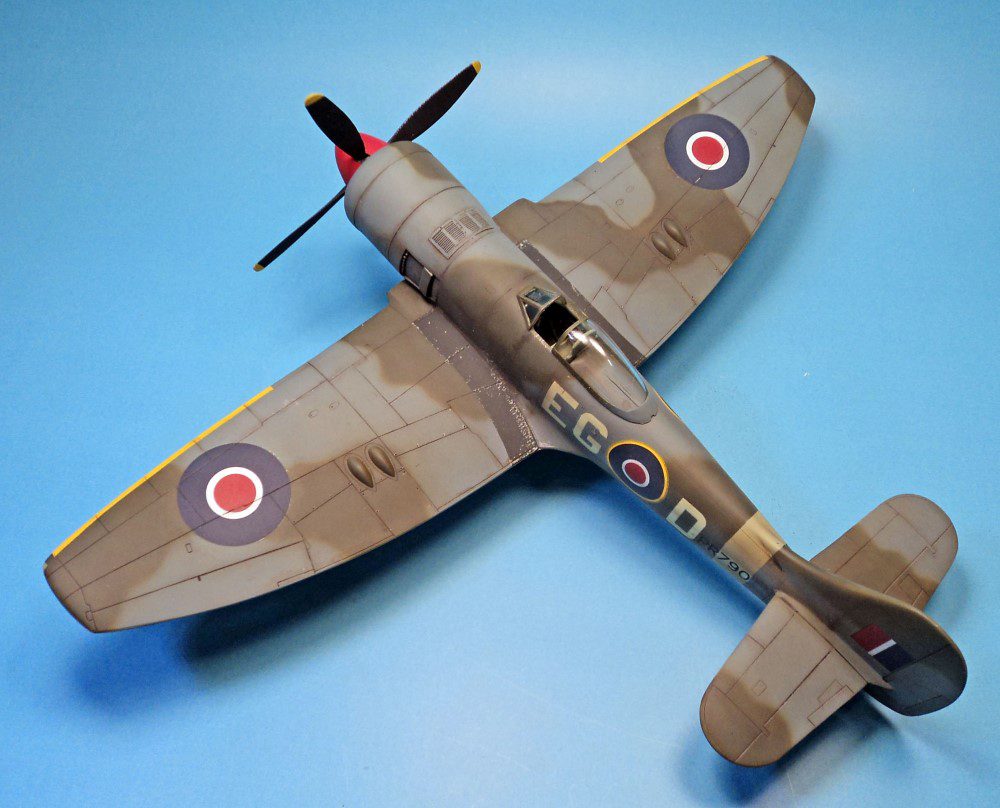
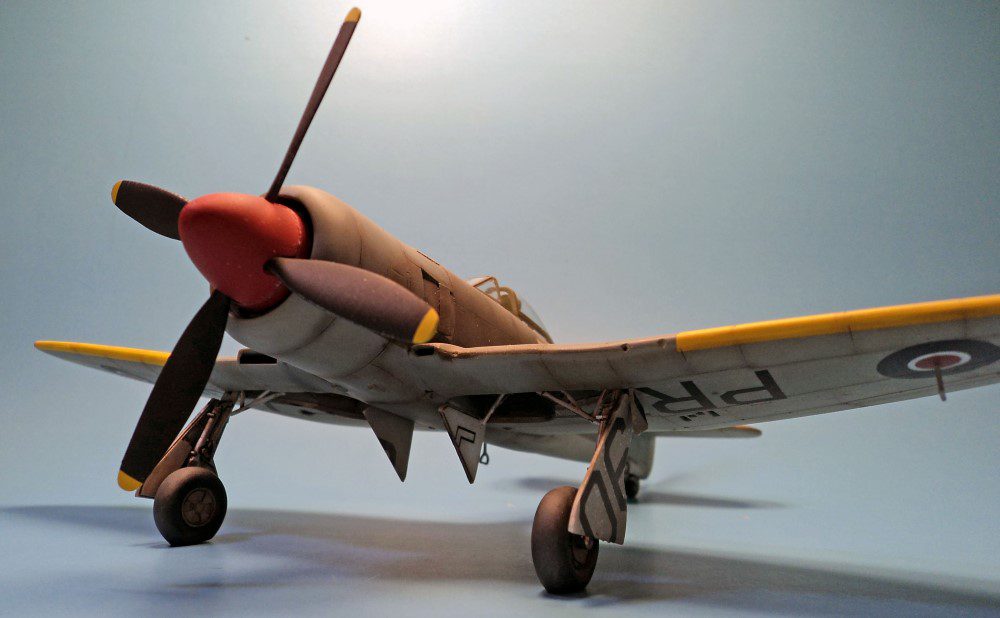
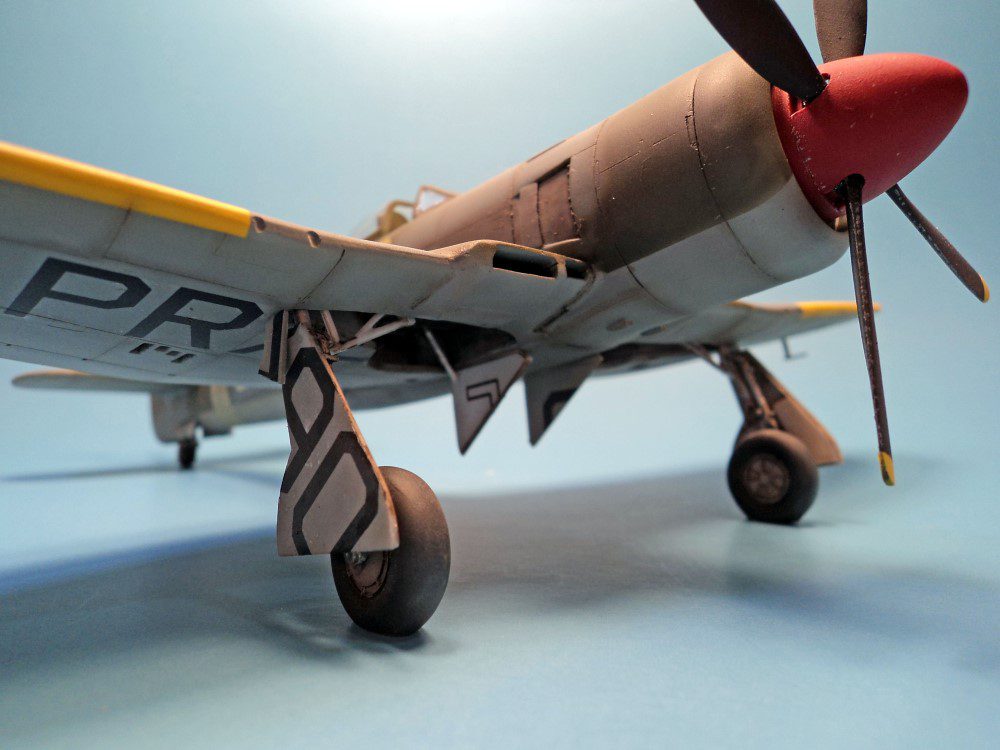
The conversion consisted of the Eduard Tempest Mk. V as the base kit, and an MDC resin conversion set. The resin conversion consisted of an entirely new nose, and some air intakes for the wing roots.
I decided to start with cutting the plastic. In the past, this had always been the part I messed up. To get a resin conversion to look right, you basically have to be able to cut a straight line, otherwise the part you are adding on stands a good chance of being crooked. (I did a P-40K once that looked like a banana after I added the resin tail.)
Luckily, the cuts for this conversion were along panel lines, so there was no guess work. I started by lightly scoring along the panel lines with a sharp #11 blade, to make sure the cut line would be deep enough. Next, I utilized a photoetch razor saw, and cut away the plastic on the fuselage and the wings. You have to be very careful on the wings, as there is only a small strip of plastic left, just forward of the gear bay opening. If you do slip up, don’t panic- just restore the plastic strip after adding in the wing root air intake.
Once the cuts were made, and test fitting showed that everything fit reasonably close, I started on my normal build sequence.
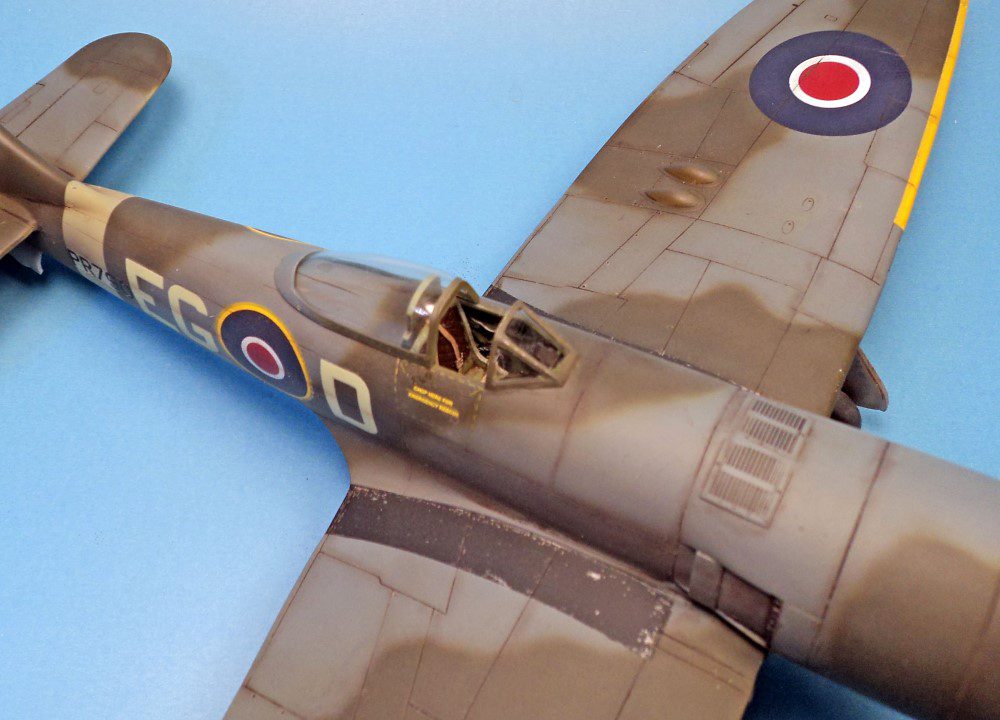
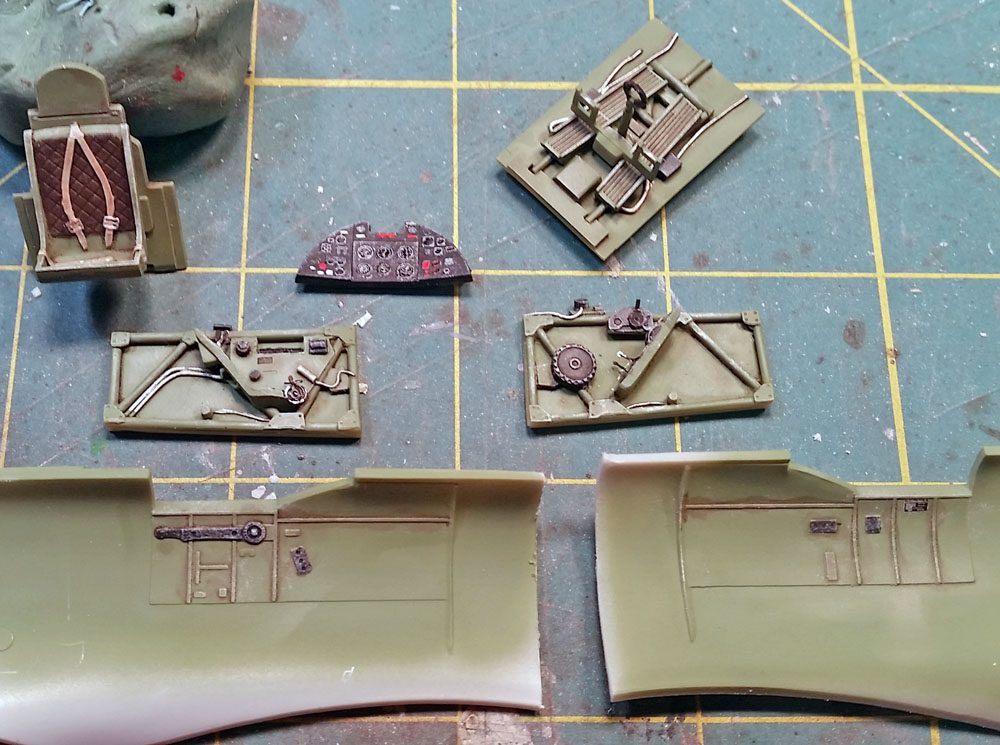
While the base kit has plastic parts for the cockpit, Eduard has released various versions with resin cockpit upgrades. The one I was using was from an earlier ProfiPack release. It was a simple set- a nice floor, the sidewalls, and a few p/e parts. I was not really happy with the p/e IP, and opted to use the kit IP, adding some Mike Grant Decals WWII Cockpit Details for the instrument faces.
I also used the kit plastic for the aft bulkhead, as the resin piece was an exact duplicate. I figured it would be easier to secure the plastic piece into the fuselage than the resin piece. (I don’t get along well with CA glue….)
Once the cockpit was painted, drybrushed and oil washed, I set it aside to work on the fuselage and wings.
I assembled the plastic fuselage, and sanded down the seams. The fit was very good. The resin cowl was in two halves, so I glued that together, sanding and filling where needed. Test fitting the cowl to the fuselage resulted in essentially a perfect fit. However, I decided to wait and test it with the wings assembled before committing it to glue.
For the wings, I assembled them per kit instructions first, and then test fitted the resin inserts. Each side consisted of two parts- top and bottom. Test fitting showed that the simplest method would be to glue in the top part first on either side, then the bottom part after that had dried. This allowed the insert part to be matched very closely with the wing surface, and once both parts were in place, and gap would be at the leading edge- much easier to work with.
Now that the wings were assembled, I brought the fuselage, cowl and wings together to see how it all fit. This showed a fairly significant gap between the fuselage and the resin wing inserts, and some wing root gaps. I added a few shims of plasticard and sanded them to shape to minimize the gap between the fuselage and air intakes on the wing. After adding the cowl to the fuselage, I mated up the wing with it. The remaining between fuselage and air intakes was closed off with careful application of Tamiya Basic putty, “sanded” down with a cotton bud soaked in nail polish remover.
There was some putty and sanding required on the wing root join along the rest of the fuselage also, and especially the underside. I masked off the various joins, and applied putty only to the areas that needed it. I then sanded it down, removed the tape, and completed the sanding. This avoided over sanding areas that didn’t need it. Adding the tailplanes, the full airframe was ready for the paint shop.
It took a bit of careful work, but to be honest it wasn’t difficult, or really even time consuming. I think the planning and test fitting really made the process about as smooth a it could be.
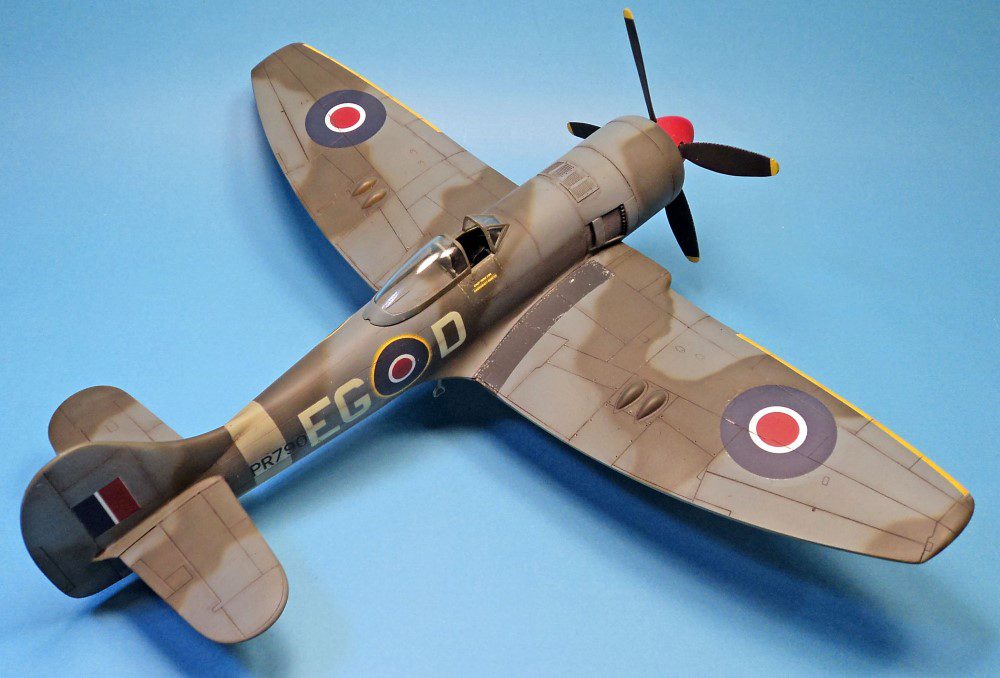
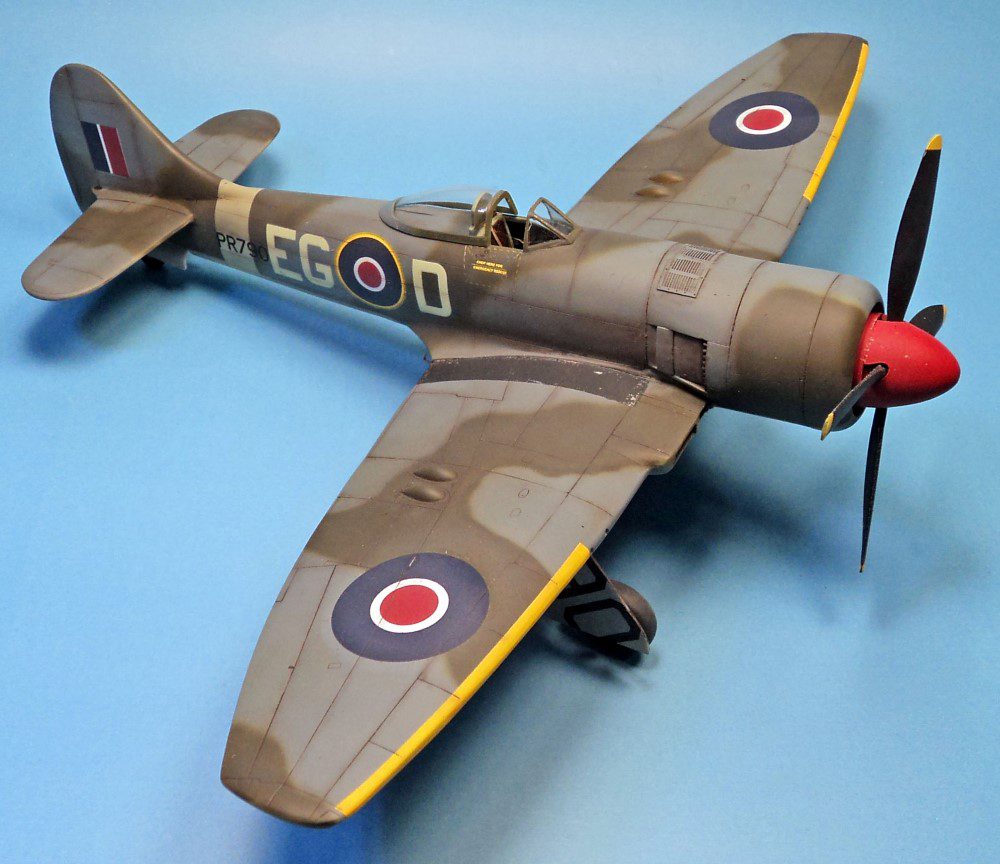
The rest of the build was a breeze. The paint was all Tamiya. Decals were from Model Alliance, “RAF Tempest Mk.II/F.2/F.6″, (ML489021), available from Hannants. They worked very well. I only went with a light coat of weathering on this one, and after adding the final bits and a flat coat, I called this one finished.
I have to say I was pleasantly surprised at how well this conversion went. I think the fact that it was a good conversion set, required very straight forward cuts on the kit, and lots of test fitting made it go very smoothly. I am very, very happy with the completed model. It’s not one you see built up very often at all, so I’m glad I had the chance to do it.
And I enjoyed the base kit too. I plan to build a few more of the eduard Tempest Mk. V kits, and I already have plans to do a Mk. VI conversion also.
I can highly recommend this kit and conversion set to any modeler with a few kits to your credit. If you’ve not done a conversion before, it’s not a bad place to start. And if you’re an old hand at conversions, you shouldn’t have any trouble at all.



Leave a Reply