When my son was still at home and building models, he used to tell me how enjoyable the Academy/Hobbycraft Me-109 variants were. He built several of them, and I decided that at some point I’d build one too.
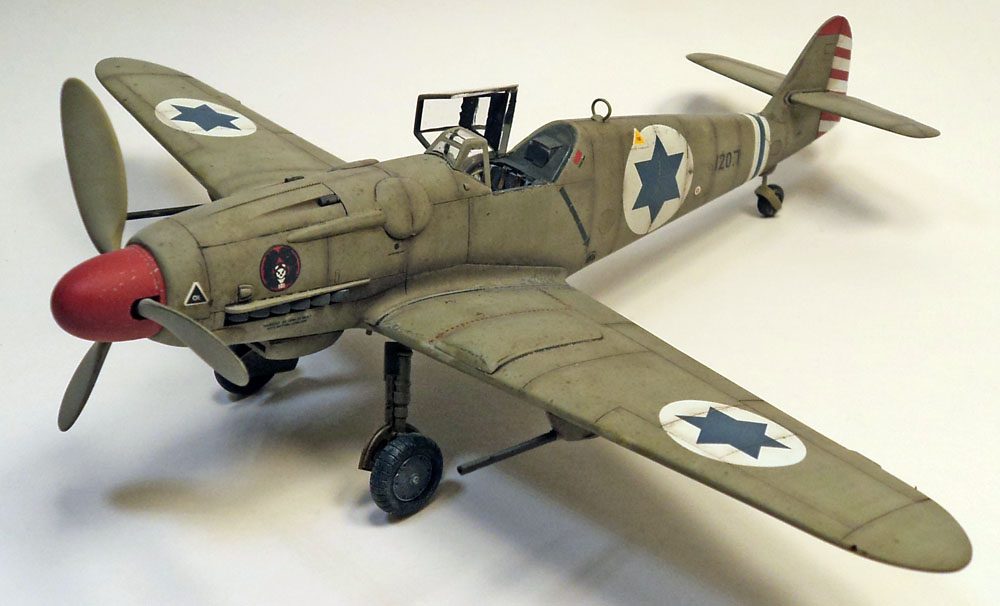
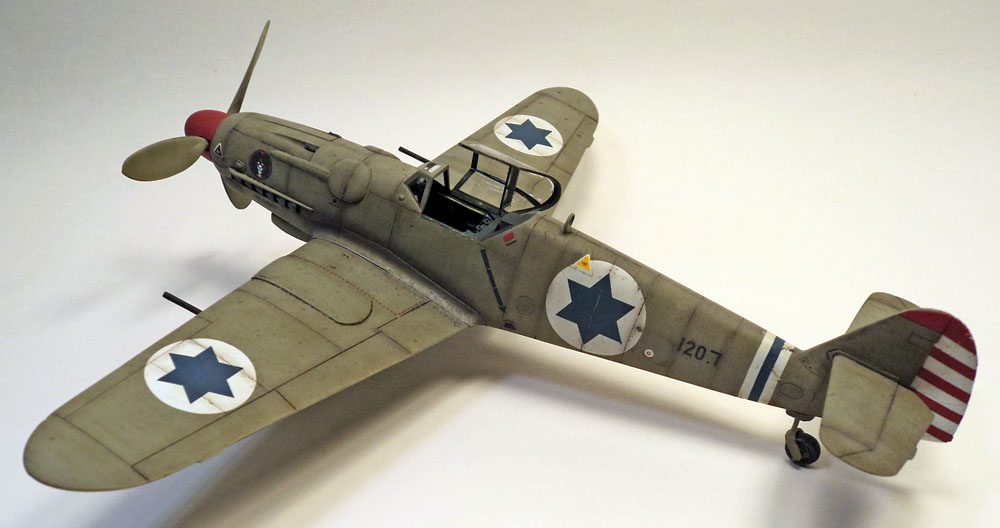
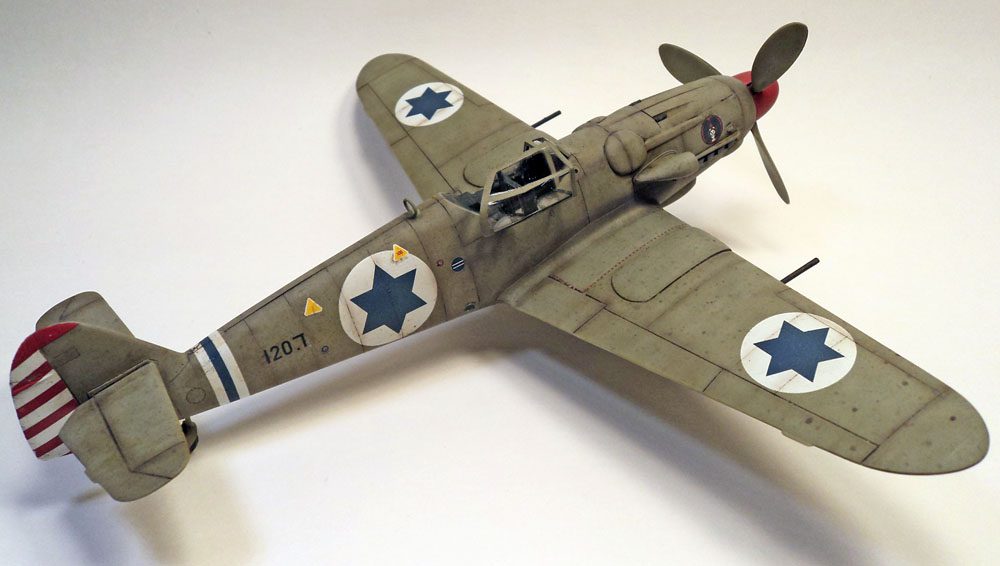
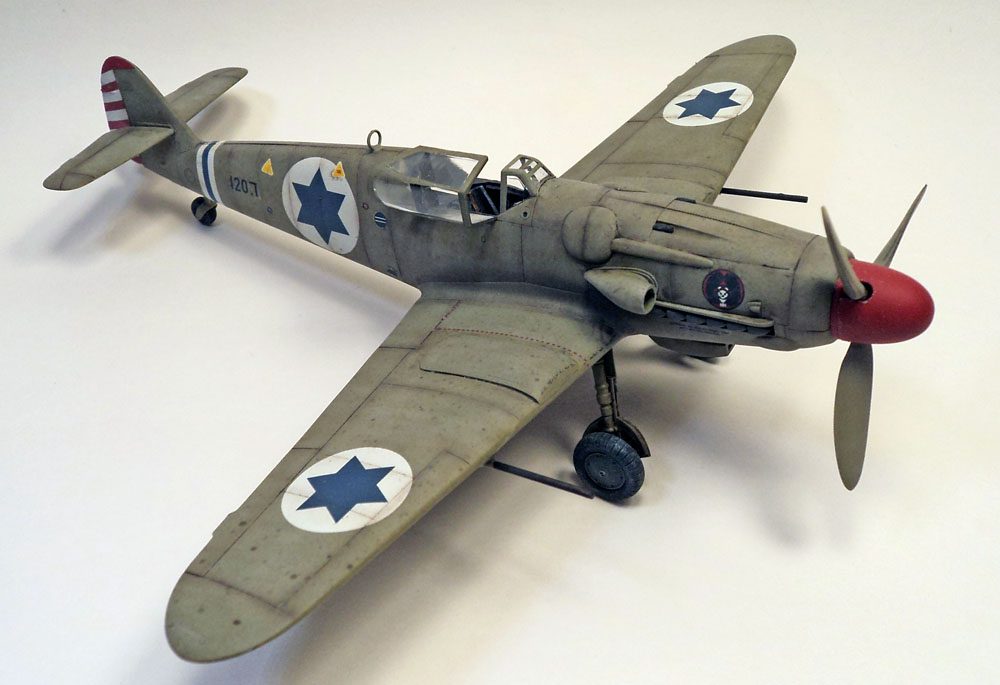
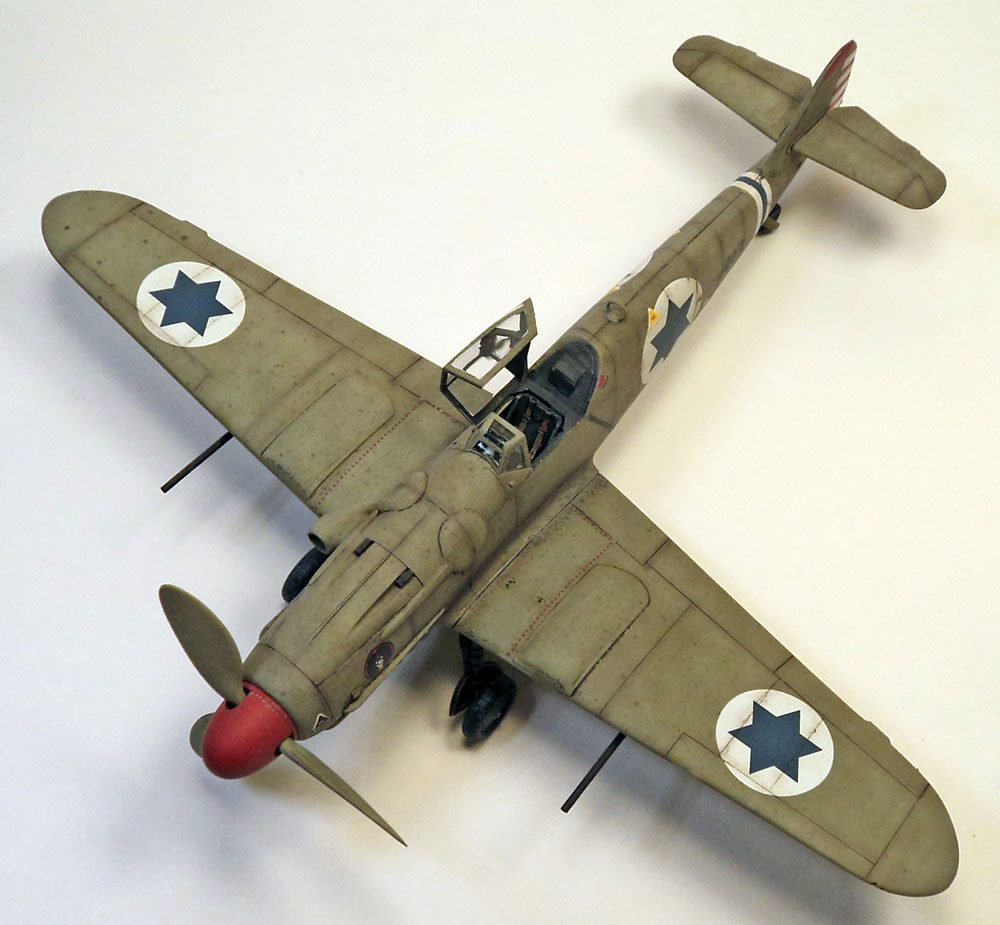
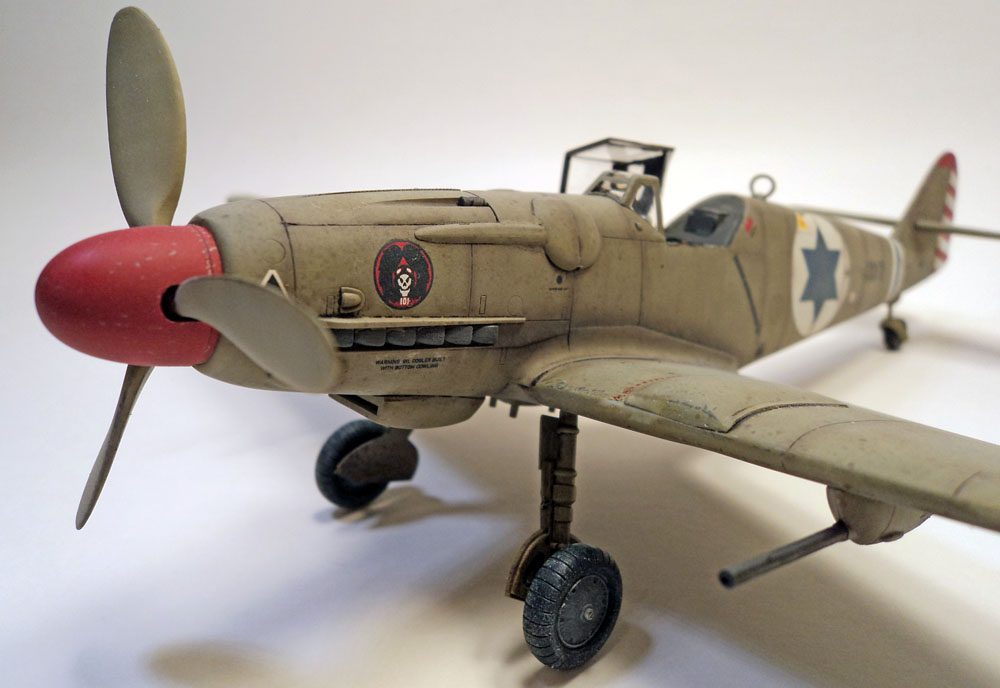
One of his favorites was the Avia S-199, a Czech-built Messerschmitt copy with a Junkers Jumo engine, made famous as the first fighter of the Israeli Air Force.
Though this is an older kit, it is a great build. It’s a no drama, glue and paint build that keeps a modeler sane in the hobby.
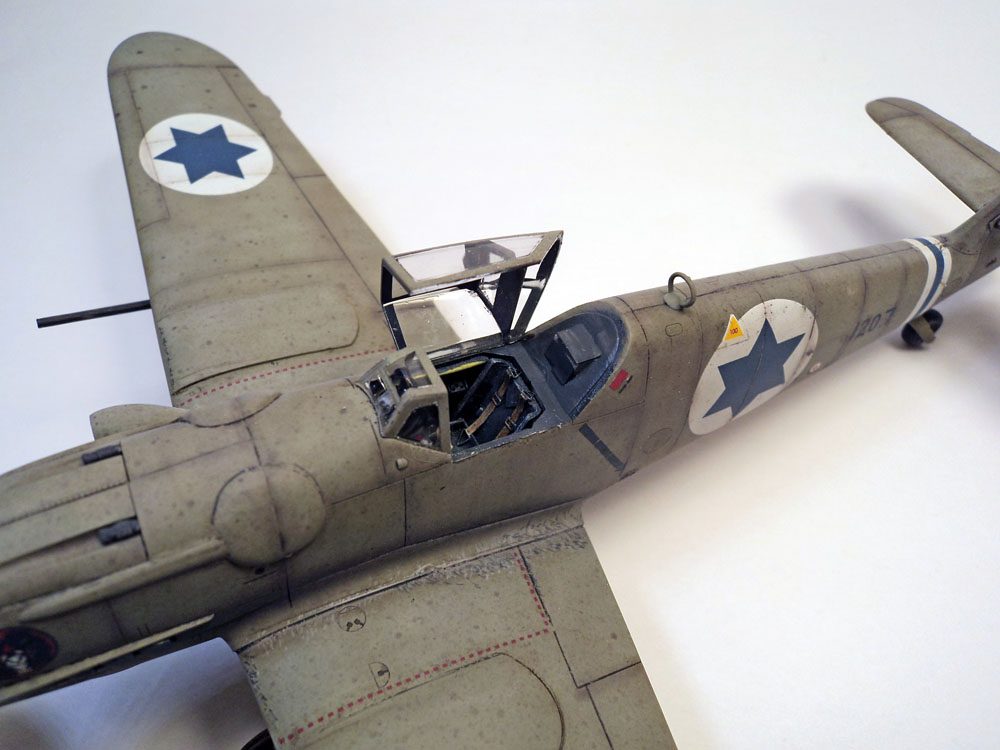
The kit cockpit is fairly basic, so I decided to use a True Details resin cockpit. The cockpit looked really nice, but as with so many resin cockpits, it was a “politician’s promise”. Sounds good at first, but in reality… not so much.
The sidewalls fit in pretty nicely, and the floor did too. But I made the mistake of using the aftermarket instrument panel- one of those photoetch and film monstrosities that I can never actually get glued in. It finally dawned on me to mount it to the sanded down kit IP, and use that as the mounting point. That little change worked out well. I also should have ordered a seat from Ultracast… dealing with the photoetch belts of the True Details set was another pain. (And I prefer pain free modeling…)
Despite the little annoyances, I got it all stuffed into the fuselage, which closed up nicely. The wings were added next with no problems whatsoever. With the tailplanes added, the kit was ready for paint.
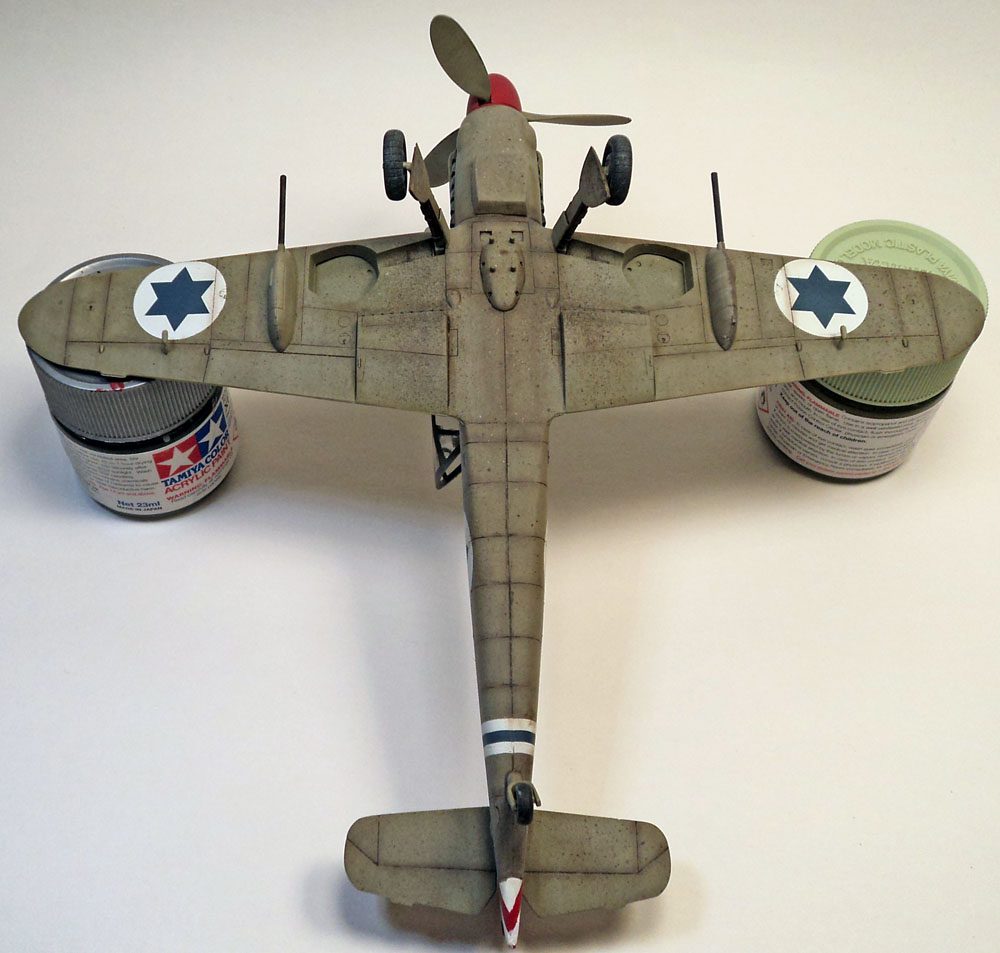
Not being familiar with the correct colors for an Israeli Avia S-199, I did a little research. After reading many discussions about exactly what it was, I finally came across a bit of info I thought made sense – mix Tamiya XF-22 and XF-49, add a few drops of white and call it done. I don’t know if the color is correct, but I know it was easy to mix, and I had the paints on hand. Good enough for me!
After painting, I did some light paint chipping, a few oil streaks, and gave it a gloss coat of Future. I used the kit decals, and I was quite pleased at how nicely they worked. Not quite Cartograph, but if every kit had decals like this, I’d never complain.
The decals were sealed with more Future, a few more weathering touches were added, the dangly bits glued in place, and I called it done.
I really, really enjoyed building this kit, and I can highly recommend it to anyone at any skill level.


Leave a Reply