Say what you will about their accuracy gaffes, HobbyBoss still releases some of the most enjoyable builds of any manufacturer. And their 1/48 FJ-4 Fury is no exception.

Kit: FJ-4 Fury
Manufacturer: HobbyBoss
Stock Number: HBB 80312
Scale: 1/48
The kit breakdown is very conventional, with two fuselage halves, and a one piece lower wing with two piece uppers. Parts count is 142, though nearly a third of that number is underwing stores, pylons, etc.
The cockpit assembly consists of a plain “tub”, with separate parts for the consoles. The consoles have very nice raised detail, and take well to some paint and drybrushing. The instrument panel, on the other hand, is almost void of detail in relief. While there is the barest hint of raised lines for the dials, it’s far to shallow for effective drybrushing. As no decal was provided, I opted for some of Mike Grant’s excellent instrument panel decals. The seat was adequate, though it lacked any belts in the kit. I had some generic photoetch ones in the spares box, but I decided to use a Quickboost F-86F seat, which looked excellent. A bit of sanding on the sides of the seat was needed for it to fit, but as the area in question was against the cockpit sidewalls, the modification was not visible. I also had to sand the base of the control column a bit to ensure the foot plates fit on either side of it.
Test fitting the cockpit and the single piece nose wheel well into the fuselage halves showed an excellent fit overall. However, the instructions called for the cockpit tub to be glued on to the air intake trunk, and then later, the forward air intake “lip” would be added. The idea was that the intake trunk would line up with the lip. However, my test fitting showed this would not line up properly.
I decided to alter the assembly sequence and glued the intake trunk directly to the air intake. This allowed the seam to be sanded and blended easily while off the model. The cockpit and wheel well were closed up inside the fuselage sans air intake. The fit was very good, though a bit of super glue was used to ensure a smooth join in places. (I did place several lead weights into the nose. Be careful to test fit that air intake!)
Once the fuselage was sorted out, I addressed the air intake. With that smoothed out nicely, I decided to add some additional weight into the intake itself, this time using Liquid Gravity. I filled it about halfway, and then set it in place with thin super glue. next I brush painted the entire interior of the intake flat black. With that dry, I airbrushed white into the opening, which resulted in a nice gradual fade to black, the weight being virtually invisible except upon very close inspection with light shone directly on it.
The locating tabs on the intake trunk were clipped off and smoothed over, and the rear edge was beveled and rounded with a sanding stick. The part slipped in place with just a bit of nudging, the air intake section aligning perfectly with the fuselage.
The wing assembly was simple enough. The nicely detailed main gear wheels were fitted to the single lower wing piece, and clamped down to dry for a few minutes. After that, the upper wings went on, with one side needed just a bit of adjustment for the notch in the upper wing to fit over the wheel well.
With the glue dried and all the leading edges sanded smooth, test fitting showed that while the fit fore and aft was good, a bit of a gap was present at the wing roots on both sides. A quick test fit of a piece of the kit sprue as a fuselage spreader sorted that out nicely, and the wings were glued into place, followed by the tailplanes.
Reference photos showed that the larger gear door parts could be up or down while on the ground, and for the sake of simplicity, I chose to display them up. Those were glued into place, and all seams, joins and such were treated to a bead of Mr. Surfacer 500, and then sanded and/or rubbed down with a cotton bud soaked in alcohol.
I gave the entire model a coat of Tamiya XF-2 White, thinned with lacquer thinner, figuring it would be suitable for a primer coat for the top color. A simple rubdown with a cotton cloth gave a very silky smooth finish. The white undersides were masked off, and the upper color of light gull gray was airbrushed on. For this, I decided on a mix of two parts XF-2, and one part Tamiya XF-20 Medium Gray. though I had both Vallejo and Gunze’s versions of the color, I prefer to work with Tamiya, and I found this mix to be a very nice approximation.
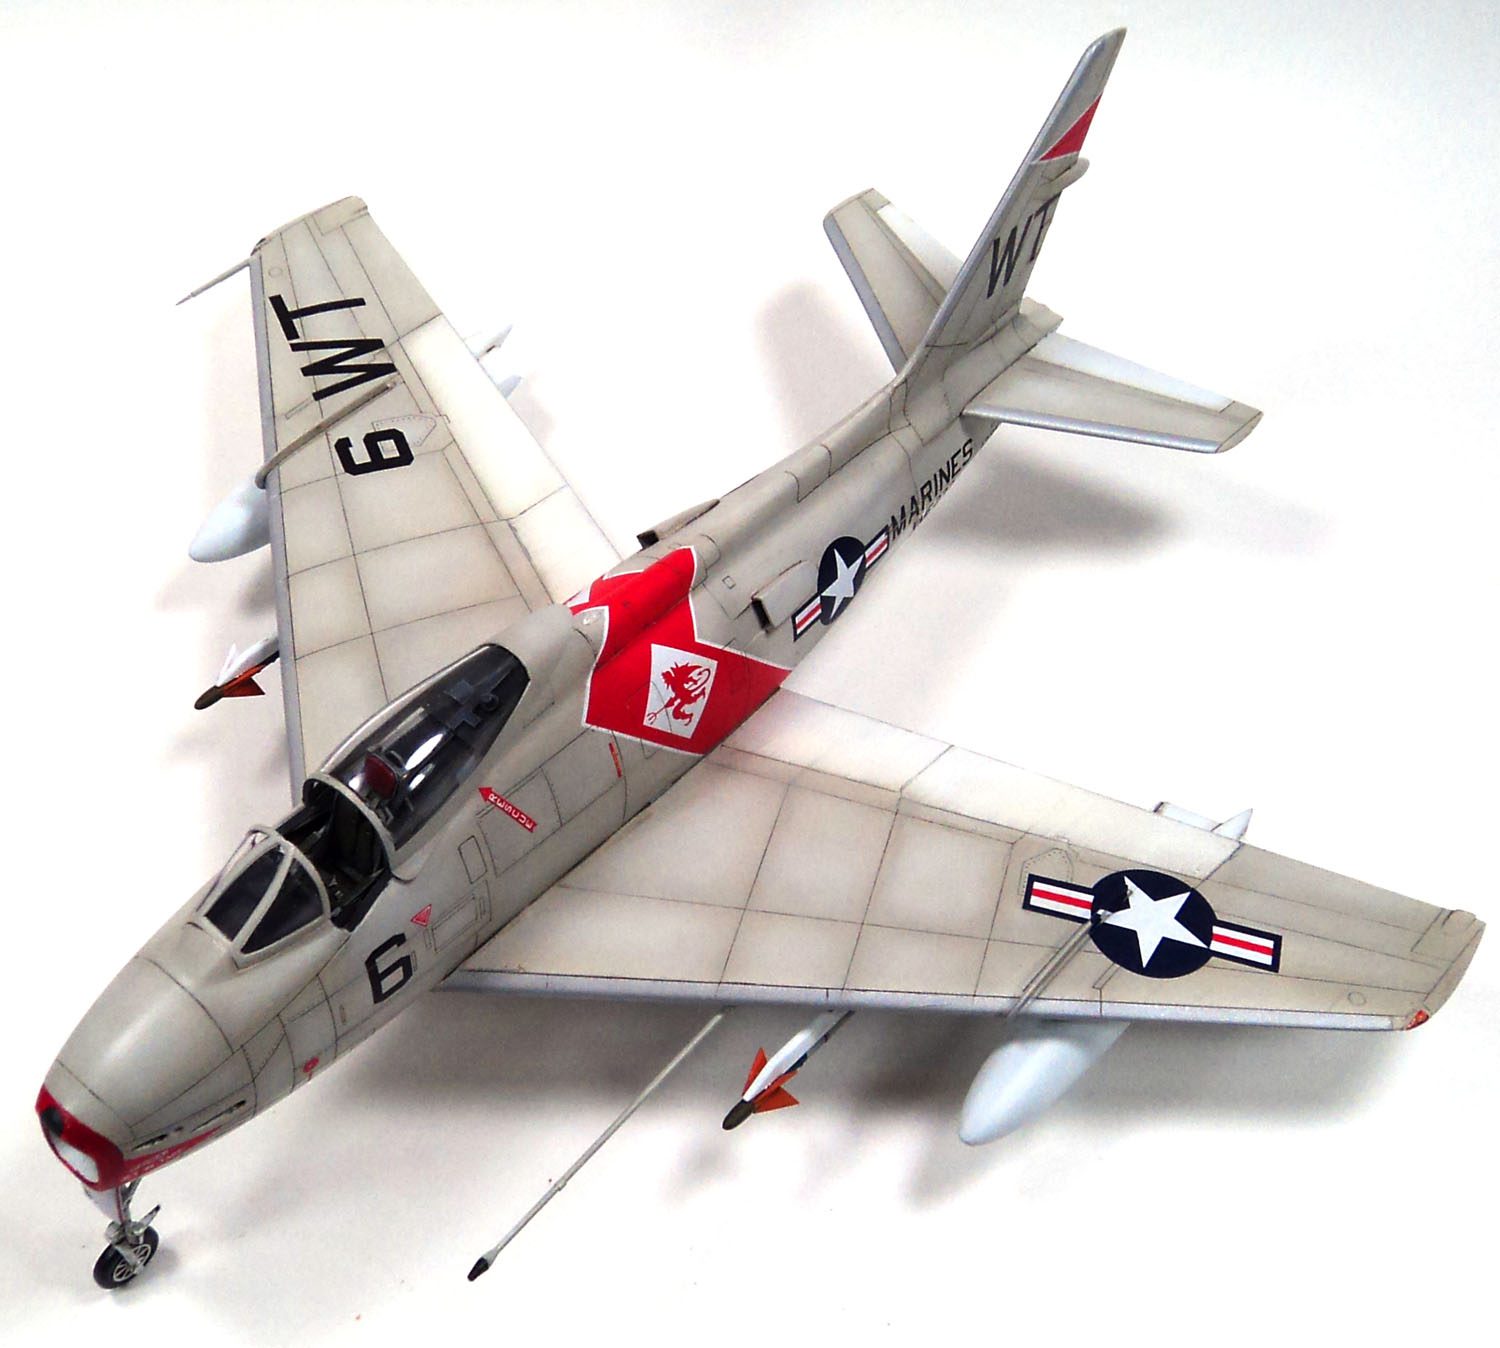
More masking was added for the silver “Coroguard” on the leading edges of the flying surfaces. This was actually a clear epoxy coating, most often mix with aluminum powder. The color could range from a bright silver to a dull gray. I mixed two parts Tamiya XF-16 Aluminum with one part XF-19 Sky Gray, and I was quite happy with the results.
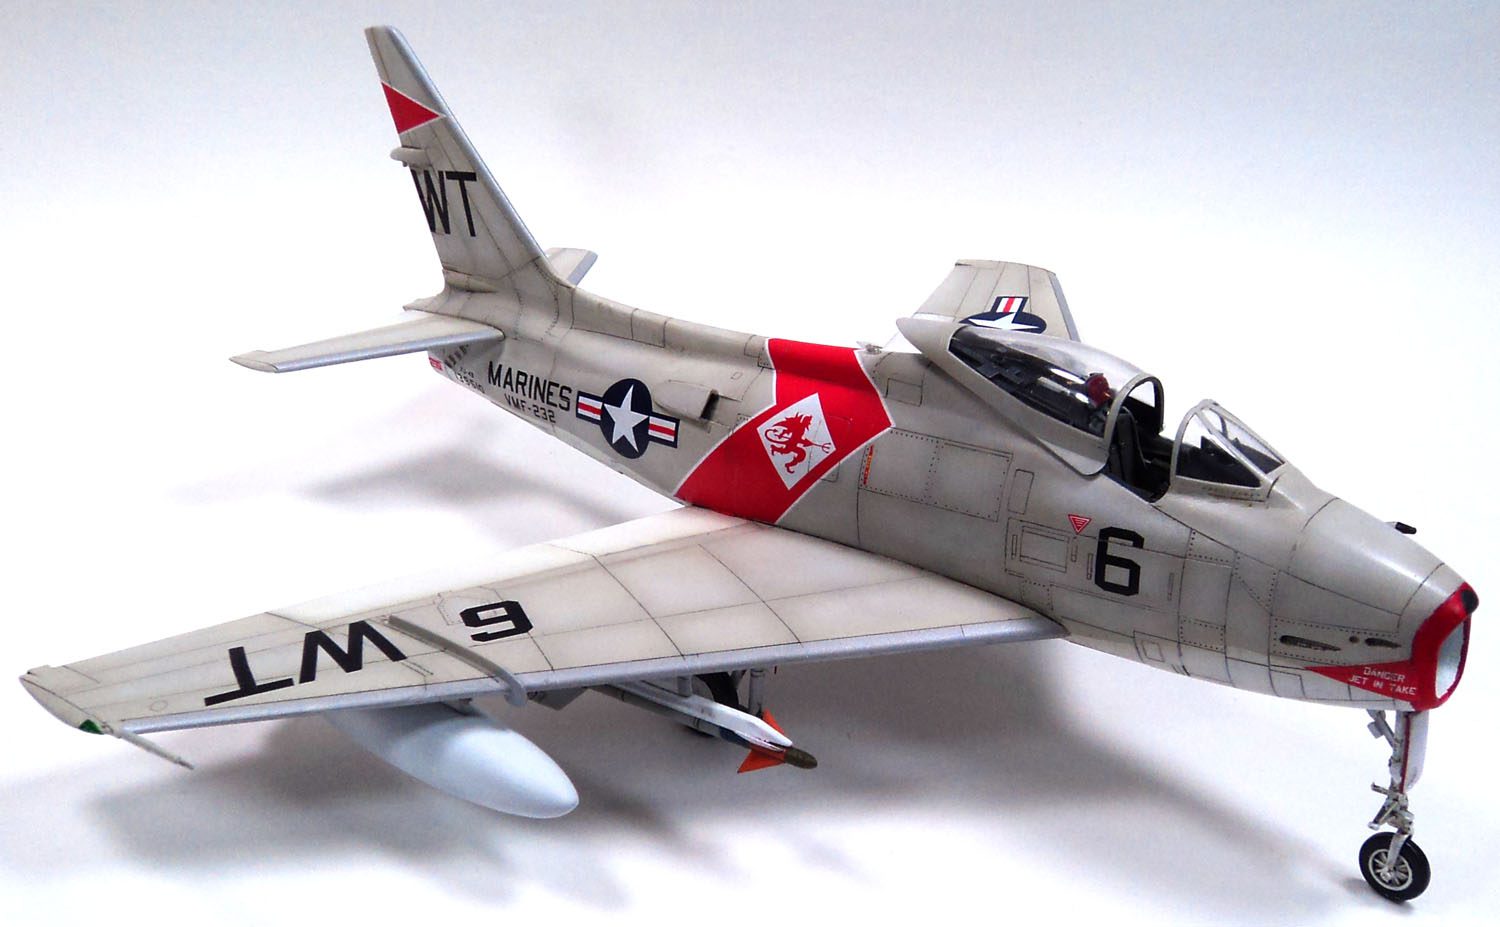
A bit of shading and fading were applied to the upper colors, and then a coat of Future prepared the surface for decals. The kit decals were of excellent quality in terms of application, though I though the colors were a bit bright. I was concerned that the large fuselage stripes would not fit well, though thankfully they fit perfectly. The red air intake decals were not quite as nice fitting, but some hand painting with Vallejo Model Color Red took care of that. The rest of the decals reacted nicely to Solvaset. Do be careful though, if you build this kit. They are quite thin and will fold over on themselves quite easily.
Another coat of Future was added to seal the decals, and then a wash was applied, using Ammo of Mig Panel Line Wash Stone Gray for Black enamel wash. I thought this color worked nicely with the white and gray of the model.
The final bits were added- landing gear, underwing stores, and refueling probe, and a flat coat was applied. With the canopy unmasked, I called this one done.
This really is an excellent kit. As with many HobbyBoss kits, I read some complaints of inaccuracies- which were all valid- but I’m more of a “if it looks close it’s enough” type of builder. I found that the enjoyment of the build outweighed some details that, frankly, only a bare handful would know of anyway.
In the end, I was quite happy with the final look of my FJ-4 Fury.


Leave a Reply