And now for something completely different….
What started out as serendipitously watching a Mig Jimenez video on weathering mecha eventually led to a site called ModelMakingGuru.com.
Now, first off, go over to Model Making Guru and watch his videos. Even if you don’t build mecha. They’ll make you laugh. They’re hysterical. But…. they’re also really, really good at teaching the assembly, painting, and weathering of Gundam model kits. (And much of the technique is applicable to any modeling genre.) Watching those videos led me to a sudden fascination with a genre I’d never even thought of building.
So I decided to build a Gundam kit.
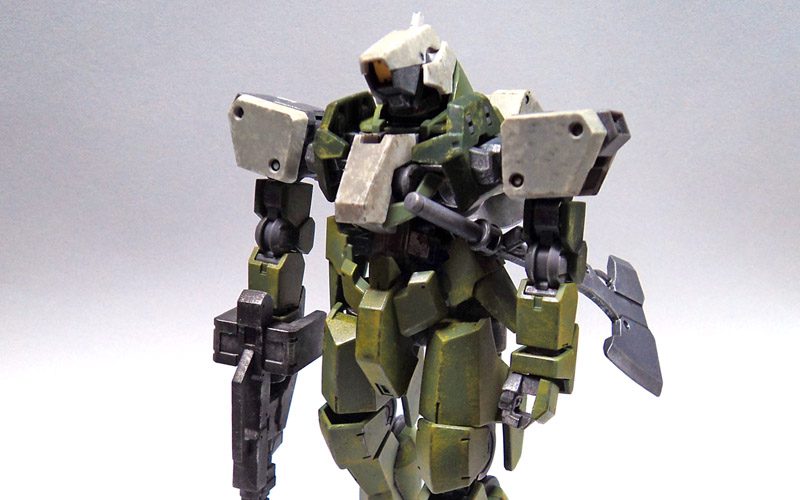
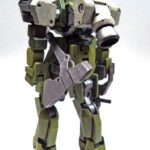
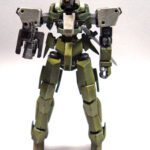
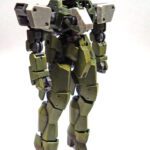
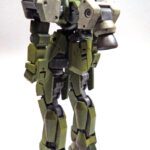
This is Bandai’s 1/44th scale High Grade Graze Custom kit. It’s the first of this genre of kits I’ve ever built. I have no idea the story behind it, what it’s used for…. any of that. I just thought it looked cool.
After watching quite a number of videos by various modeler’s, I decided to go with a bare bones, simple approach to simply find out what it was all about. I’d leave the plastic bare, and just do various dry brushing and washing techniques. This would allow me to build the kit quickly, and would help me better understand how to approach them for future builds. (And there will be future builds…)
I drybrushed the inner frame parts with Tamiya X-11 Chrome Silver, and the green parts with Tamiya XF-4 Yellow Green. The white parts received a “total drybrush”, covering the entire part, of XF-19 Sky Gray.
The videos I’d watched noted that using enamel washes on the bare plastic could present problems, so I opted for a simple 50/50 solution of Future and water, with some dark gray and brown/red mixed in. Paint chipping done with was Vallejo’s oily steel.
I regret using the XF-4 in such a heavy handed manner. My original intent was to make the green edges appear “scruffy”, as though the paint had been worn down to primer. However, I got carried away. While I was doing it I thought it looked cool, but now that I view it finished… meh, not so much. Oh well. So if it looks more like a middle aged, overweight, balding man with poor eyesight went drybrush happy…. you’ll know that is exactly what happened.
Still, I’m not at all unhappy with the whole thing. Quite the contrary.
This was FUN. It’s like building Lego kits as a kid. It all just snaps together, and the fit is stunning. I’d heard several people say “If it doesn’t fit, you’re doing it wrong”, and that is the truth. Virtually everything on the kit can only fit one way.
I’ll still build aircraft, I suppose, as that is where the commission work is for me.
My next mecha build will be more involved, and I’ll really try to parlay my aircraft building experience into it, rolling in quite a bit of what I’ve learned through watching Youtube videos.
I’ll definitely be building more of these. They’re just fun. Which is something that had slipped away from the hobby for me.

Leave a Reply