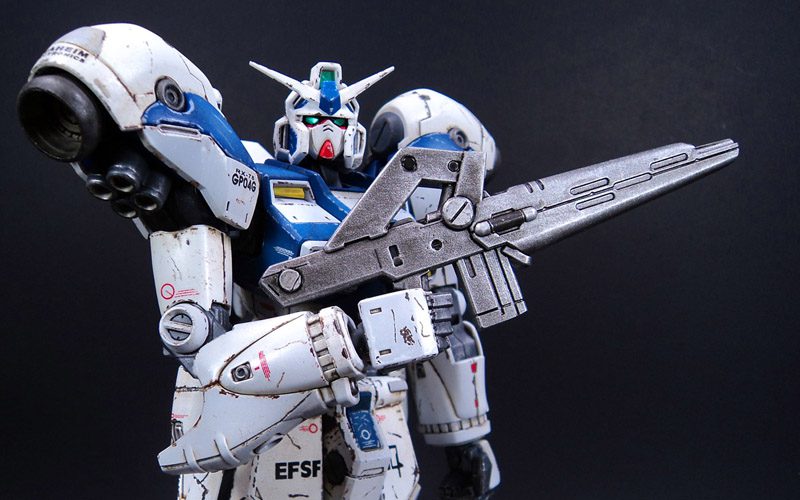
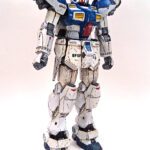
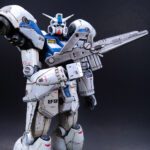
The Bandai RE/100 Gerbera GP04 Gundam is finished, and I am fairly happy with the result. It was my first RE/100 kit, and though I really enjoyed the detail of the Master Grade Sniper II, the slightly reduced parts count of this kit grade really stood out for me. While the Master Grade kit wasn’t difficult, at times it felt as though it was simply wrestling parts. The slightly lower parts count and complexity of this one was a really fun experience.
Going in, I’d thought it would be more like a High Grade, but now I realize the best way to describe it would be 90% Master Grade detail, with 10% more parts than a High Grade. In my mind it is a perfect balance to get the larger scale without more parts than there are days in the year.
Having said that- I will still build Master Grade kits! 🙂
Anyway…
The building of this kit is exactly what you expect from anything in the Bandai Gundam franchise- virtually flawless. Saying the fit is excellent gets a bit redundant with these kits, but I had no issues anywhere that were not self induced- and the resolution was simple. “If it doesn’t fit, you’re doing it wrong.”
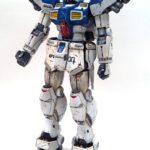
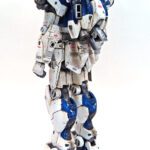
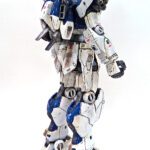
This was the first mobile suit I’ve built since entering the Gunpla world that was almost all white. It actually surprised me somewhat how it requires a bit of a different approach. Any little nick, stain, or flaw will show, so I learned to be a bit more careful all around.
I built this one in stages, rather than doing large chunks in long steps. Starting with the torso and head, the process was to prime, then paint, add the gloss coat, and finally enamel washes. I then moved on to the arms, then legs, and finally waist, backpack, and weapons. This assembly sequence proved more satisfying than the method used on the Sniper II. It resulted in more visible progress in chunks, and gave me something to look at, and feel I had completed something.
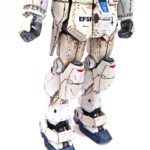
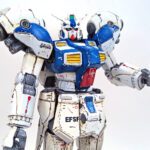
Once all of the subsections were complete, I gave them all another gloss coat, and began the decaling process. The decals used I were from an unknown maker. ALL of the writing on the package was in Chinese (I think), and other than seeing “Gundam Gerbera GP04 1/100th” on the labeling, all I know is I ordered them off of Ebay from somewhere in China. While they were not exactly like the kit stickers, there was enough there to just sort of make it up as I went along. And they did work well.
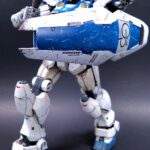
One area I did have to make adjustment for was the shield. The kit stickers featured a large, white, stylized “GP”, oriented vertically. The aftermarket decals also had a “GP”, but in a different style, smaller- and in black. I considered simply reversing the colors, and having the middle of the shield white, but I realized I liked the white border. My next idea was to add a white stripe across the blue field, but I thought it might not stand out. Finally I settled on a simple gray stripe. Masking that off, I thought it looked pretty good.
However, when I added the decal, it immediately stuck in place. I couldn’t move it, lift if up, peel it off- anything. And I’m no novice with waterslide decals. I’ve literally applied thousands on aircraft. But this one just said “Nah…. ain’t moving”.
So it is where it is.
I was a bit more careful with the rest, making sure there was plenty of water on the surface so they could be “floated” into place. I decided not to go overboard with decals, the chief reason being the application is so boring. 🙂 I settled on a decal count of 2 or 3 per section, and left it at that. In the end, they looked good- giving some visual interest without being too busy.
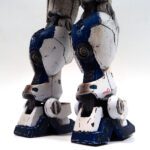
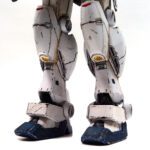
Paint chipping was done in the Mig Jimenez style of high contrast color selection, though I stuck with single colors and did not use accent/shadow colors. The red and blue areas were chipped with Vallejo Sky Gray, and the white areas with Ammo of Mig Chipping color. (AMIG044) I tried to not overdo it, but it can be difficult to find a right balance of looking slightly used, and yet not beat up. While I was adding the chipping, I thought it was reasonably restrained, but now that I have finished, it is a bit more than intended. I’m still working on learning a good size/density ratio on my Gunpla.
I suppose it means I must build more Gunpla. MORE GUNPLA- YES!
Oh well… a happy “problem” to have!
I also used Ammo of Mig Heavy Chipping fluid for the first time. I was really pleased with how it worked, though not entirely happy with my results. It’s not hard to use- just spray it on, add a weathering layer, and brush it away. But getting it right takes a bit of practice. I was too worried about drying and working time, and did not allow for enough time for both the chipping fluid to dry, and the enamel overcoat. I think another 10 minutes per coat of drying time (I only allowed for 4 or 5) would have been better. And then I went too heavy with the water, and probably should have simply been a bit slower and more patient in that process. Still- the products worked exactly as advertised, so all I really need is more practice. (In other words- the products are great! I’m the doofus. 😀 )
And that, of course, can only mean one thing.
More Gunpla builds. Do you detect a theme? 😉
More staining and streaking was added via various enamel washes and airbrushing, and a bit of drybrushing. A final coat of ultra flat matte coat was applied, as I prefer my models to be very matte in finish.
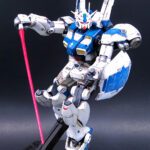
While I am still no expert in action poses, I can say this kit is nicely articulated. Though not quite as good as the Sniper II (which has insane articulation), this one is very good, and should easily satisfy those wanting to come up with very dynamic poses.
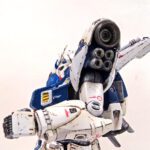
The only thing I don’t like really are those big fuel tanks. I get why they are there, from a storyline view, but I definitely like how the suit looks with them off. The large shoulders give the suit a mean, almost linebacker type appearance. But those tanks…
(Admittedly… it’s a design preference. The tanks look great, and fit snugly.)
The inclusion of a very long rifle, a shorter machine gun, and two beam sabers (I still want to call them light sabers!) gives for a decent mix of weapons. Though I think the long rifle is really cool looking, I prefer the look of the smaller gun when posing. And I never could get the long rifle to actually fit in the hands, despite trying every way I could to mimic the photos. The long butt end of it needed more clearance than I was able to figure out how to allow for. But it does look cool…
The shield hooks to the back of the forearm, and it looks OK, but to me, this suit looks best in a more clean configuration, as though it were speeding through the enemy’s ranks, obliterating all before it. 😀
I realize I still have a lot to learn. Working with white as a primary color needs more practice, as does my paint chipping method. I also need to perhaps slow down a bit, and pay more attention to the inner frame detail.
So…. more Gunpla. Darn. 😉
I can highly recommend this Bandai Gundam model kit- it really was a pleasure to build. And I am especially happy with the RE/100 grade of kit. There will certainly be more of these in my future!

Leave a Reply